Hands-On Tutorial: Dataiku Workspaces
In this hands-on tutorial, you will discover Dataiku workspaces—a collection of Dataiku objects that can be shared privately with a team of people, so stakeholders can quickly access the assets they need in a centralized location.

Getting Started
This tutorial will go over creating, configuring and adding shareable objects into a workspace. In order to complete it, you will need the following:
Prerequisites
Basic understanding of the Dataiku visual interface.
Technical Requirements
Access to a Dataiku instance - version 10.0 or above.
If you don’t have a Dataiku 10 instance readily available, you can download the free edition.
Create the Starter Projects
To get started, you will need to import the two projects that you will share objects from into a workspace:
From the Dataiku DSS homepage, click +New Project > DSS Tutorials > General Topics > Credit Card Fraud (Tutorial).
Once again from the homepage, click +New Project > DSS Tutorials > General Topics > Geospatial Analysis: CC Fraud Data.
Note
You can also download the “DKU_TUT_CCFRAUD” and “DKU_TUT_GEOJOIN” projects from the downloads site, and import them as zip files.
Create a Workspace
Once the two projects have been successfully created, open the Administration menu (by clicking the “apps” icon in the top navigation bar) and click Workspaces.
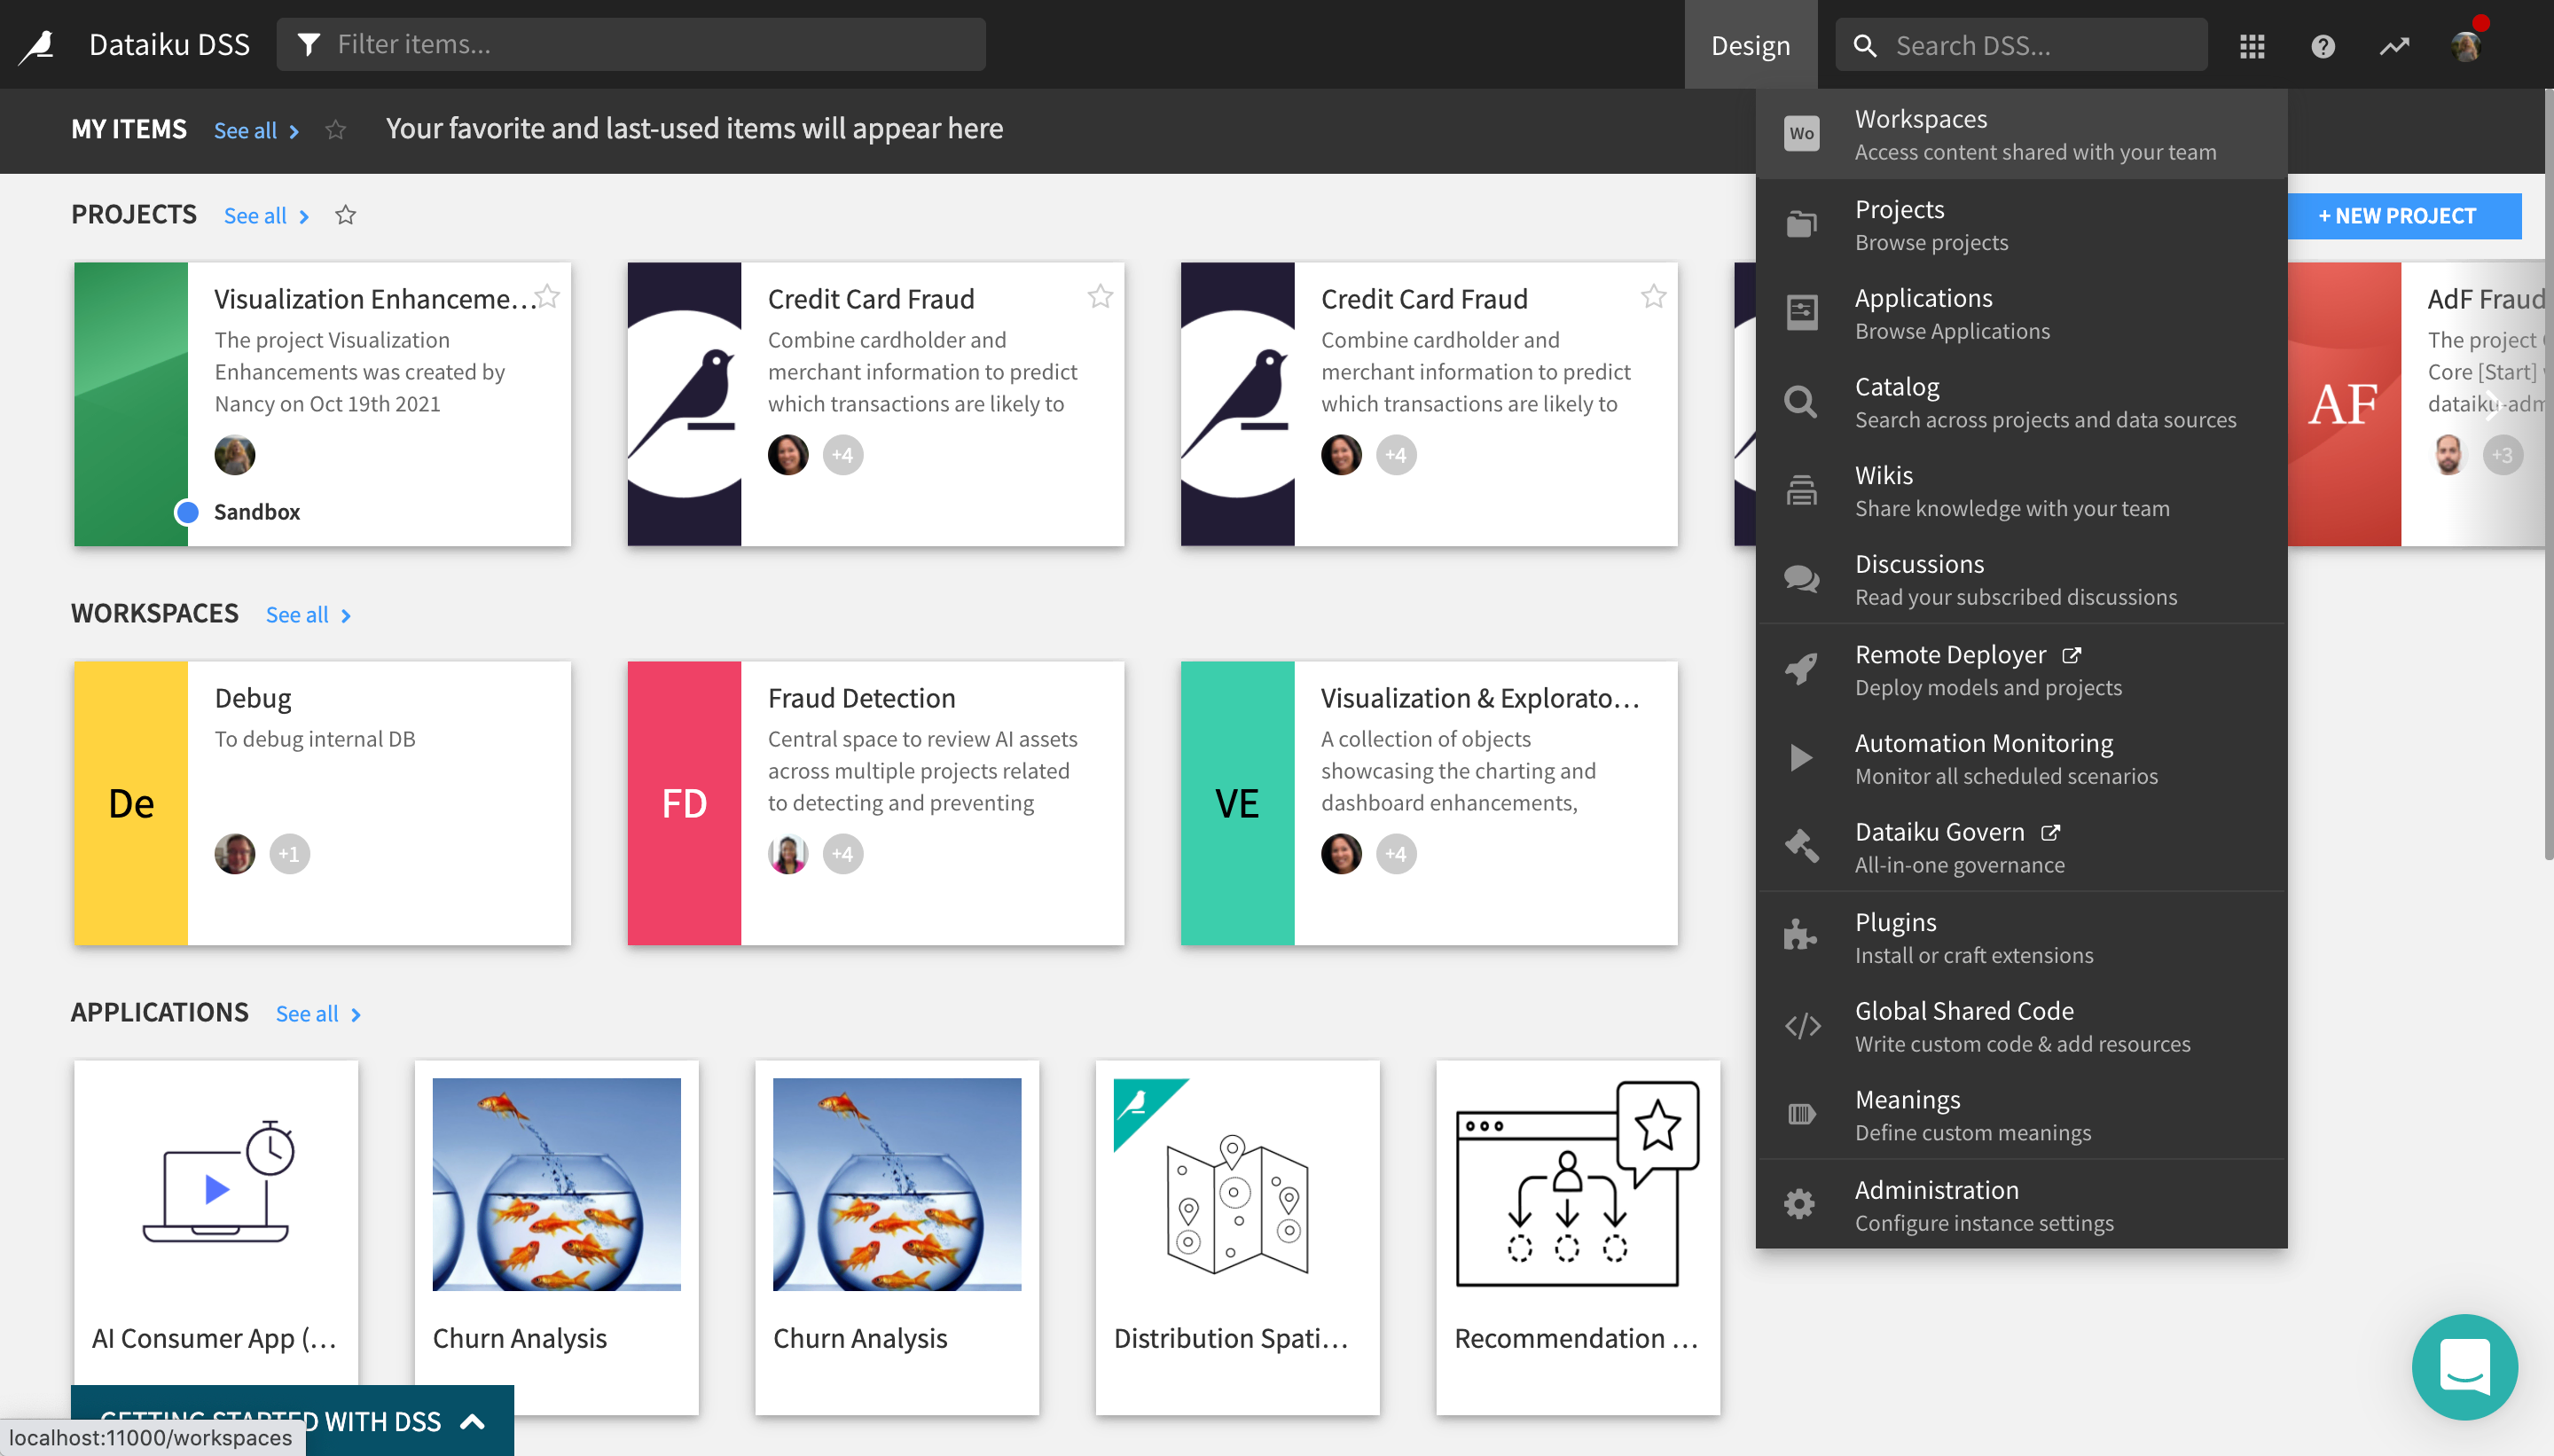
You are navigated to the Workspaces dashboard.
Tip
If creating and managing workspaces will be an important part of your role, you have the option of making the Workspaces dashboard your default Dataiku DSS homepage.
To do this, click on your profile icon > Profile & Settings > scroll down to the Homepage section > switch to the Workspaces radio button > click Save.
Let’s say that we want to create a workspace for the Business Analytics team in our organization, which will contain objects from the two projects we imported.
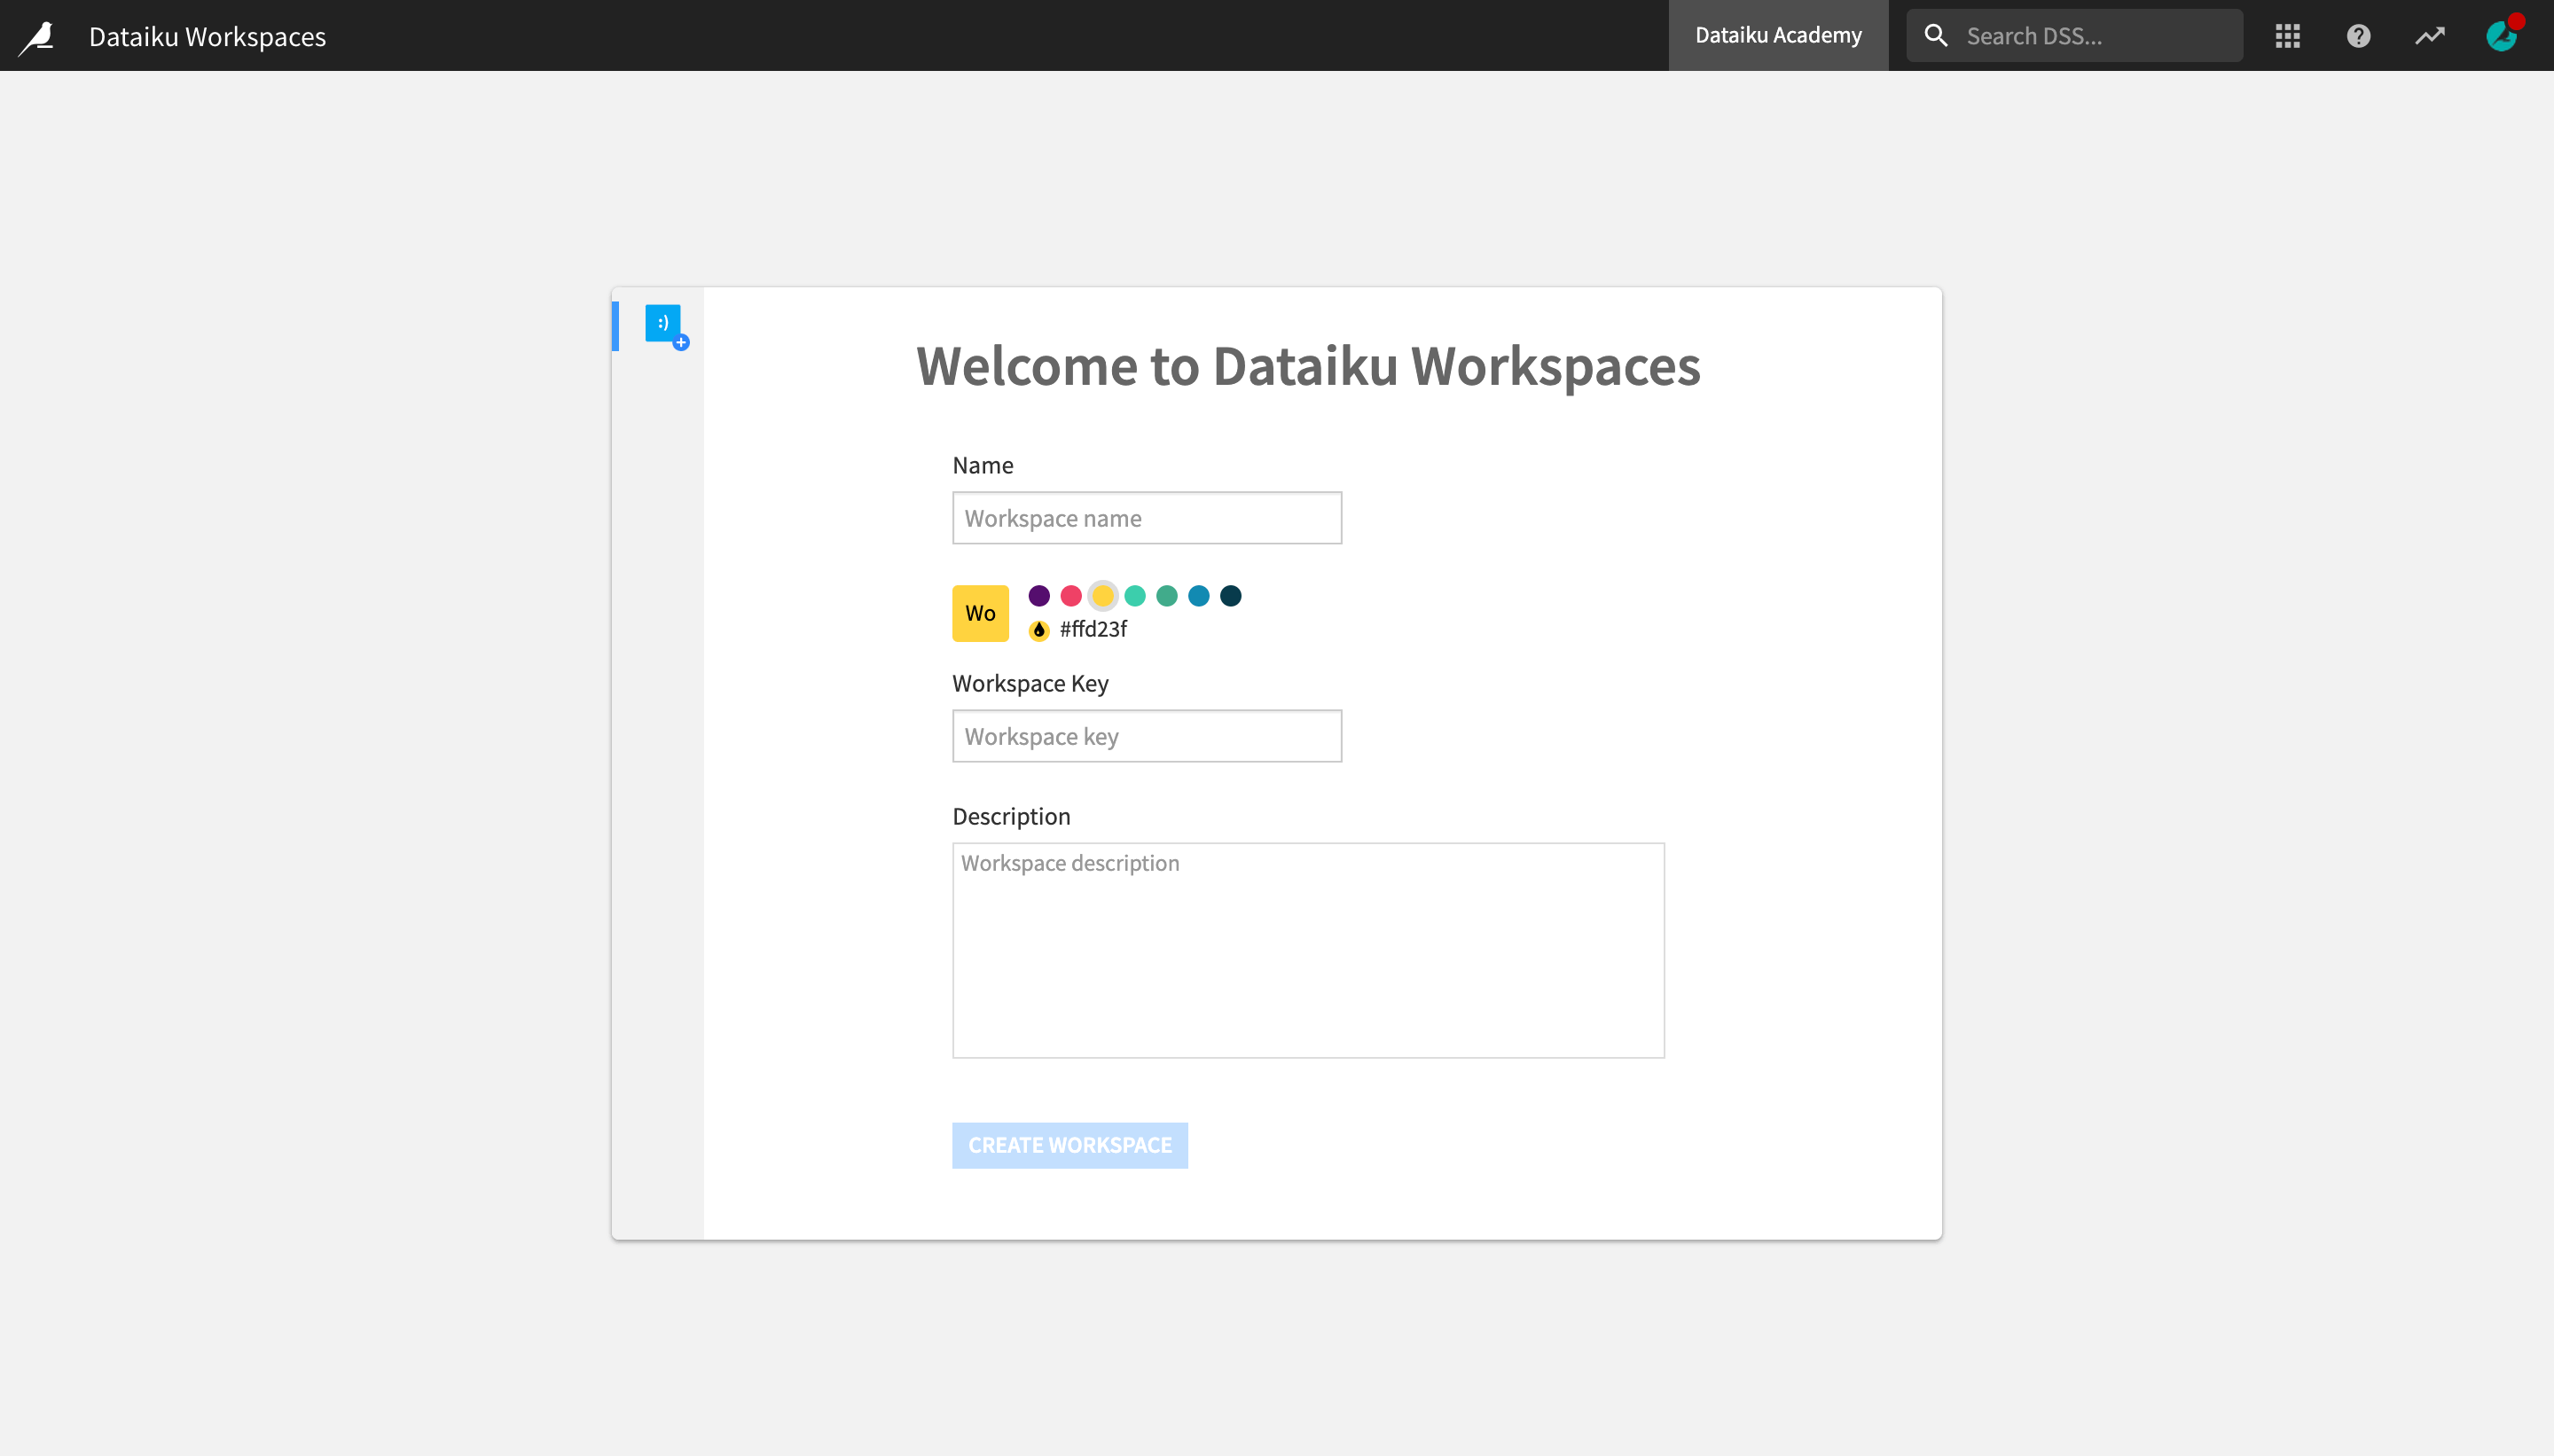
If you don’t currently have any other workspaces created on your instance, Dataiku will display a welcome panel which prompts you to create your first workspace:
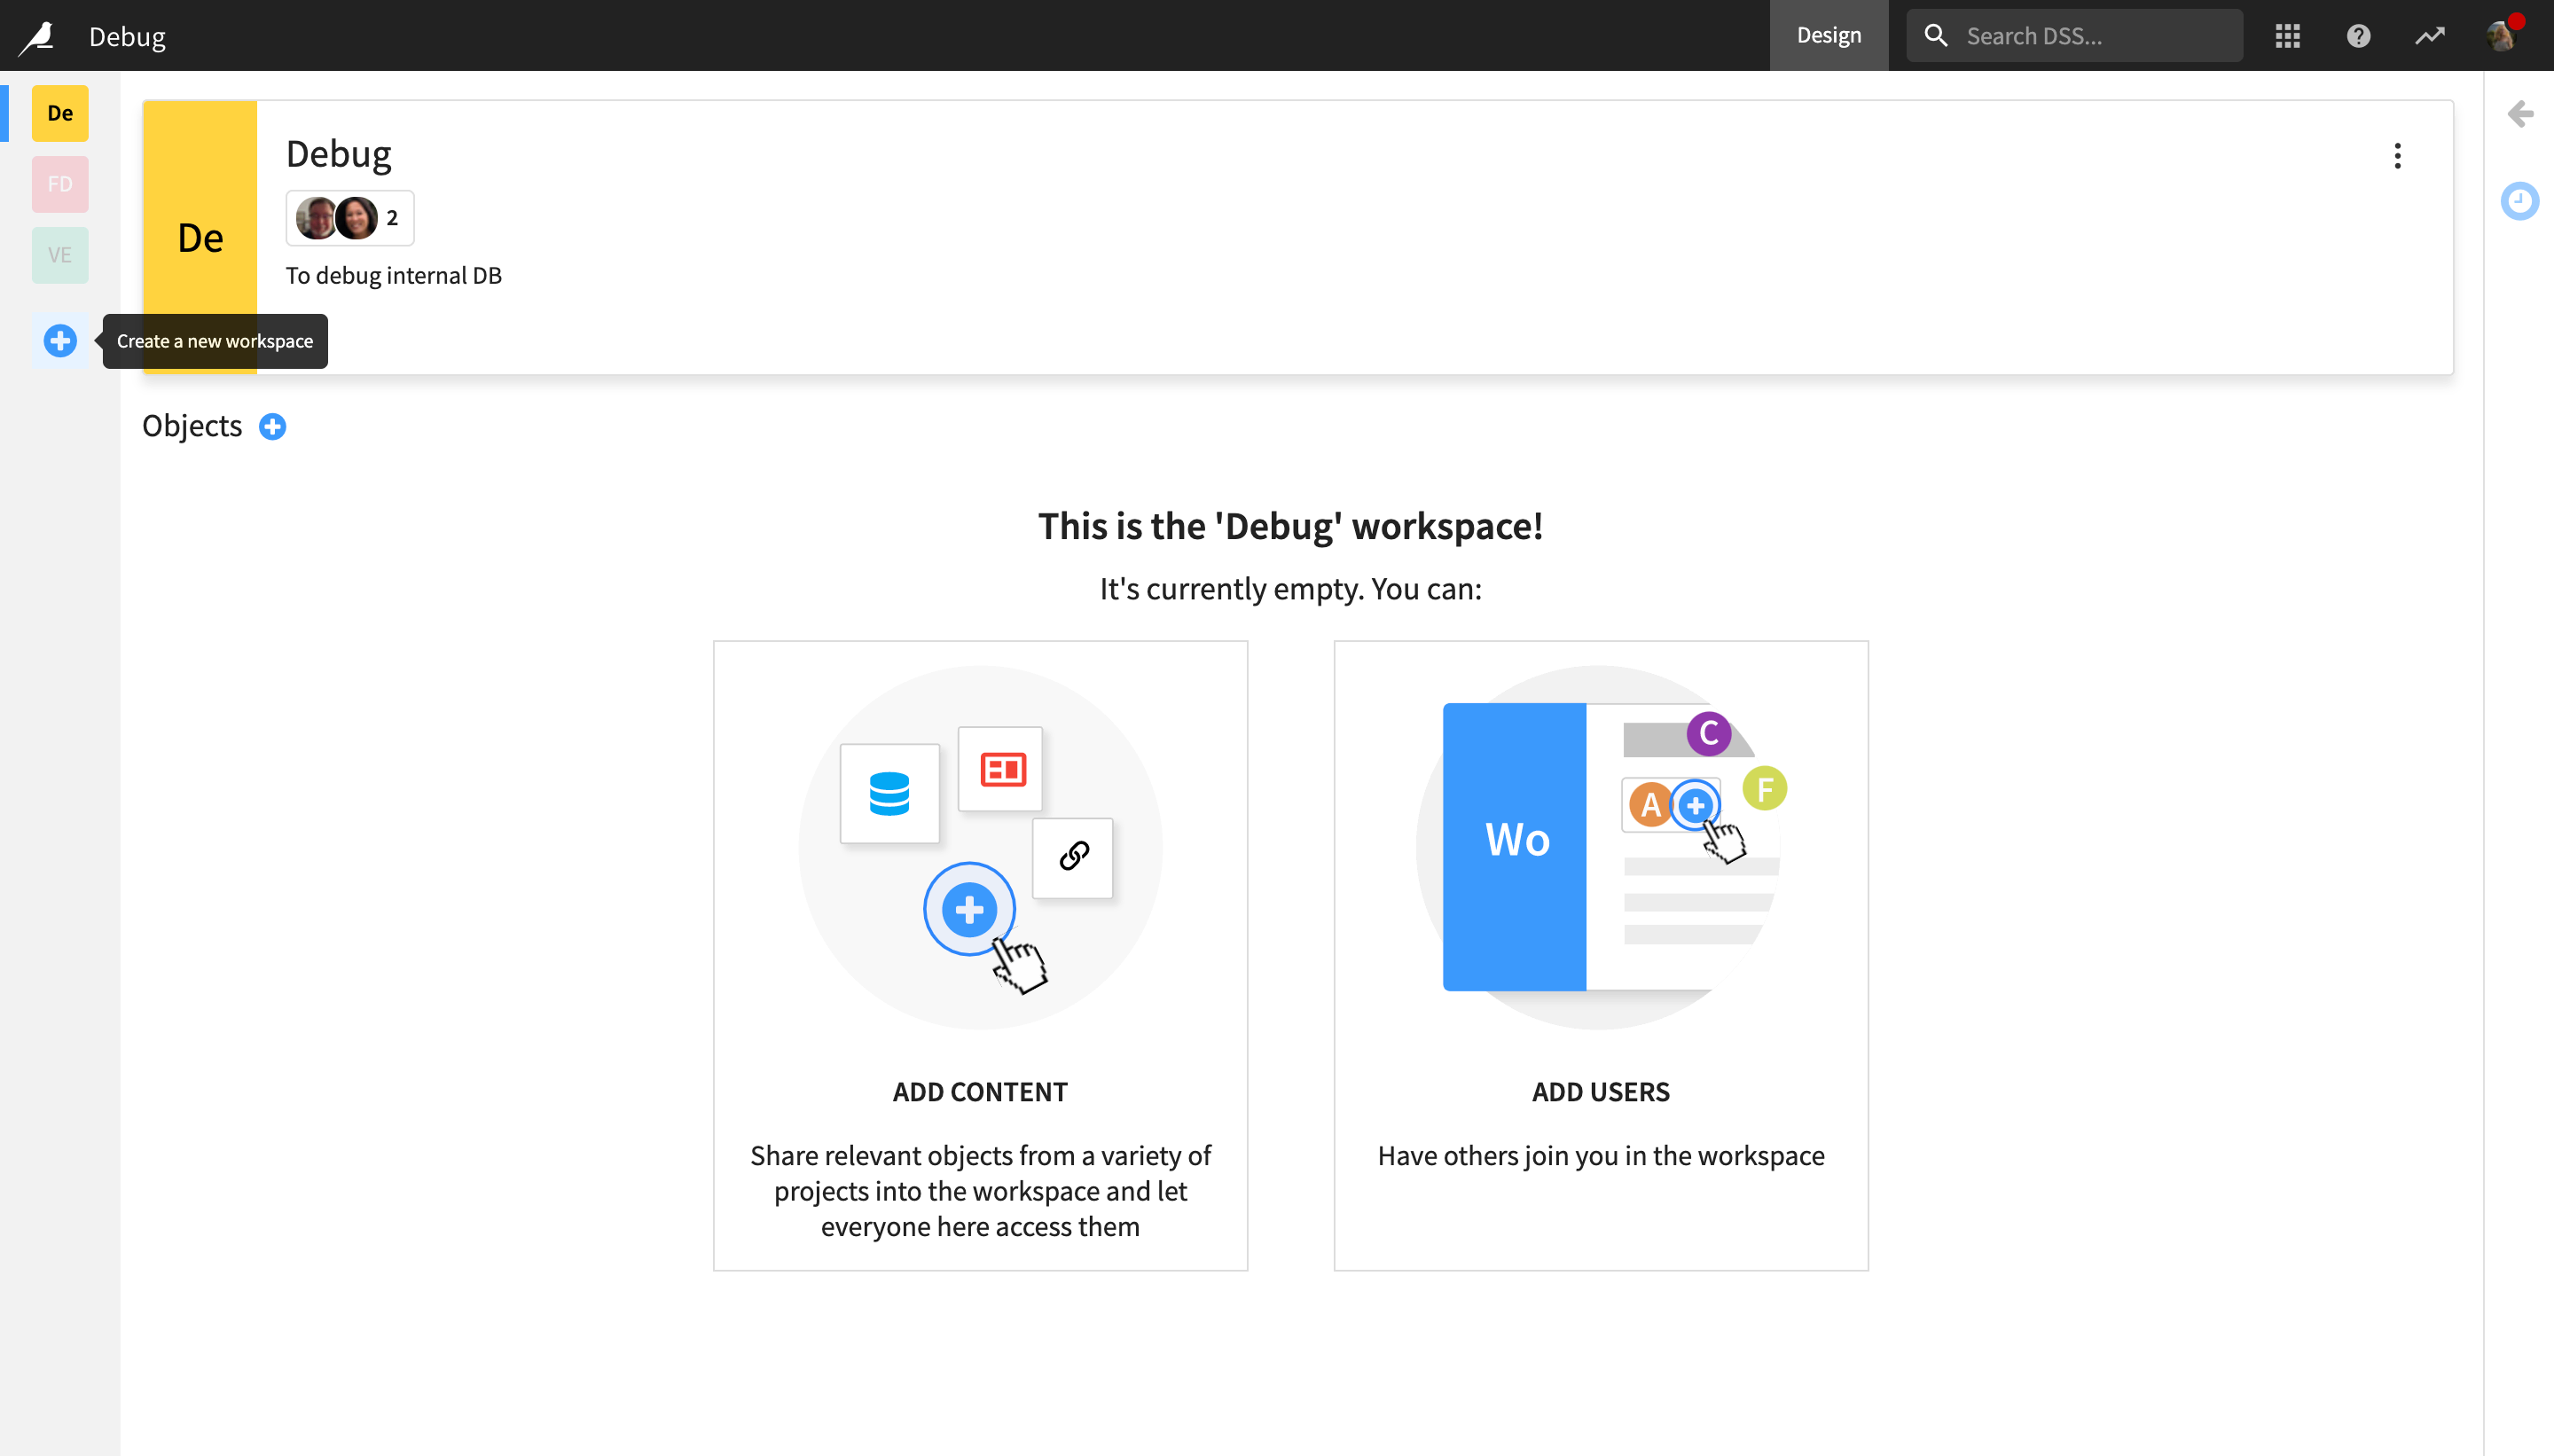
However, if there are already other workspaces on your instance, the workspaces dashboard will look slightly different, and for a similar “new workspaces” panel to appear, you will need to do the following:
In the left-hand sidebar, click the “+” button
Once the “new workspace” panel has appeared:
Name the new workspace
Business Analytics.Optionally, change the color assigned to the workspace.
Add the following description to the workspace:
This workspace contains consumable business analytics products.
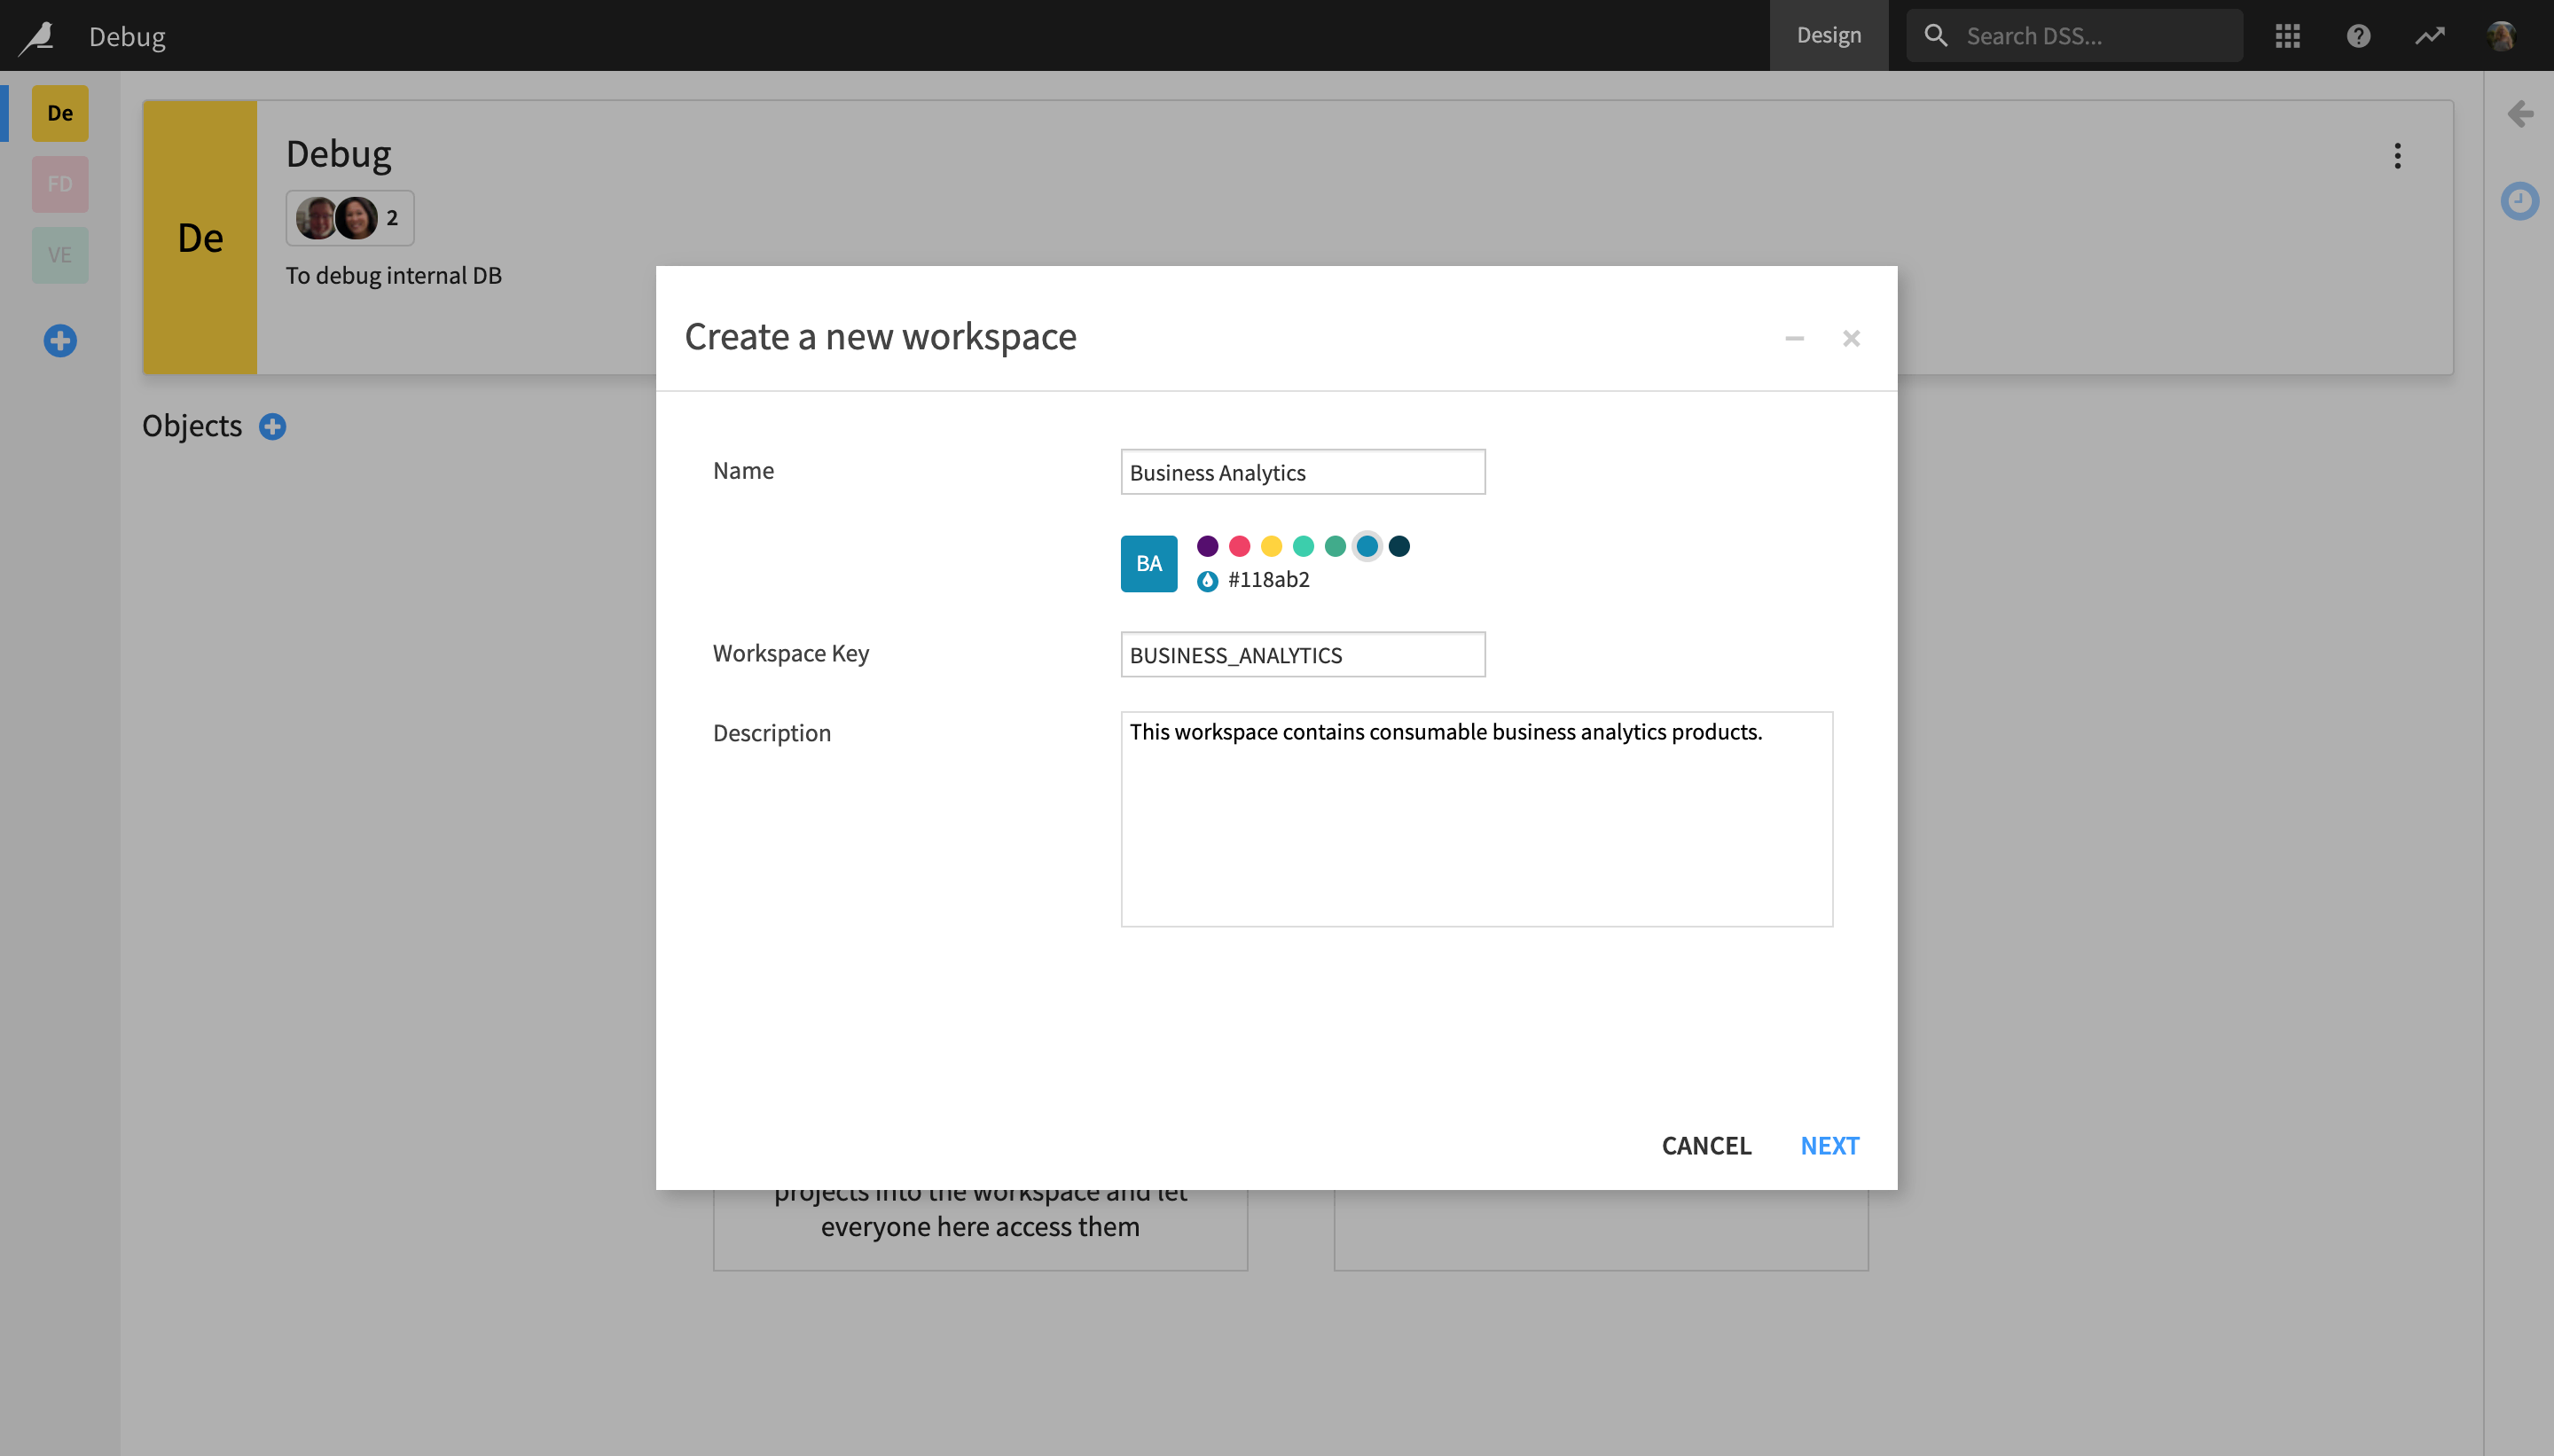
If you already have another workspace in the instance, click Next.
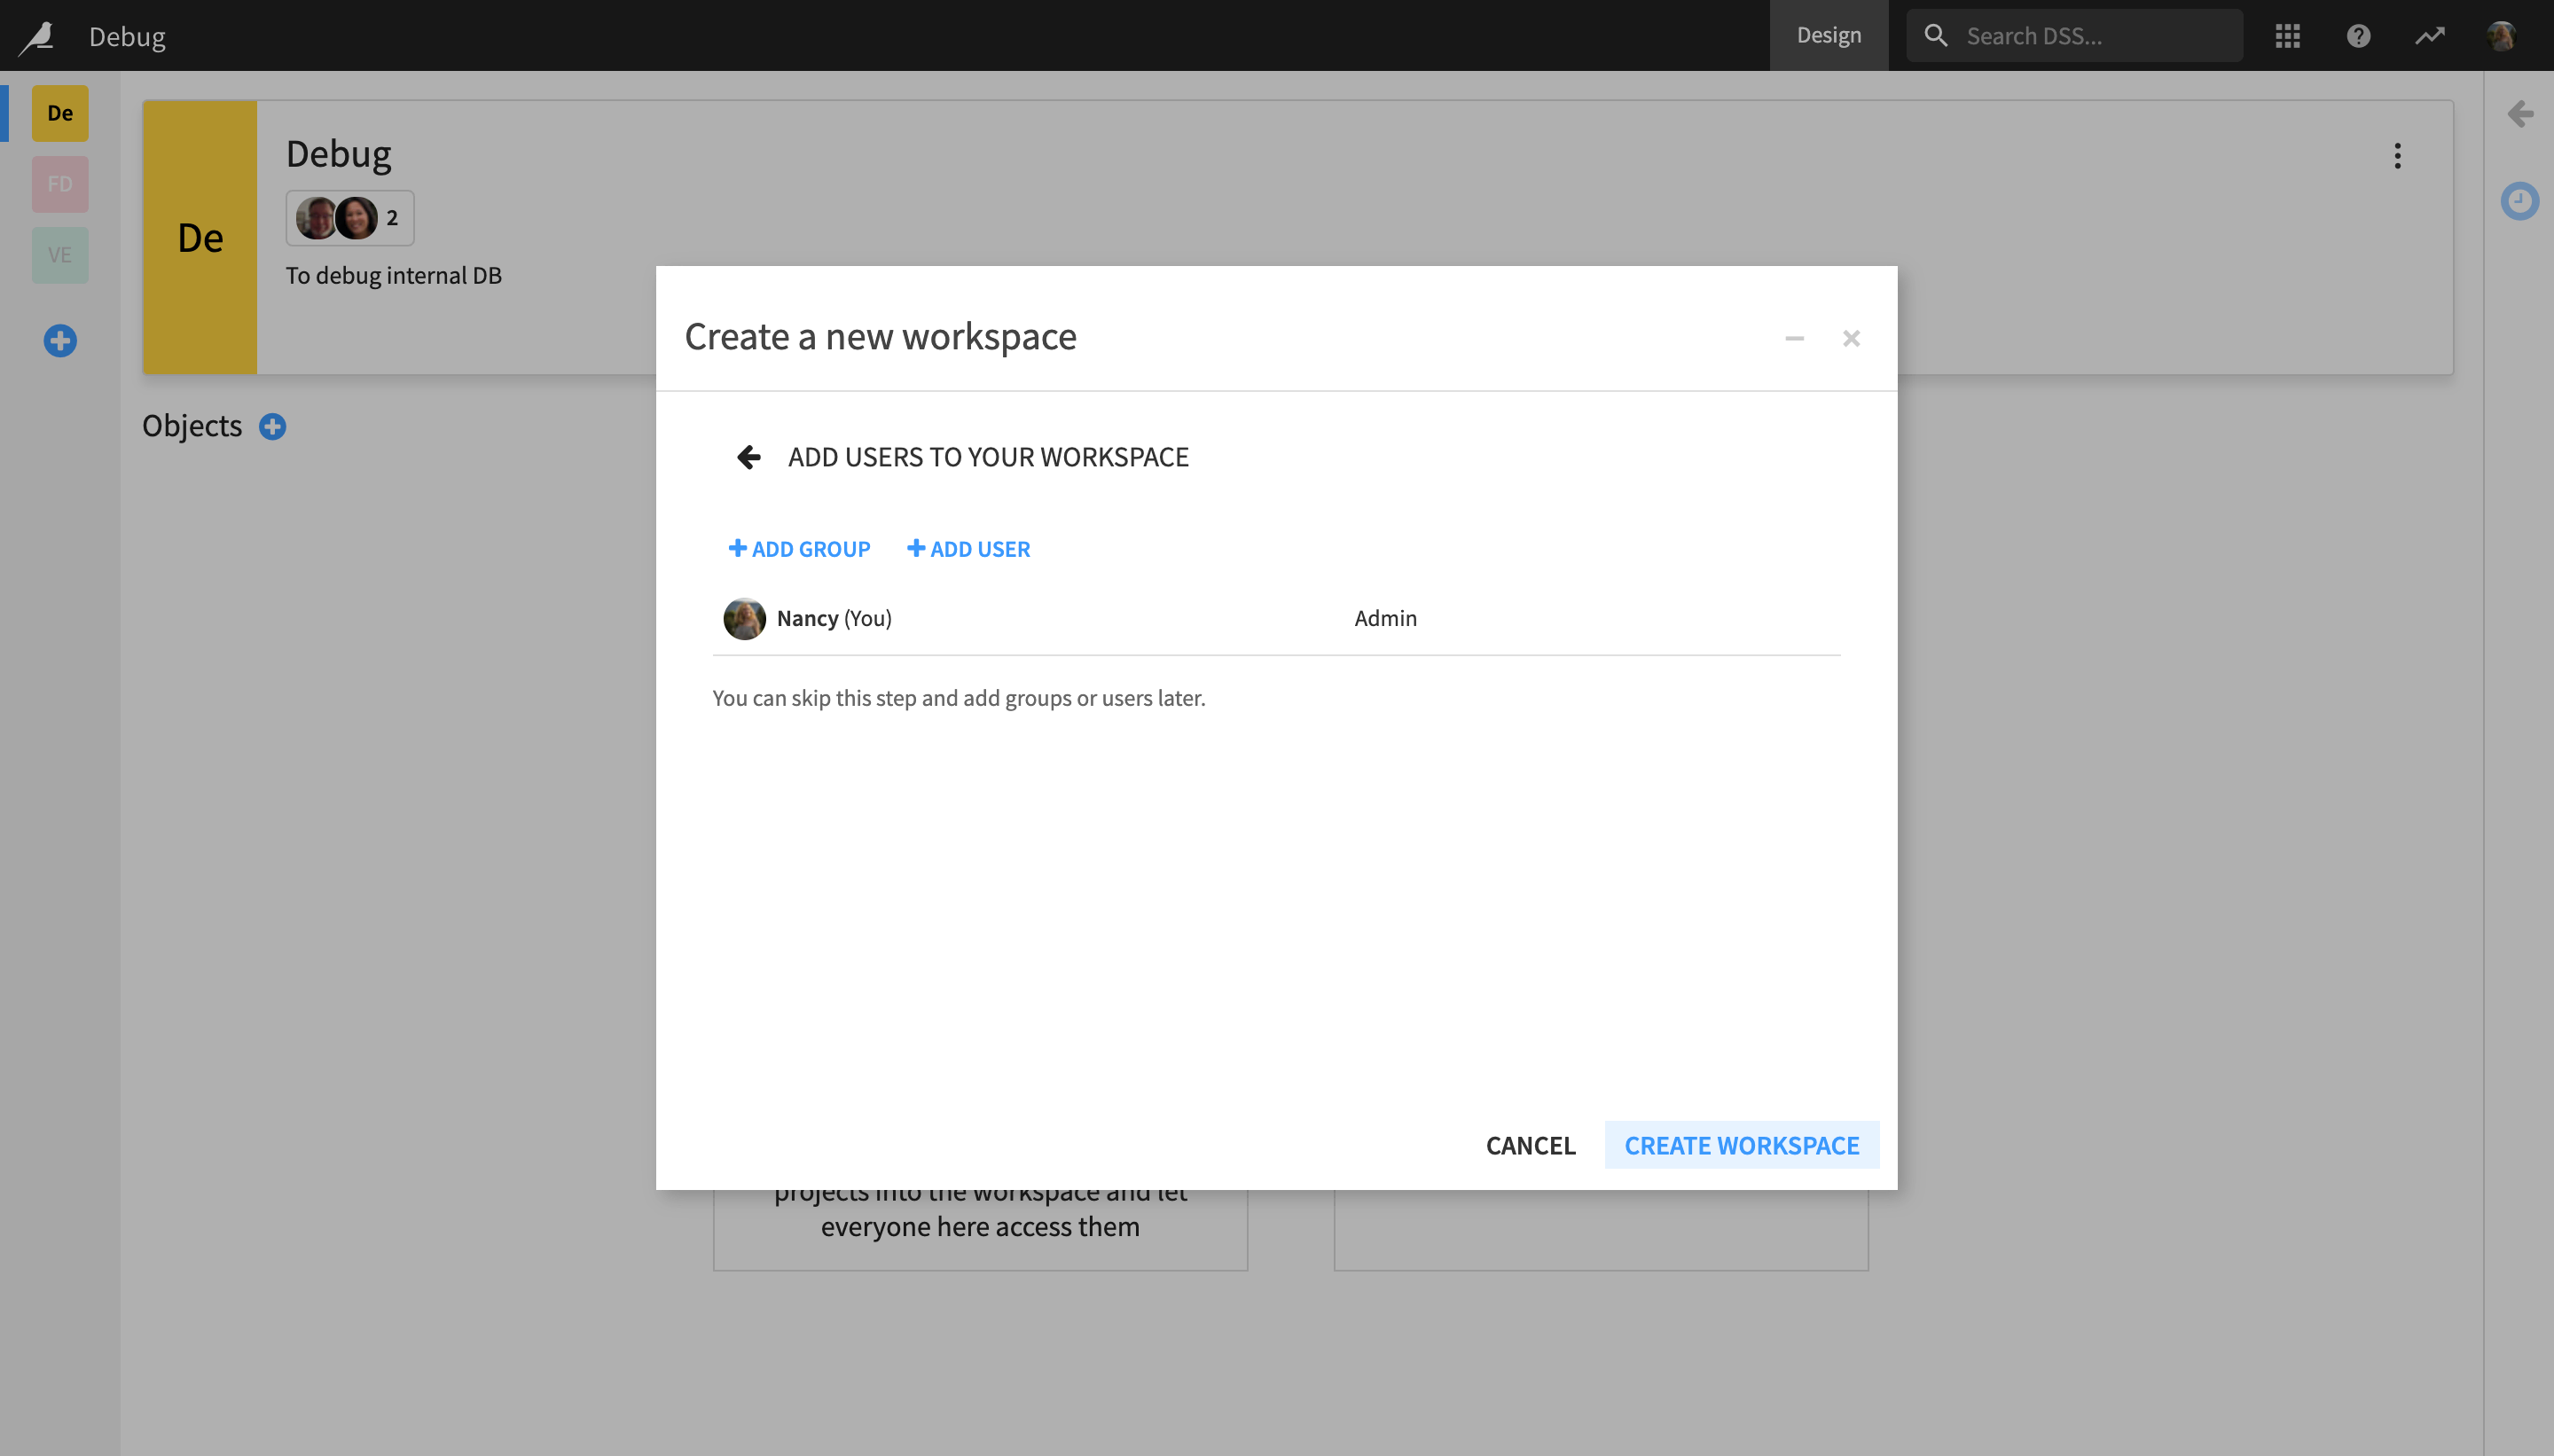
In this step, you can add users, or groups of users, to your workspace. As the feasibility of this step will depend on your or your organization’s Dataiku DSS instance, we will skip it.
Tip
To learn more about the different user permissions, see Workspace Roles and Rights in the Knowledge Base article or Managing Workspaces in the product documentation.
Click Create Workspace.
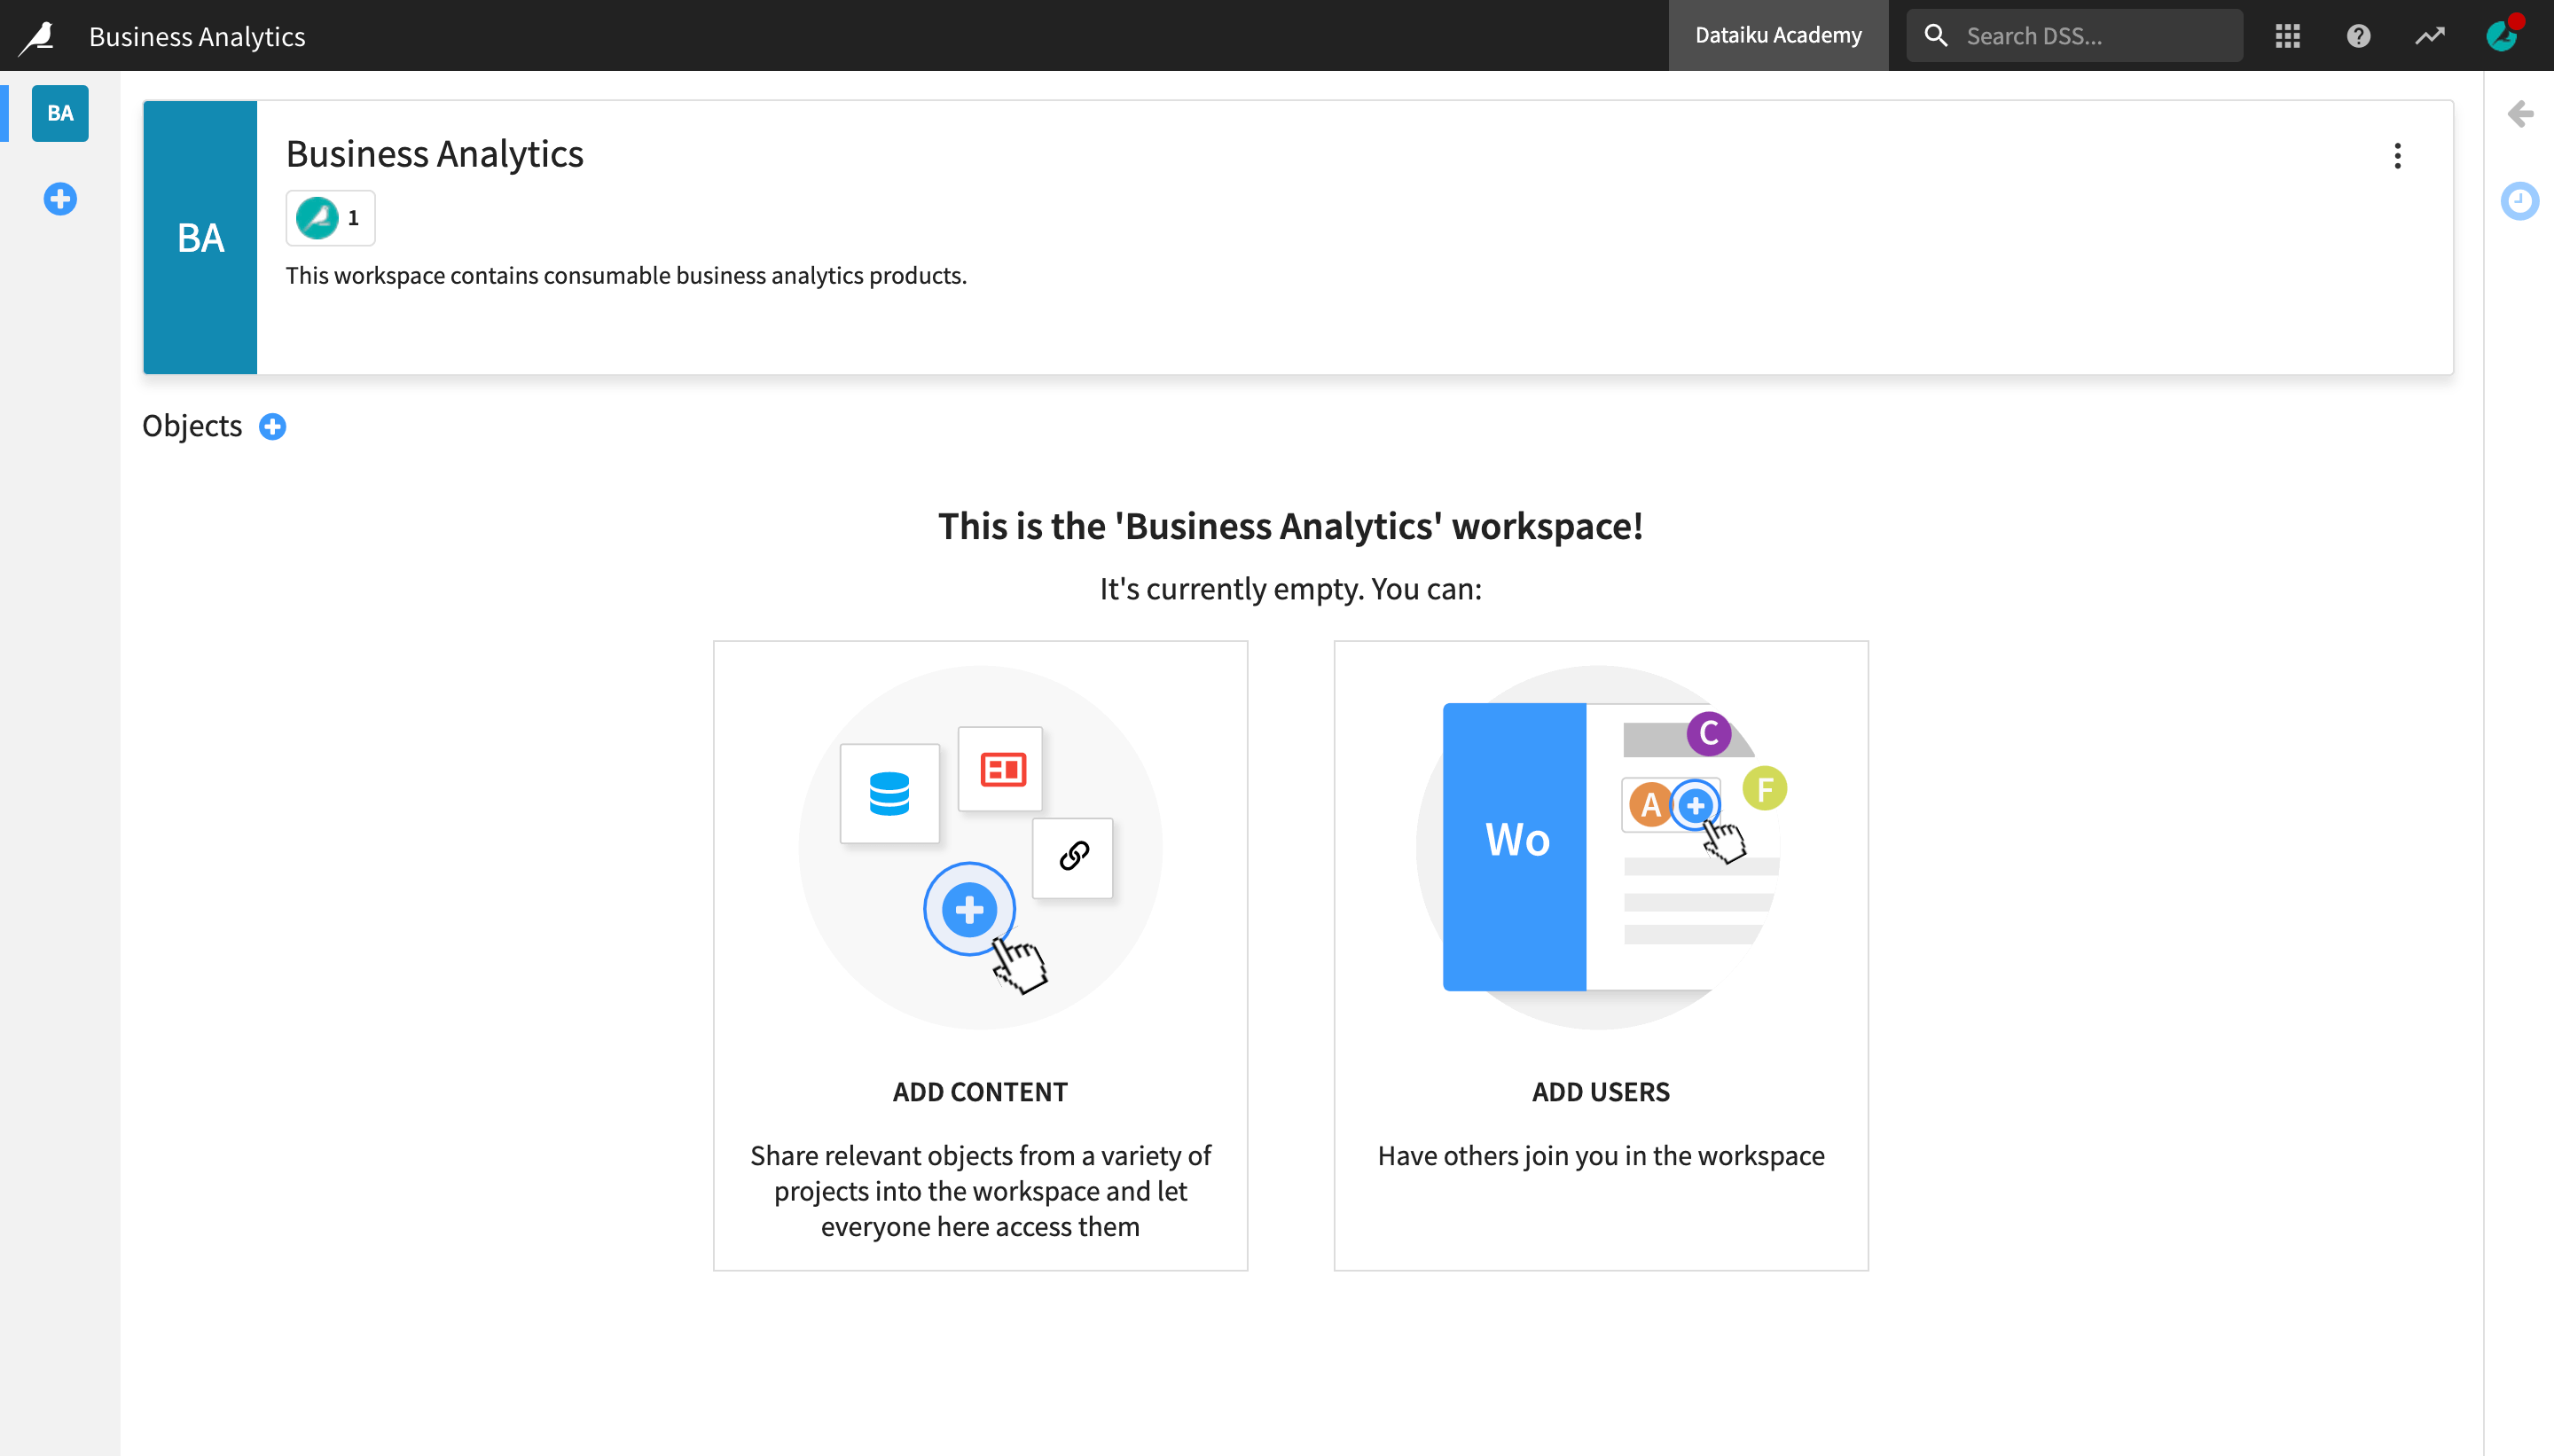
You are navigated to the main page of your newly created workspaces. From here, you can add new content or users.
Add Content to Workspaces
In this section, you will add two different types of objects to your workspace.
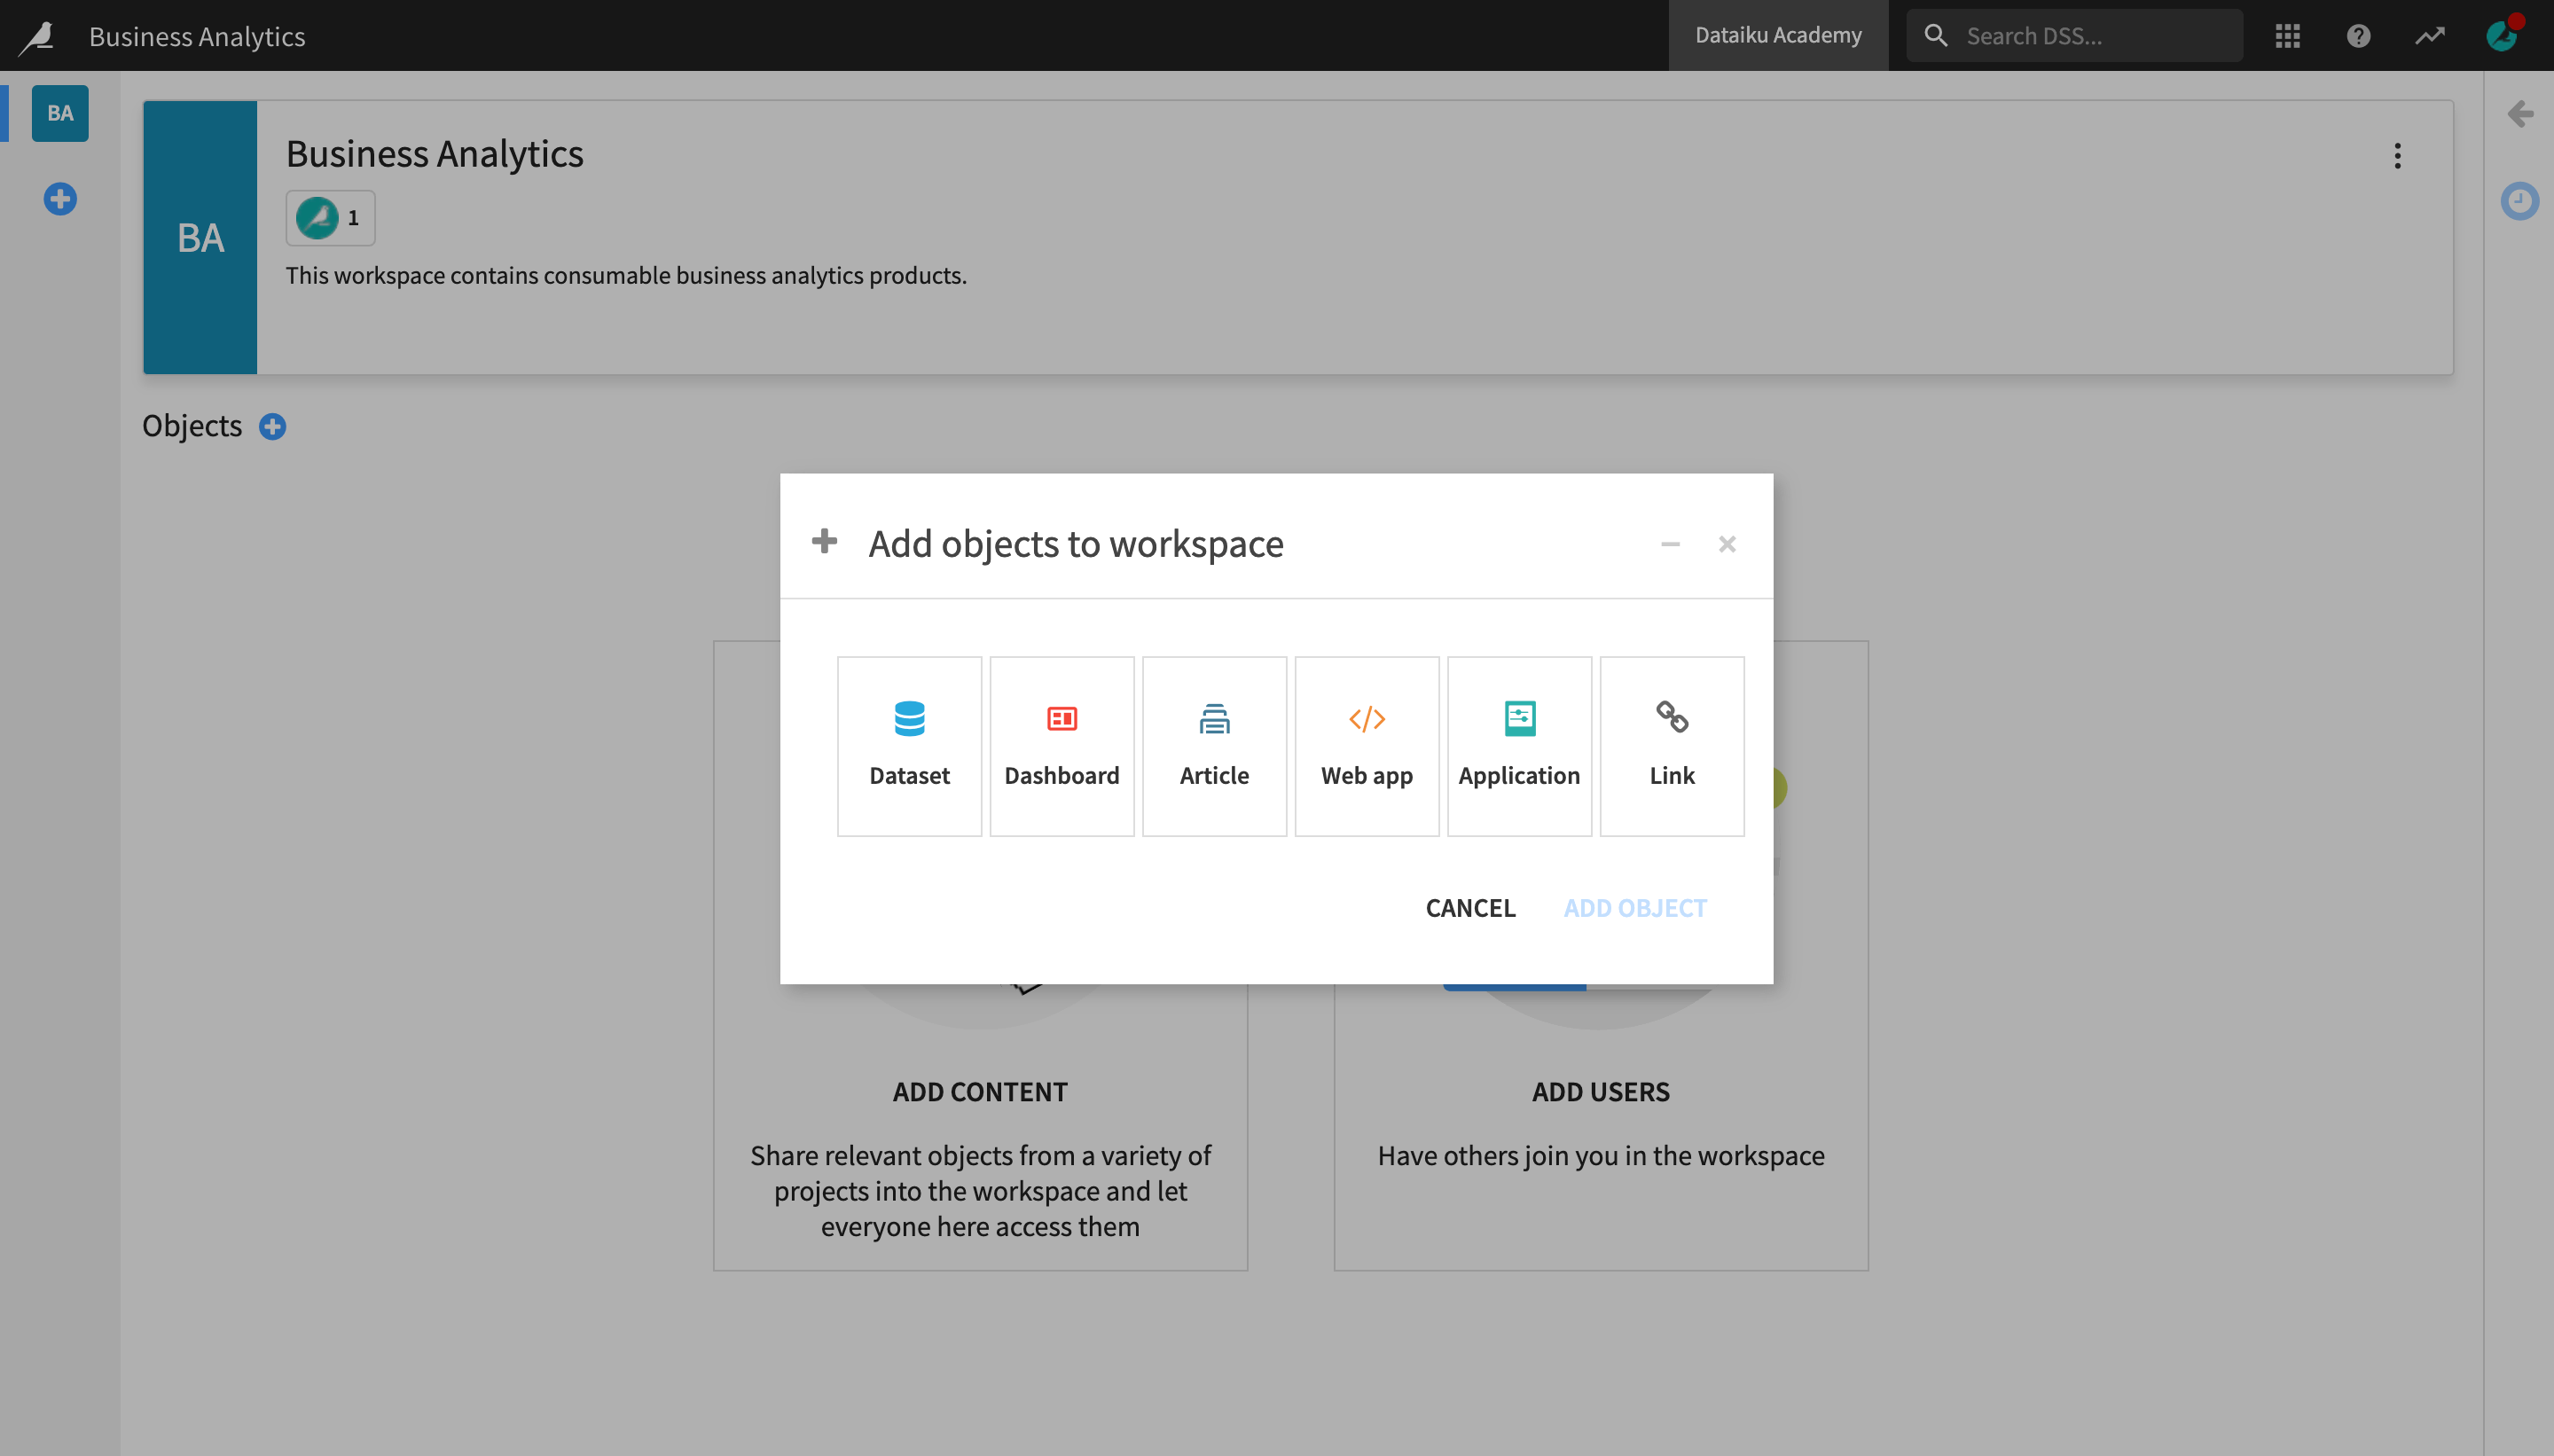
Click Add Content to see the different types of content that can be added to a workspace.
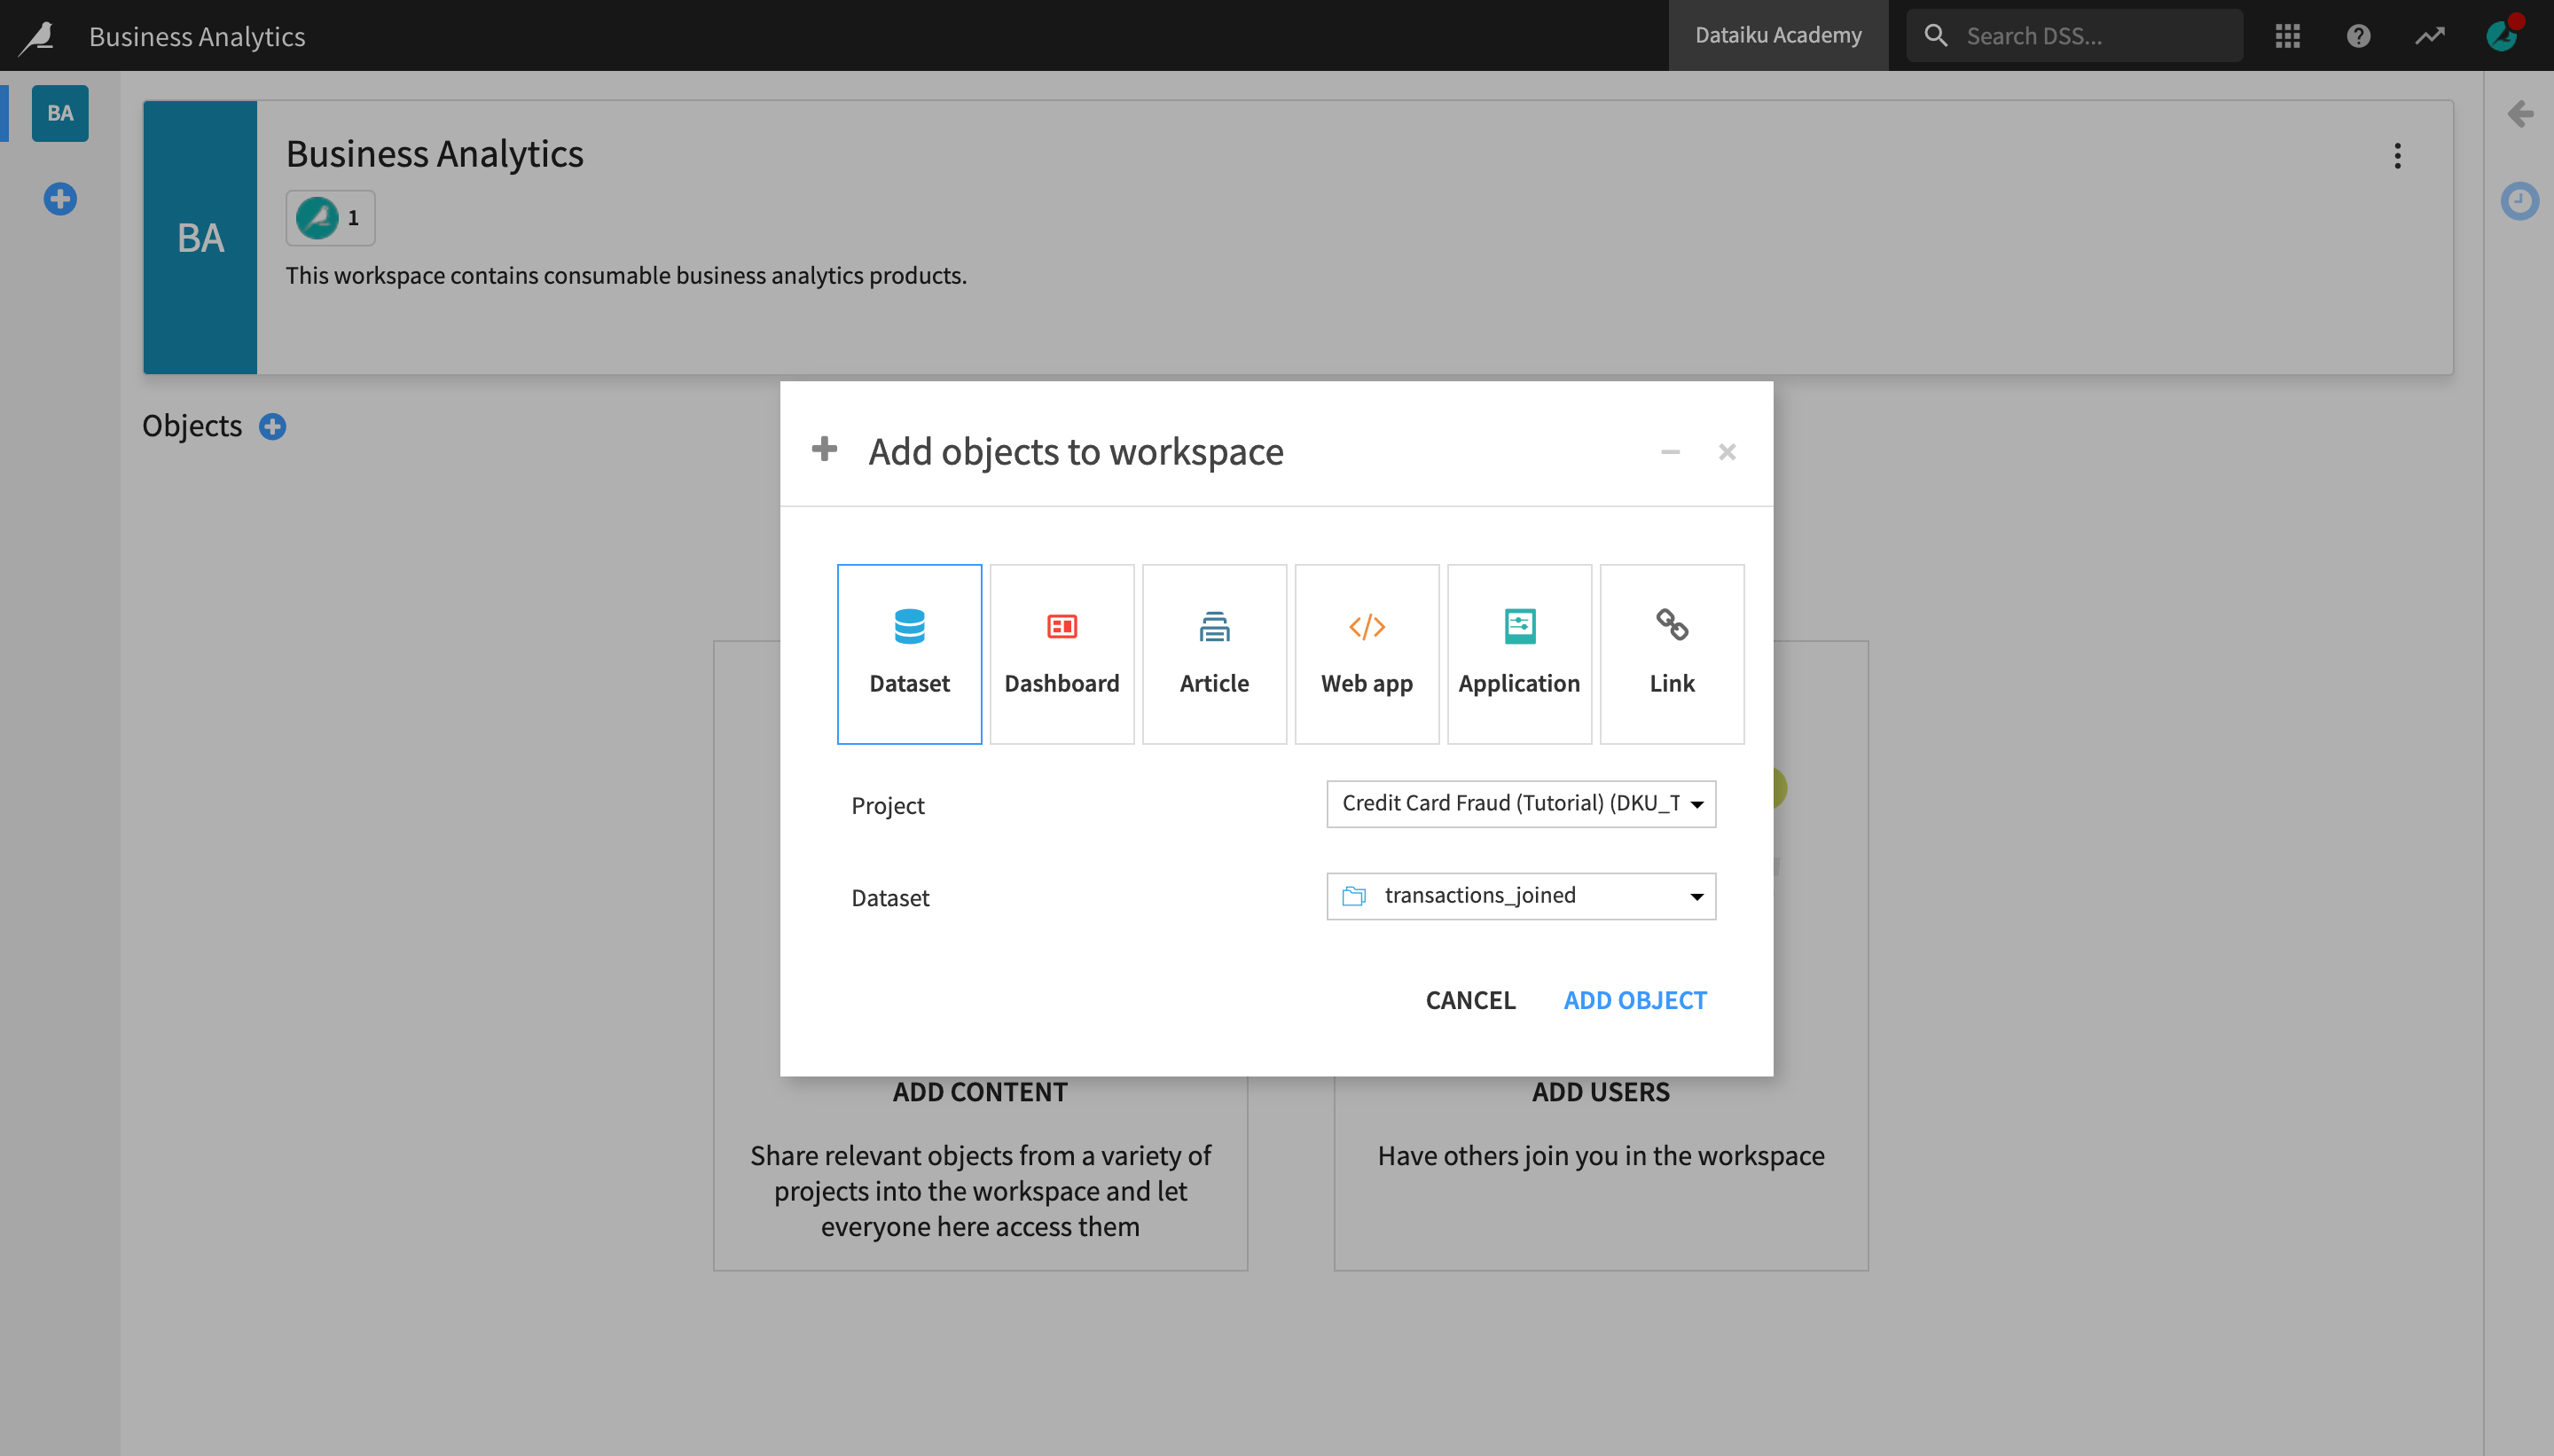
Let’s start by adding the transactions_joined dataset to the workspace. This dataset appears in both starter projects and serves as a basis for various analyses, or a “reference” dataset that our imaginary Business Analytics can have quick and easy access to.
Select Dataset from the object options.
Select Credit Card Fraud as the project to choose a dataset from.
Select transactions_joined as the dataset to add.
Click Add Object.
The dataset now appears in the workspace and is easily accessible to all of its users.
Next, let’s add a dashboard from the same starter project.
Click the “+” button next to “Objects” in order to add a new object to the workspace.
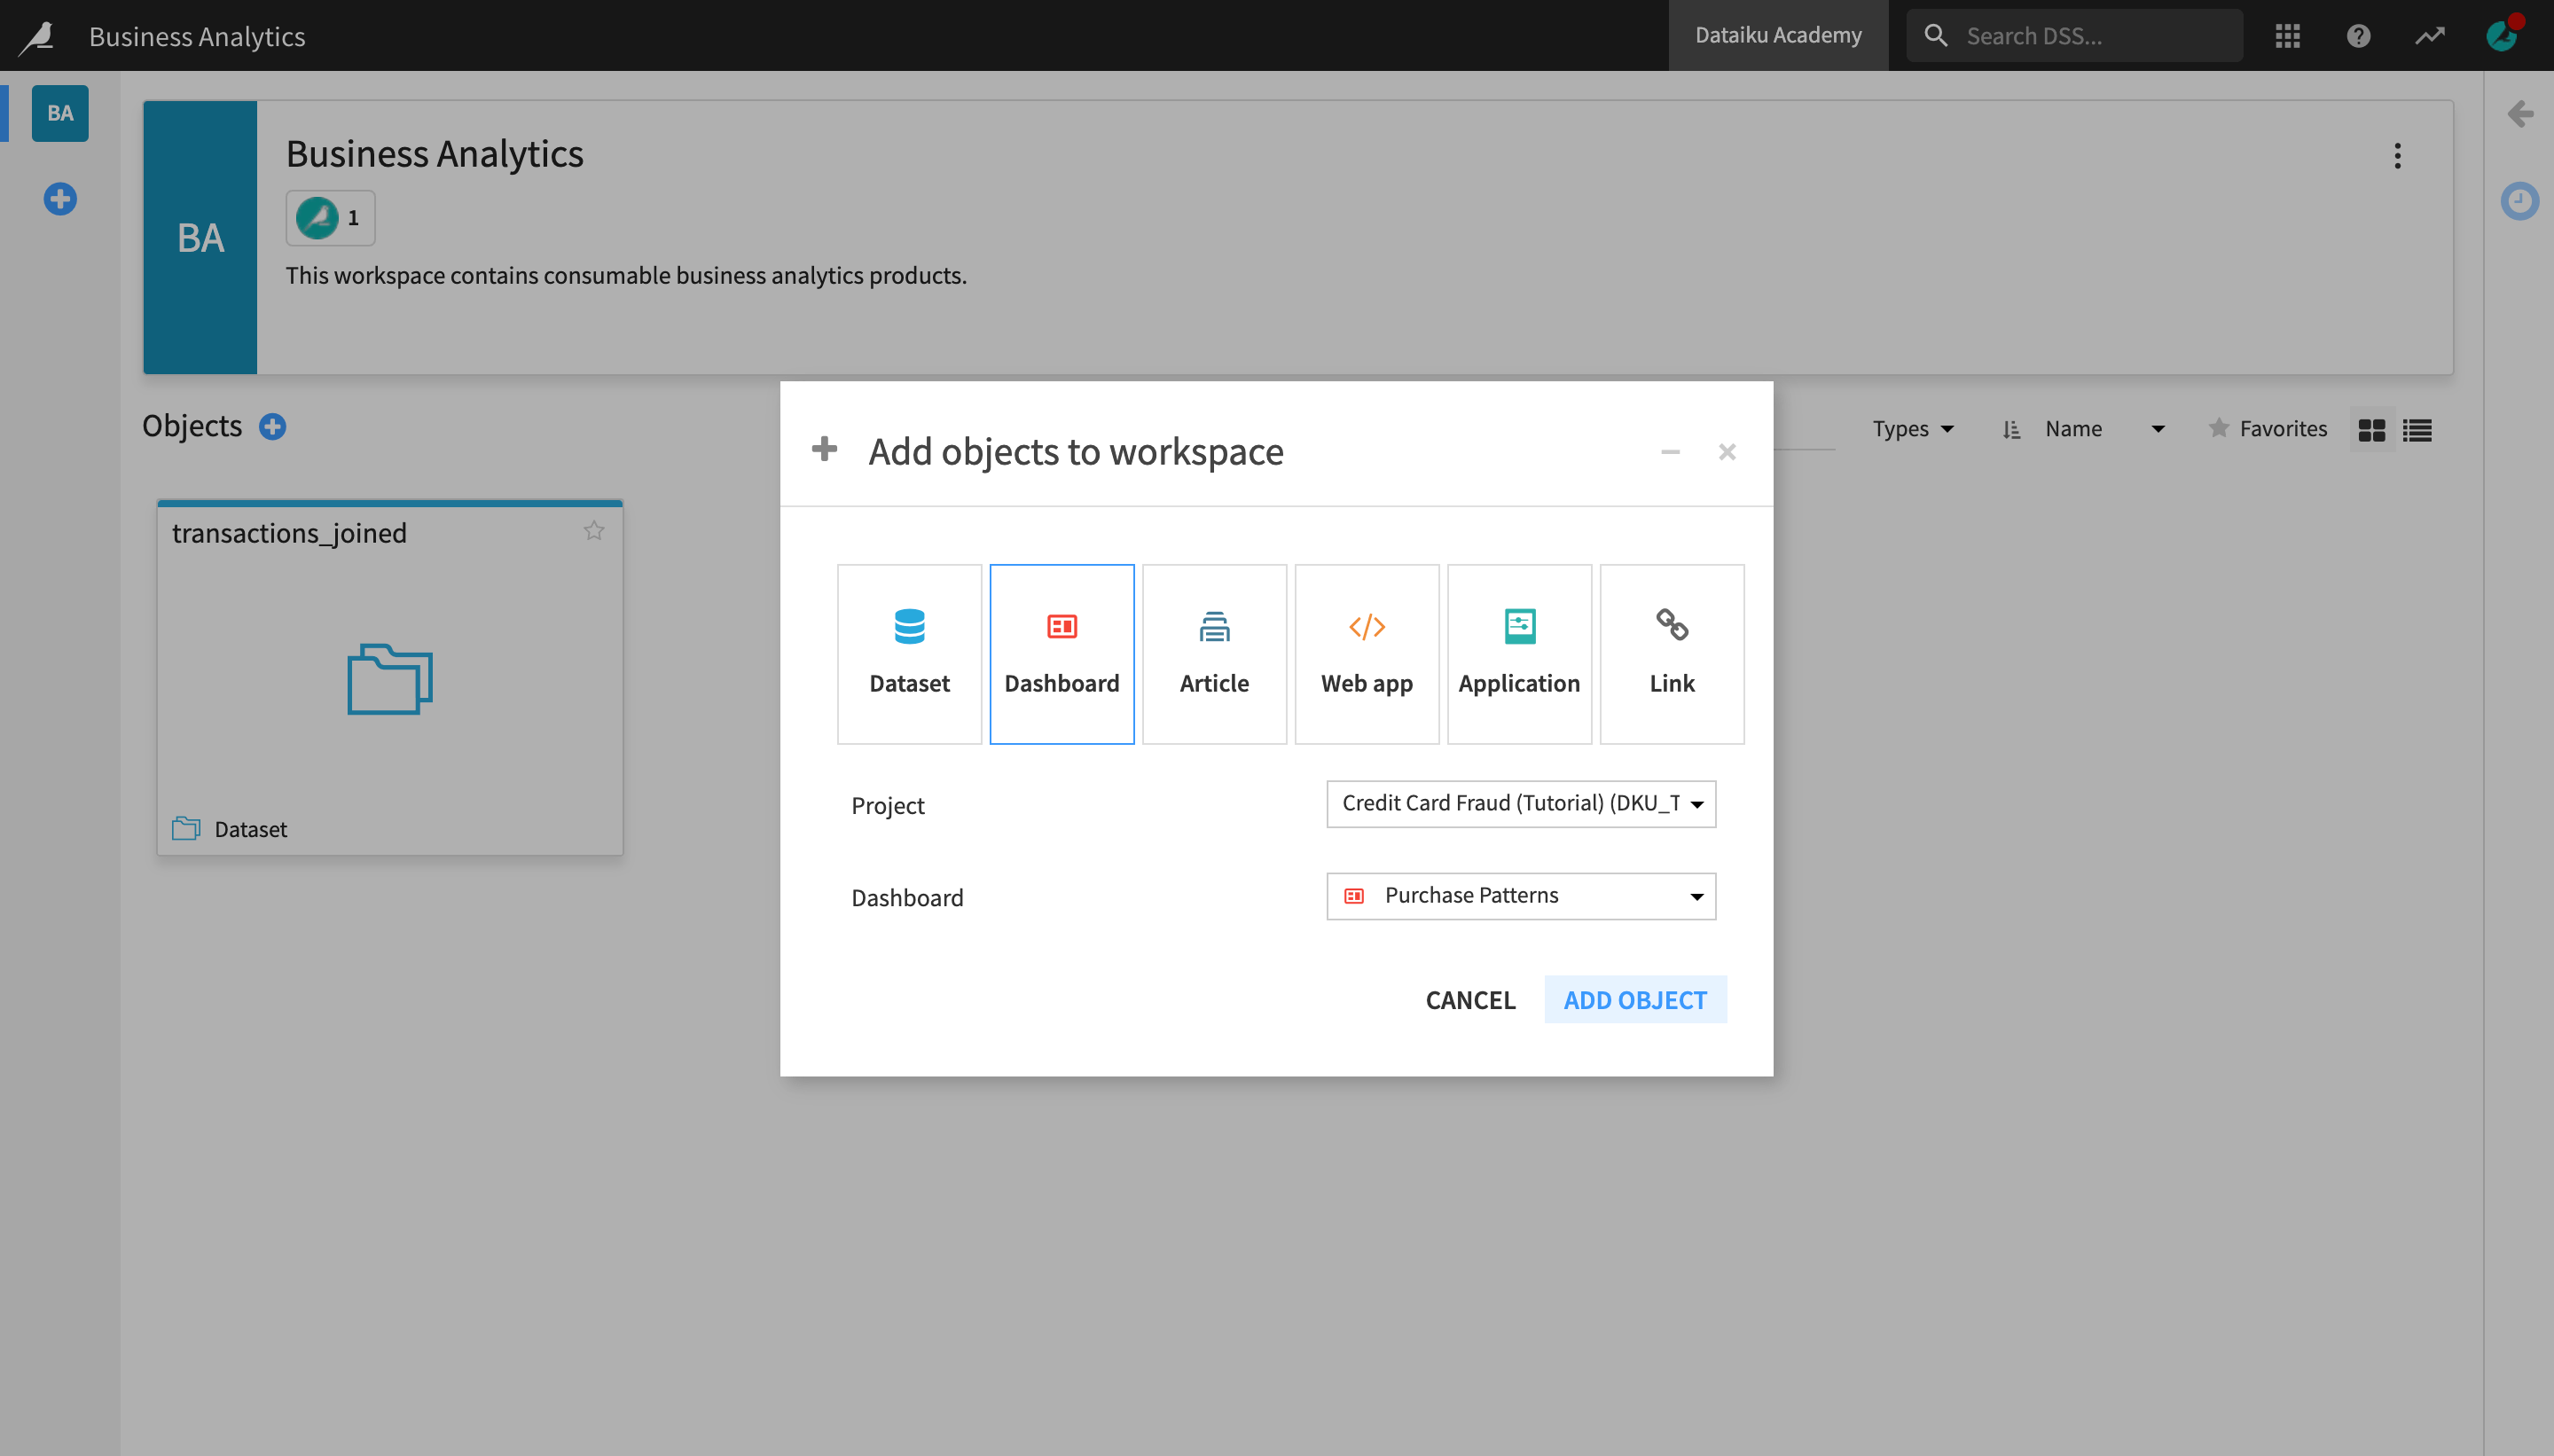
Select Dashboard from the object options.
Select Credit Card Fraud as the project to share a dashboard from.
Select Purchase Patterns as the dashboard to add.
Click Add Object.
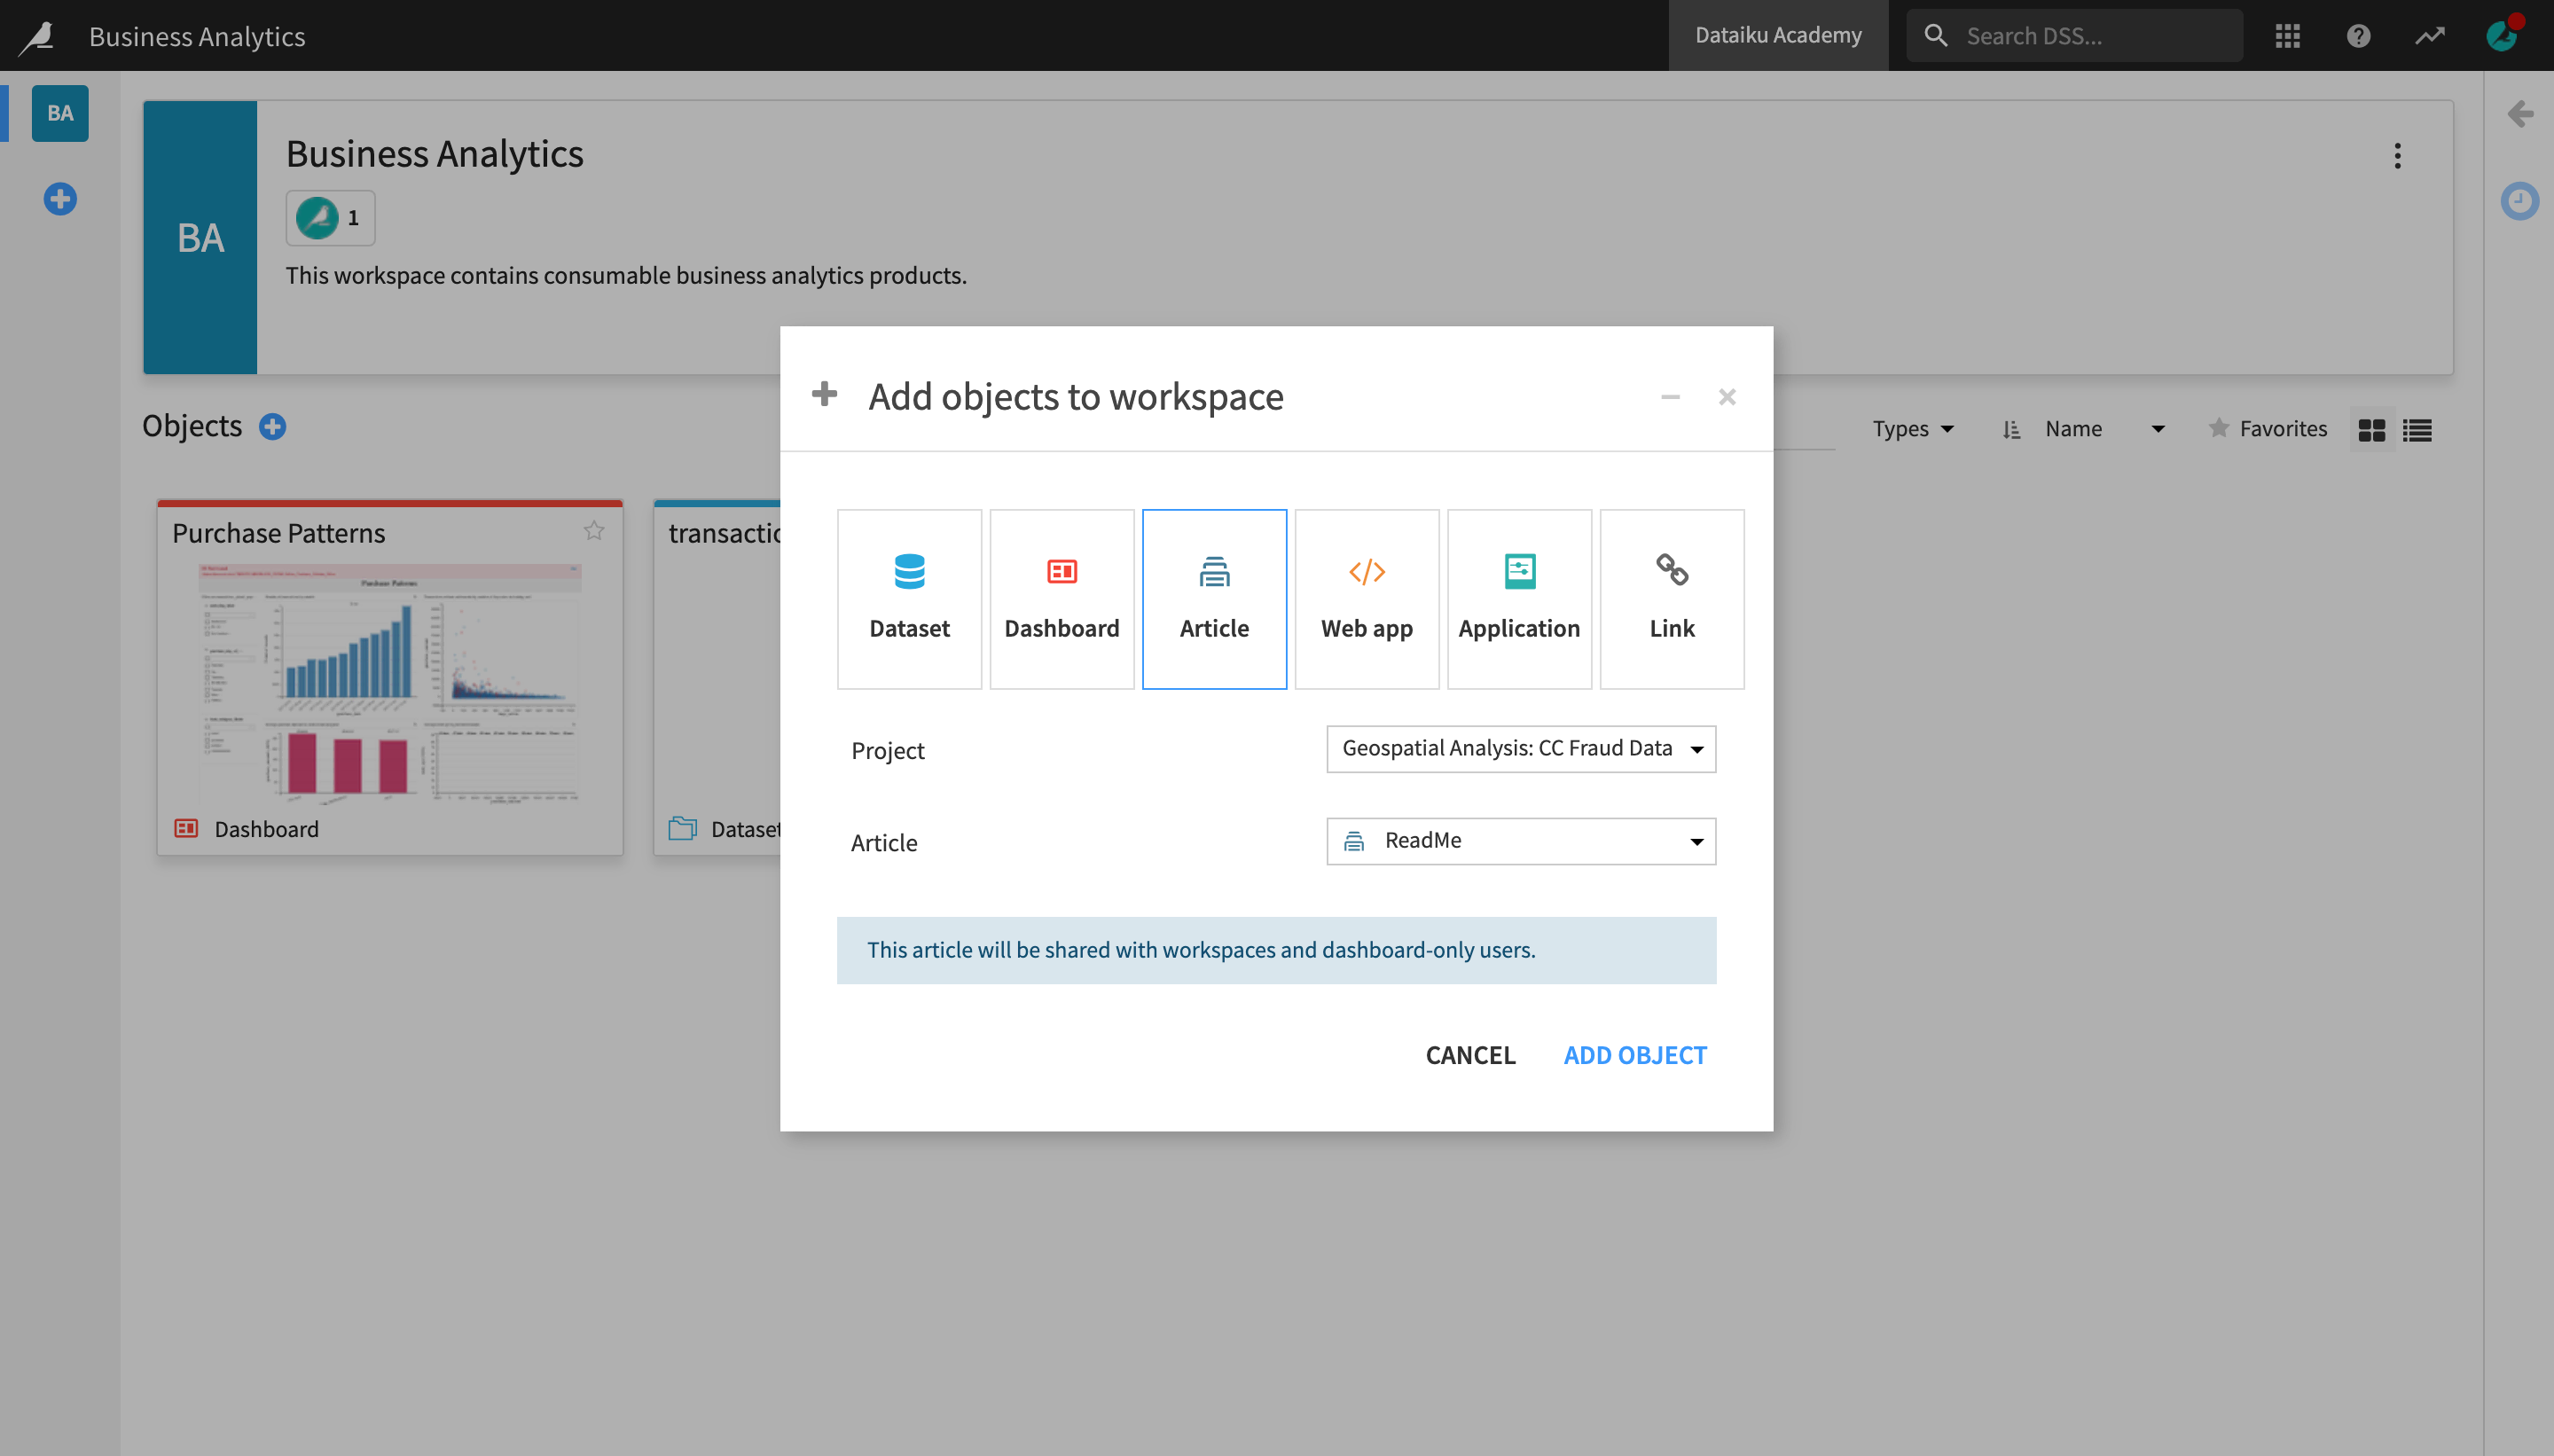
Finally, we’ll add a Wiki article from the second starter project, Geospatial Analysis: CC Fraud Data:
Select Article from the displayed options.
Select Geospatial Analysis: CC Fraud Data as the project to share from.
Select ReadMe as the Wiki article to share.
Click Add Object.
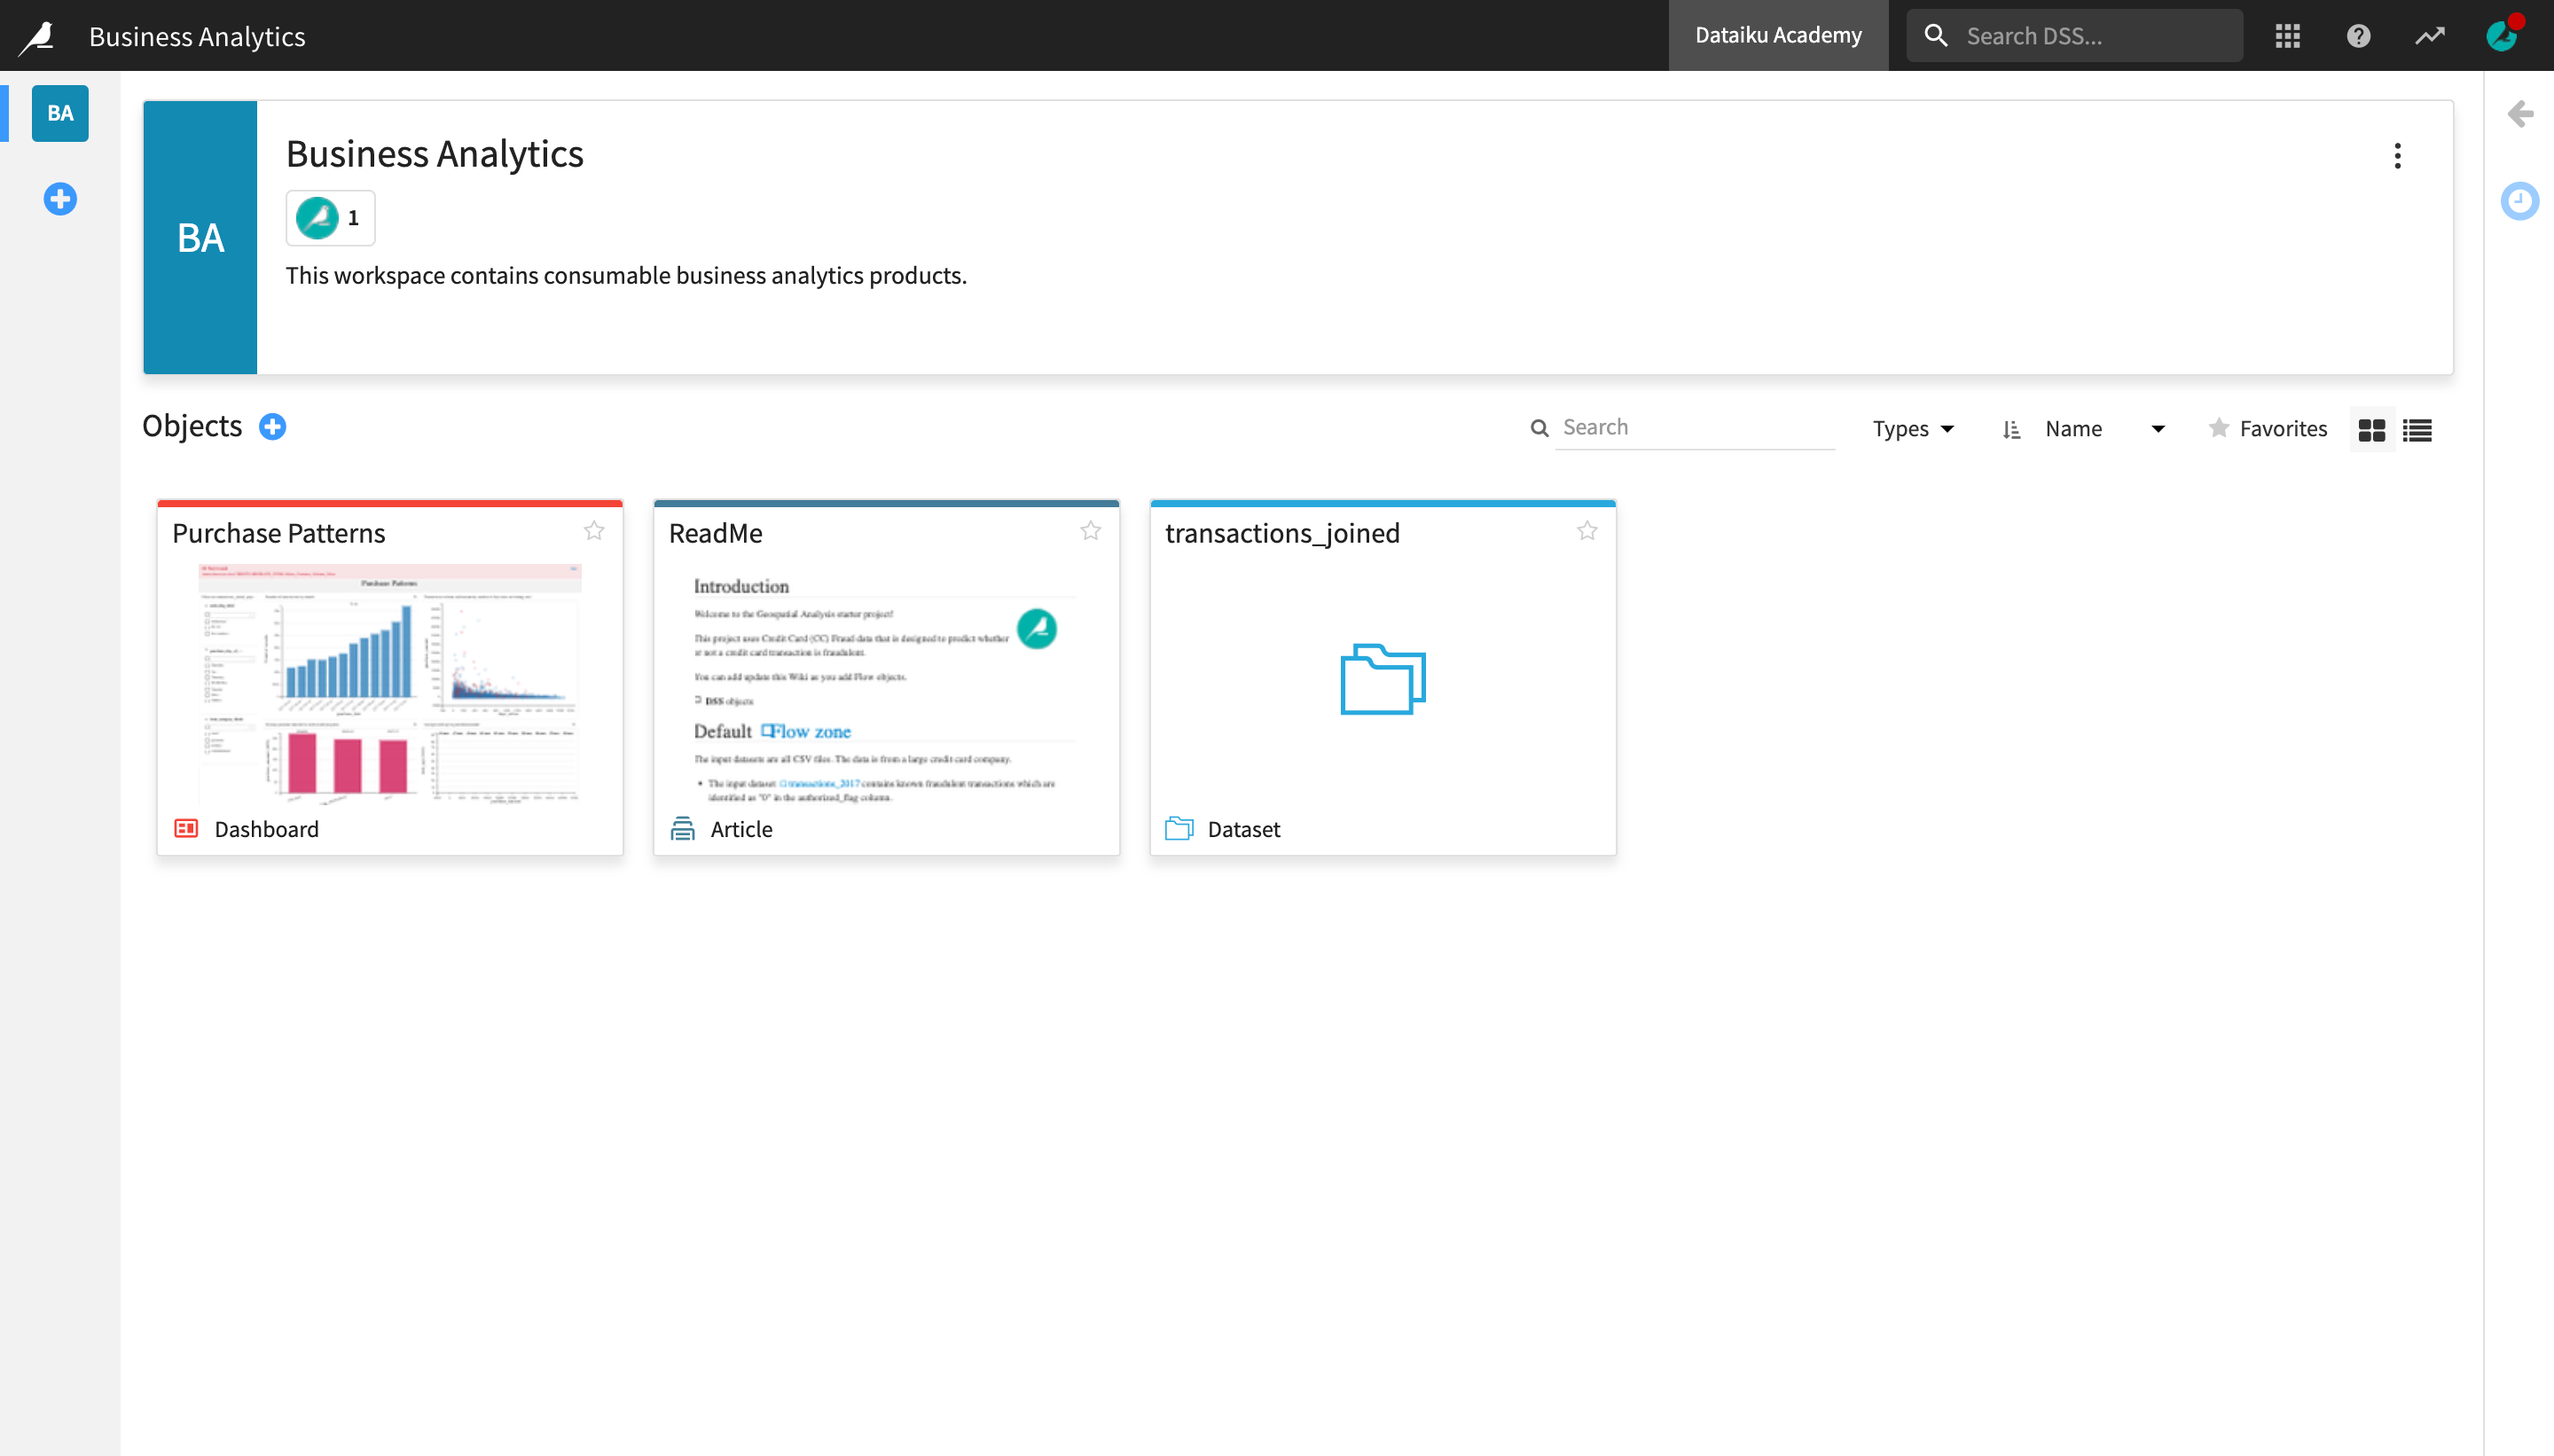
All three objects now appear in the workspace and are accessible to all its users.
Go Further
In this tutorial, you created and populated with content a Dataiku workspace, which allows users and teams to have easy and instant access to relevant data and analytics objects (in this case, a dataset and two dashboards) from different projects.
Although not explored here, other types of objects that can be added to workspaces include webapps, Dataiku applications, and external links.
If you’re an admin on a Dataiku instance and you want to learn more about the best way to set up workspaces, see the How-To: Set Up Dataiku Workspaces article in the Knowledge Base.
You can also read the product documentation to learn more about Dataiku workspaces.