Build your Security Model - Per-Resource Group Permissions
Dataiku DSS (Dataiku) uses a groups-based model to allow users to perform actions through it. Users can belong to an arbitrary number of groups. Groups can have one or several permissions.
There are two types of permissions: global permissions and per-resource group permissions. Examples of resources controlled by per-resource group permissions include projects, code environments, and Kubernetes clusters.
This article addresses per-resource group permissions, including the following:
Projects: How to assign per-project permissions.
Code environments: How to limit who has access to a code environment.
Managed clusters: How to assign owner and group permissions to use, operate, and manage Kubernetes clusters running on the major cloud providers.
Containerized execution: How to restrict which user groups have the right to use a specific Kubernetes execution configuration.
Infrastructure elements of the Deployer: How to grant group permissions with certain privileges. In this section, we’ll show you how to grant group access with view, deploy, and admin permissions on the API deployer for Published API Services and Infrastructures.
To learn how to assign global group permissions that apply to all of Dataiku, visit Build Your Security Model - User Groups .
Grant Per-Project Permissions
On each project, you can configure an arbitrary number of groups who have access to a particular project. In this section, we’ll show you how to configure any number of groups to have access to a project and then assign permissions to each group.
By default, groups don’t have any access to a project.
Note
While you can also control access to projects at the user level, Dataiku recommends using group settings as they are easier to manage.
Navigate to Project Security
Open a Dataiku project.
From the top navigation bar, go to Project Settings (the three vertical dots), and choose Security.
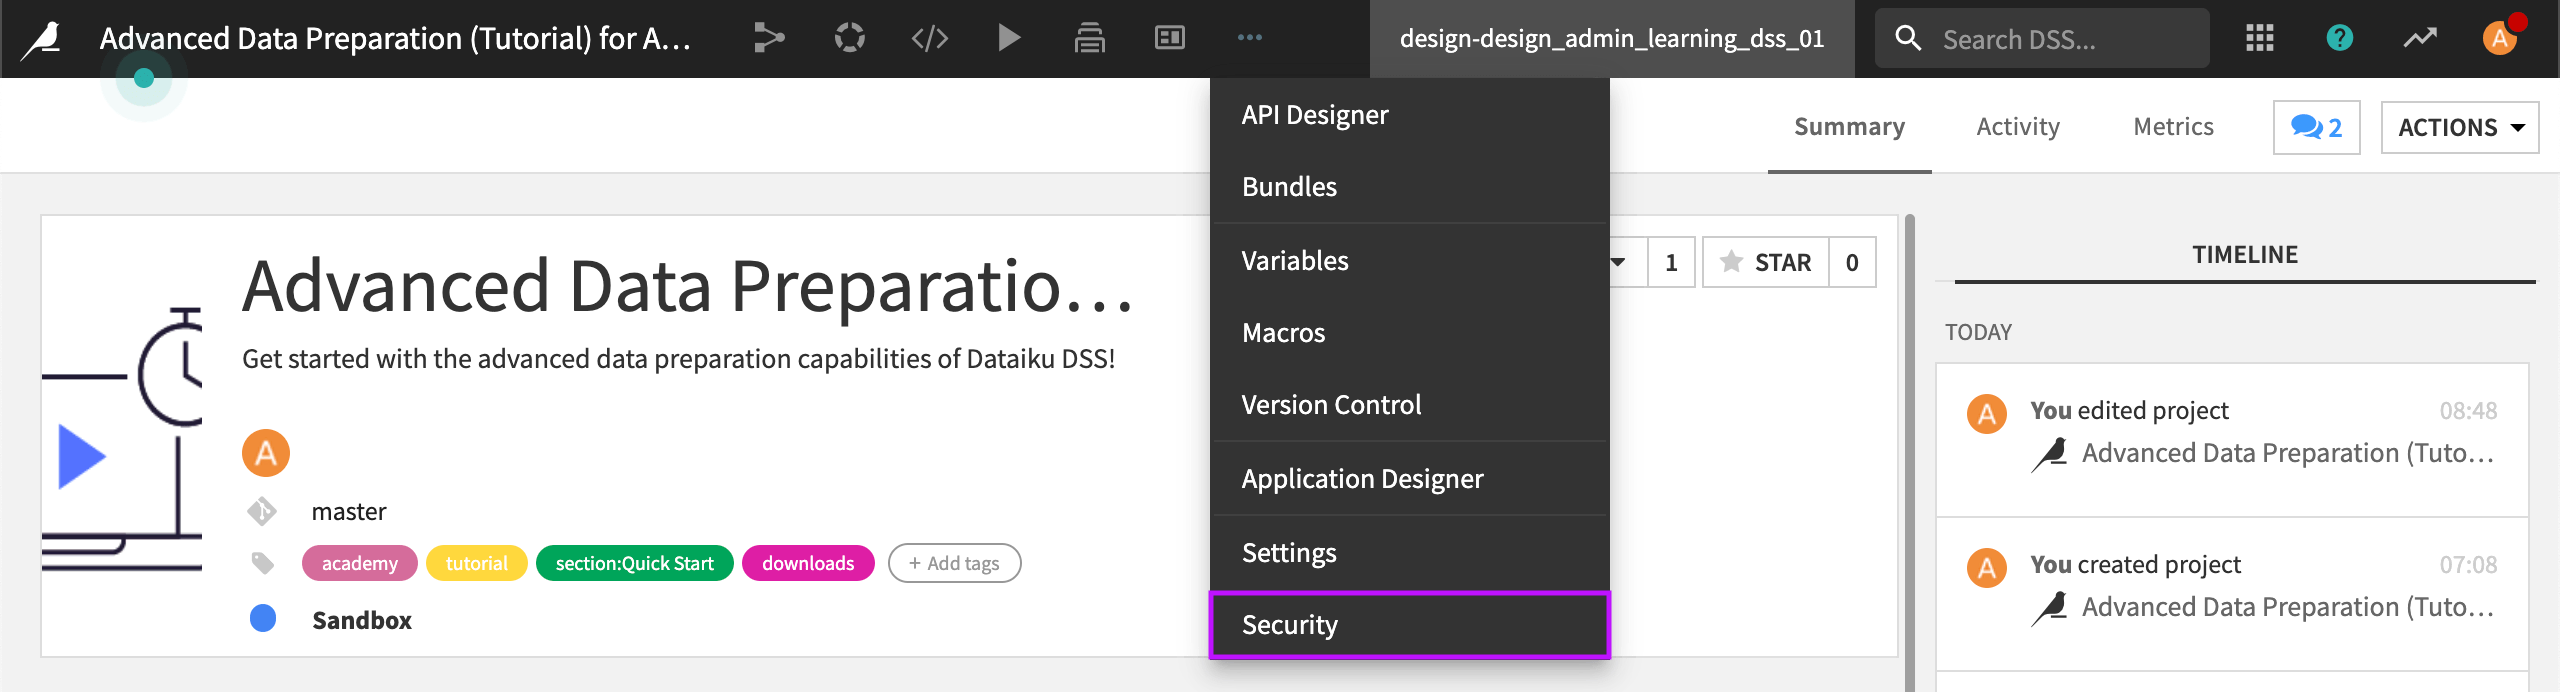
Choose Permissions from the left panel.
You should see a page that lists the project owner and shows that no group has access to this project.
Select Groups
To grant access to a group:
Select the Select a group menu arrow, and then choose a group.
Select +Grant Access to Group.
Dataiku now shows the group you added, along with permission options. In this example, we have selected multiple groups.
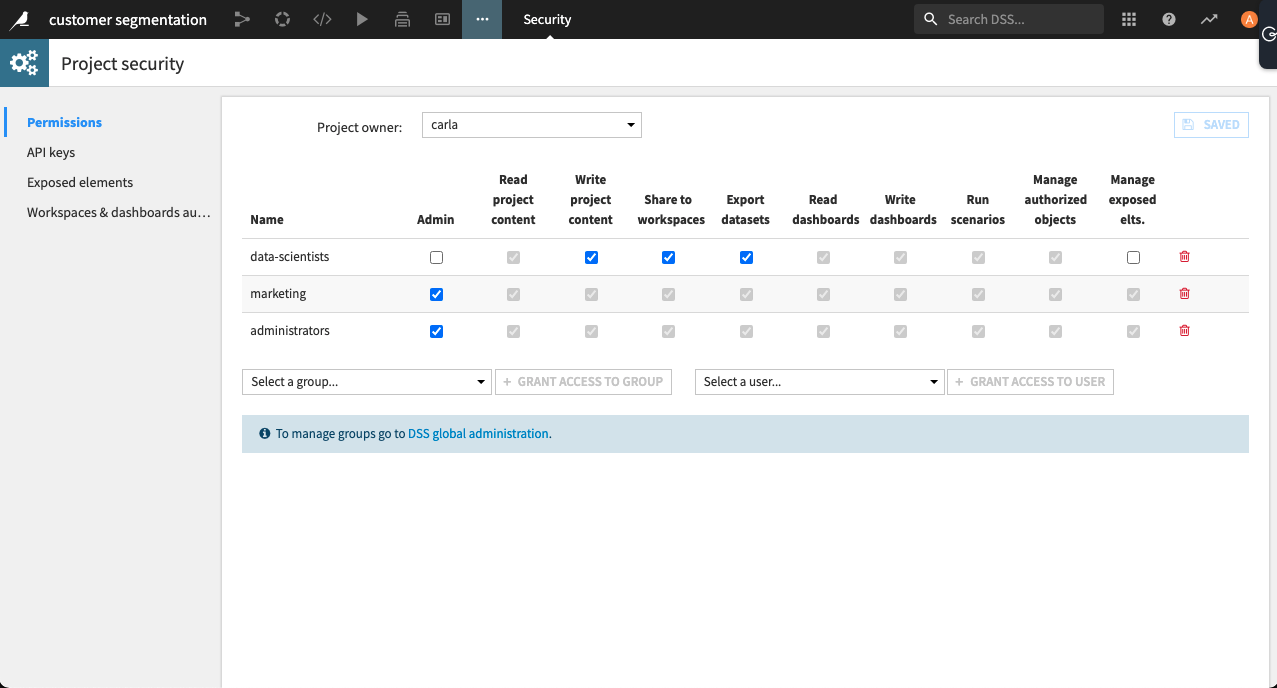
Assign Permissions
After you have defined which groups can access the project, you assign permissions.
To assign permissions:
Select the checkbox for each permission you want to assign.
Permission |
Description |
Note |
Other permissions automatically granted |
|---|---|---|---|
Admin |
Allows group members to perform any action on the project, including: change the permissions and owner of the project and create project bundles. |
|
|
Read project content |
Allows group members to see the Flow, access the datasets, and read the recipes. More generally speaking, this group may read every configuration and data in this project. |
|
|
Write project content |
Allows group members to read and write every configuration and dataset in this project. This includes the ability to create new datasets, recipes, and run all jobs in this project. |
This permission should be the default for a data team working within a project. |
|
Share to workspaces |
Allows group members to share objects (Dashboards, Datasets, Wiki pages) to workspaces. |
Instance admins must separately grant the group permission to share content into workspaces, regardless of source project. |
|
Export datasets |
Allows group member to click on the “Download” button to retrieve the content of a dataset. |
Disabling this permission removes the most obvious way to download whole datasets, but users who have at least Read project content permission will still be able to download datasets. If you do not want your users to be able to retrieve the full content of datasets, do not give them access to the project. |
|
Read dashboards |
Allows group members to read dashboards that have been created. They may not modify anything. They can only read dashboard insights that use project objects that have been shared with them using Dashboard authorizations. |
||
Write dashboards |
Allows group members to create their own dashboards, using the project objects that have been shared with them using Dashboard authorizations. |
|
|
Run scenarios |
Allows group members to run scenarios. They may not run jobs that are not part of a scenario. Users with this permission may only run scenarios that have a “Run As” user. |
This permission is generally not very useful without the Read project content permission. |
|
Manage authorized objects |
This group may modify which objects of the project are usable by dashboard-only users through the Workspaces & dashboards authorizations and accessible through a workspace. |
This permission is generally not very useful without the Read project content permission. The main use case for this permission is the following: A group of analysts and data scientists creates a Flow. The data is of medium sensitivity so all dashboard users could use any of the Flow. However, the dashboard users must not be able to break or modify the Flow. Thus, the dashboard users (or a subgroup of them) has this permission to gain access to source datasets. |
|
Manage exposed elements |
Allows group members to modify which objects of the project are available in other projects through the exposed objects. |
This permission is generally not very useful without the Read project content permission. The main use case for this permission is the following: A group of analysts and data scientists creates a Flow. The data is of medium sensitivity so all or some DSS users should be able to reuse it on other projects. However, the other projects’ users must not be able to break or modify the Flow. Thus, a group of other project’s users has permission to go in the project, and “pick” datasets to use in other projects. |
|
Execute app |
This permission is only available on projects converted into a Dataiku application or an application-as-recipe. This group may execute the corresponding application if the application is configured to be instantiated only by a user with this permission. Otherwise this permission is not needed. |
Save Your Changes
When completed, select Save.
Verify Group Project Permissions
You can verify global group permissions and per-project permissions in one chart.
From the top navigation bar, go to the Applications menu and choose Administration.
Navigate to the Security tab.
In the left panel, choose Authorization Matrix.
Dataiku displays access permissions by user.
To view access permissions by group:
Select By group from the By user menu arrow.
The first table displays global permissions by group, and the second table displays project permissions by group.
Control Access to Code Environments
In this section, we’ll show you how to control who has the rights to manage and use a particular code environment.
Assign an Owner
The owner owns the code environment and has all permissions by default.
To assign or transfer ownership:
Select the Owner menu arrow, and then choose a user.
If you are transferring ownership, select Confirm and then Save.
Limit Which Groups Can View the Code Environment
By default, all Dataiku users on the instance can see the code environment and choose to use it. You can change this and choose to configure which groups can view the code environment.
To limit which groups can view the code environment:
Clear the Usable by all checkbox.
Select Save.
Now you are ready to select groups and assign permissions.
Select Groups
Select the Select a Group menu arrow, and then choose a group.
Select +Grant Access to Group.
Repeat for each group you want to add.
Dataiku now shows the group you added, along with permission options.
Assign Permissions
To assign permissions:
Select the checkbox for each permission you want to assign.
Permission |
Description |
|---|---|
Use |
Allows group members to use a code environment (for example in recipes and notebooks). |
Update settings & packages |
Allows group members to update settings and change included packages. |
Admin |
Allows group members to have full administrative control over the code environment. |
Save Your Changes
When completed, select Save.
Control Access to Managed Clusters
DSS can automatically start, stop and manage Kubernetes clusters running on the major cloud providers. Each cluster has an owner and groups that are granted access levels. In this section, we’ll show you how to assign owner and group permissions to use, operate, and manage Kubernetes clusters running on the major cloud providers.
Assign an Owner
The owner owns the cluster and has all permissions by default.
To assign or transfer ownership:
Select the Owner menu arrow, and then choose a user.
If you are transferring ownership, select Confirm and then Save.
Allow All Groups to View the Cluster
By default, only the owner can see the cluster and choose to use it. You can change this and choose to allow all groups on the instance to view the cluster.
To all groups in the instance to view the cluster:
Select the Usable by all checkbox.
Select Save.
Now you are ready to select groups and assign permissions.
Select Groups
Select the Select a Group menu arrow, and then choose a group.* Select +Grant Access to Group.
Repeat for each group you want to add.
Dataiku now shows the group you added, along with permission options.
Assign Permissions
To assign permissions:
Select the checkbox for each permission you want to assign.
Permission |
Description |
|---|---|
Use |
Allows group members to select the cluster and use it in a project. |
Change settings & Operate |
Allows group members to modify cluster settings. |
Admin |
Allows group members to have full administrative control over clusters. |
Save Your Changes
When completed, select Save.
Assign Access to Containerized Execution
Dataiku can scale most of its processing by pushing down computation to Elastic computation clusters powered by Kubernetes.
In this section, we’ll show you how to restrict which user groups have the right to use a specific Kubernetes execution configuration. By controlling the access to containerized execution through groups, it is possible to define the resources used by different groups within the cluster. This can be useful in a scenario where access to compute-intensive workloads, such as requesting GPUs, large memory, and CPU requests, needs to be limited.
Select Groups and Assign Permissions
Under Permissions you can choose whether the configuration is usable by everyone or selected groups. To limit access and choose which groups should have access to this configuration:
Navigate to the Permissions section.
Choose Selected groups.
Dataiku displays group names in a dropdown menu.
Select which groups should have access to this configuration. You may choose one or more groups.
Save Your Changes
When completed, select Save.
Assign Deployer Infrastructure Permissions
The Deployer is the central place in Dataiku to manage bundles and API services from development to production. Only global administrators can create infrastructures such as nodes and deployments. Once an infrastructure is created, you can grant access to an arbitrary number of groups.
In this section, we’ll show you how to grant group access with view, deploy, and admin permissions for infrastructures on the Project Deployer or API Deployer.
Select Groups
Select the Select a Group menu arrow, and then choose a group.
Select +Grant Access to Group.
Dataiku now shows the group you added, along with permission options.
Assign Permissions
To assign permissions:
Select the checkbox for each permission you want to assign.
Permission |
Description |
|---|---|
View |
Allows group members to view existing deployments. |
Deploy |
Allows group members to create and update deployments. |
Admin |
Allows group members to have full administrative control over the deployment infrastructure (including managing the permissions). |
Save Your Changes
When completed, select Save.