How-To: Flow Document Generator
The Flow Document Generator creates a snapshot of the elements in your Flow, including a project description, an image of the Flow, and details of each dataset, recipe, and folder.
Flow documentation helps project teams make their data processes more transparent and explainable to others for AI governance and collaboration purposes.
Export the Documentation
To export Flow documentation for your project:
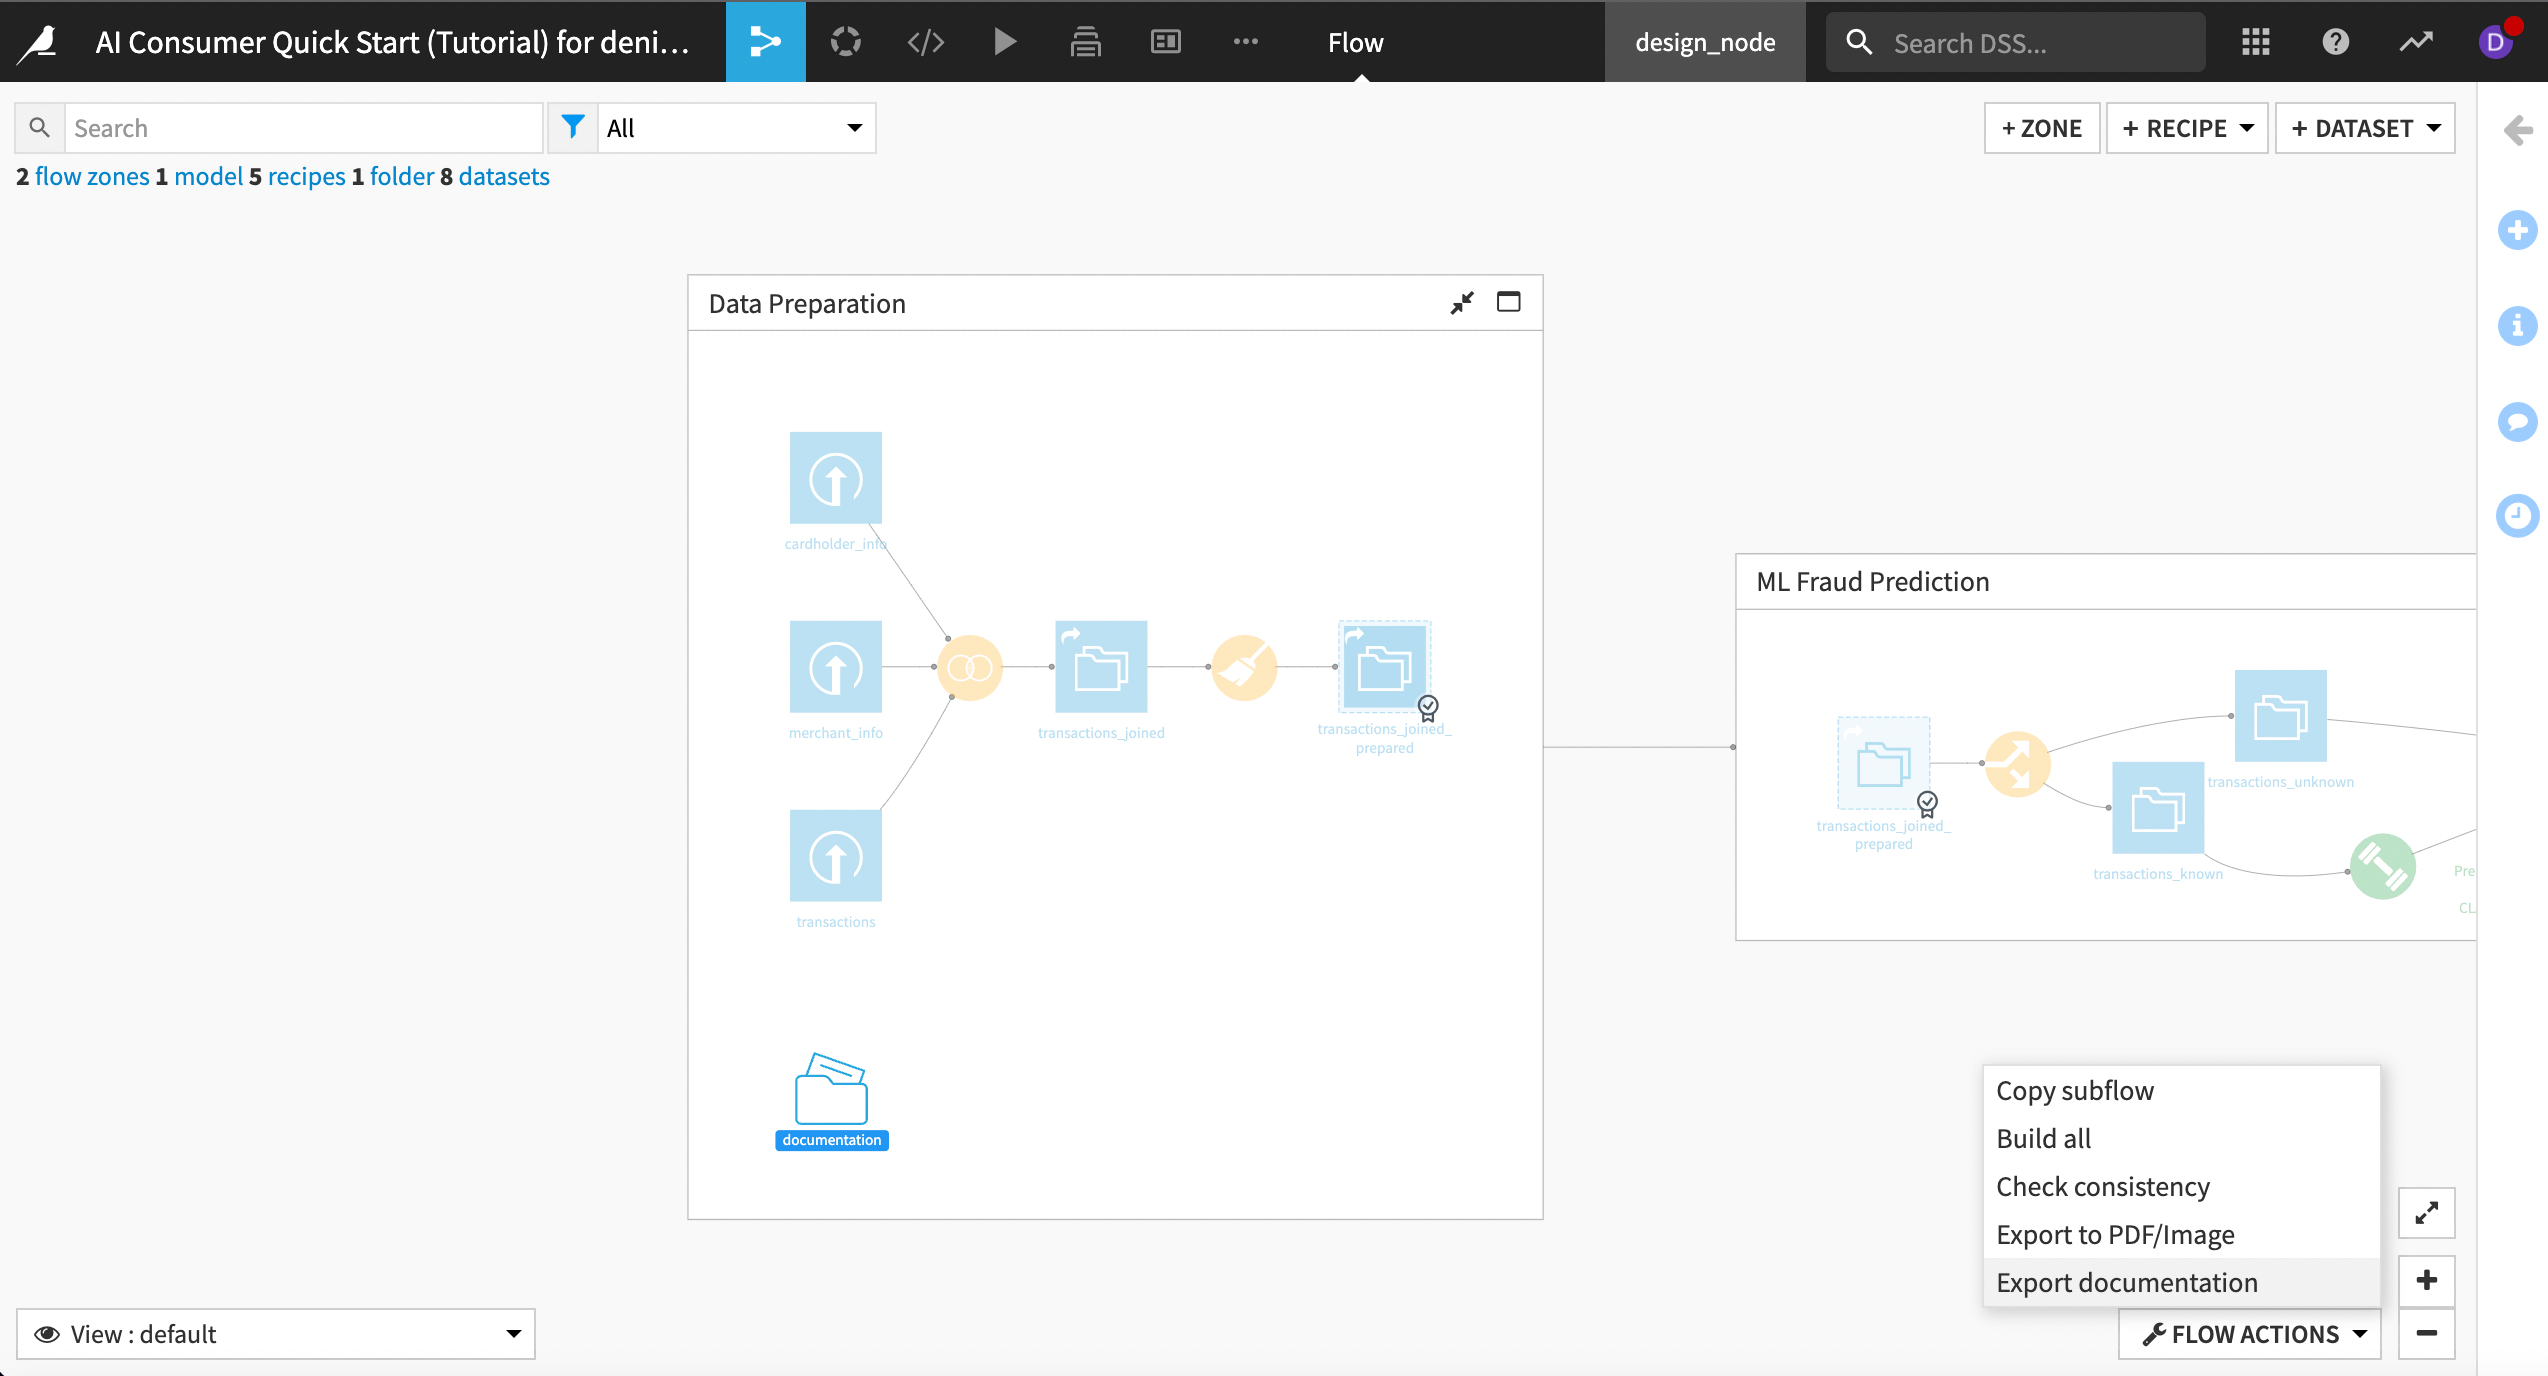
From the Flow, click on Flow Actions in the bottom right.
Choose Export documentation.
You can upload a custom template, but for now choose Use the default template and Export.
After the Flow documentation is ready, choose Download.
Open the downloaded document, which is formatted for Microsoft Word, and refresh the table of contents to view the complete documentation.
Take a few minutes to read through the document, which includes:
the project description
an image of the Flow
detailed information about each dataset, such as the connection type, file size, original creator, schema and related recipes
related recipes for datasets
and other implementation information.
Note
To create a template customized to your company’s needs, you can edit the format and variable references in a Microsoft Word file, and supply your own custom template to the Flow Document Generator.
Automate Documentation Export
You can add a Flow documentation export as a scenario step in your machine learning model so Dataiku will automatically generate it and add it to the model documentation.
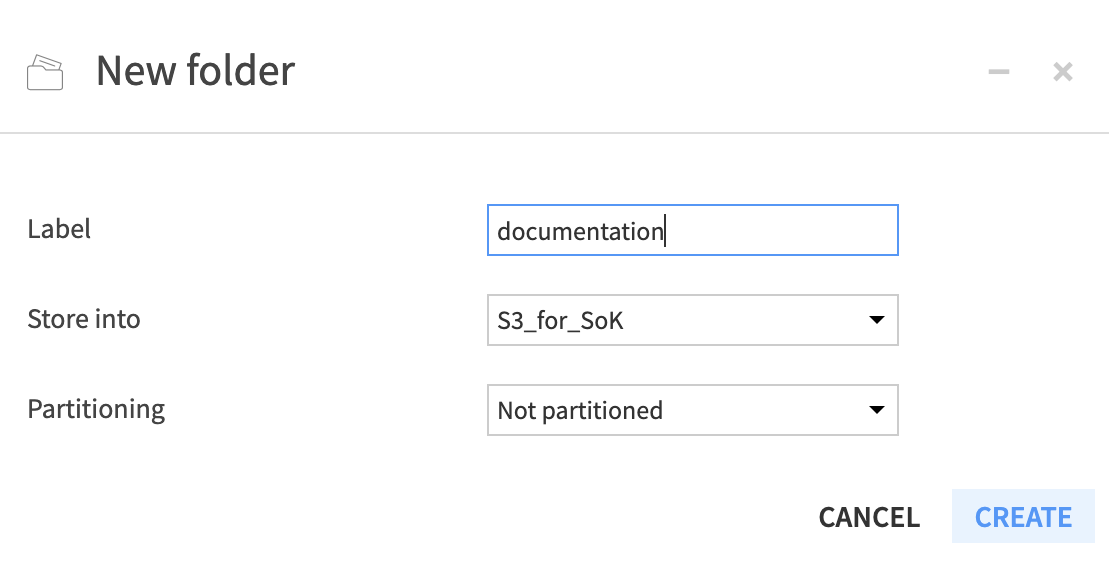
Before adding this step, make sure your project includes a folder to save the Flow documentation. Folders appear in the Flow with a folder icon. To add a folder:
Navigate to the Flow and choose +Dataset > Folder.
Give the folder a Label and select Create.
With a folder created, you can now add the Flow documentation step to a scenario.
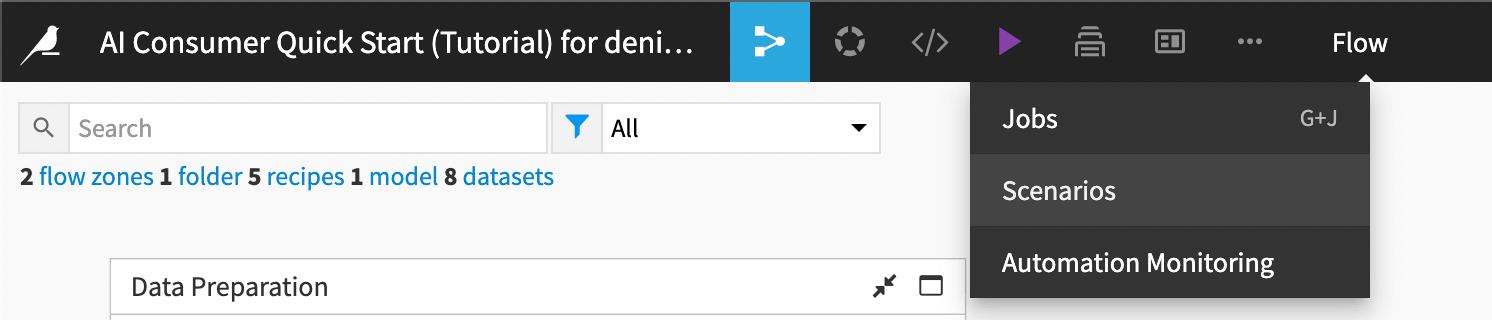
From the Flow, select the Jobs menu from the top navigation bar.
Choose Scenarios.
You can add a step to an existing scenario, or create a new scenario if your project does not have any existing ones.
Choose +New Scenario in the top right and give the scenario a name then choose Create.
Within the scenario, navigate to the Steps tab.
Select Add Step in the bottom left, and then select Export flow documentation.
In Destination folder choose a folder where you want Dataiku to save the Flow documentation.
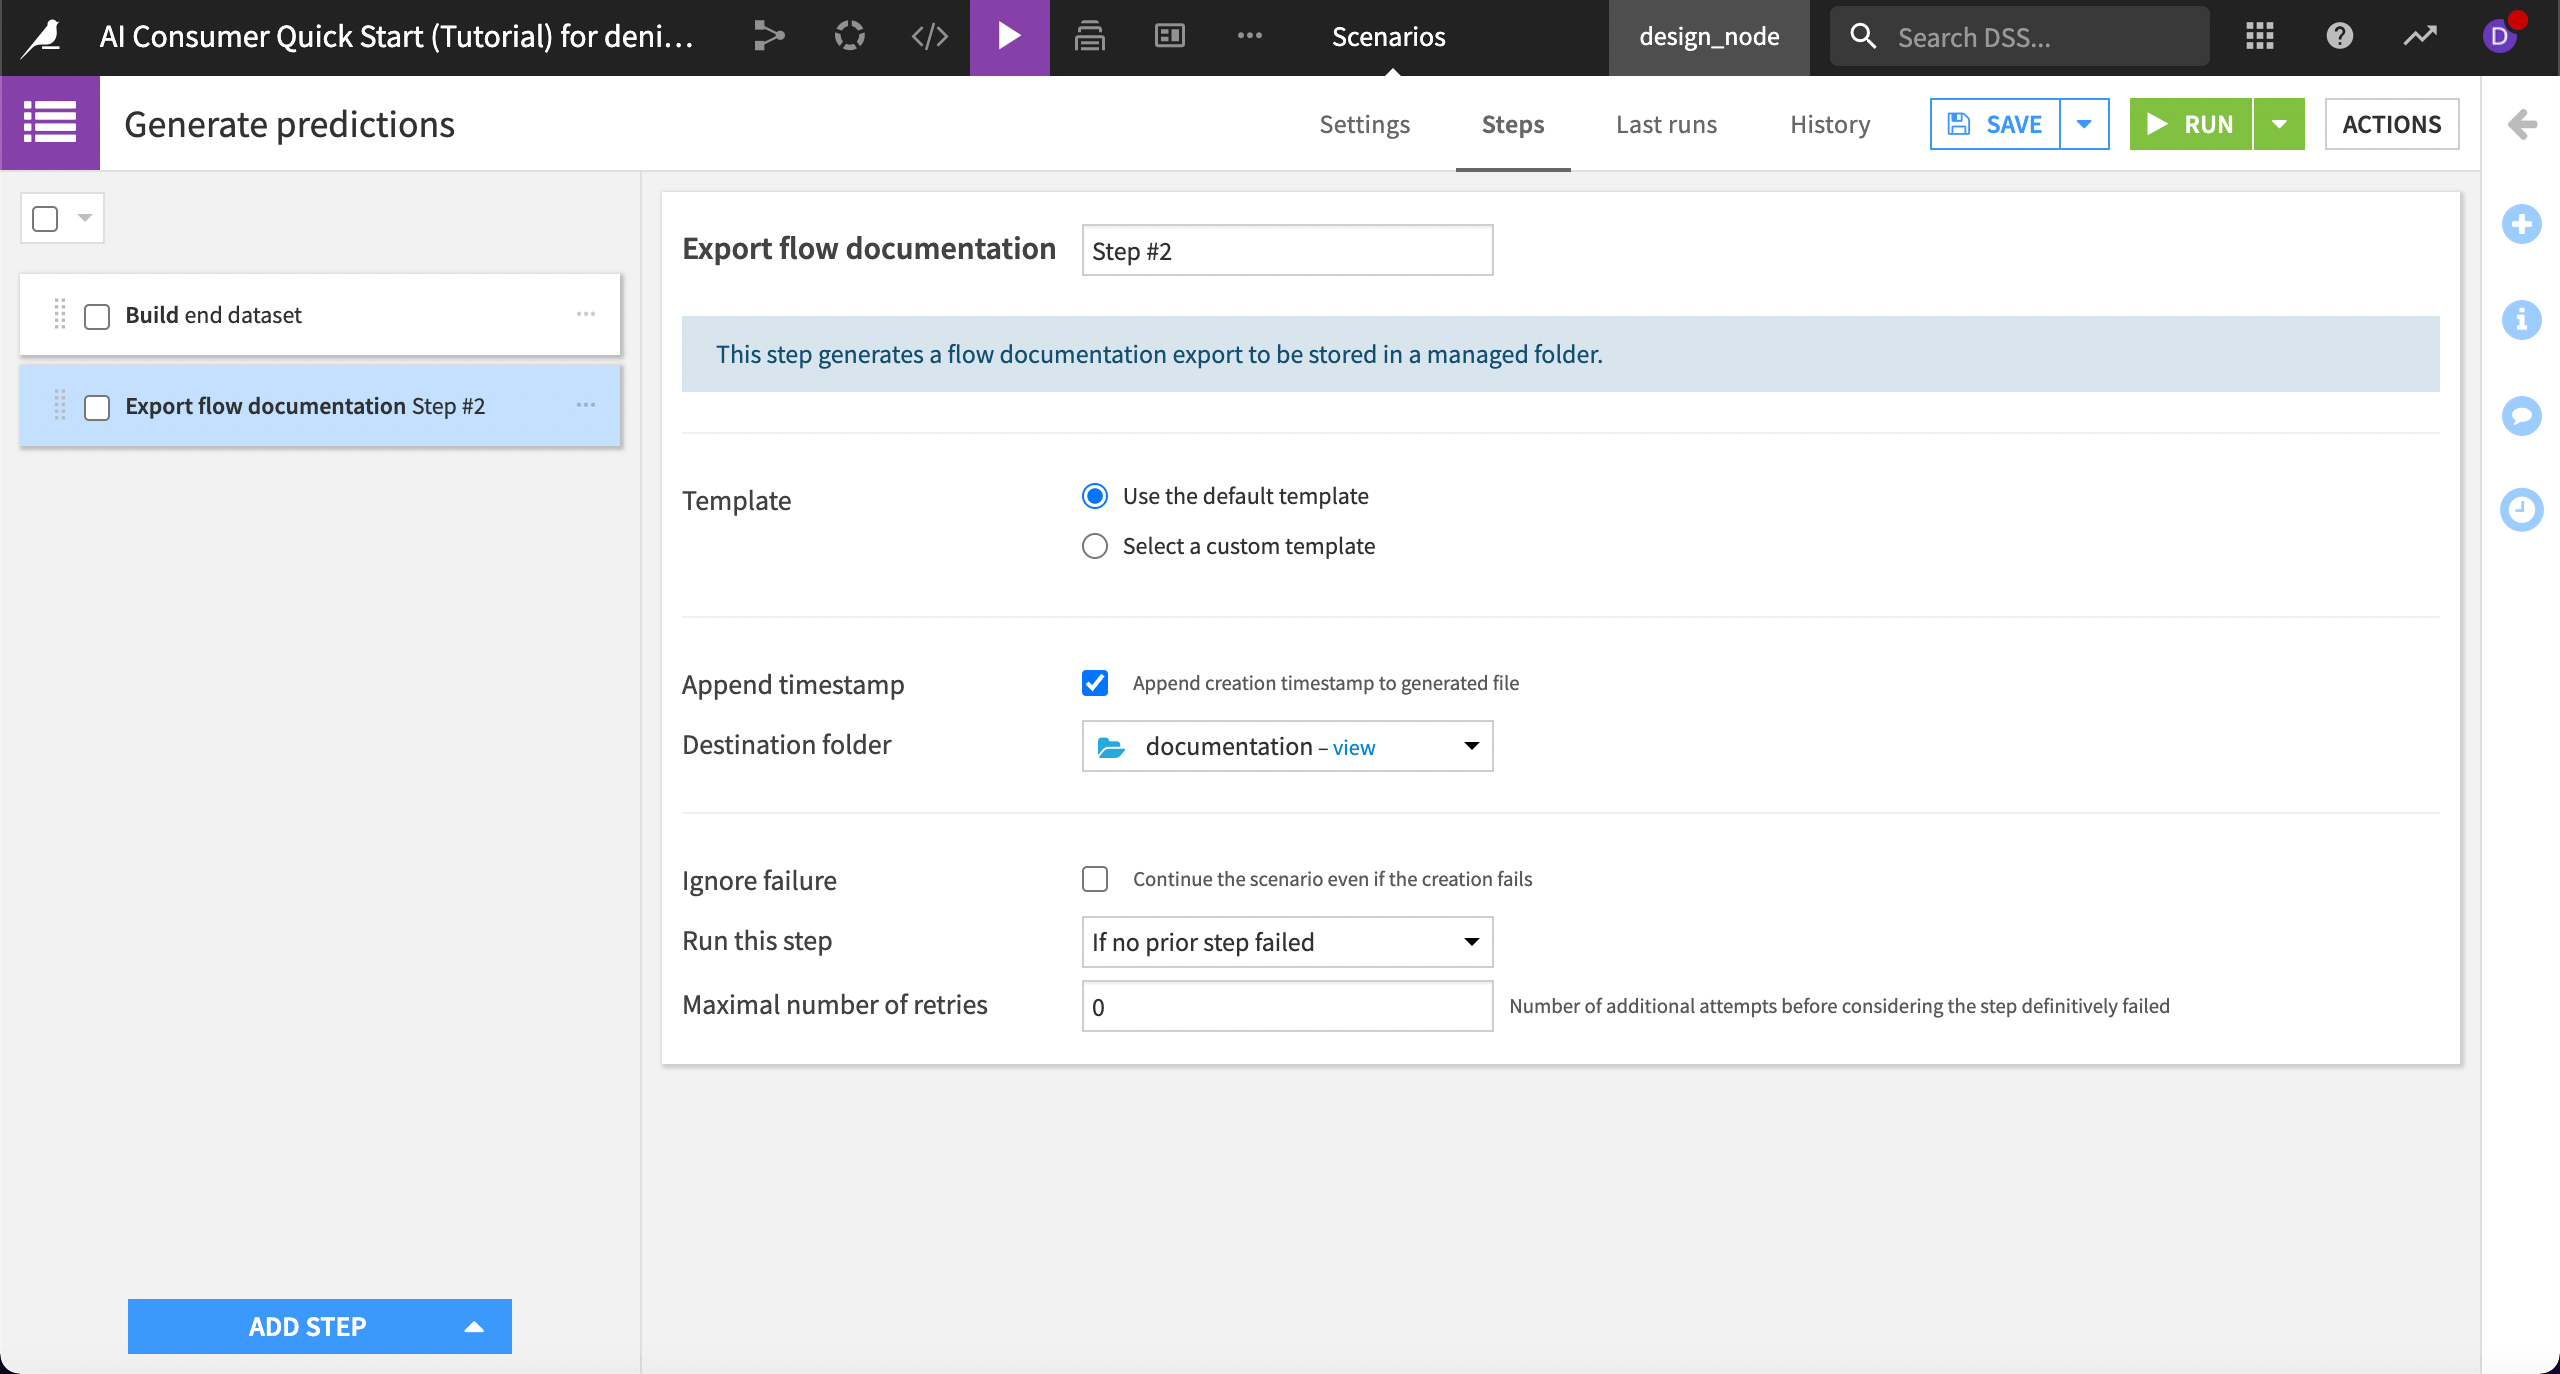
The Flow documentation will now automatically export when you run the scenario and be saved in the designated folder in the Flow.
Select Run in the top right.
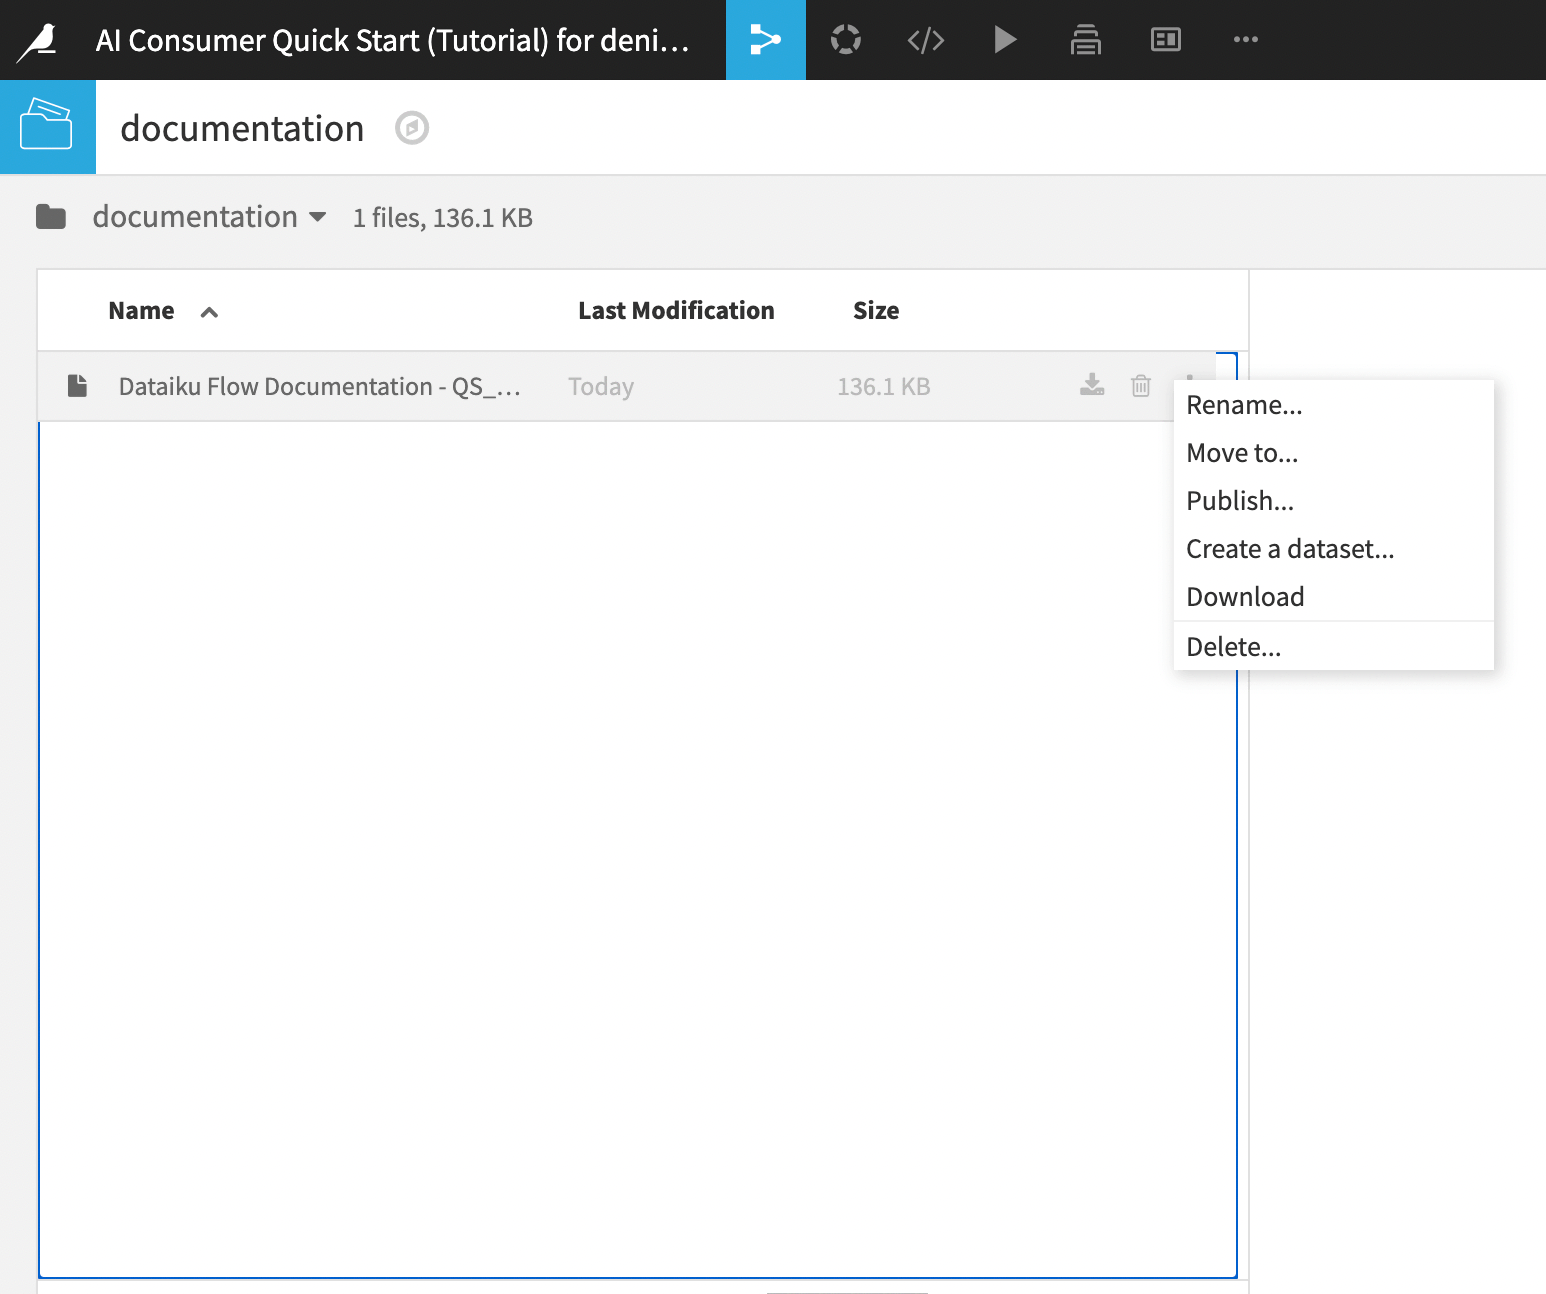
After the job completes, navigate to the Flow and double-click on the folder you designated to hold the documentation.
A new version of the documentation will appear in the folder each time you run the scenario. In the folder, you can view the date and time each document was last modified, as well as download, delete, rename, move, or publish the documentation.
Note
You can also add steps to export model documentation, code notebooks, wikis and other documentation in the scenarios.