Getting Started
Dataiku is a collaborative, end-to-end data science and machine learning platform that unites data analysts, data scientists, data engineers, architects, and business users in a common space to bring faster business insights.
In this quick start tutorial, you will learn about the data exploration and visualization capabilities of Dataiku by walking through a simple use case: credit card transaction fraud analysis.
In just an hour, you will:
Discover the Dataiku interface and reorganize the way that project insights are displayed for your convenience;
Explore a Dataiku project, its Flow, and Flow items to get a better understanding of its purpose and function;
Discover machine learning insights on dashboards;
Consume a Dataiku application in order to create your own instance of a project and modify its parameters to generate insights on new data;
Explore and analyze a dataset using metrics;
Create insights, such as metrics and charts, and publish them on a dashboard.
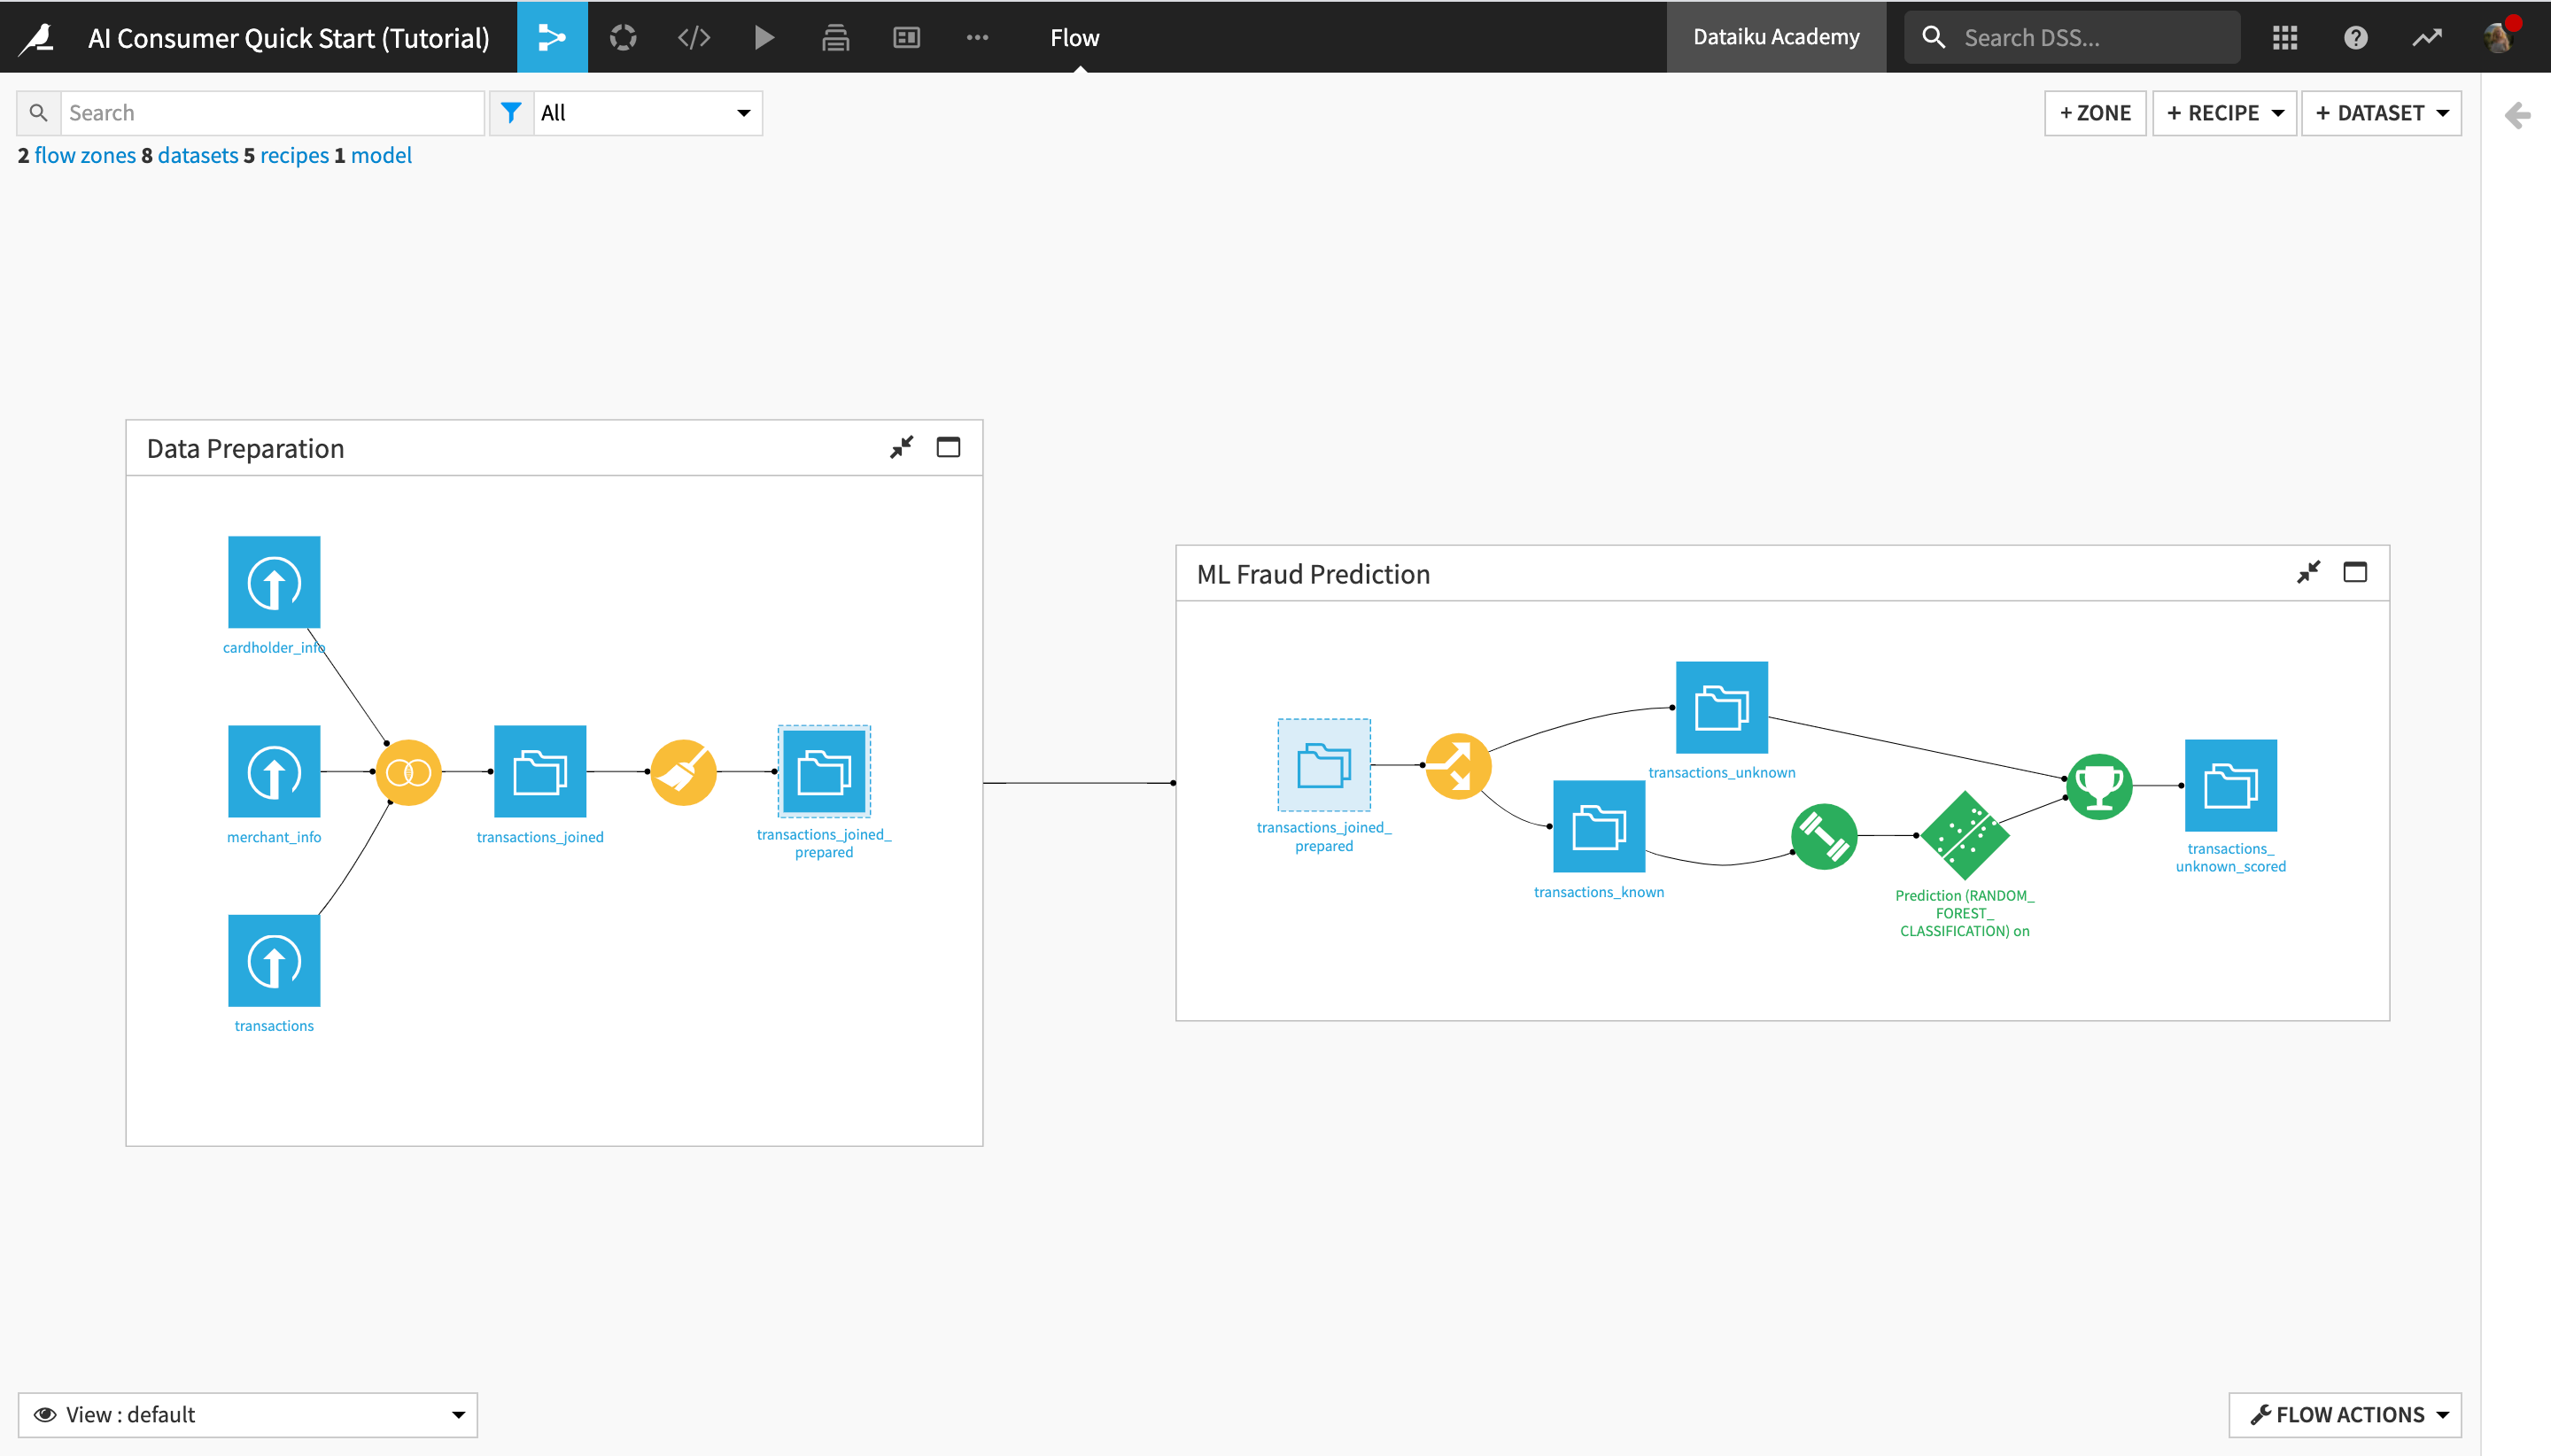
At the end of the tutorial, you will have gained an understanding of the project below and all of its components:
Note
This quick start is geared primarily towards data or line-of-business team leaders who are entirely new to Dataiku, as well as other new or potential business insights consumers and/or users of the Dataiku Explorer license. The tutorial will therefore focus on using the point-and-click interface for data exploration and visualization, as well as on Dataiku’s project collaboration capabilities.
If you are more interested in using Dataiku for creating data pipelines and doing advanced analytics, check out the Business Analyst quick start tutorial.
Alternatively, if you are more interested in what Dataiku offers for coders, you might prefer to check out the quick start tutorials for a Data Scientist or a Data Engineer.
Prerequisites
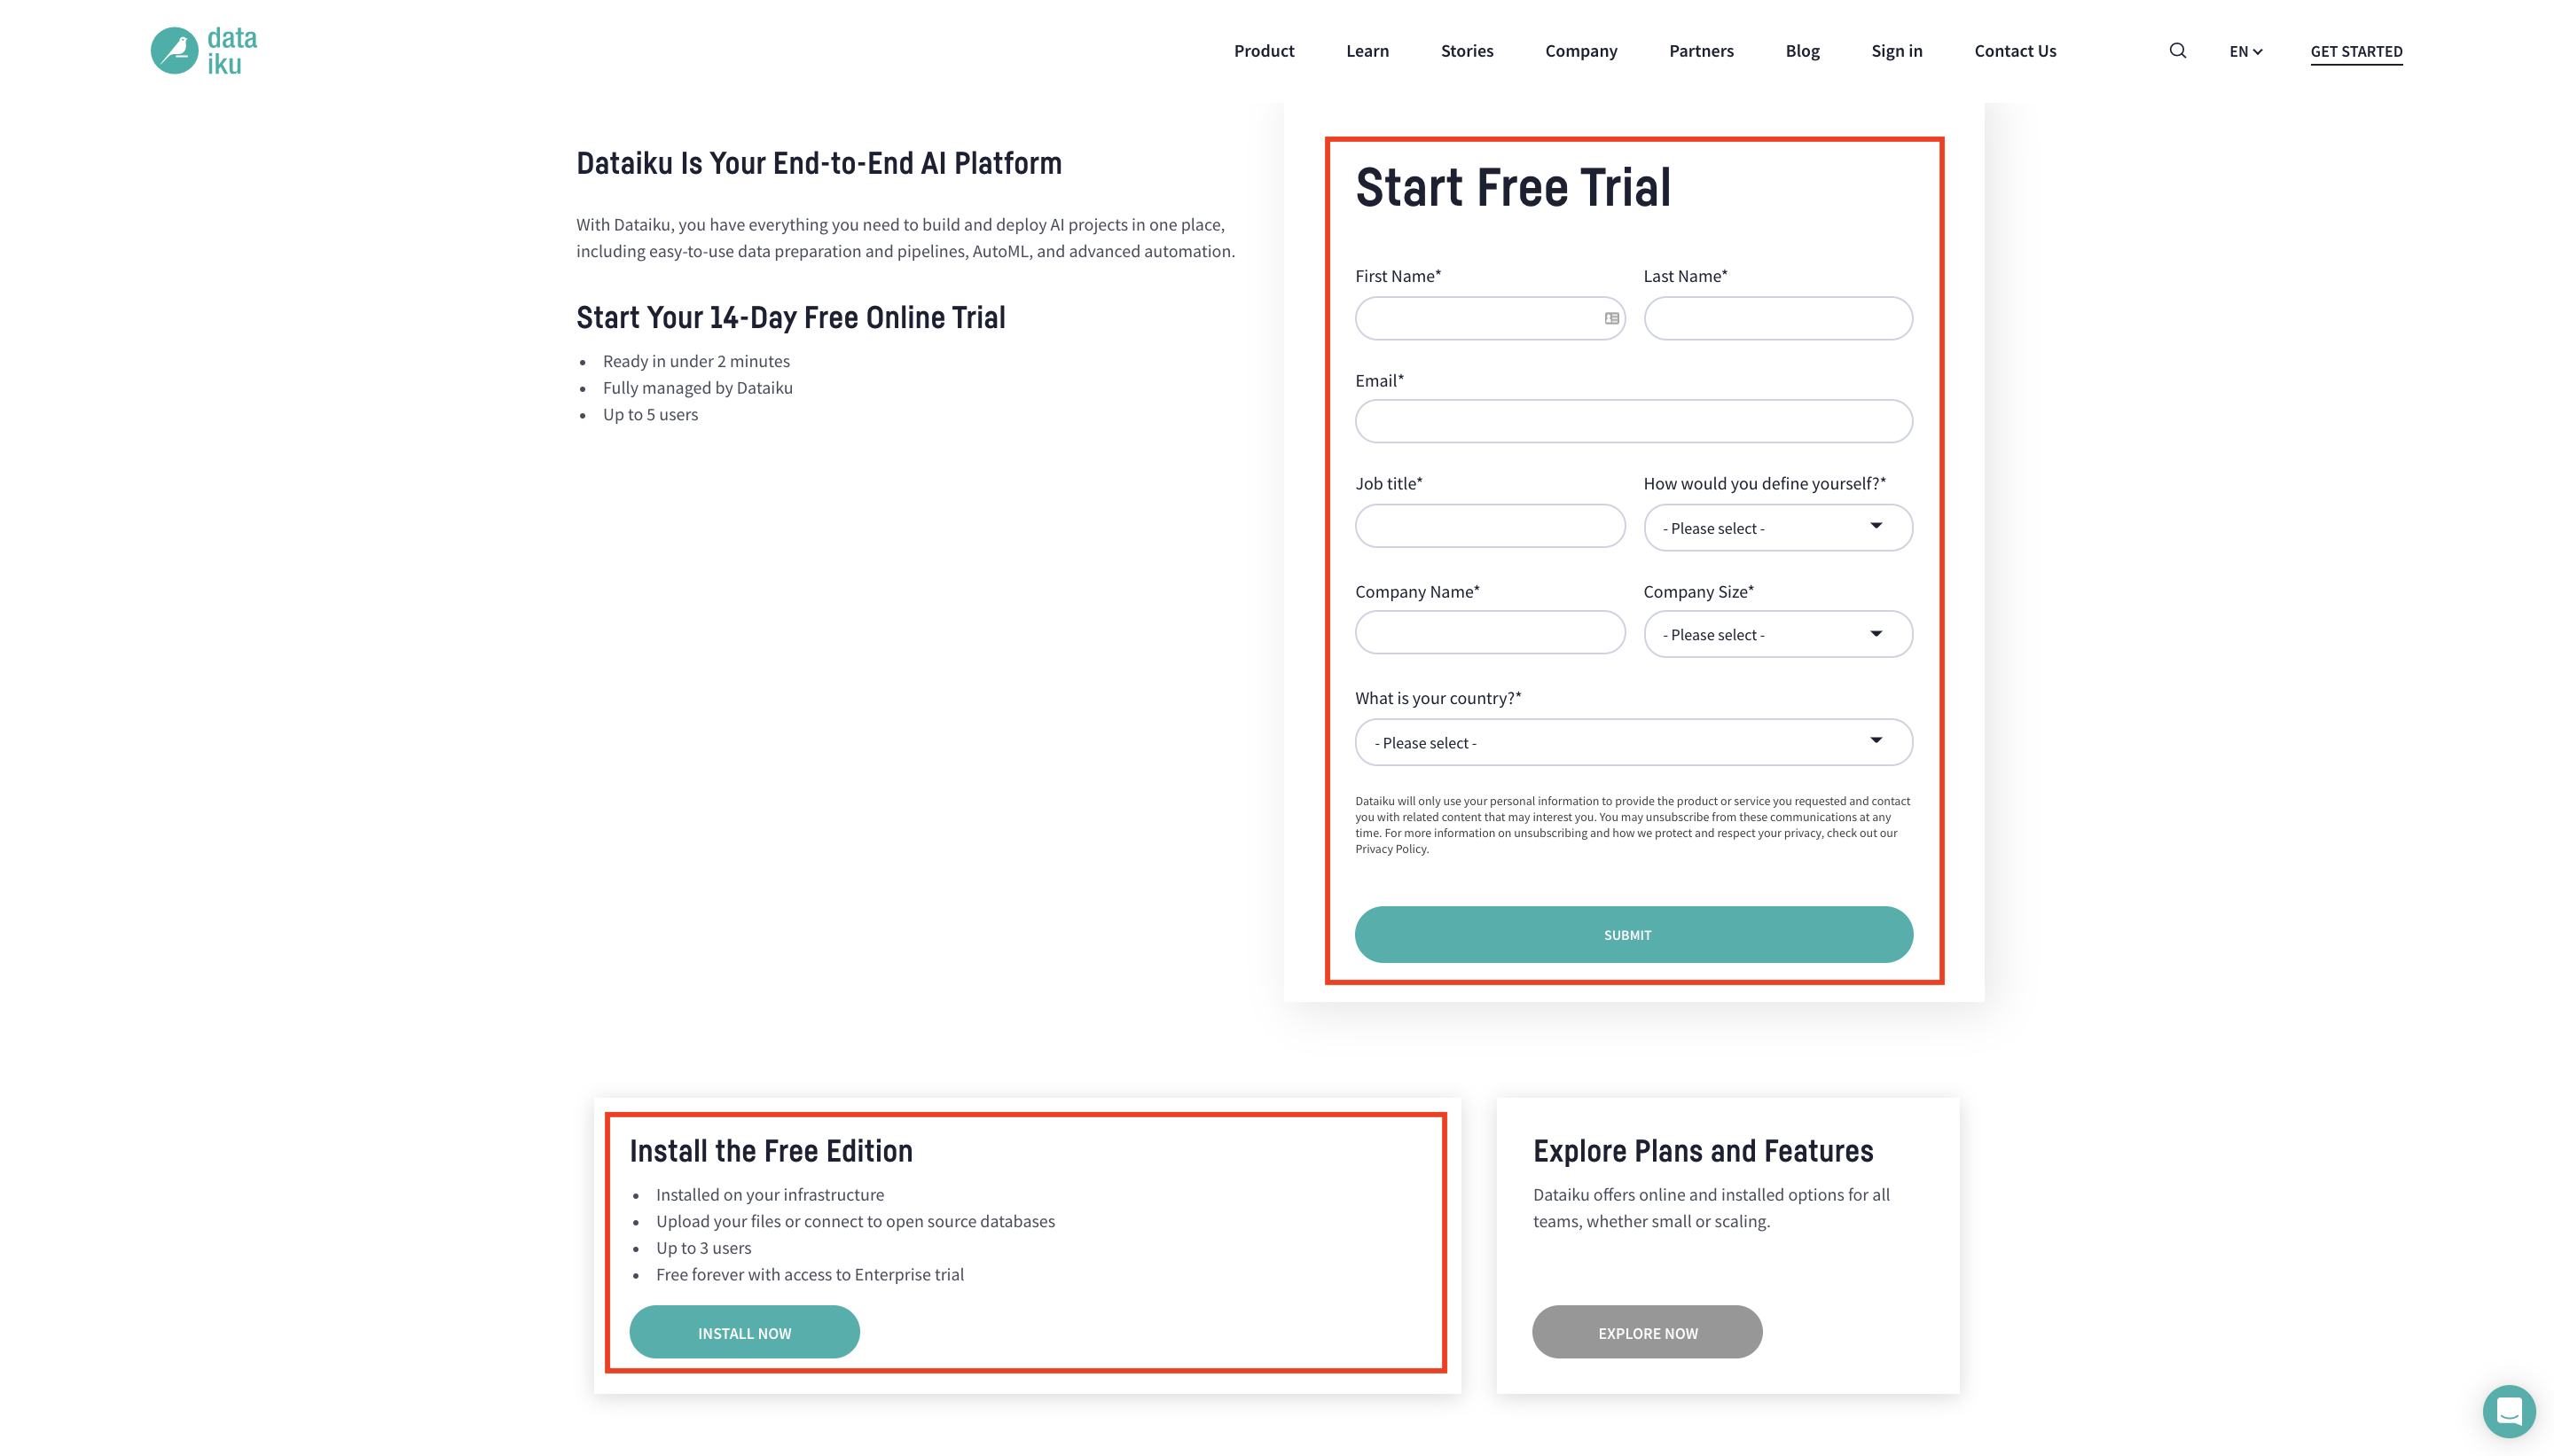
To follow along with the steps in this tutorial, you will need access to an instance of Dataiku (version 9.0 or above). If you do not already have access, there are two ways to get started. From the Dataiku website, you can:
install the free edition,
or start a 14-Day free Online trial.
For each section below, written instructions are recorded in bullet points, but you can also find screenshots and/or screencasts at the end of each section that demonstrate the actions described. Be sure to use these screenshots and videos as your guide!
Tip
Keep these instructions open in one tab of your browser and your Dataiku instance open in another.
Create the Project
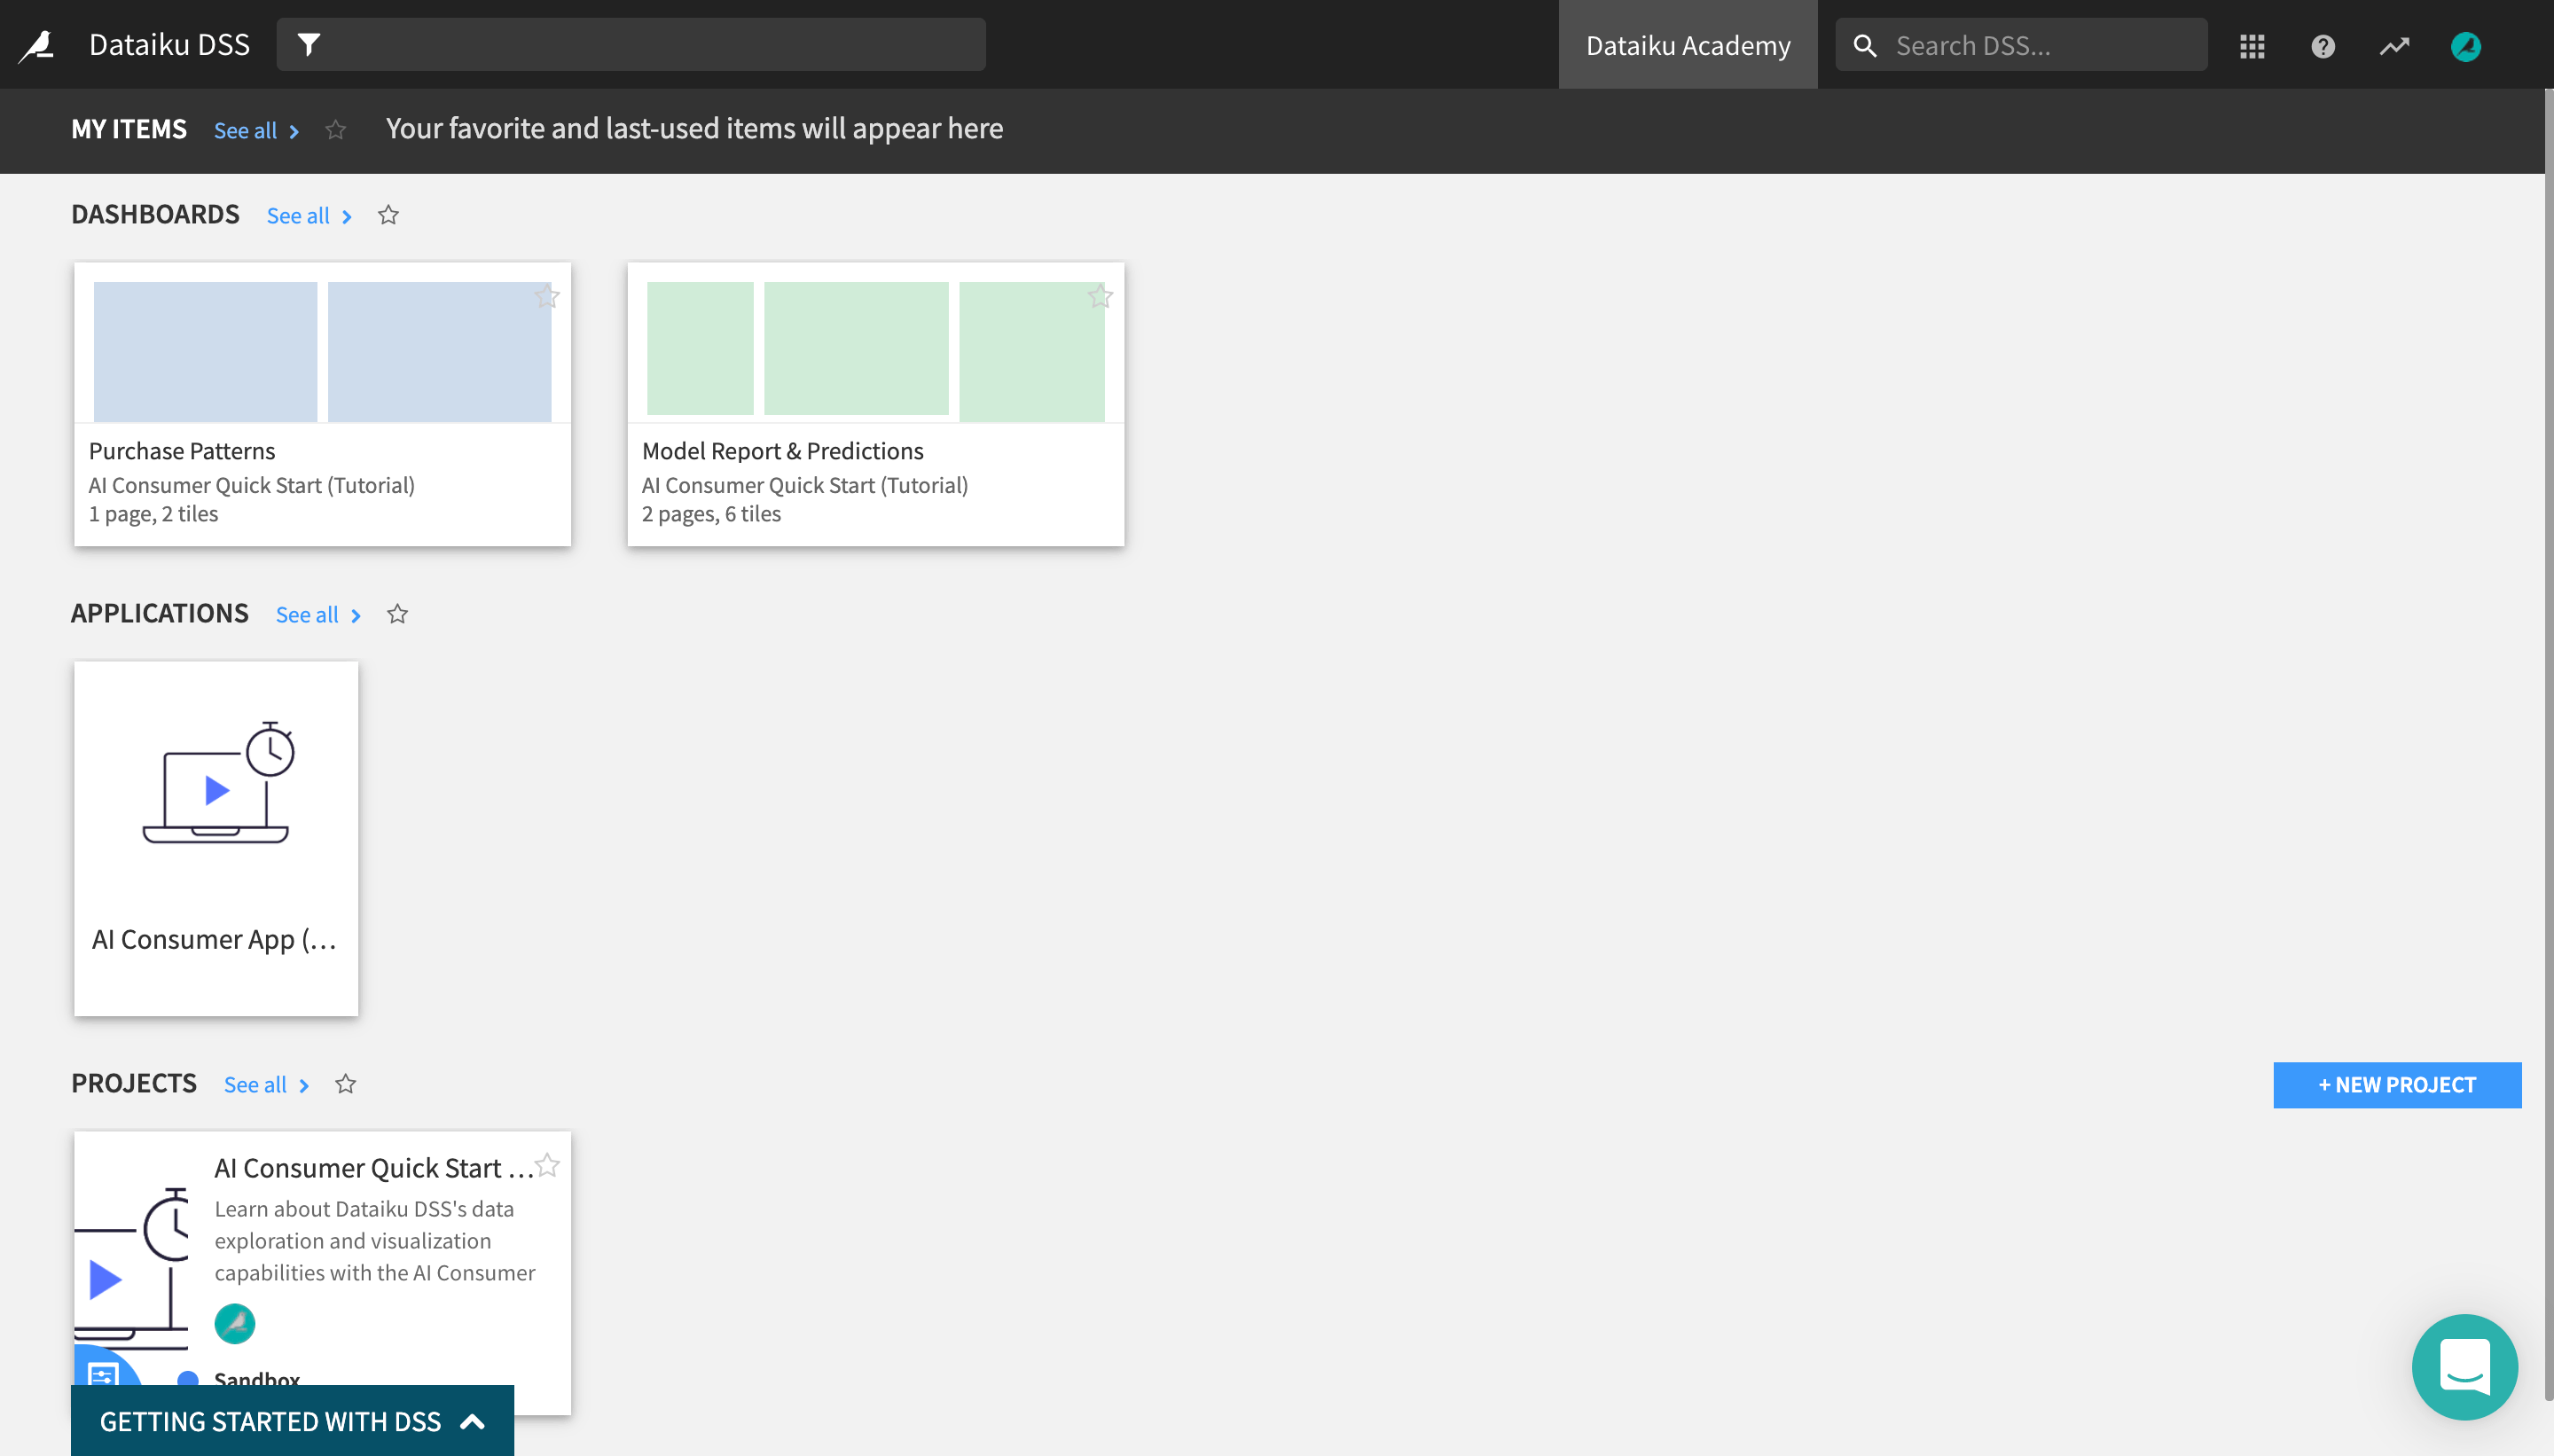
Let’s get started! After logging in, the first page you will see is the Dataiku homepage. From this page, you’ll be able to browse projects, recent items, dashboards, and applications shared with you.
Note
A Dataiku project is a holder for all work on a particular activity. From the homepage, you will be able to access projects shared with you based on the user groups to which you belong.
When using an Explorer license, you will not be able to create projects yourself. You’ll simply be collaborating on projects created by your coworkers. For the purpose of this tutorial, however, you can use the 14-Day free Online trial or the free edition in order to create the example project.
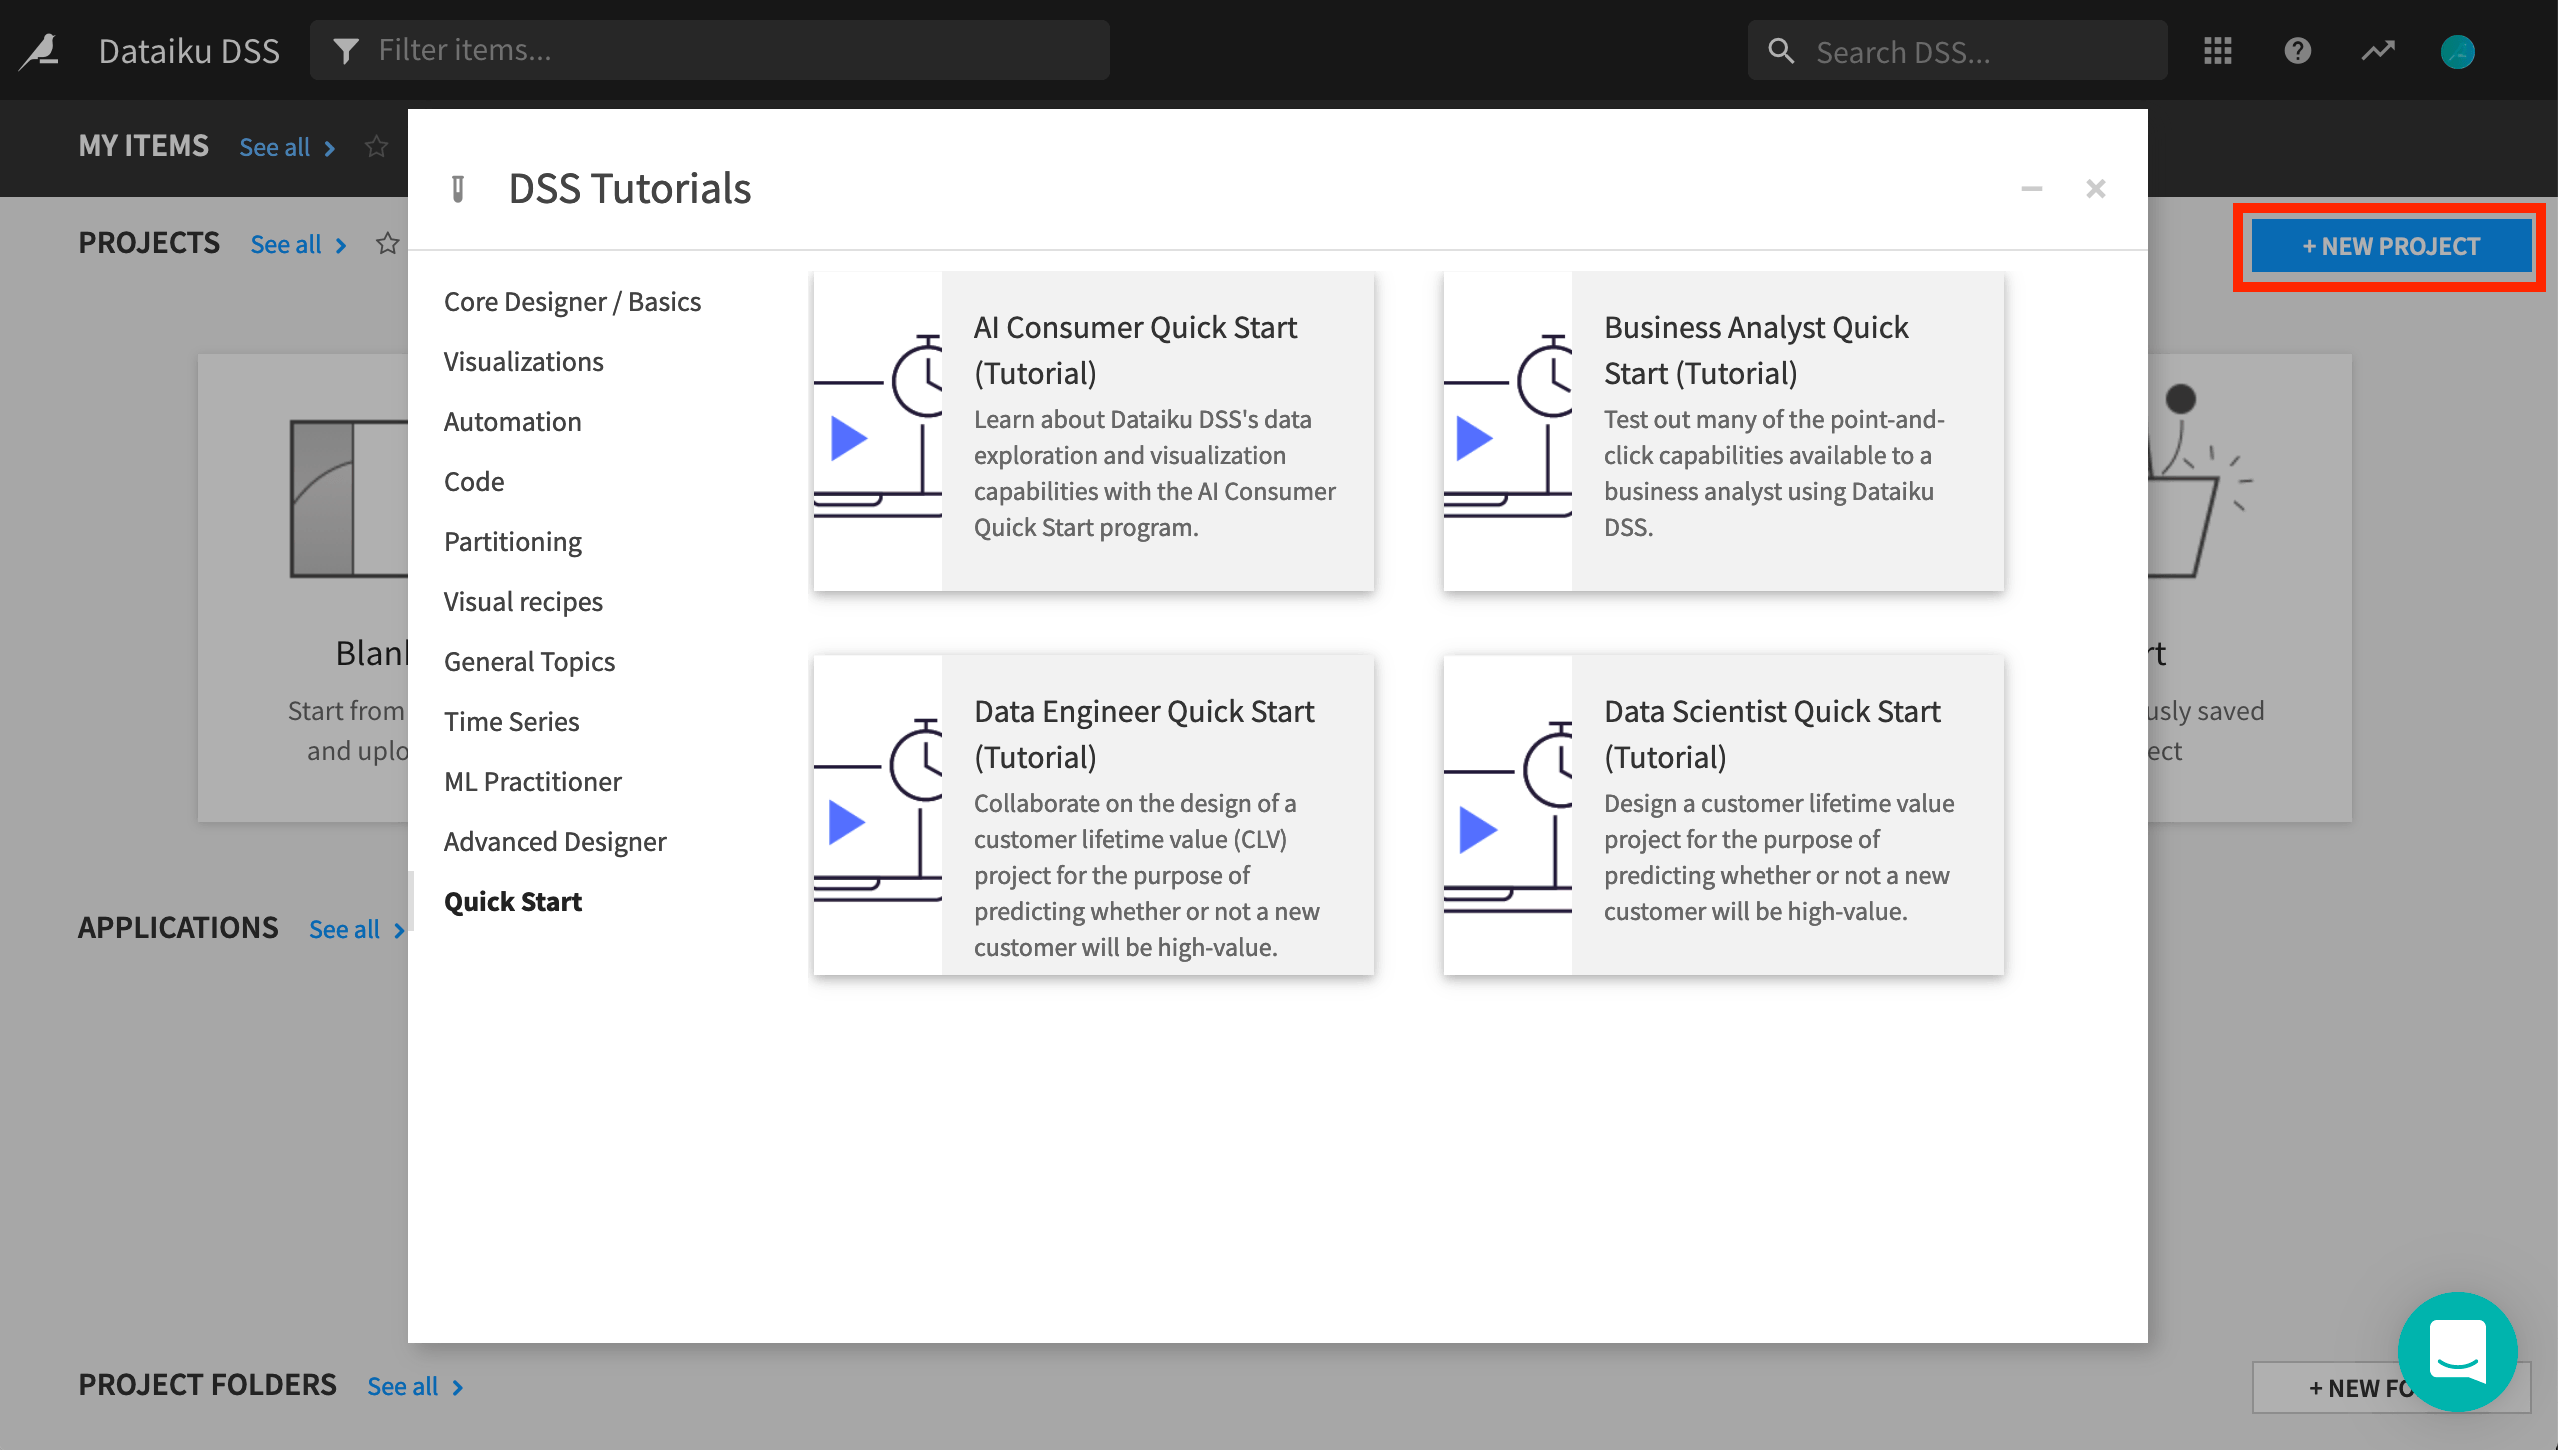
From the Dataiku homepage, click on +New Project > DSS Tutorials > Quick Start > AI Consumer Quick Start (Tutorial).
Click OK when the tutorial has been successfully created.
Note
You can also download the starter project from this website and import it as a zip file.
Explore and Configure Your View of the Dataiku Homepage
After creating the project, you’ll find the project homepage. Before exploring it, let’s go back to the Dataiku homepage to observe and modify the display of the different items that have been shared with you as part of the project.
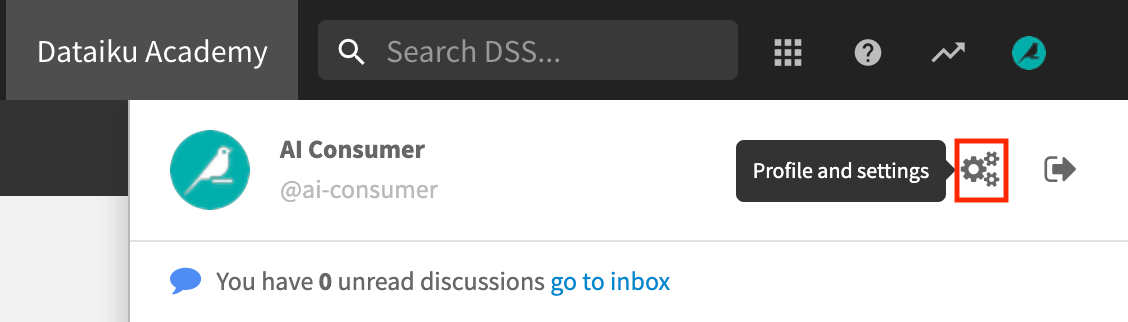
Return to the Dataiku homepage by clicking the bird icon in the top left corner of the screen.
Click the profile icon in the top right corner of the page.
Click the Profile and Settings gear icon.
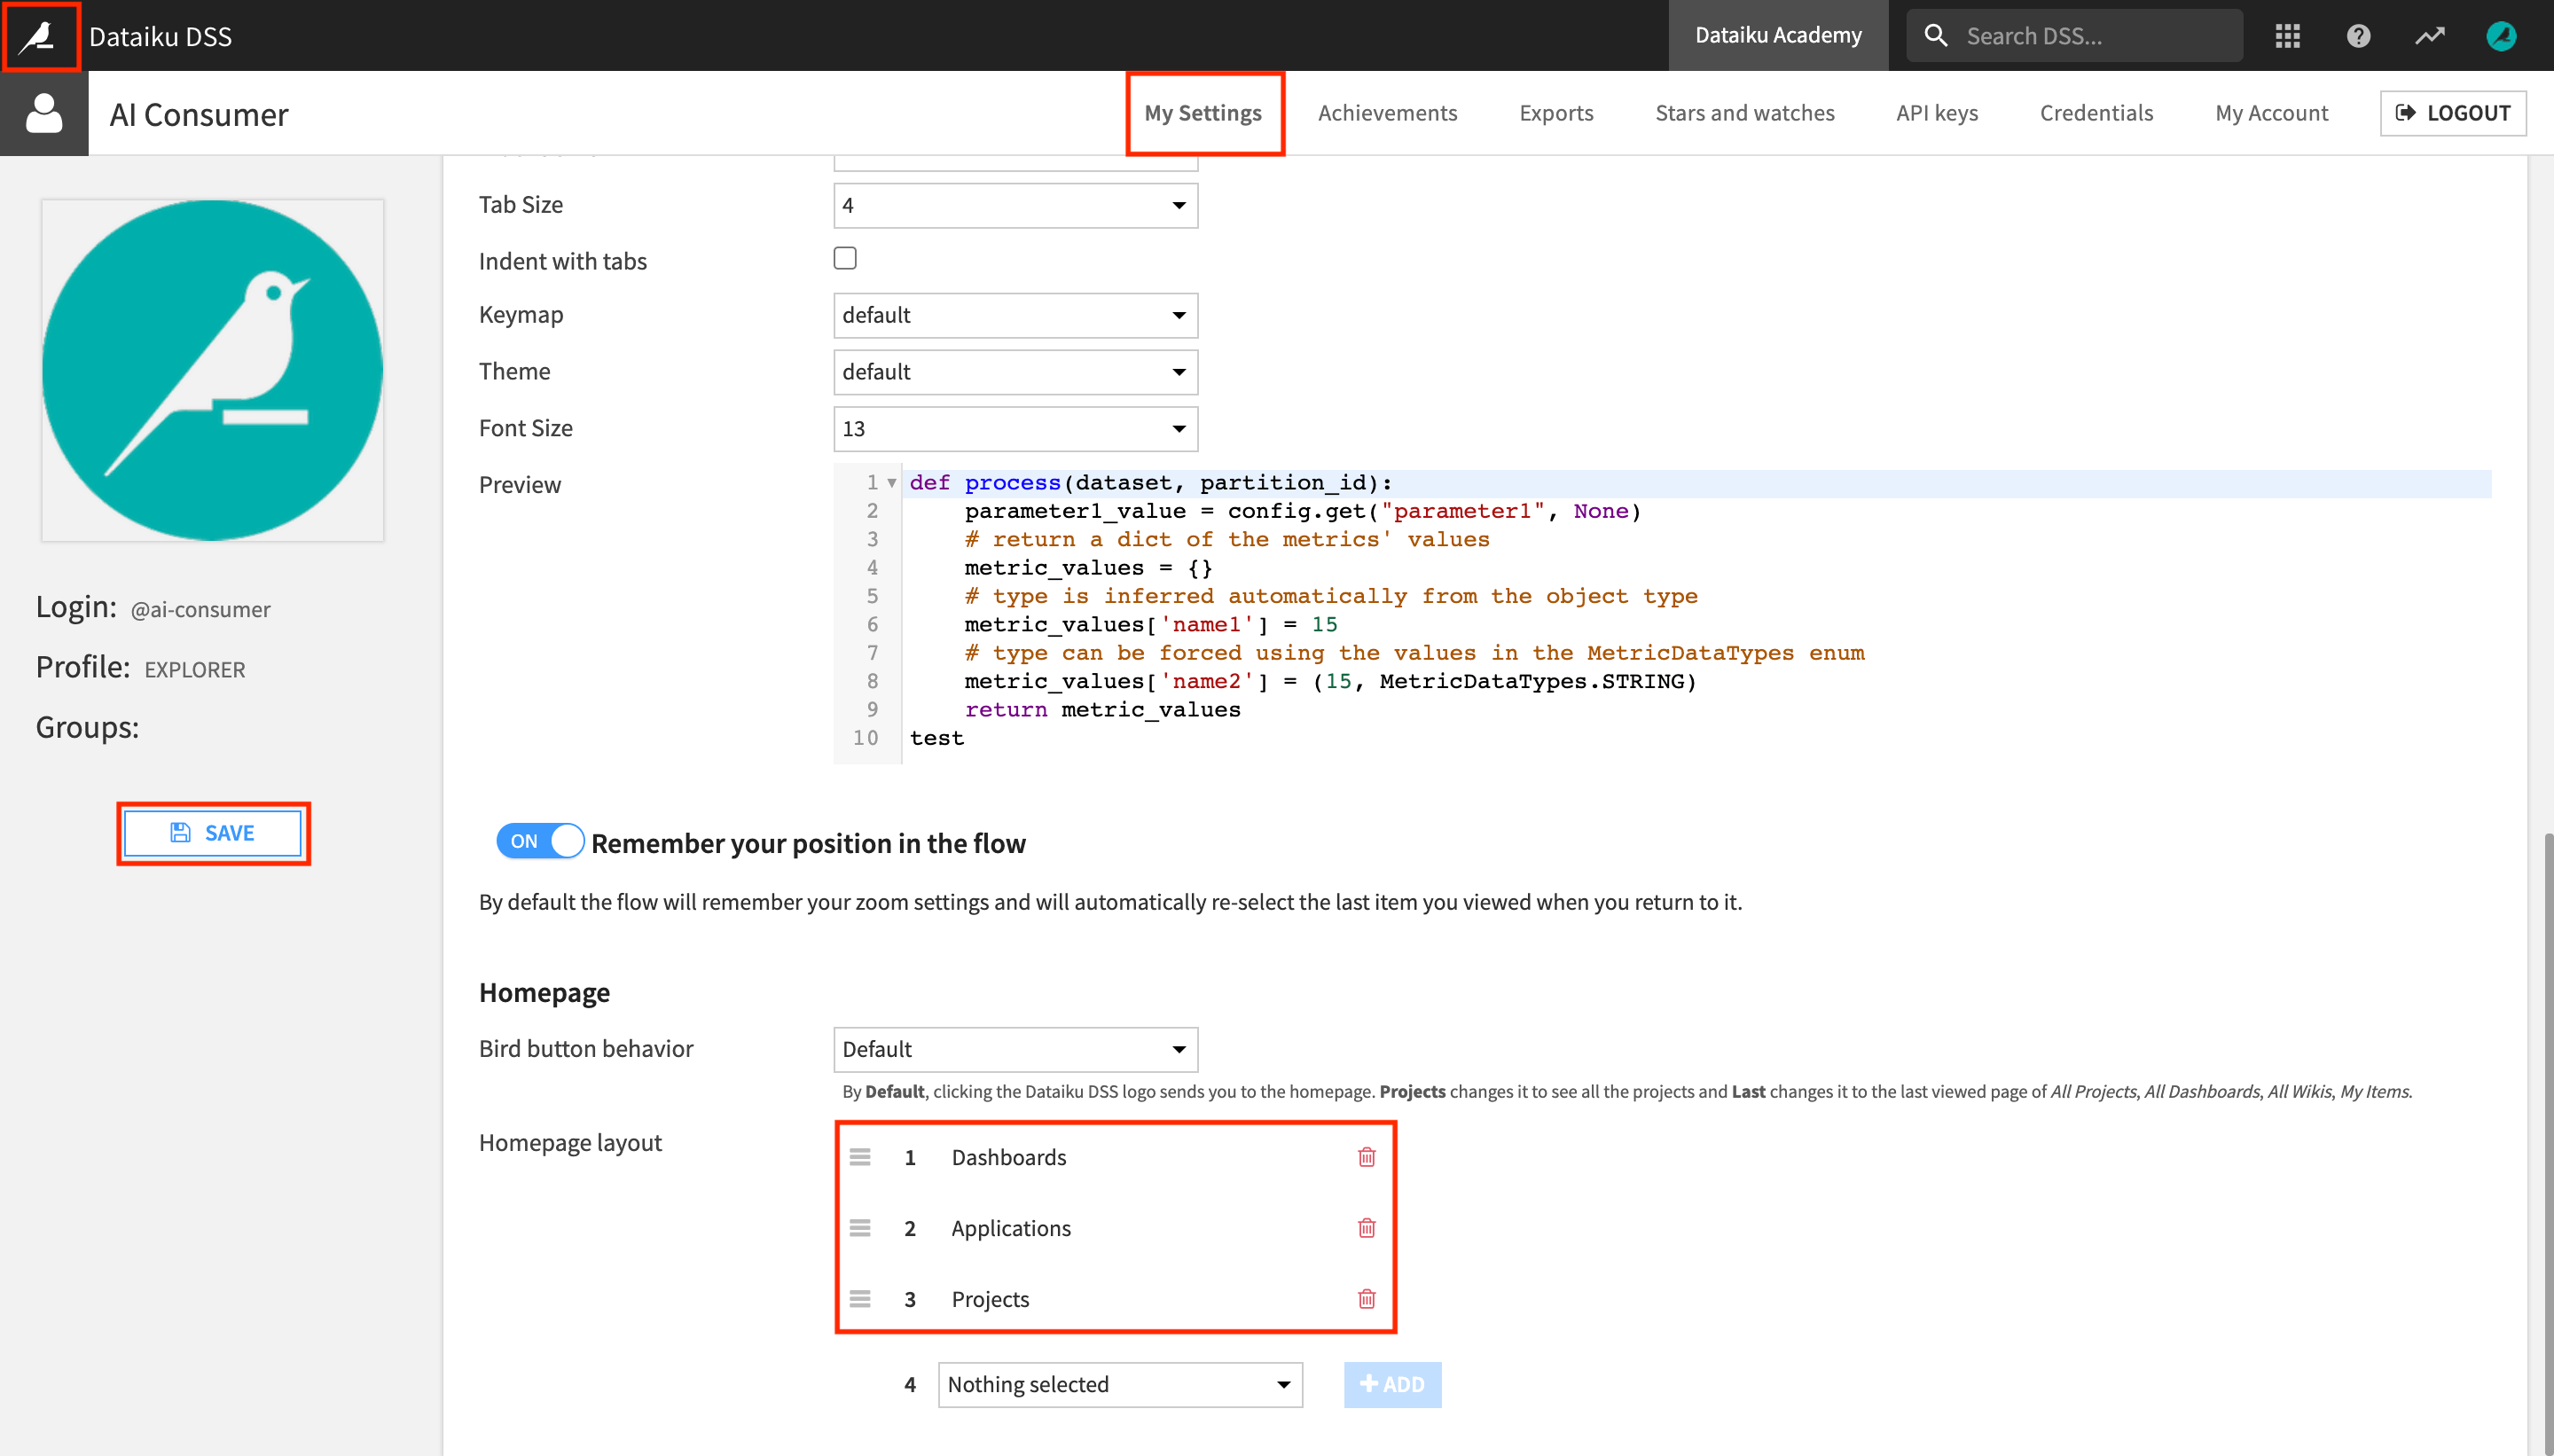
In the My Settings tab, scroll down, and locate the Homepage section.
This setting lets you modify the items displayed on the Dataiku homepage. Let’s arrange them so that the homepage only displays the items you’ll be working with, and in a logical order.
Under Homepage layout, remove Project Folders and Wikis.
Reorder the remaining items in the following order so that the readily consumable insights appear at the top:
Dashboards
Applications
Projects
Click Save and return to the Dataiku homepage.
The Dashboards section now appears at the top, above the Applications and the Projects sections.