Prepare Input Data
Create a new blank Dataiku project and name it
Facies classification.
Upload and Join Input Datasets
In this section, we’ll upload the two input datasets and join them into a dataset that contains the facies characteristics and their corresponding labels.
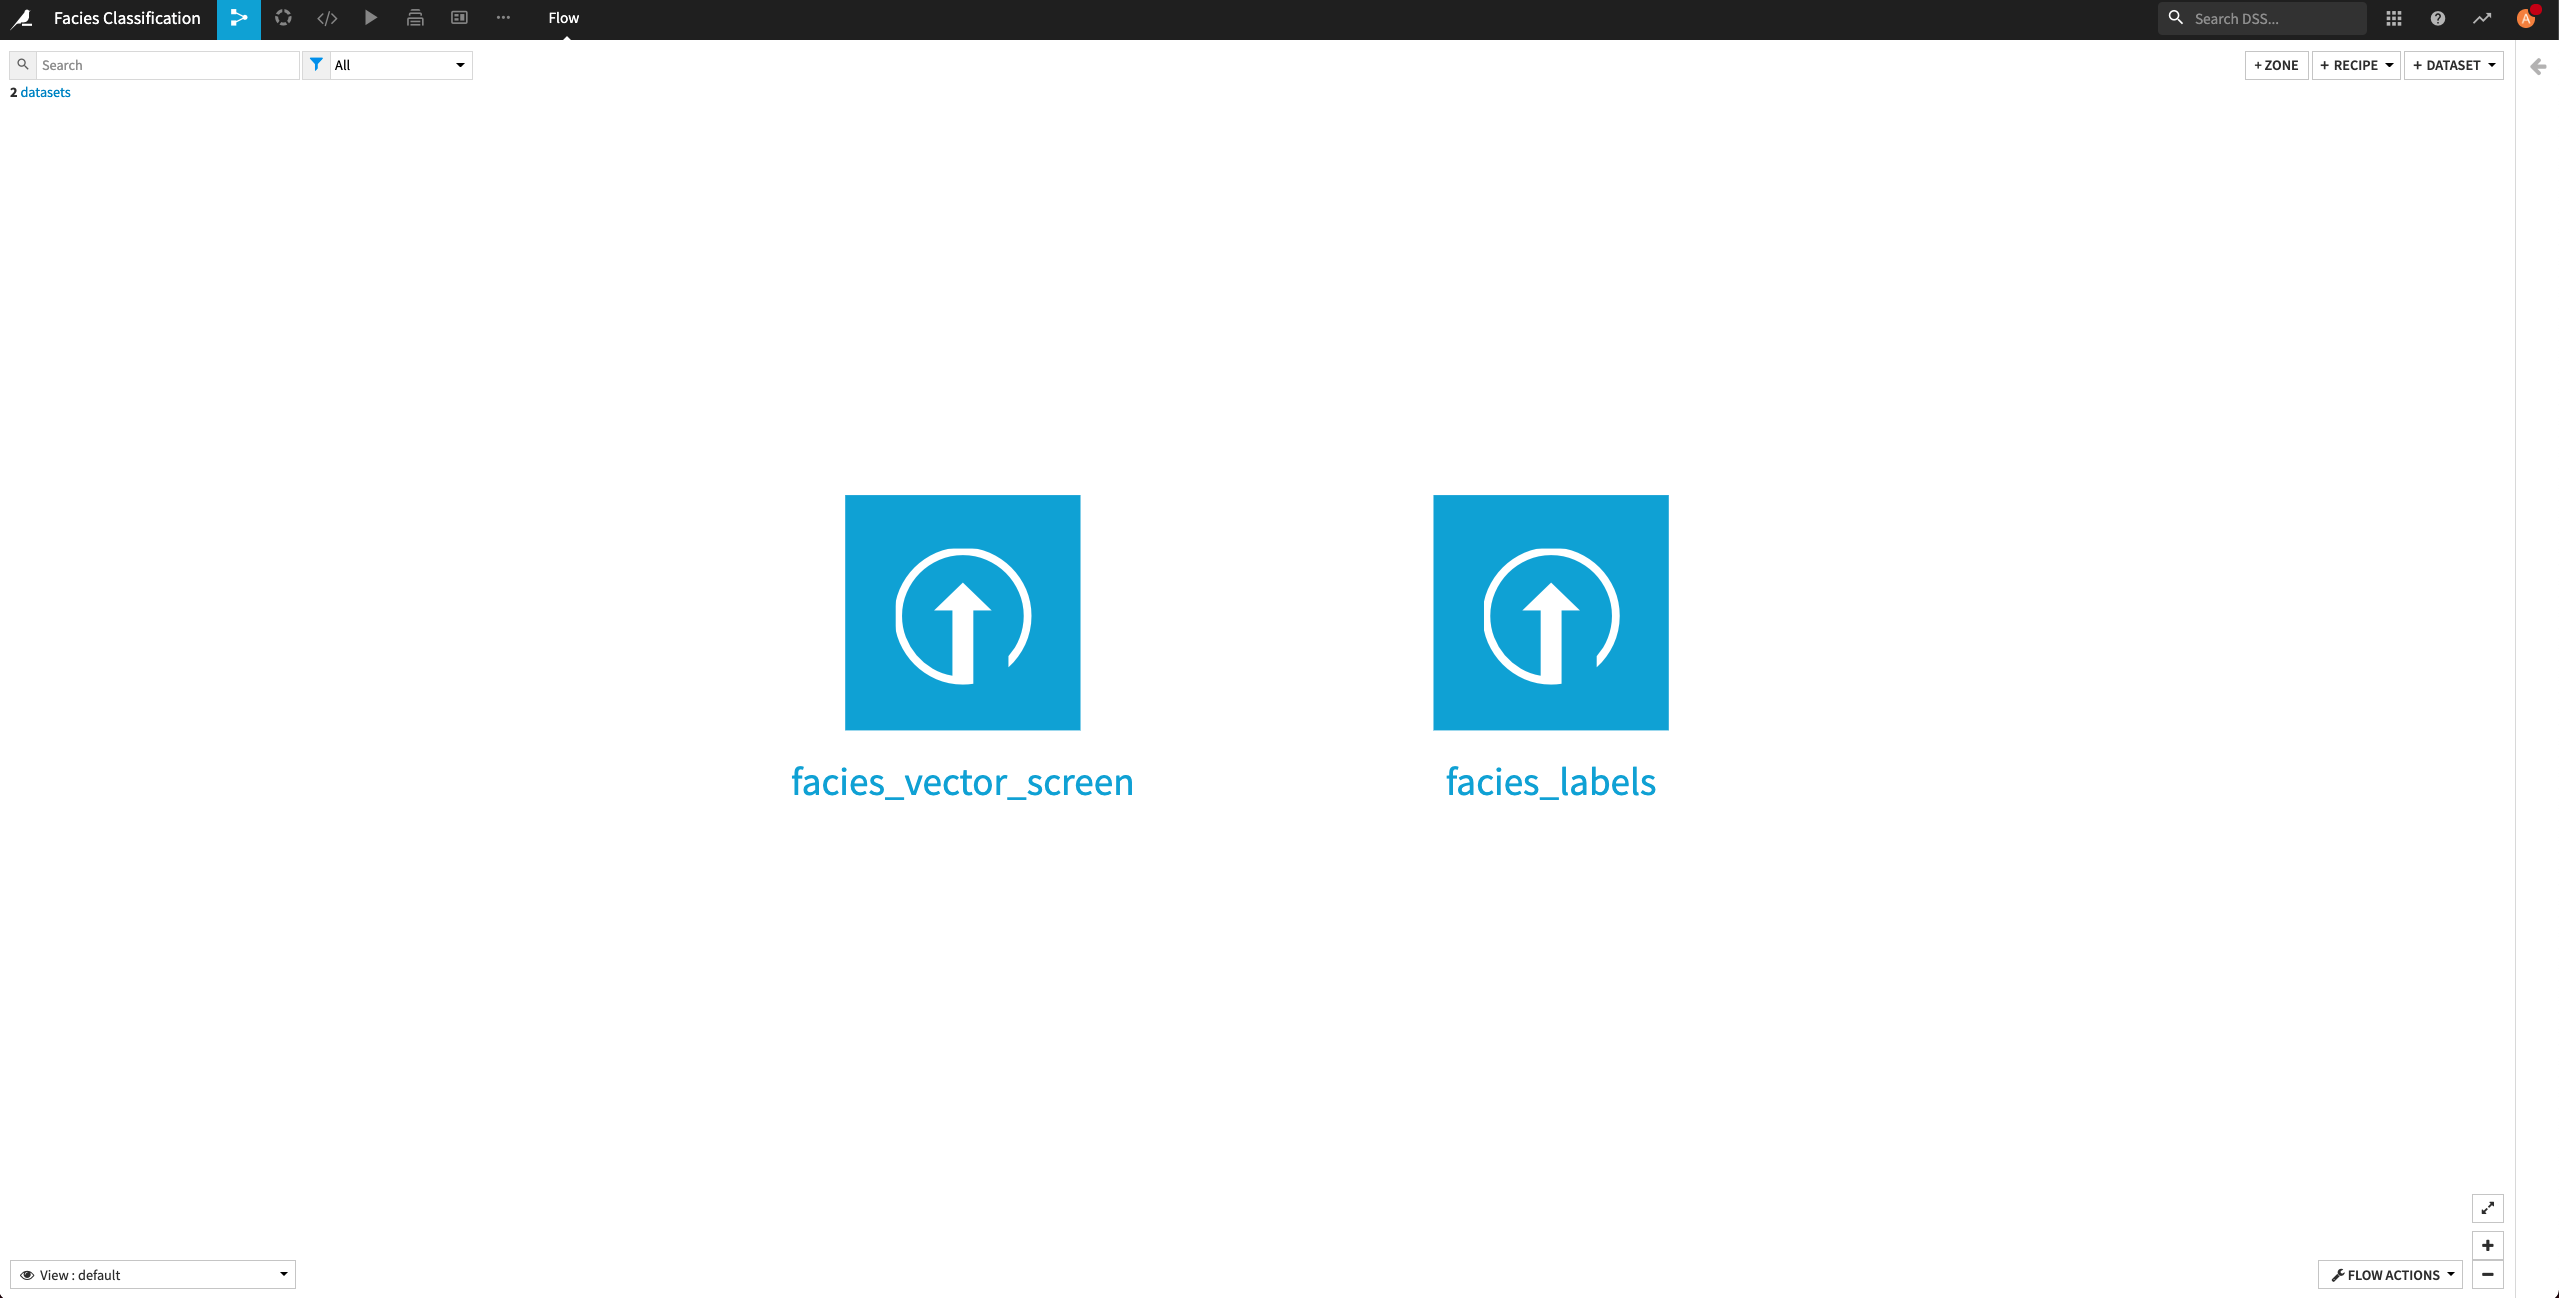
First, let’s create the facies_vector_screen and the facies_labels datasets in the project. From the project’s home page,
Click Import Your First Dataset.
Click Upload your files.
Add the facies_vector_screen.csv file.
Click Create to create the facies_vector_screen dataset.
Return to the Flow.
Create the facies_labels dataset in a similar manner.
Return to the Flow.
The facies_labels dataset contains a lookup table mapping each facies name to a number. We’ll join this dataset with facies_vector_screen.
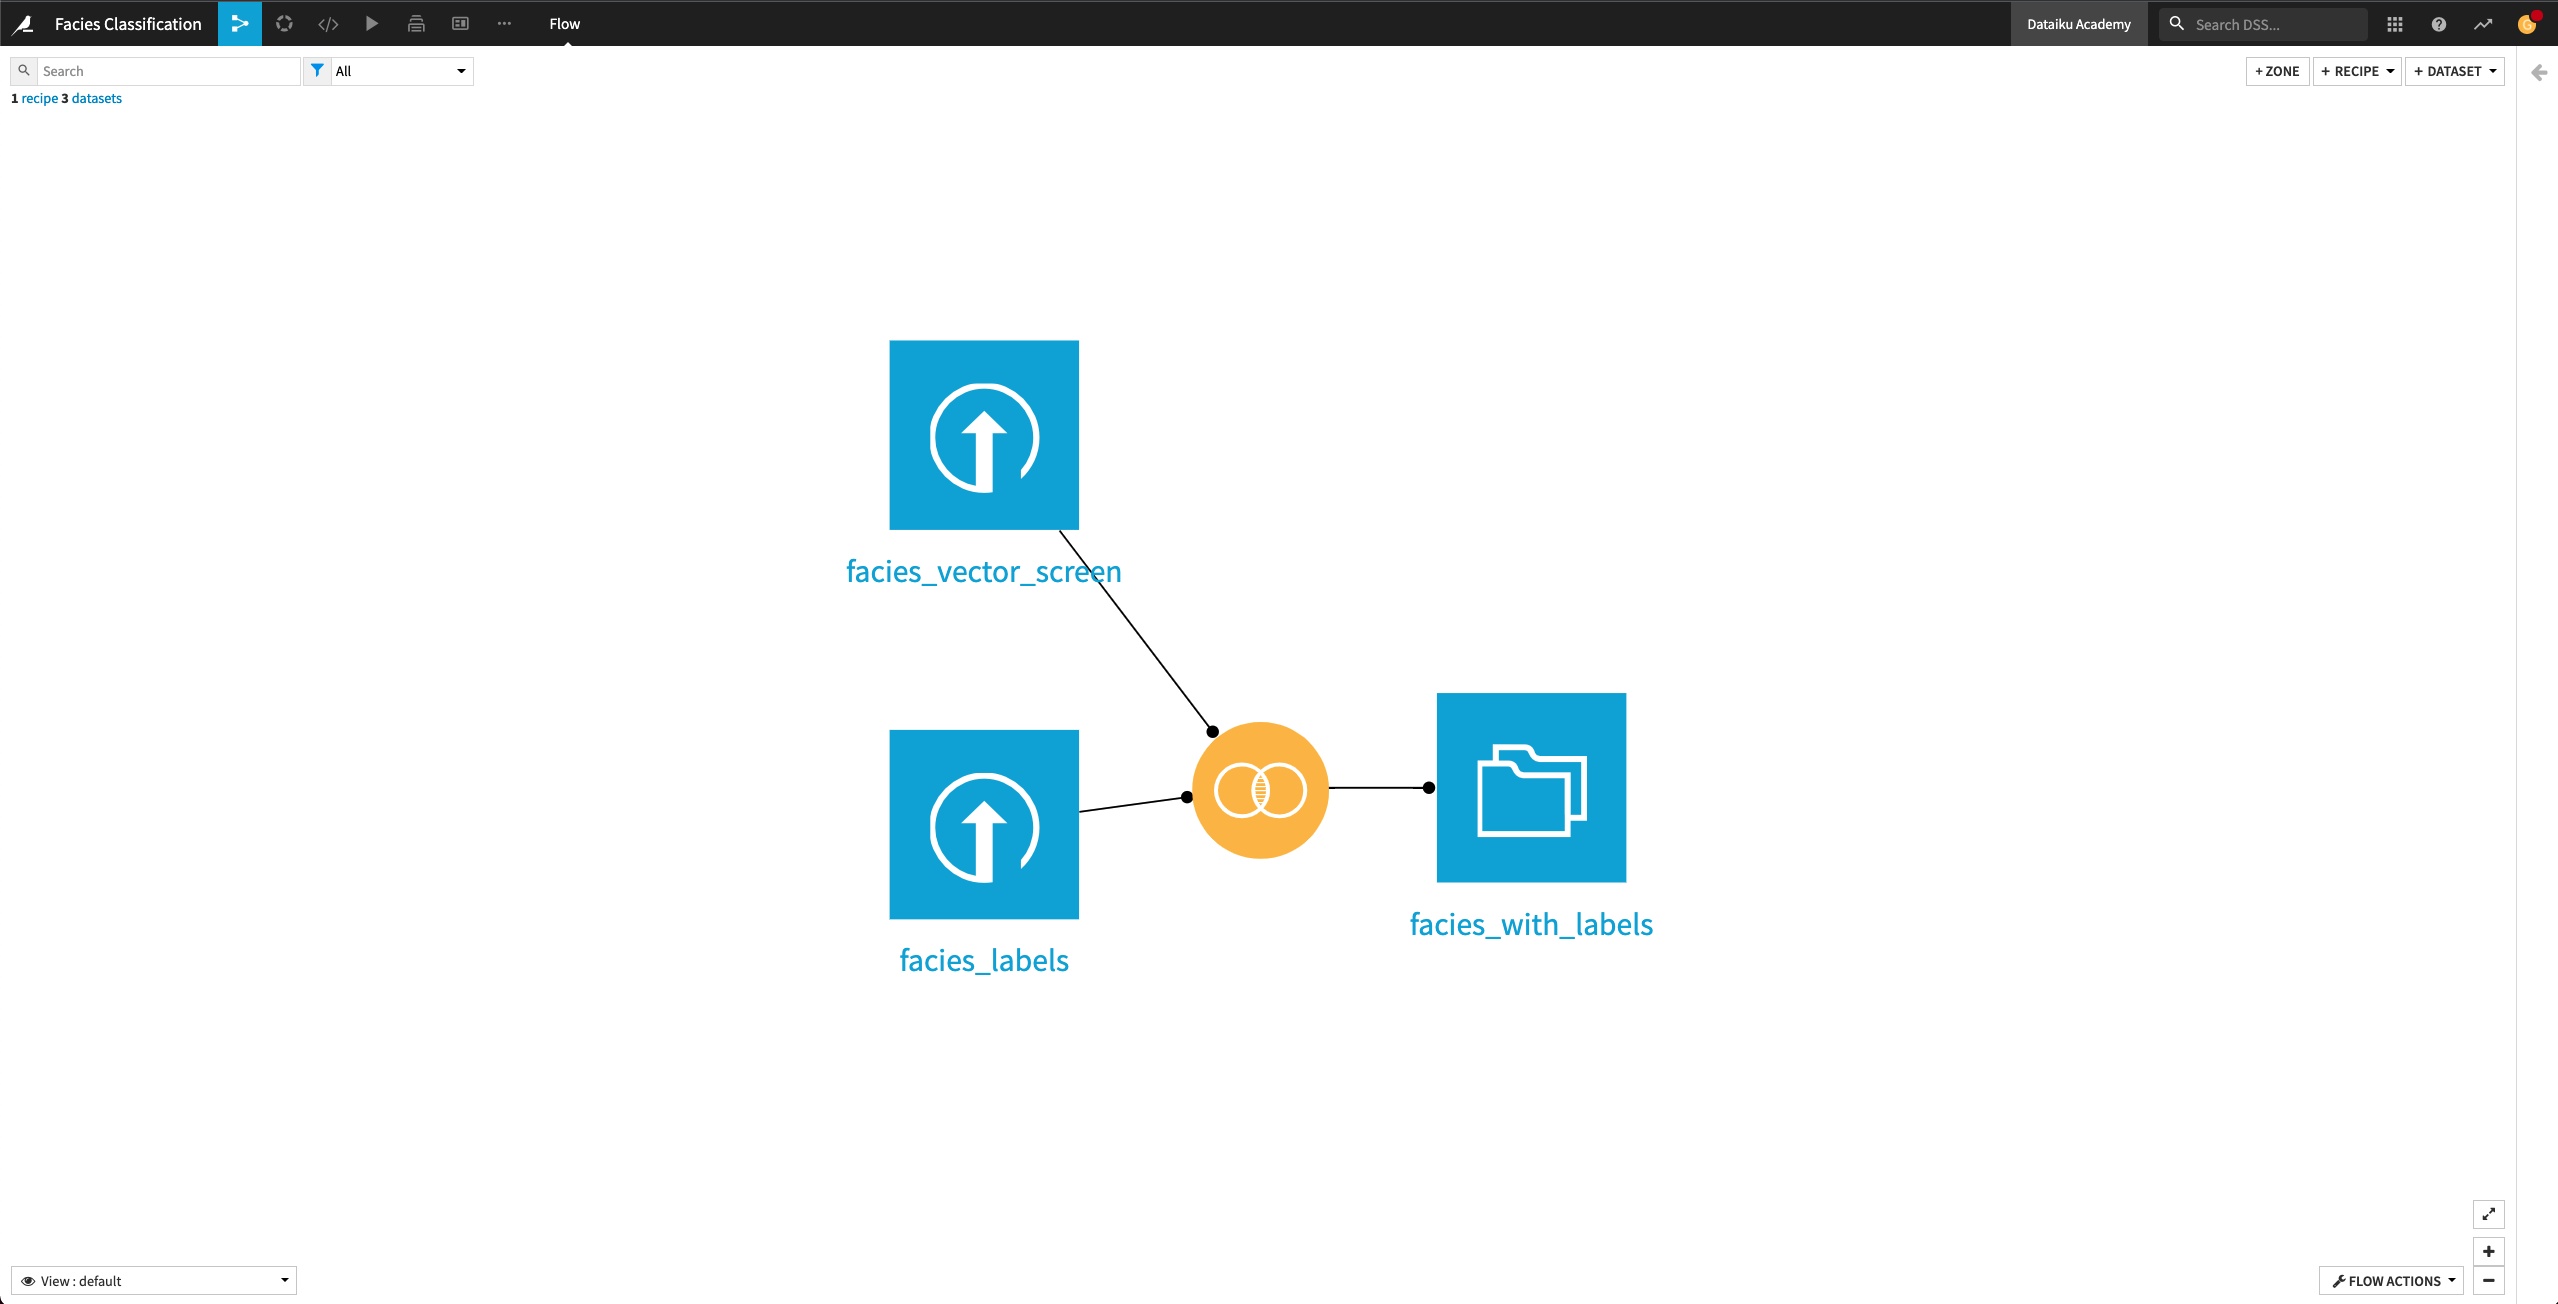
From the Flow, click the facies_vector_screen dataset to select it. This dataset will serve as the “left” dataset in the Join recipe.
Open the right panel and select the Join recipe.
Select the facies_label dataset as the additional input dataset.
Name the output dataset
facies_with_labels.Click Create Recipe.
By default, Dataiku selects the column Facies as the join key.

Click the Selected columns tab and uncheck the Facies column from the facies_vector_screen dataset. This column was useful to ensure the mapping between each facies characteristics vector and the explicit facies label. We do not need it anymore.
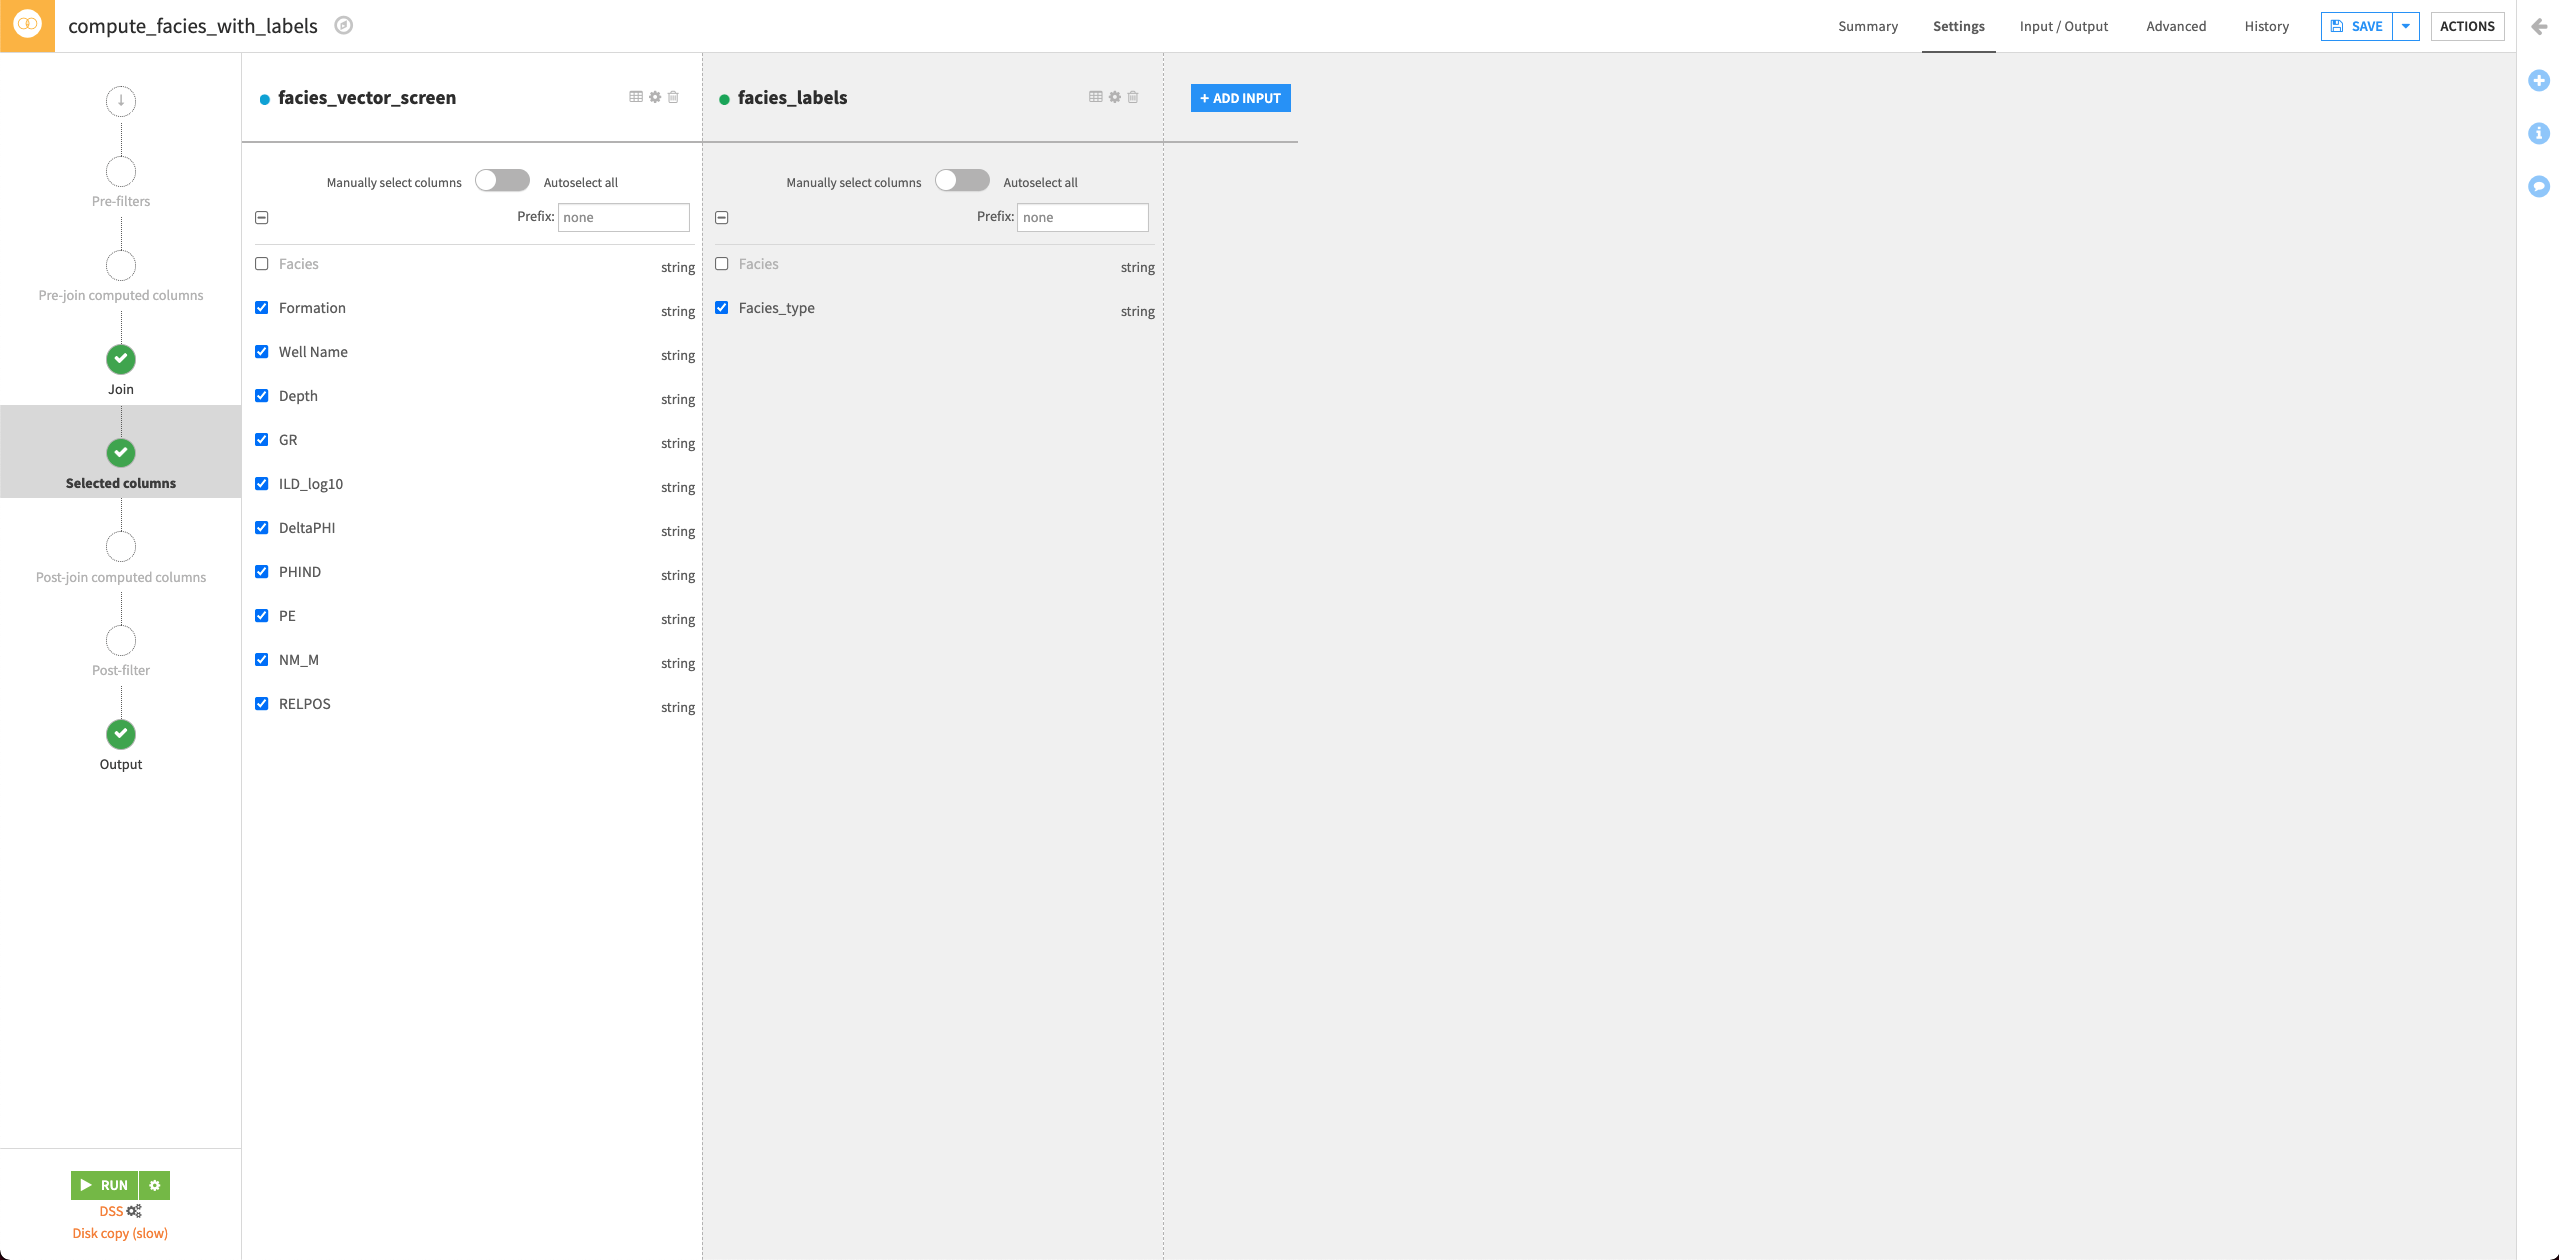
Click Run to run the recipe.
Click Update Schema to accept the schema change for the output dataset.
Return to the Flow.
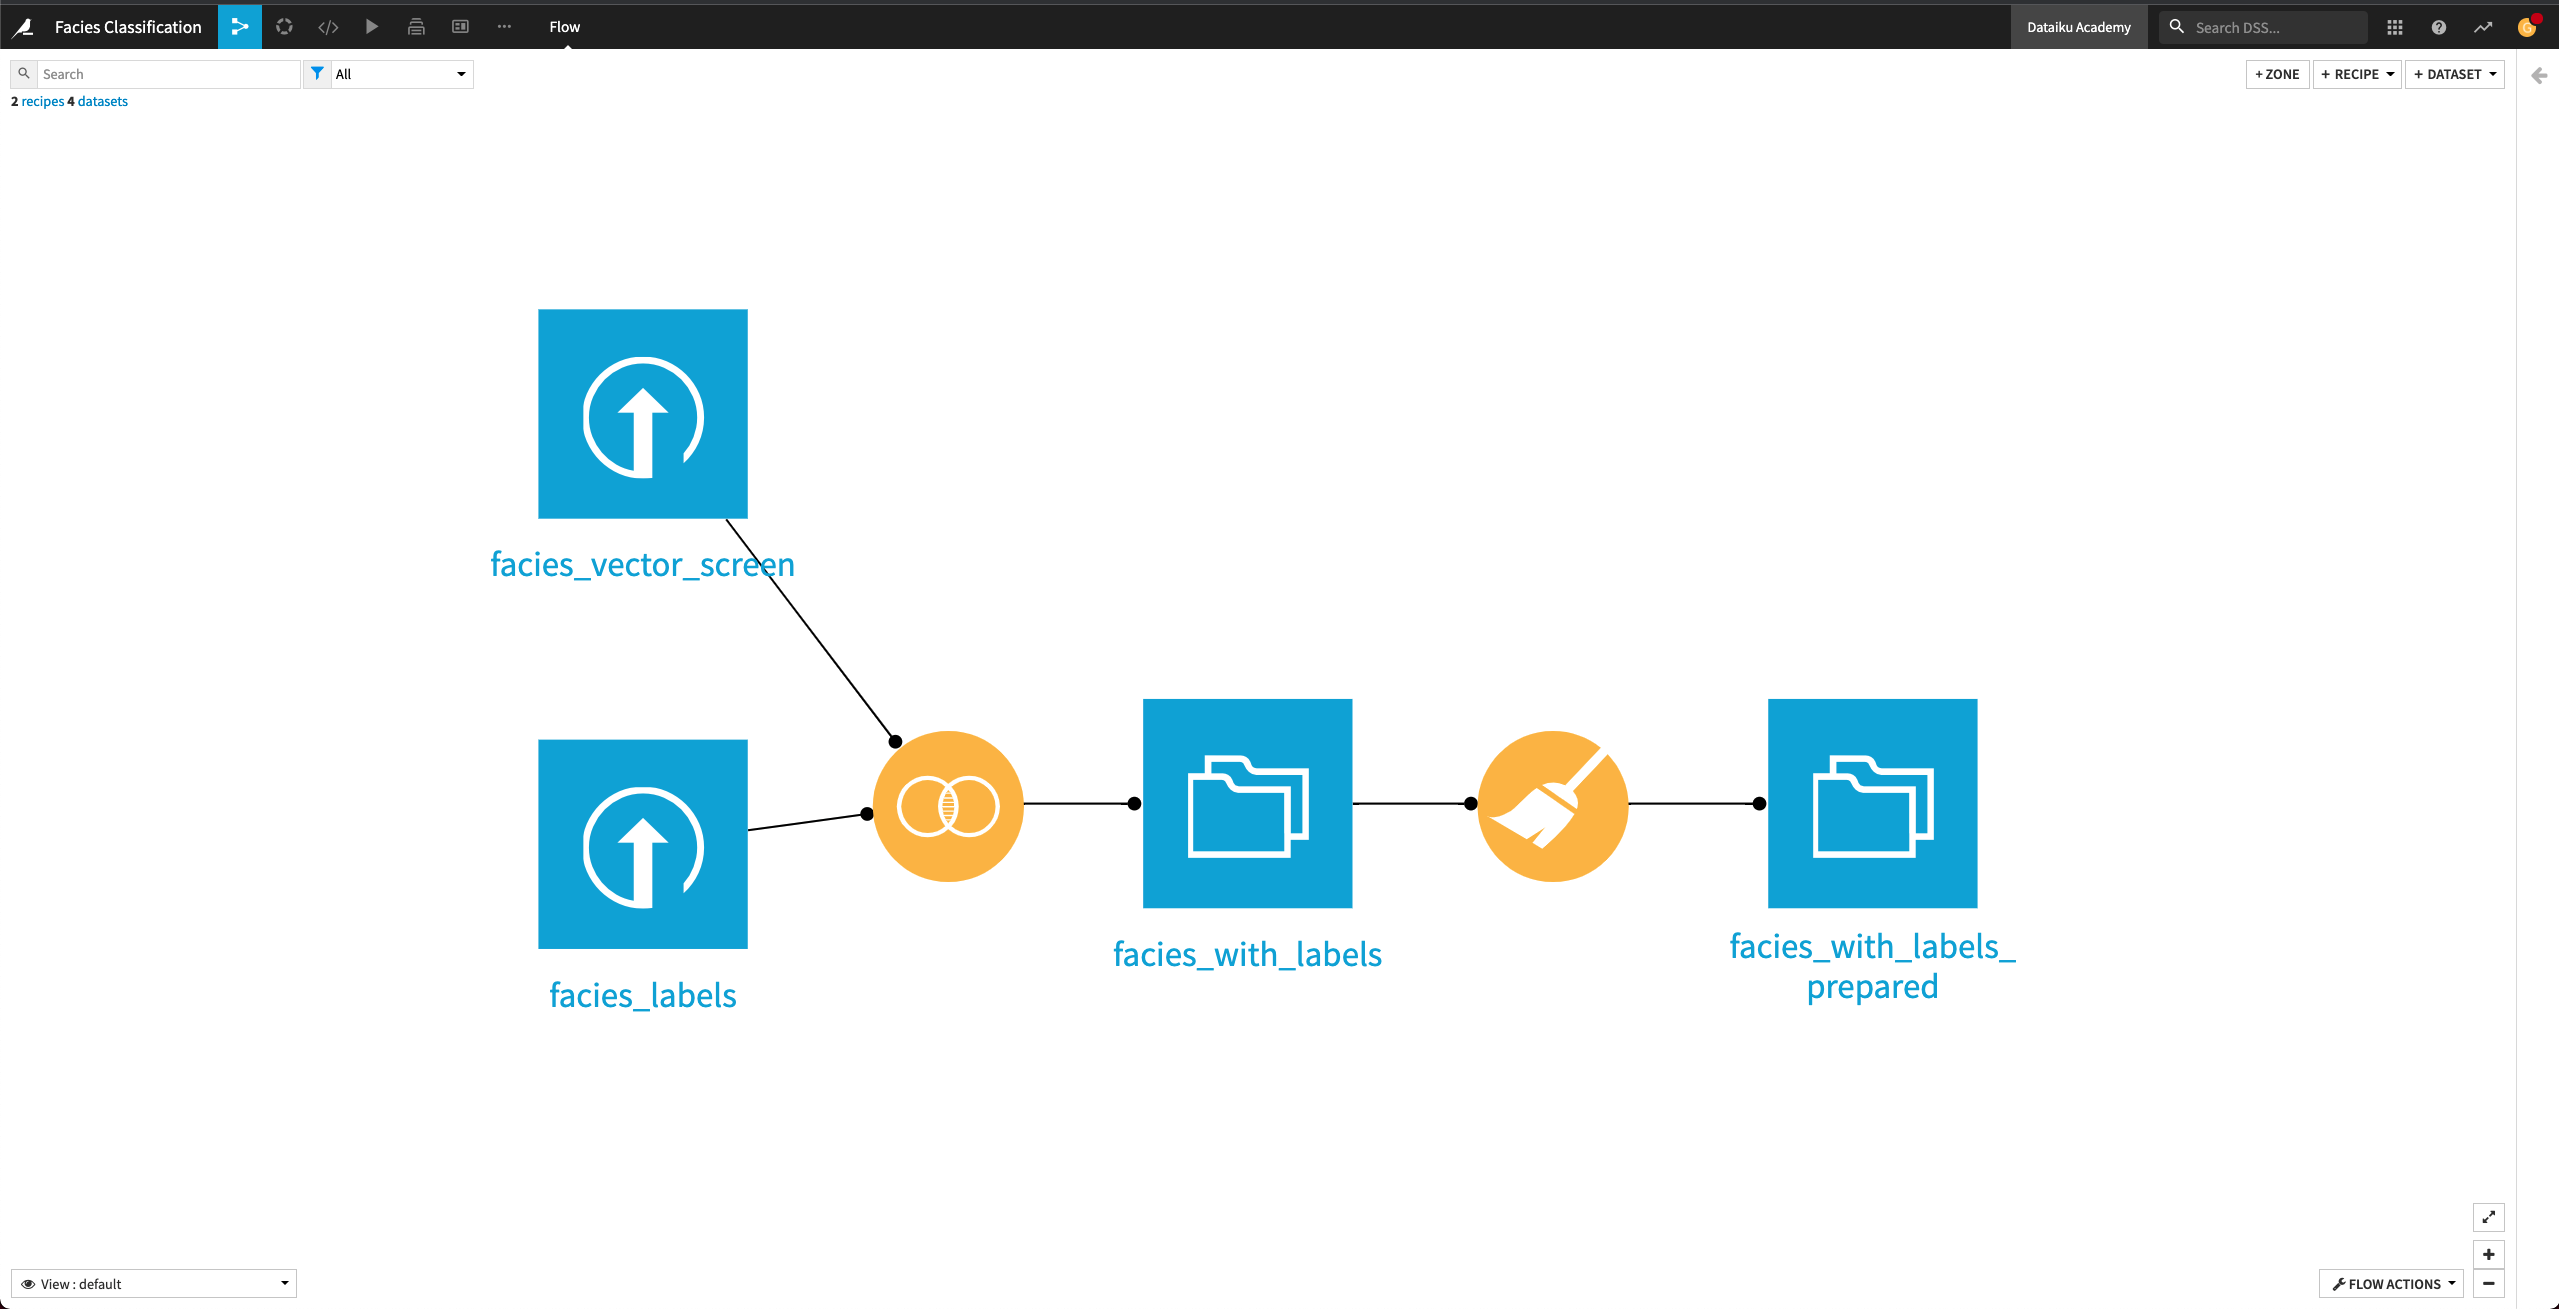
Prepare The Dataset
Explore the facies_with_labels dataset. The column names are not intuitive. For example, the column NM_M represents “nonmarine/marine indicator” and PE represents “Photoelectric effect”. We’ll rename the columns by using a Prepare recipe.
Return to the Flow and click the facies_with_labels dataset to select it.
From the right panel, select the Prepare recipe.
Keep the default output name
facies_with_labels_prepared, and click Create Recipe.Click + Add a New Step.
Search for the Rename columns processor and select it.
Click +Add Renaming.
Rename the following seven columns:
GR —>
Gamma rayILD_log10 —>
ResistivityPE —>
Photoelectric effectDeltaPHI —>
Neutron-density porosity differencePHIND —>
Average neutron-density porosityNM_M —>
Nonmarine/marine indicatorRELPOS —>
Relative position

Click Run to run the recipe and click Update Schema when prompted.