Hands-On Tutorial: The Public API in Dataiku DSS
The APIs of Dataiku DSS give coders the flexibility to complete both routine and complex tasks with code instead of the visual interface.
In this tutorial, you will gain a better understanding of the difference between the HTTP REST API and the Python client to the public API. In addition, you’ll learn how to programmatically interact with DSS objects such as projects, datasets, variables, flows, jobs, and scenarios.
Let’s Get Started
The use case for this project is simple: run a scenario to print a message informing us whose birthday is today. However, rather than relying on the visual interface, you’ll be using the public API to execute this and a number of other tasks.
Prerequisites
To complete this tutorial, you will need:
Dataiku DSS - version 9.0 or above.
A Python environment that includes the packages requests and datetime.
This tutorial was tested using a Python 3.6 code environment, but other Python versions may also be compatible.
You can find instructions for creating a code environment compatible with all courses in the Developer learning path in this article.
If you’re using Dataiku Online, the “dash” code environment is compatible.
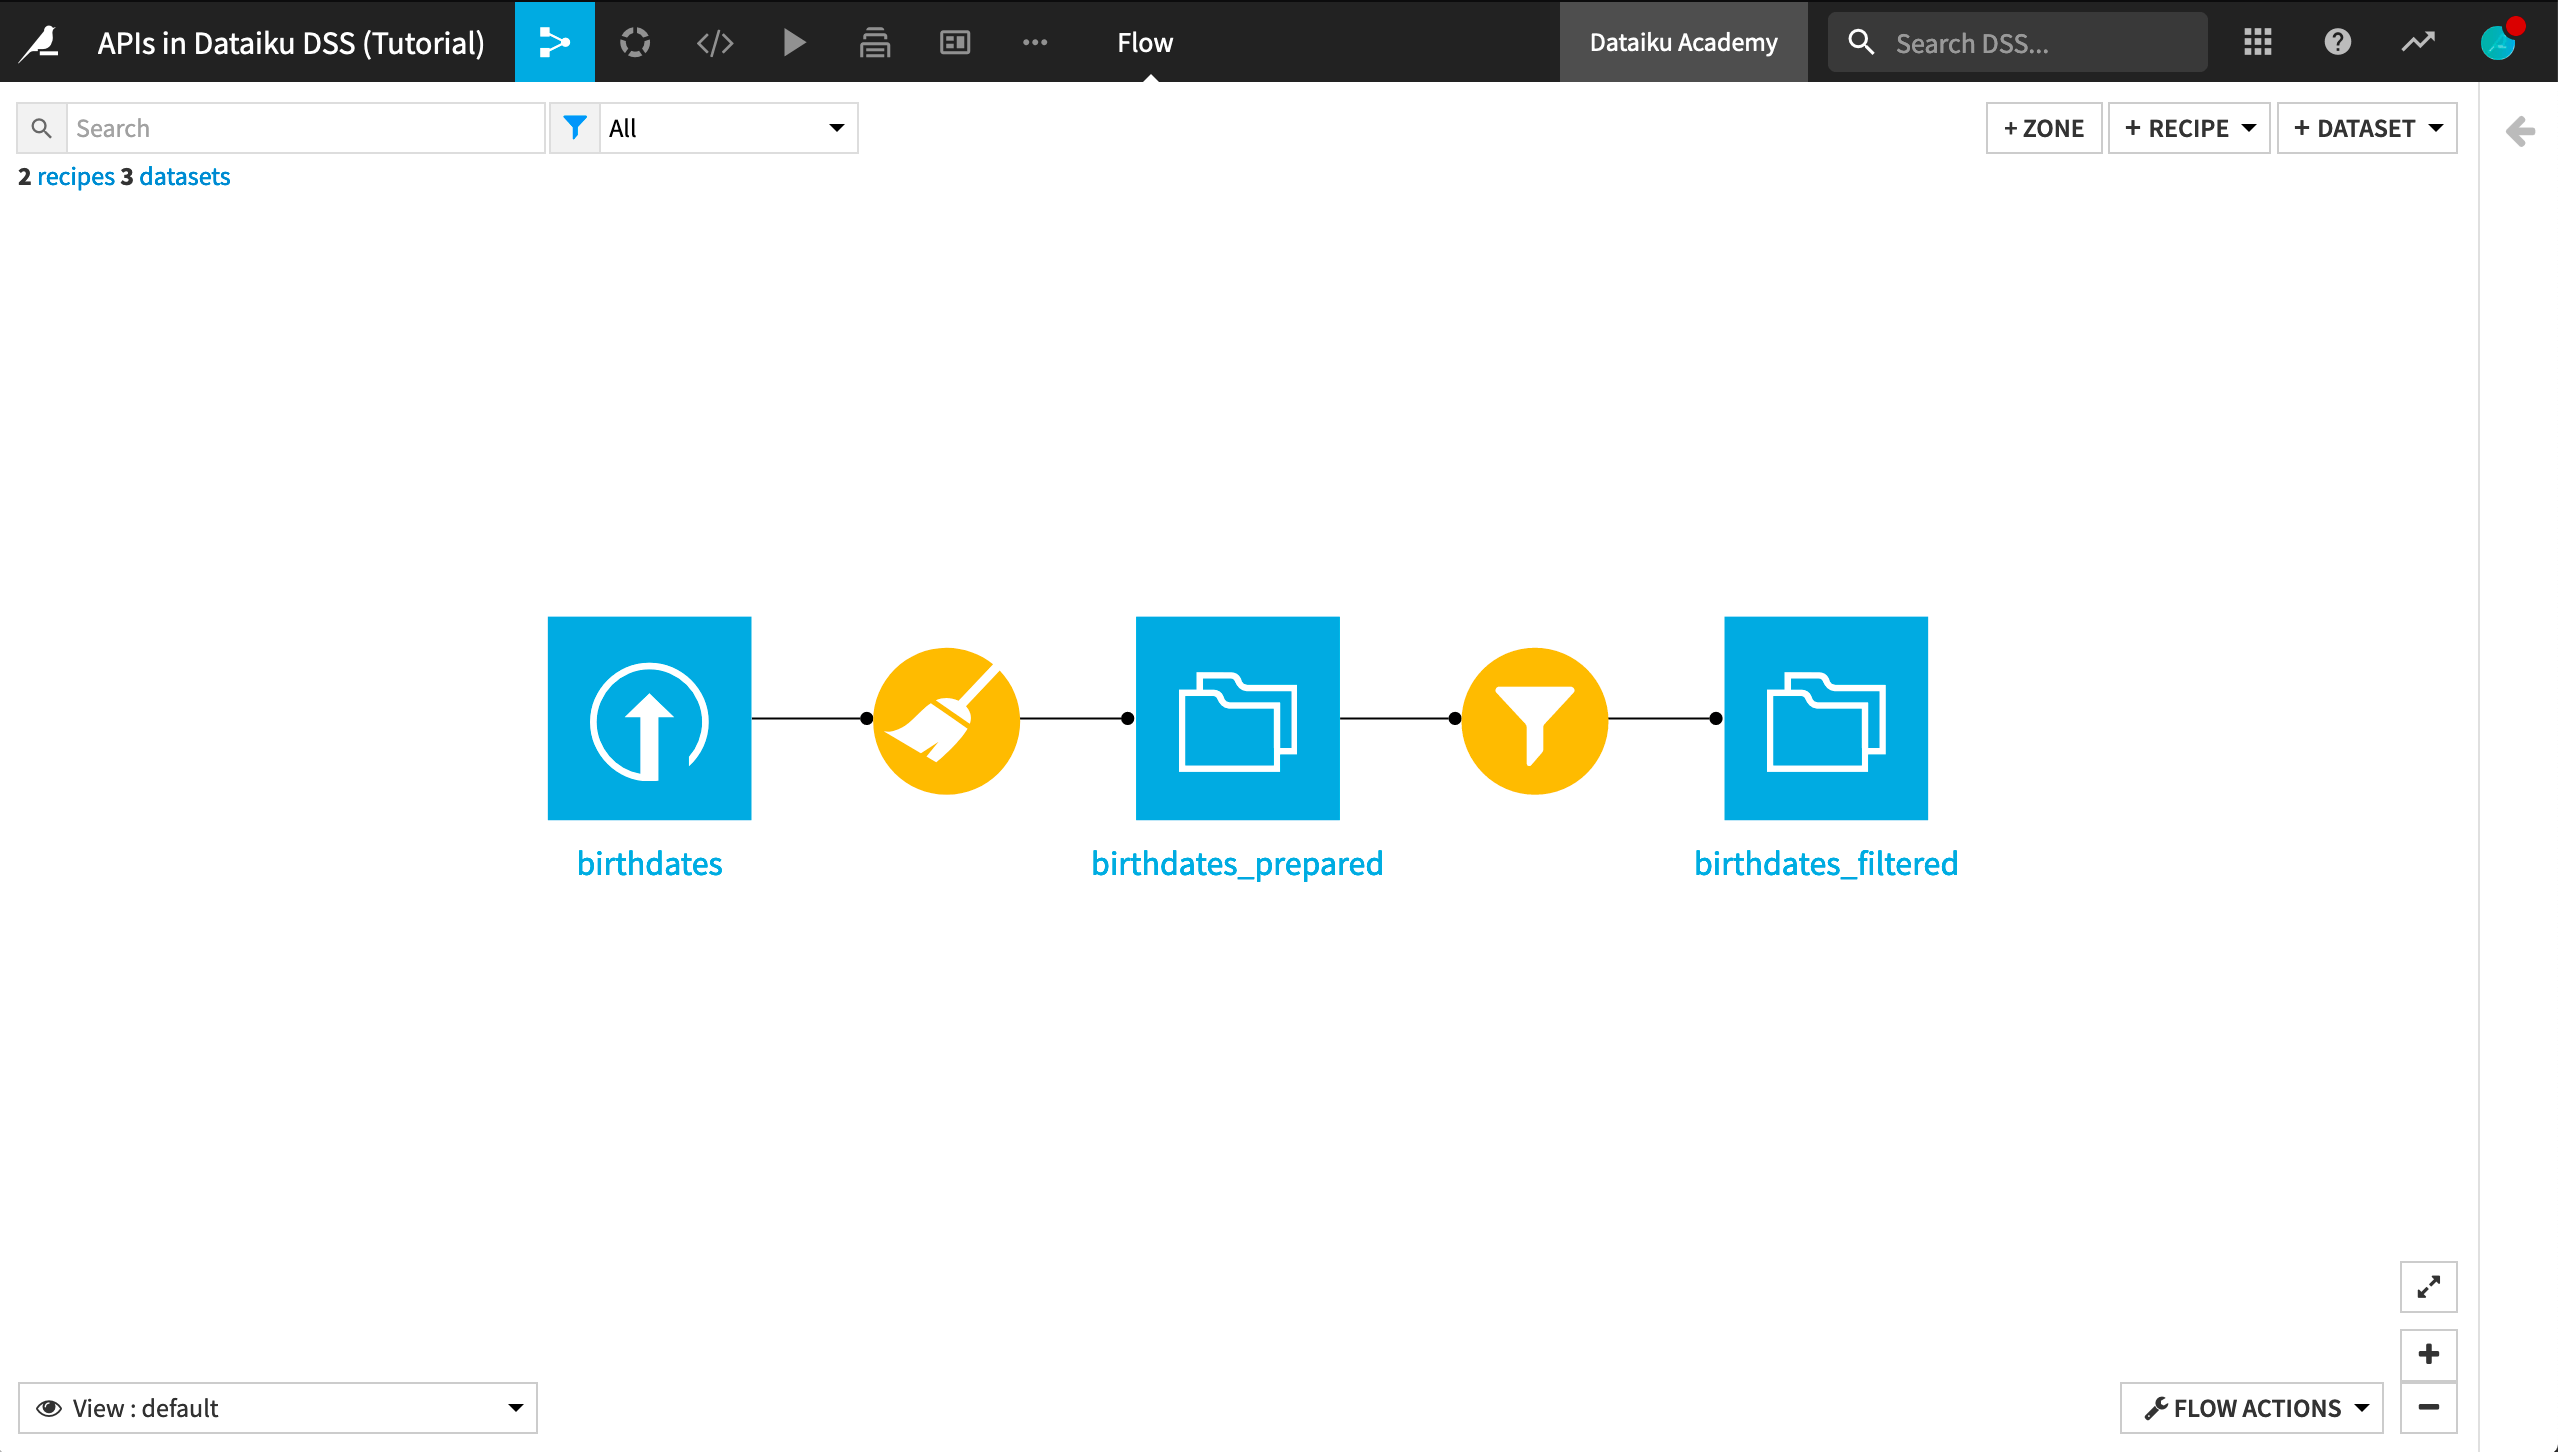
Workflow Overview
When you have completed the tutorial, you will have built the Flow pictured below and much more (all without touching the visual tools):
Create a Project
To get started, create the project below.
From the Dataiku DSS homepage, click on +New Project > DSS Tutorials > Developer > APIs in Dataiku DSS.
Click OK.
Observe the Flow
The starting Flow of this project is very simple.
The birthdates dataset contains records of names and birthdates.
The Prepare recipe extracts the components of the birthdates (day, month, year).
The Filter recipe filters the dataset for the current date.
We could manually build this Flow, but instead, we are going to use the public API to automate this task.
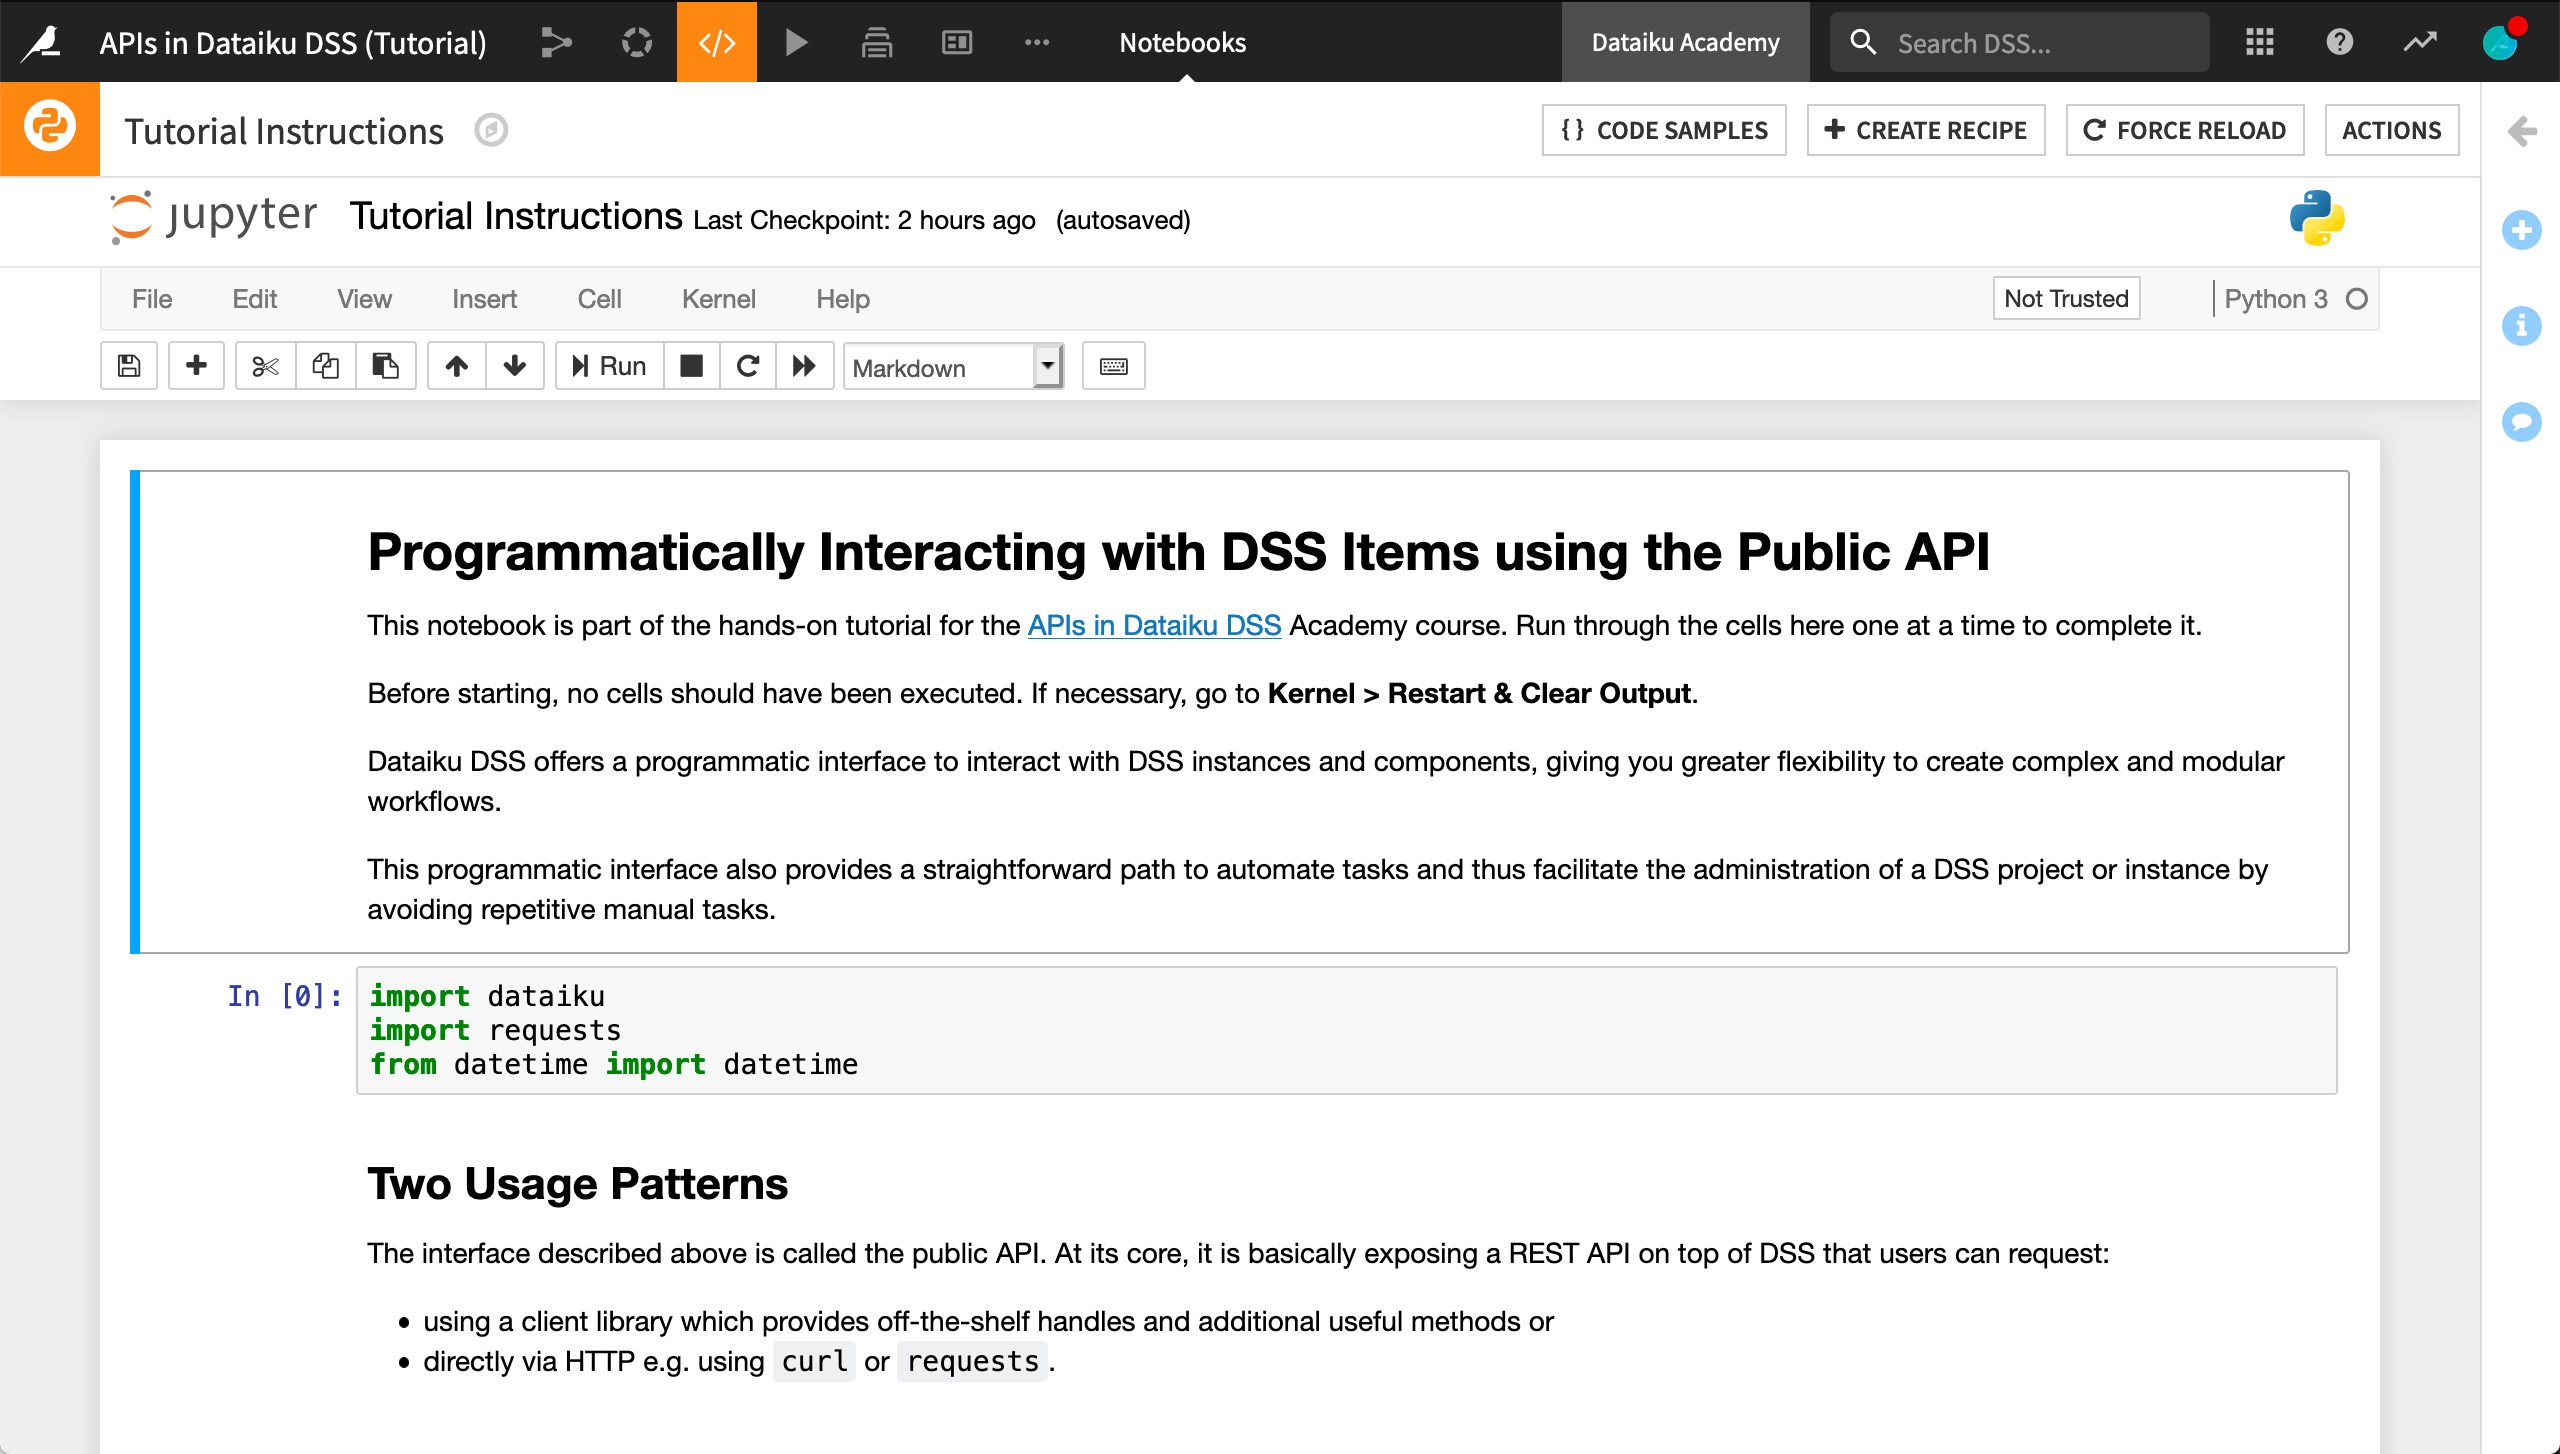
Open the Notebook
Unlike most Academy tutorials, most of the instructions for this tutorial are self-contained in a pre-existing Python notebook.
Navigate to the notebooks page (G+N).
Open the notebook Tutorial Instructions and begin running the cells one at a time.
Note
Depending on the kernels available to your instance, you may need to select a new kernel, inside the notebook. This tutorial was tested using a Python 3.6 code environment, but other Python versions may also be compatible.
Learn More
Congratulations on taking your first steps exploring the capabilities of the public API.
Now that you have the basics, the best place to learn more is to consult the product documentation. There you’ll find additional examples, as well as the reference API documentation.