How to Create a Custom Webapp
In this tutorial, we’ll start from the webapp created in the Bokeh webapp tutorial.
Convert to a Webapp Plugin
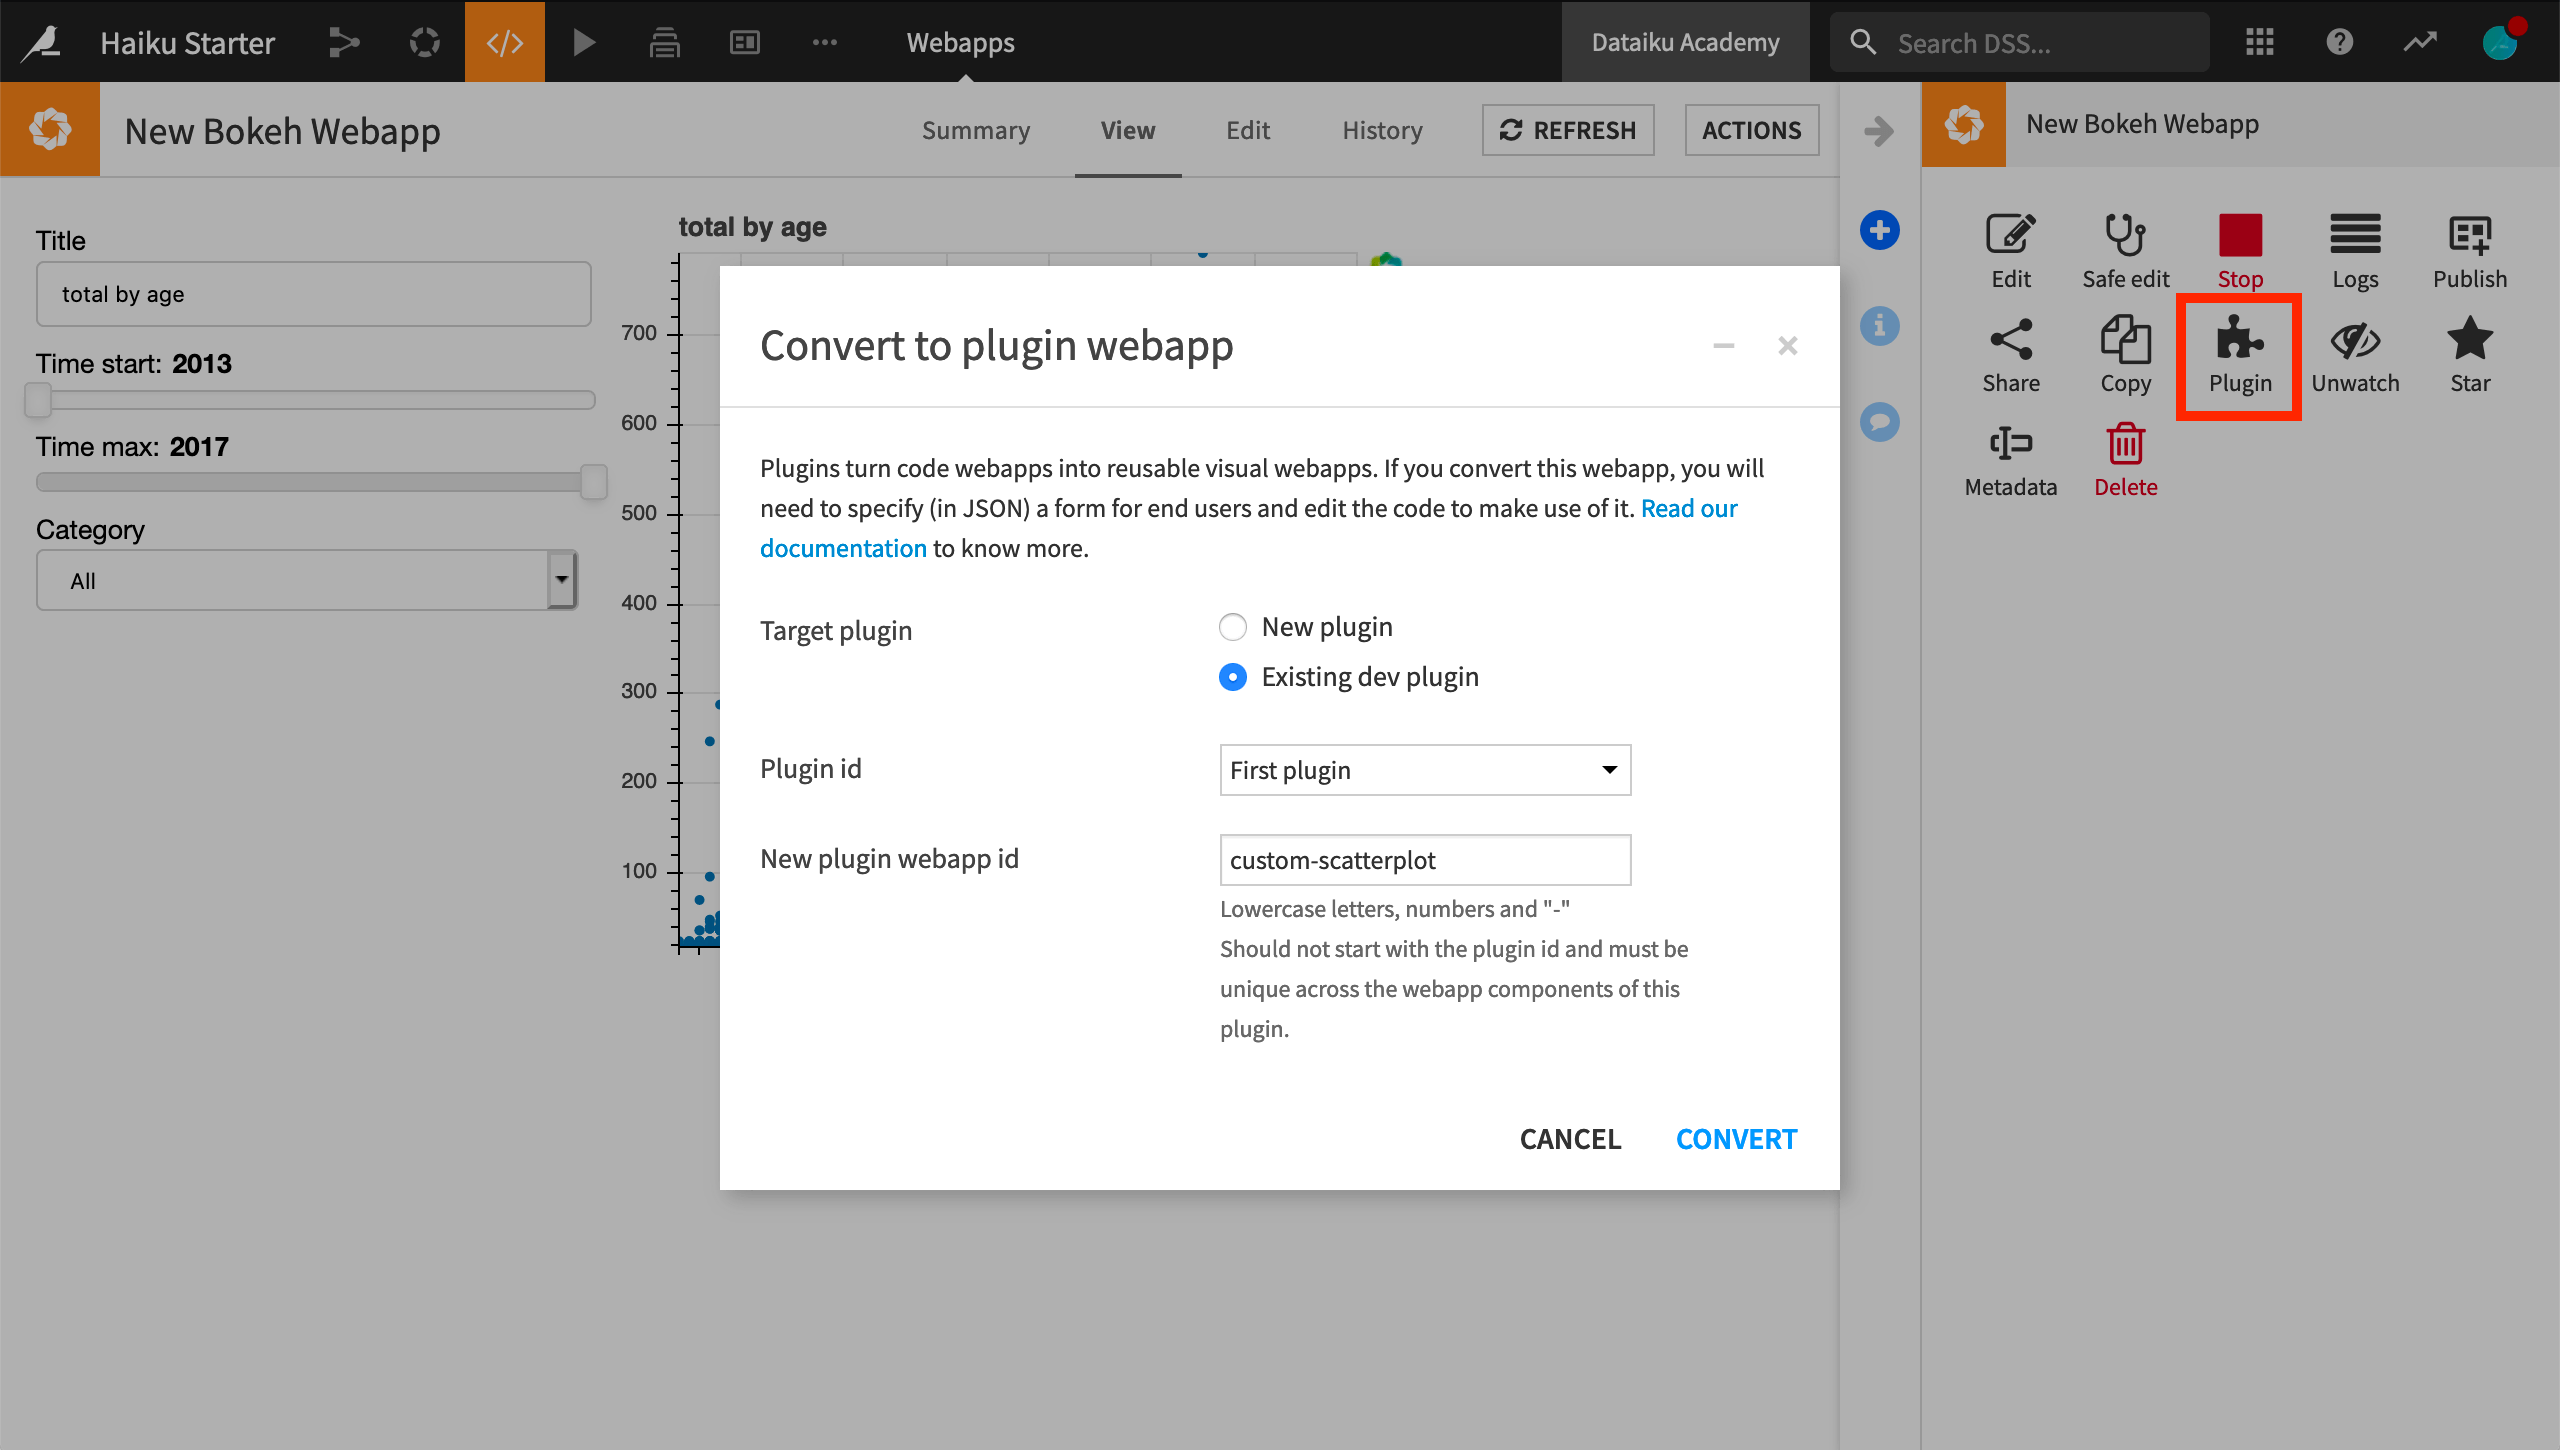
Click the Actions button of the webapp you created to open the right panel.
Click Plugin to convert it to a plugin webapp.
Choose your existing dev plugin as the target plugin.
Give the webapp an identifier like
custom-scatterplot.Click Convert.
Confirm the overwrite of existing sources, if necessary, and choose to edit the plugin now.
Edit Definitions in webapp.json
First, let’s have a look at the webapp.json file. This describes the parameters that the user will have to specify when using the plugin webapp.
Note that unlike the recipe.json file of a plugin recipe (see that lesson), there are no input_roles or output_roles sections of JSON, and we can focus on editing the params section.
Thinking about the parameters to specify, there’s:
the input dataset
the X-axis column
the Y-axis column
the “time” column
a categorical column
… which can be specified in the JSON as follows.
"params": [
    {
        "name": "input_dataset",
        "type": "DATASET",
        "label": "Dataset",
        "description": "The dataset used to populate the webapp",
        "mandatory": true,
        "canSelectForeign": true
    },
    {
        "name": "x_column",
        "type": "DATASET_COLUMN",
        "datasetParamName": "input_dataset",
        "label": "X-Axis Column",
        "description": "",
        "mandatory": true
    },
    {
        "name": "y_column",
        "type": "DATASET_COLUMN",
        "datasetParamName": "input_dataset",
        "label": "Y-Axis Column",
        "description": "",
        "mandatory": true
    },
    {
        "name": "time_column",
        "type": "DATASET_COLUMN",
        "datasetParamName": "input_dataset",
        "label": "Time Column",
        "description": "",
        "mandatory": true
    },
    {
        "name": "cat_column",
        "type": "DATASET_COLUMN",
        "datasetParamName": "input_dataset",
        "label": "Categorical Column",
        "description": "",
        "mandatory": true
    }
],
After doing that, uncomment the roles section.
"roles": [
    {"type": "DATASET", "targetParamsKey": "input_dataset"}
]
Edit code in backend.py
Now let’s edit backend.py. The default contents include the code from your Python Bokeh webapp. Looking through the code, we can see that the original webapp is written in such a way that we can easily generalize it.
Find the block that begins with the comment Parameterize webapp inputs and replace it with what follows:
# Retrieve parameter values from the of map of parameters
input_dataset = get_webapp_config()['input_dataset']
x_column = get_webapp_config()['x_column']
y_column = get_webapp_config()['y_column']
time_column = get_webapp_config()['time_column']
cat_column = get_webapp_config()['cat_column']
Next we’ll access the input Dataiku dataset as a pandas dataframe, and extract the X- and Y-axis columns from the pandas dataframe to define the source data for the visualization.
Use Your Custom Webapp in a Project
Note
After editing webapp.json for a plugin webapp, you must do the following:
Click Reload.
Reload the Dataiku DSS page in your browser.
When modifying the backend.py file, you don’t need to reload anything. Simply restart the webapp backend.
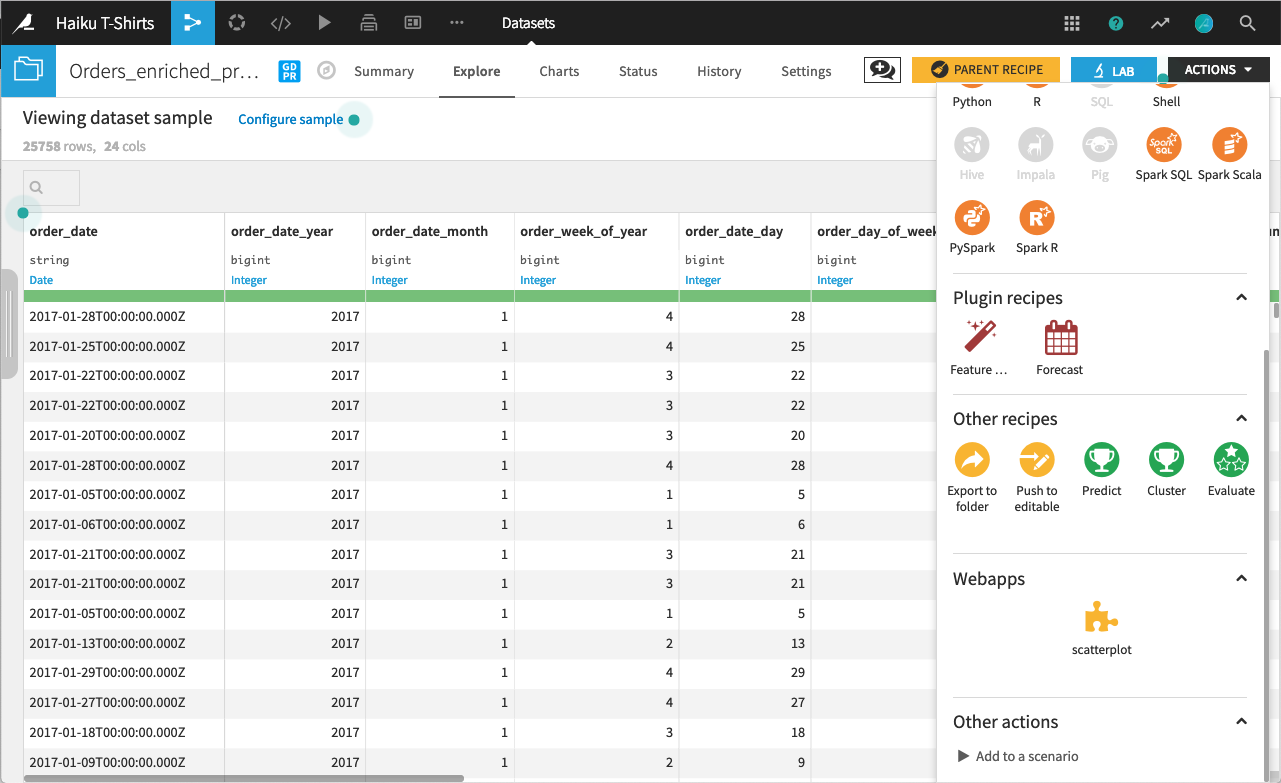
Go to the Flow and open a dataset, such as Orders_enriched_prepared.
From the Actions sidebar, select your plugin webapp.
Give the new webapp a name (or accept the default).
In the Settings tab, make the desired selections for displaying the webapp.
Click Save and view webapp.
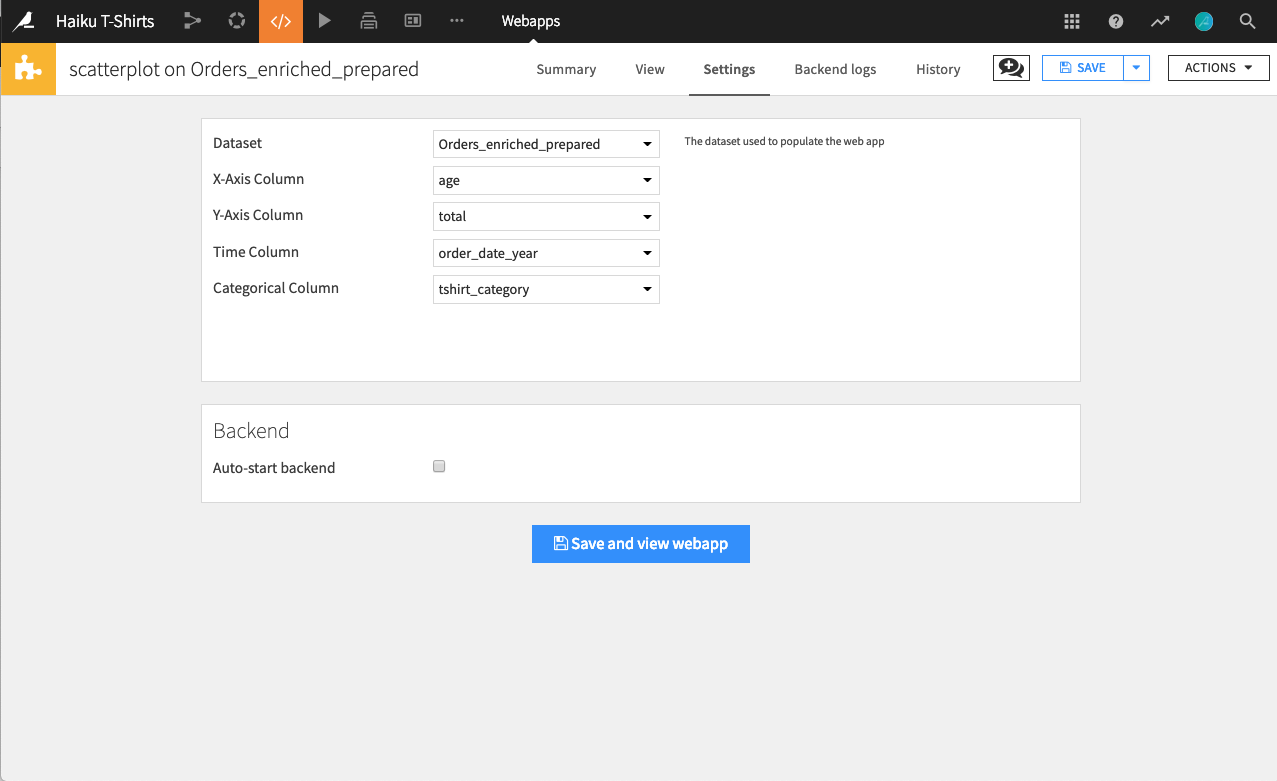
The webapp displays with the selected settings, and provides the interactivity to change the plot title, the time period to display, and the category of the categorical column.

In order to change the dataset and columns used by the webapp, go to the Settings tab, make the new selections, and click View webapp.