Concept: Custom Metrics, Checks & Scenarios
In other lessons, we have explored creating metrics and checks, as well as scenarios, using only the native visual tools.
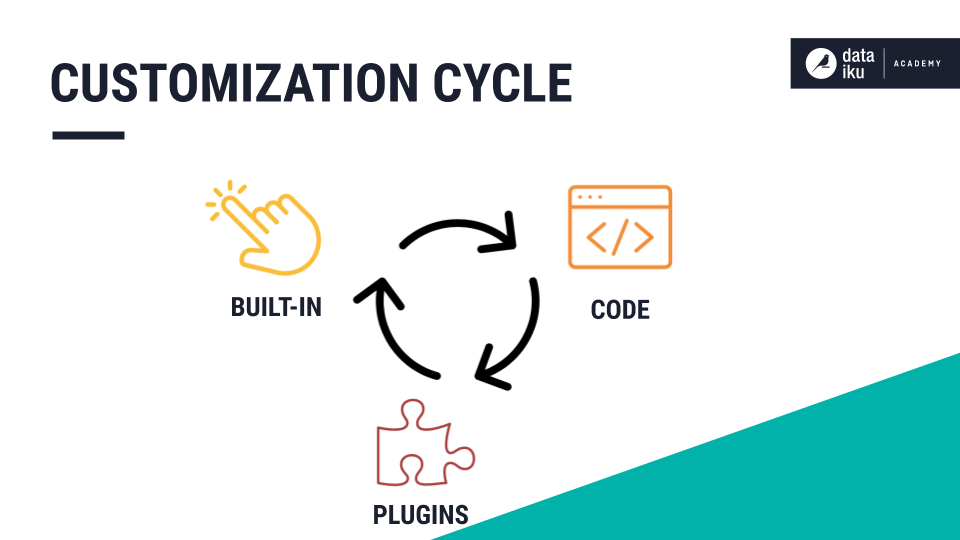
When more customization is needed than the visual options can provide, Dataiku DSS allows users to implement custom solutions with code. This is the same dynamic found in other areas of Dataiku DSS, such as data preparation or machine learning.
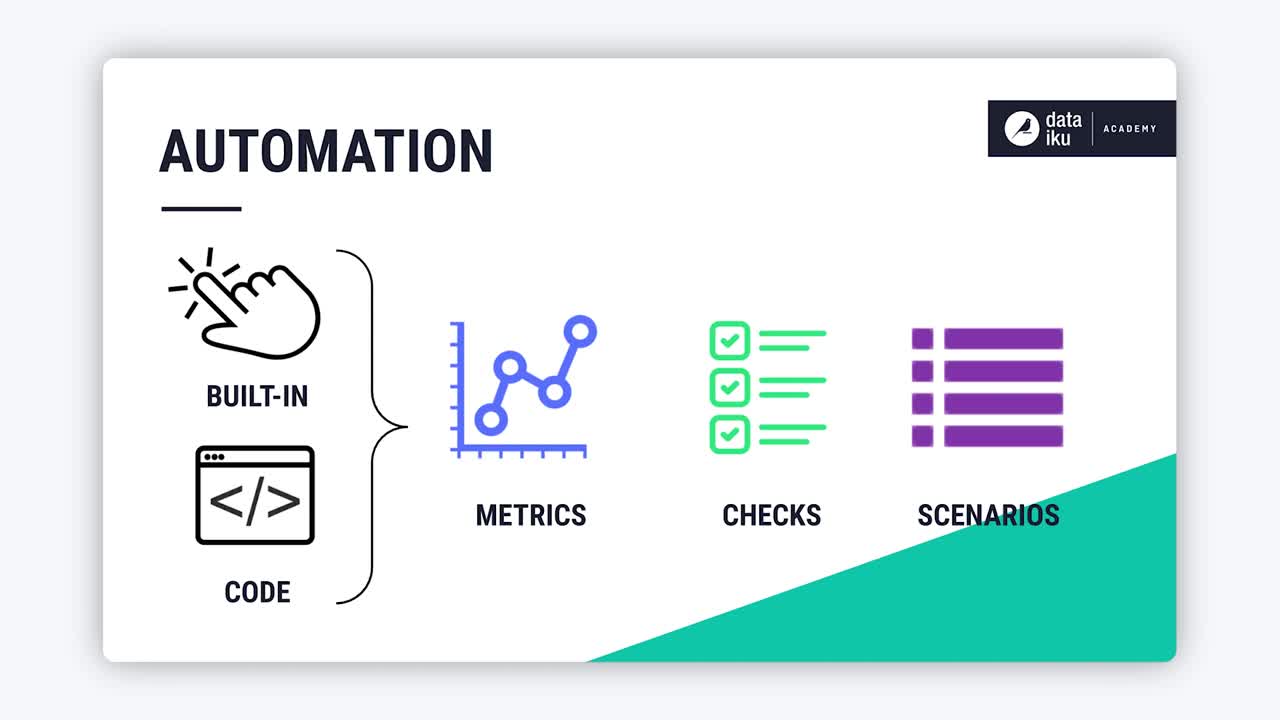
In this lesson, we’ll introduce how users can code their own custom:
metrics,
checks, and
scenarios, including triggers and steps.
We’ll also discuss how these customized components can be wrapped into visual plugins for easy re-use by non-coding colleagues.
Tip
This content is also included in a free Dataiku Academy course on Automation, which is part of the Advanced Designer learning path. Register for the course there if you’d like to track and validate your progress alongside concept videos, summaries, hands-on tutorials, and quizzes.
Custom Metrics
Let’s start by creating our own custom metric. We have already explored many of the built-in options for creating metrics. If, however, none of the built-in metrics achieve our exact objectives, we can create our own Python probe, or, in the case of a dataset in a SQL database, a SQL query probe.
Let’s focus on writing our own Python probe. After selecting a code environment, Dataiku DSS provides some starter code for a “process” function.
The first parameter is the Dataiku DSS dataset or folder for which we are creating the metric.
The second is the “partition ID” if the dataset or folder is partitioned.
The function returns a dictionary with the name and value of the metrics.
As a simple example, let’s compute the number of records of the dataset, accessing the Pandas dataframe through the get_dataframe() function.
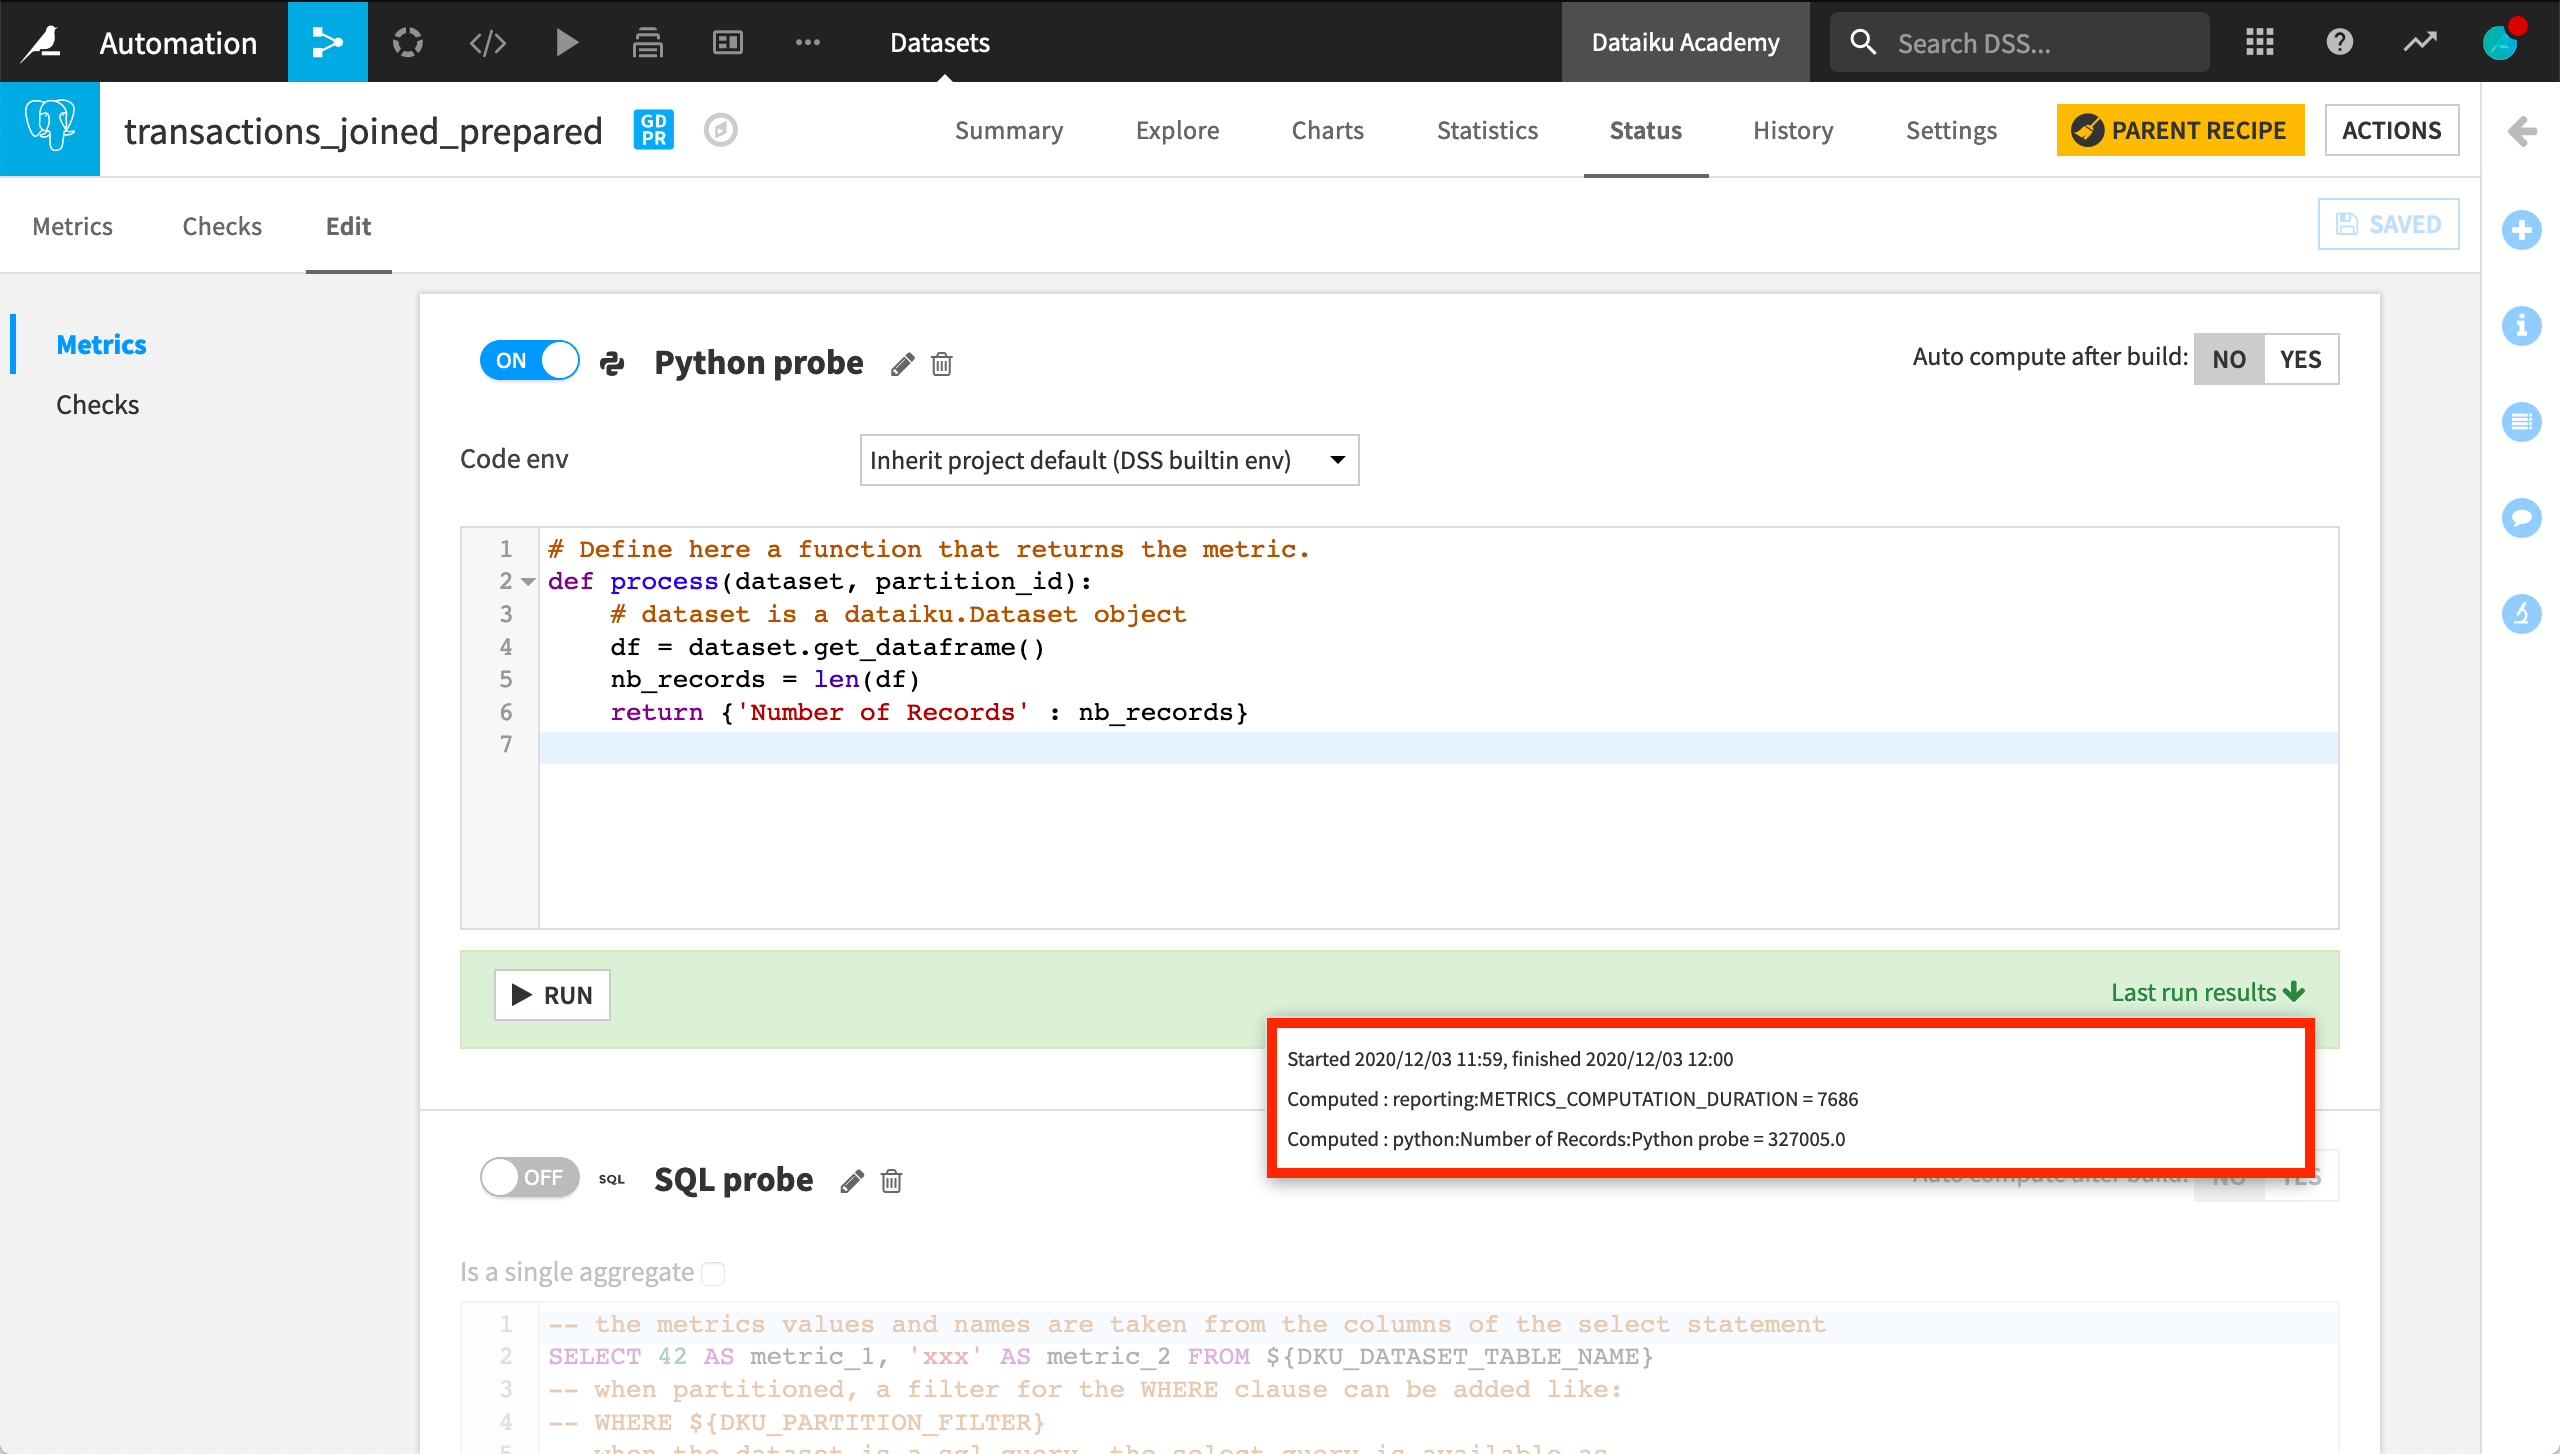
Once the function is ready, we can find our custom metric in the list of available metrics. Not surprisingly, it returns the same result as the built-in record count function.
Custom Checks
Now let’s create a custom check using the previously-created custom metric. The starter code for the “process” function in this case suggests three input parameters:
A dictionary of the last values of the metrics;
The dataset or folder for which you are creating the check; and
The “partition id” if the dataset or folder is partitioned.
Let’s write a check to know if our dataset has more than 100,000 rows. To find the dictionary key corresponding to the metric, we can return to the Metrics page and check the last run result.
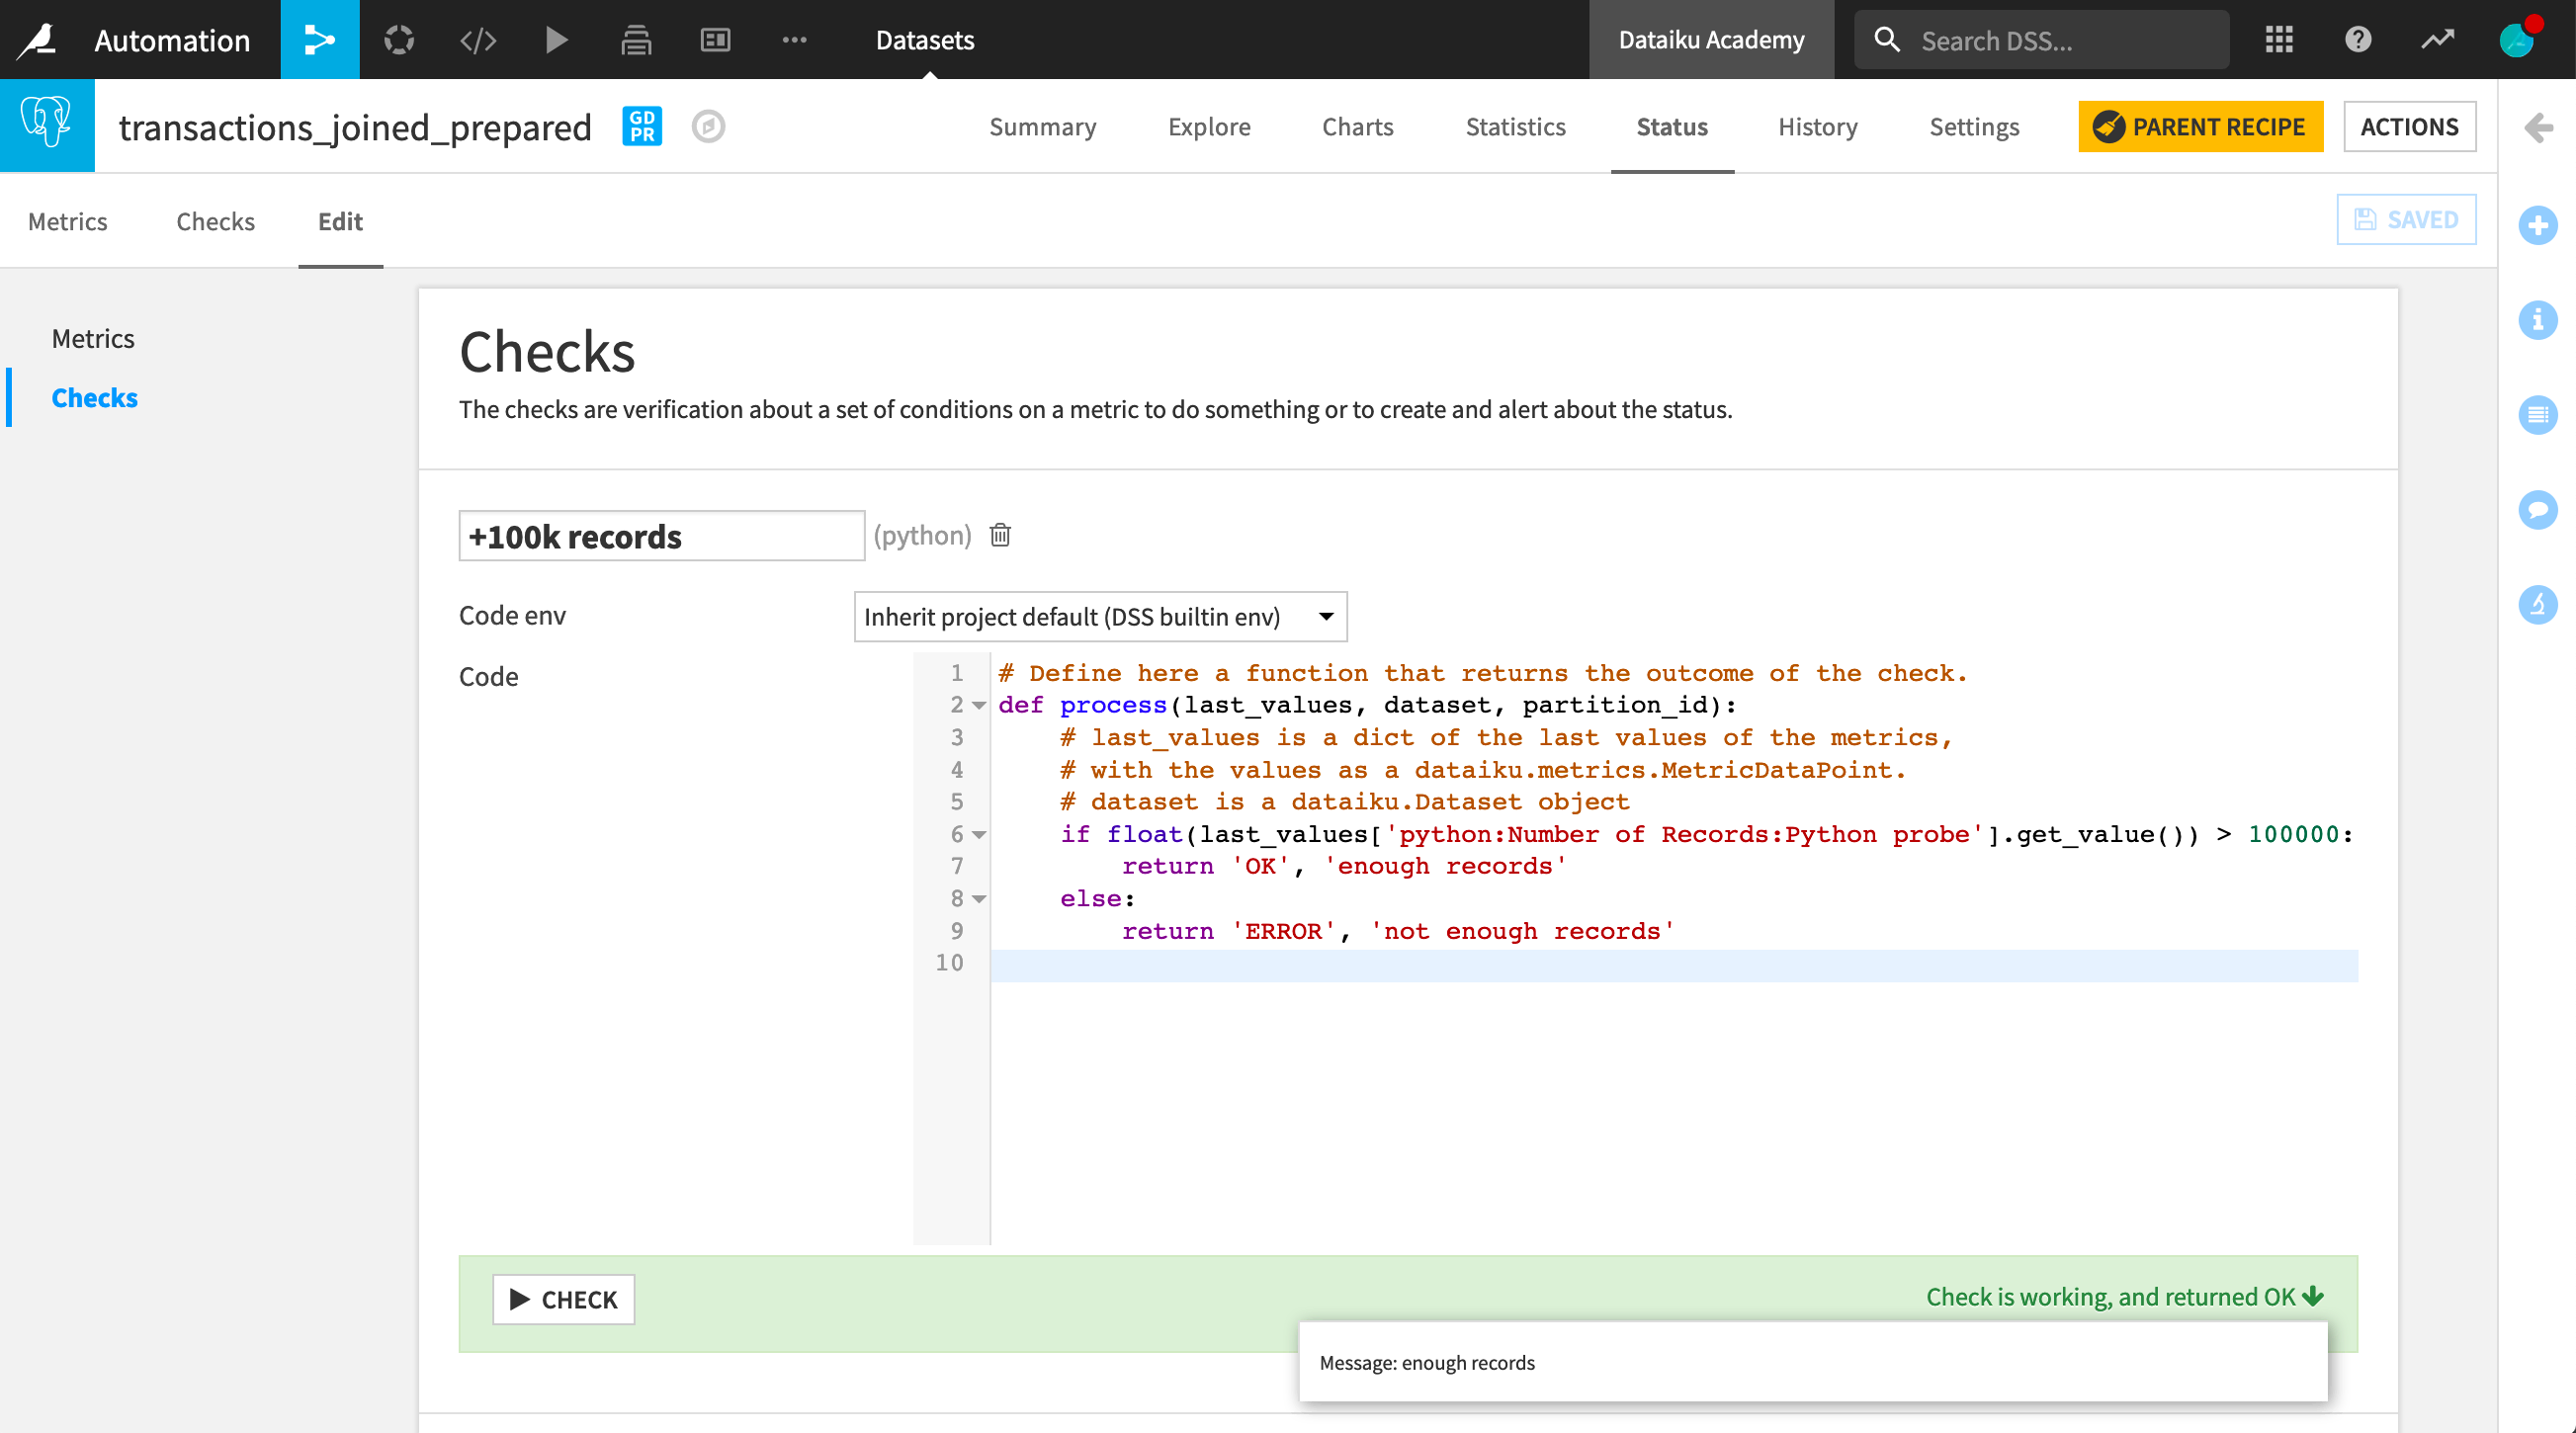
Once we have finished writing the check, we can run it and observe the status message. We can also display it on the Checks page as we would for a metric.
Custom Scenarios
Now let’s look at custom scenarios, including custom steps and triggers. We have the option of creating a scenario with our own Python script. But let’s first look at creating custom triggers and steps with the built-in, step-based scenario option.
Custom Triggers
We’ve already explored built-in triggers based on time or a dataset change. With a dataset stored in a SQL database, it’s possible to run an SQL query at some specified interval, and launch the scenario if the query output changes.
For example, we may want to activate the scenario only if the maximum purchase date in our transactions dataset changes.
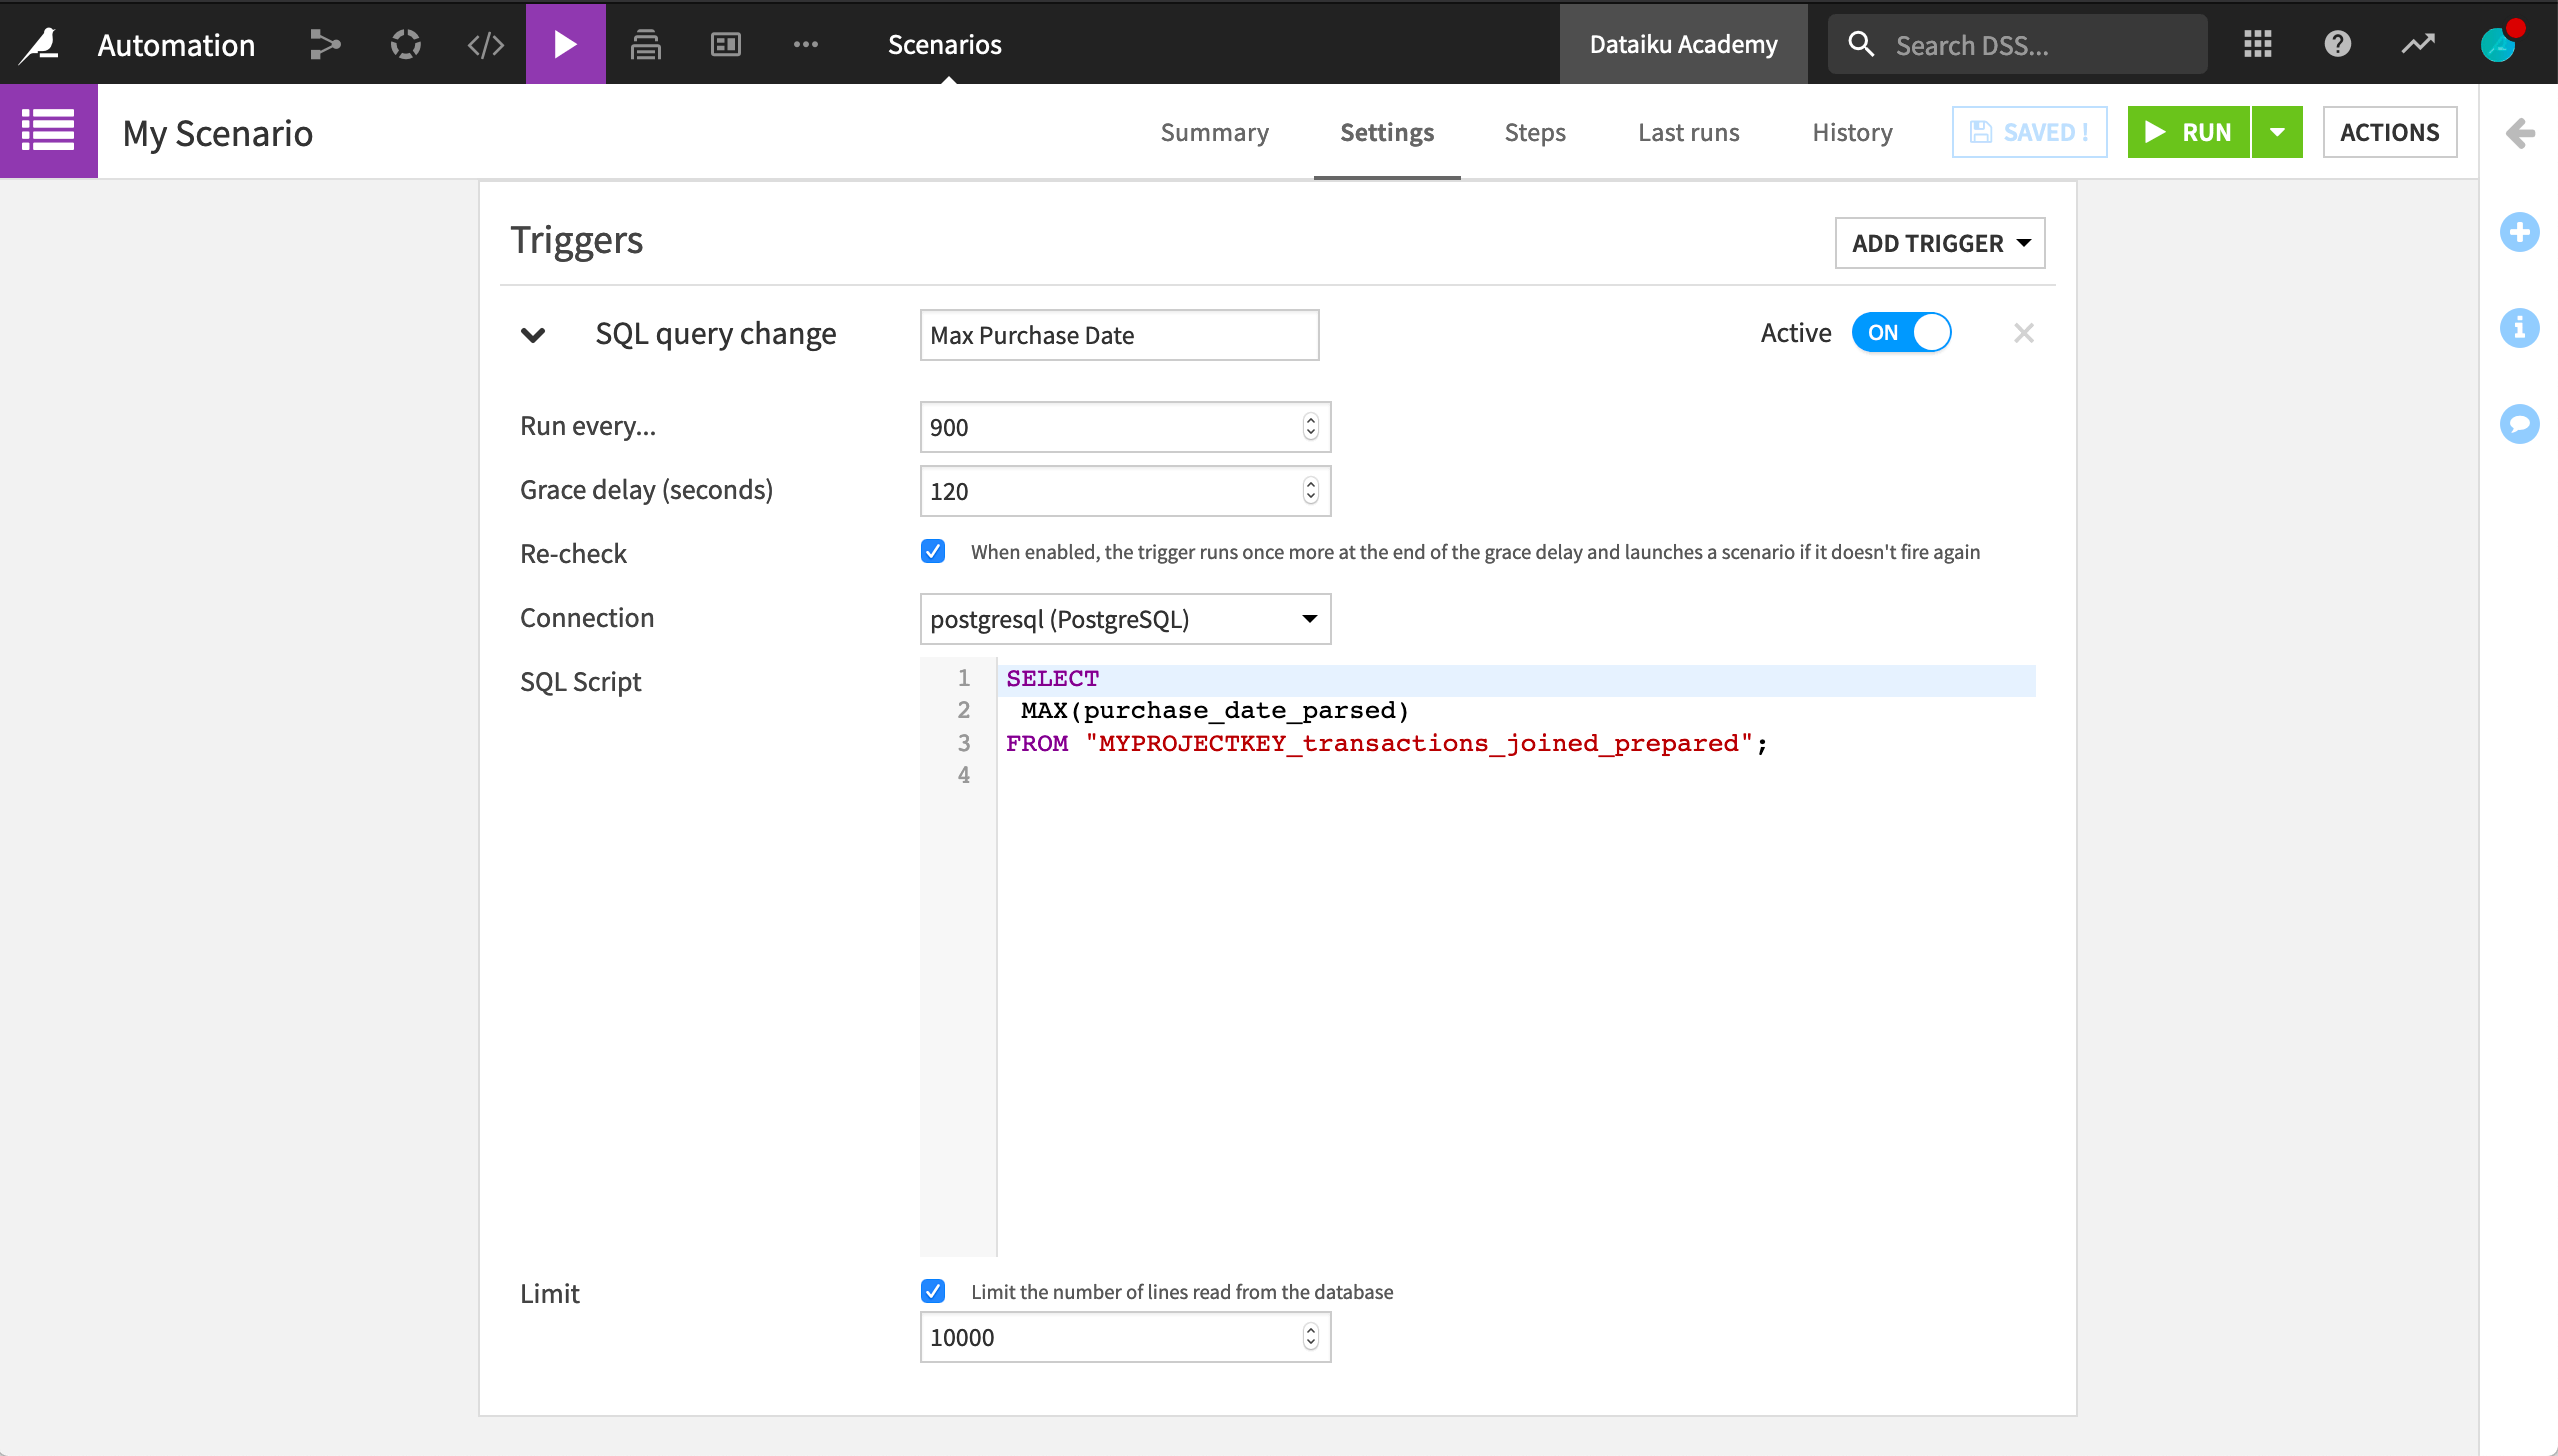
Note
In actual usage, “MYPROJECTKEY” would be replaced with the actual project key.
Triggers can also be fully customized with Python code. All we need is a trigger class and the “fire” method. For example, we can implement a trigger that launches a scenario once a day, if it is a working day in a specific country, such as France. We’ll use the datetime and workalender Python libraries so we need a code environment that includes them.

Custom Steps
Once we have our custom trigger, we can add steps as we would to a normal scenario. Perhaps, for example, we want to add a “Run checks” step so that our custom check will run once every working day in France.
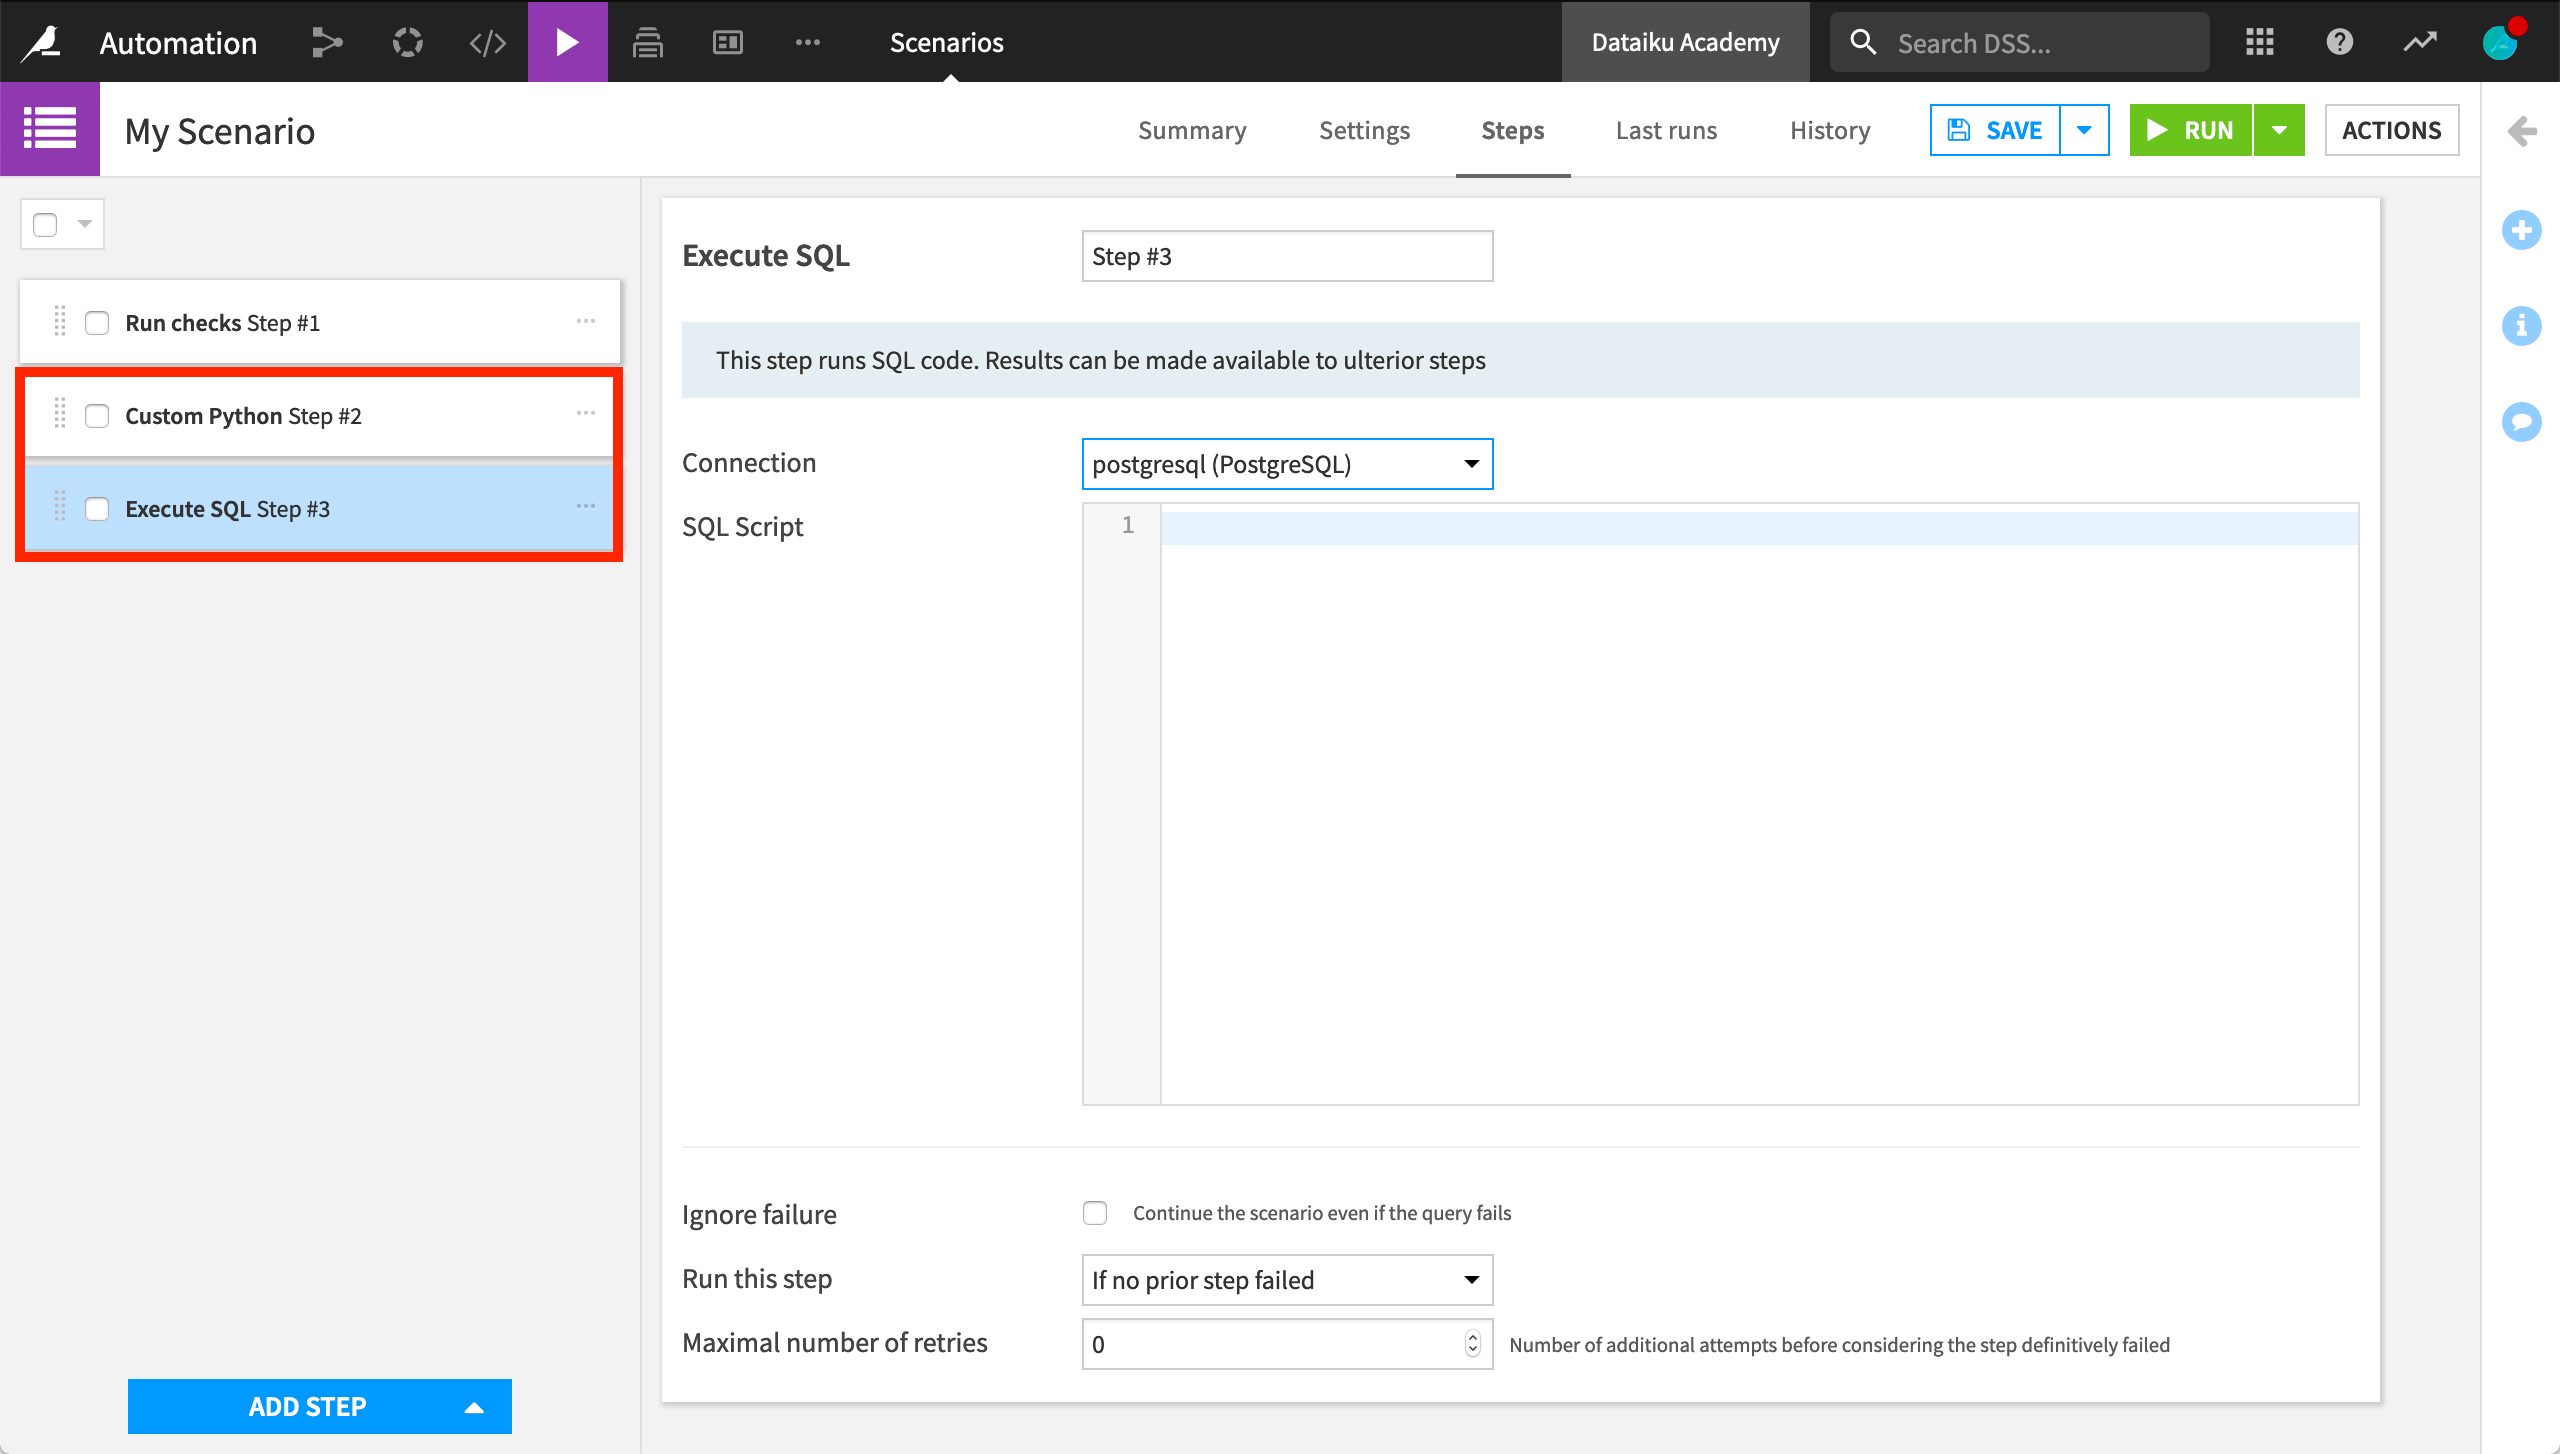
We can also add custom steps to a step-based scenario. For example, we can add a step that runs a Python script in the context of a scenario. Or we can have a step that executes one or more SQL statements on a DSS connection. The output of the query, if there is one, is available to subsequent steps as variables. This is one example of how combining both custom and built-in steps in a scenario can be beneficial.
Python Scenarios
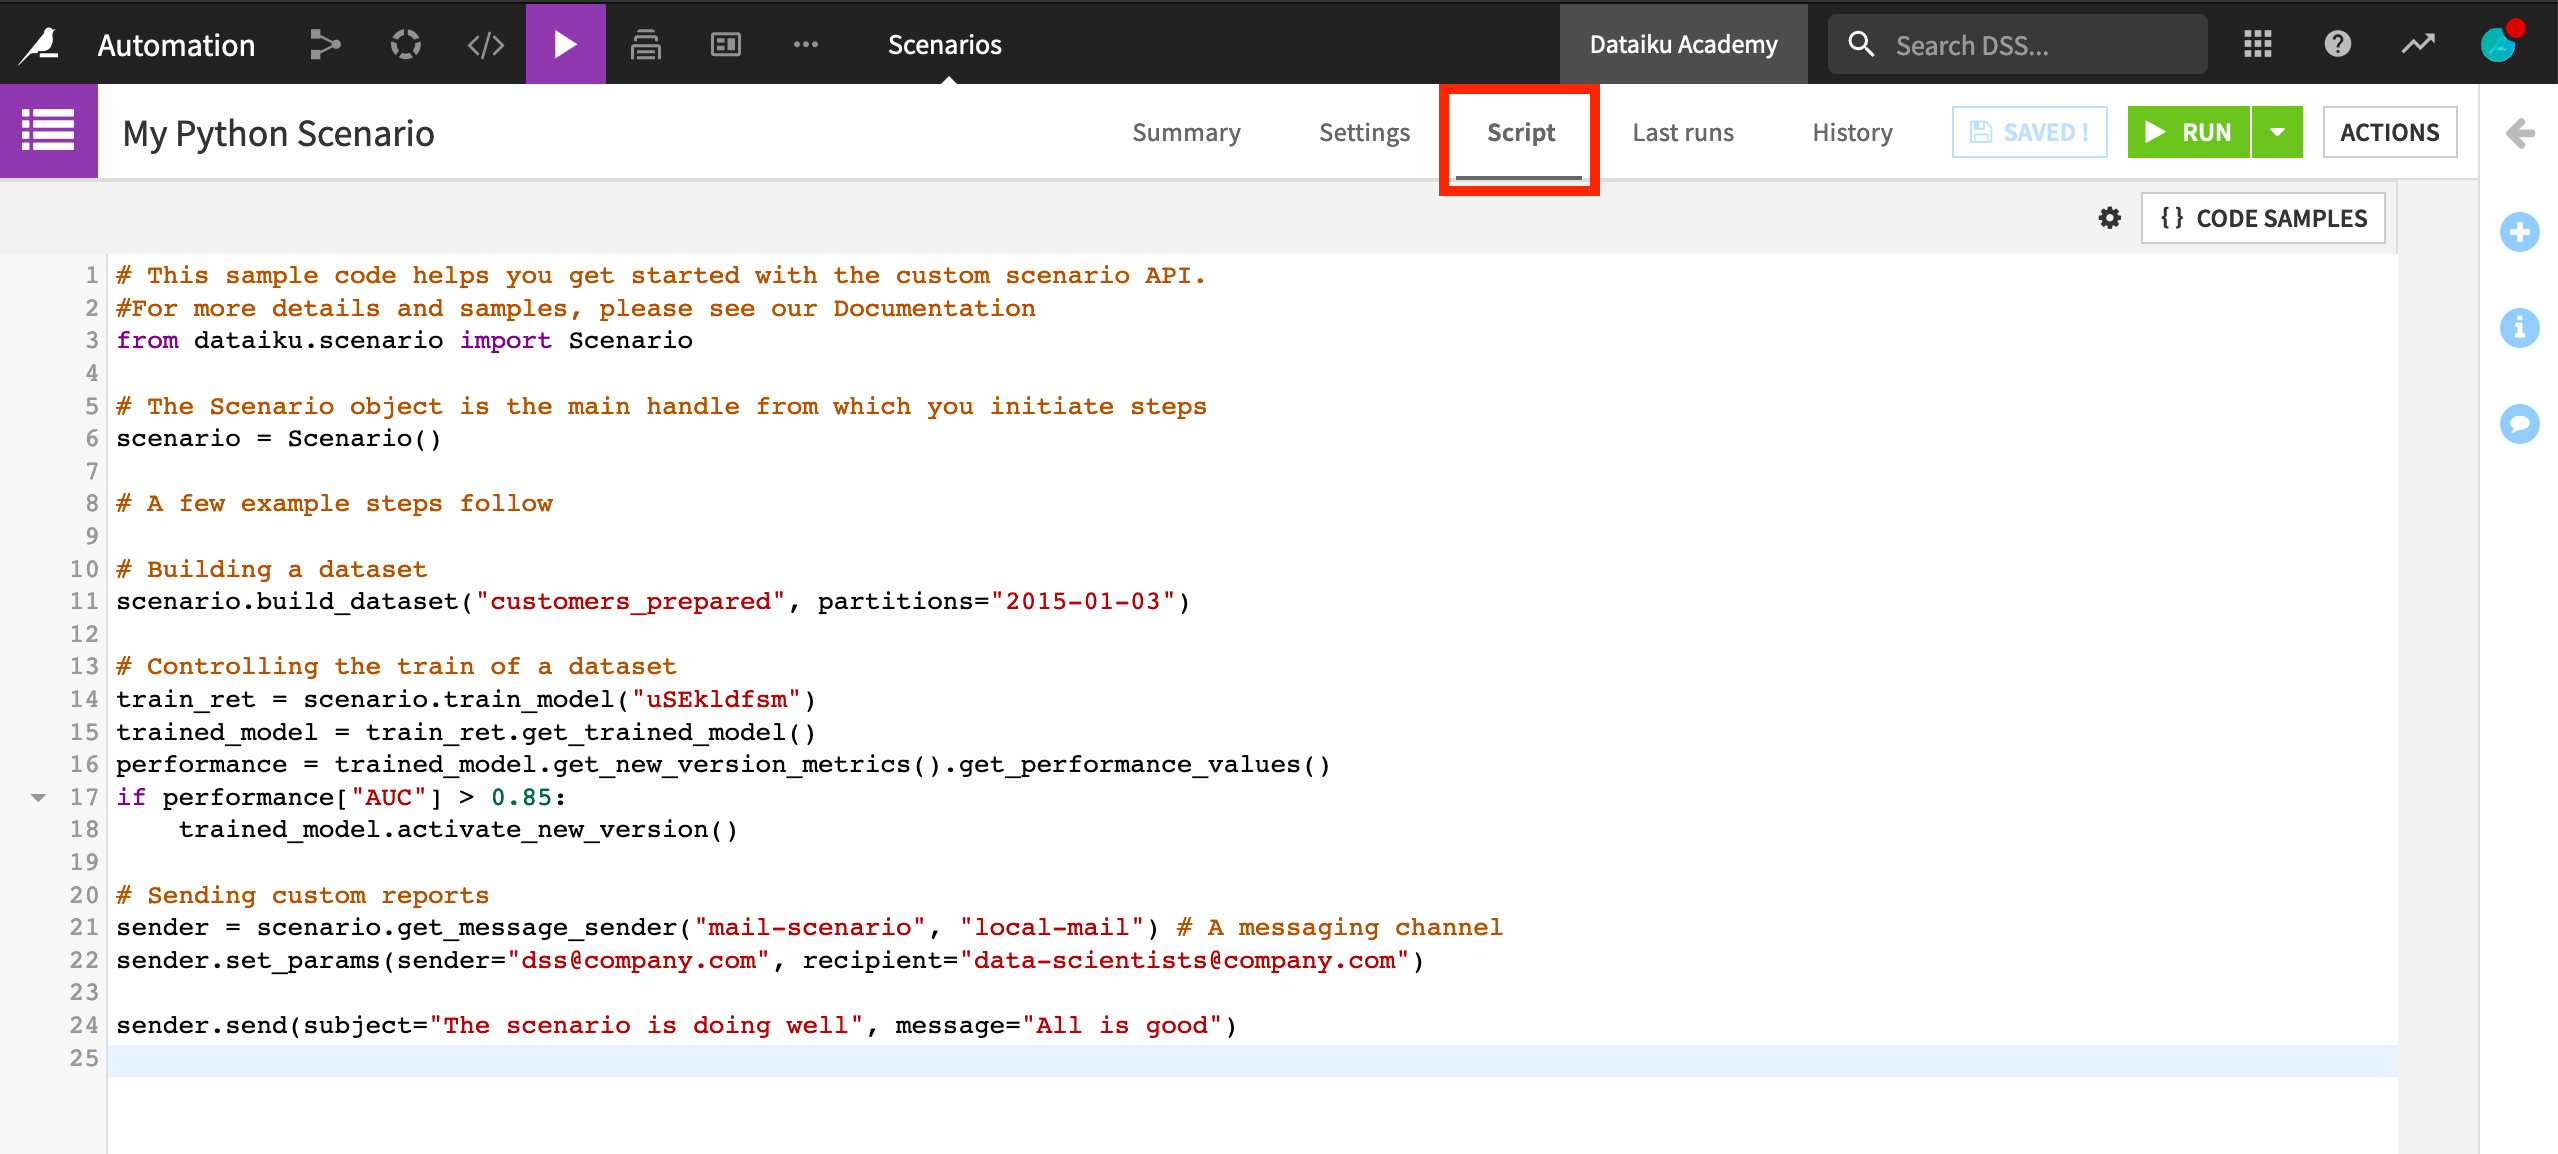
Instead of a custom step within a step-based scenario, we also have the option of an entirely custom Python scenario. Here, we can see the Script tab has replaced the Steps tab. The Script tab provides some sample Python code to get started with the scenario API.
Plugin Metrics, Checks and Scenarios
We have now introduced how it is possible to code our own metrics, checks, and scenarios. However, we can also package all of these custom-coded elements as plugins, thereby extending the functionality of Dataiku DSS.
Wrapping a visual interface on top of custom code can help enable wider reuse, particularly by non-coding colleagues. We could create custom metrics and checks, and then make them accessible to colleagues as a plugin.
The ML-assisted labelling plugin, for example, enables active learning techniques in Dataiku DSS. One component of this plugin is a scenario trigger to automate the rebuilding of a model that assists in determining which sample is labeled next. Another component is a scenario step to compute metrics on the unlabeled data.
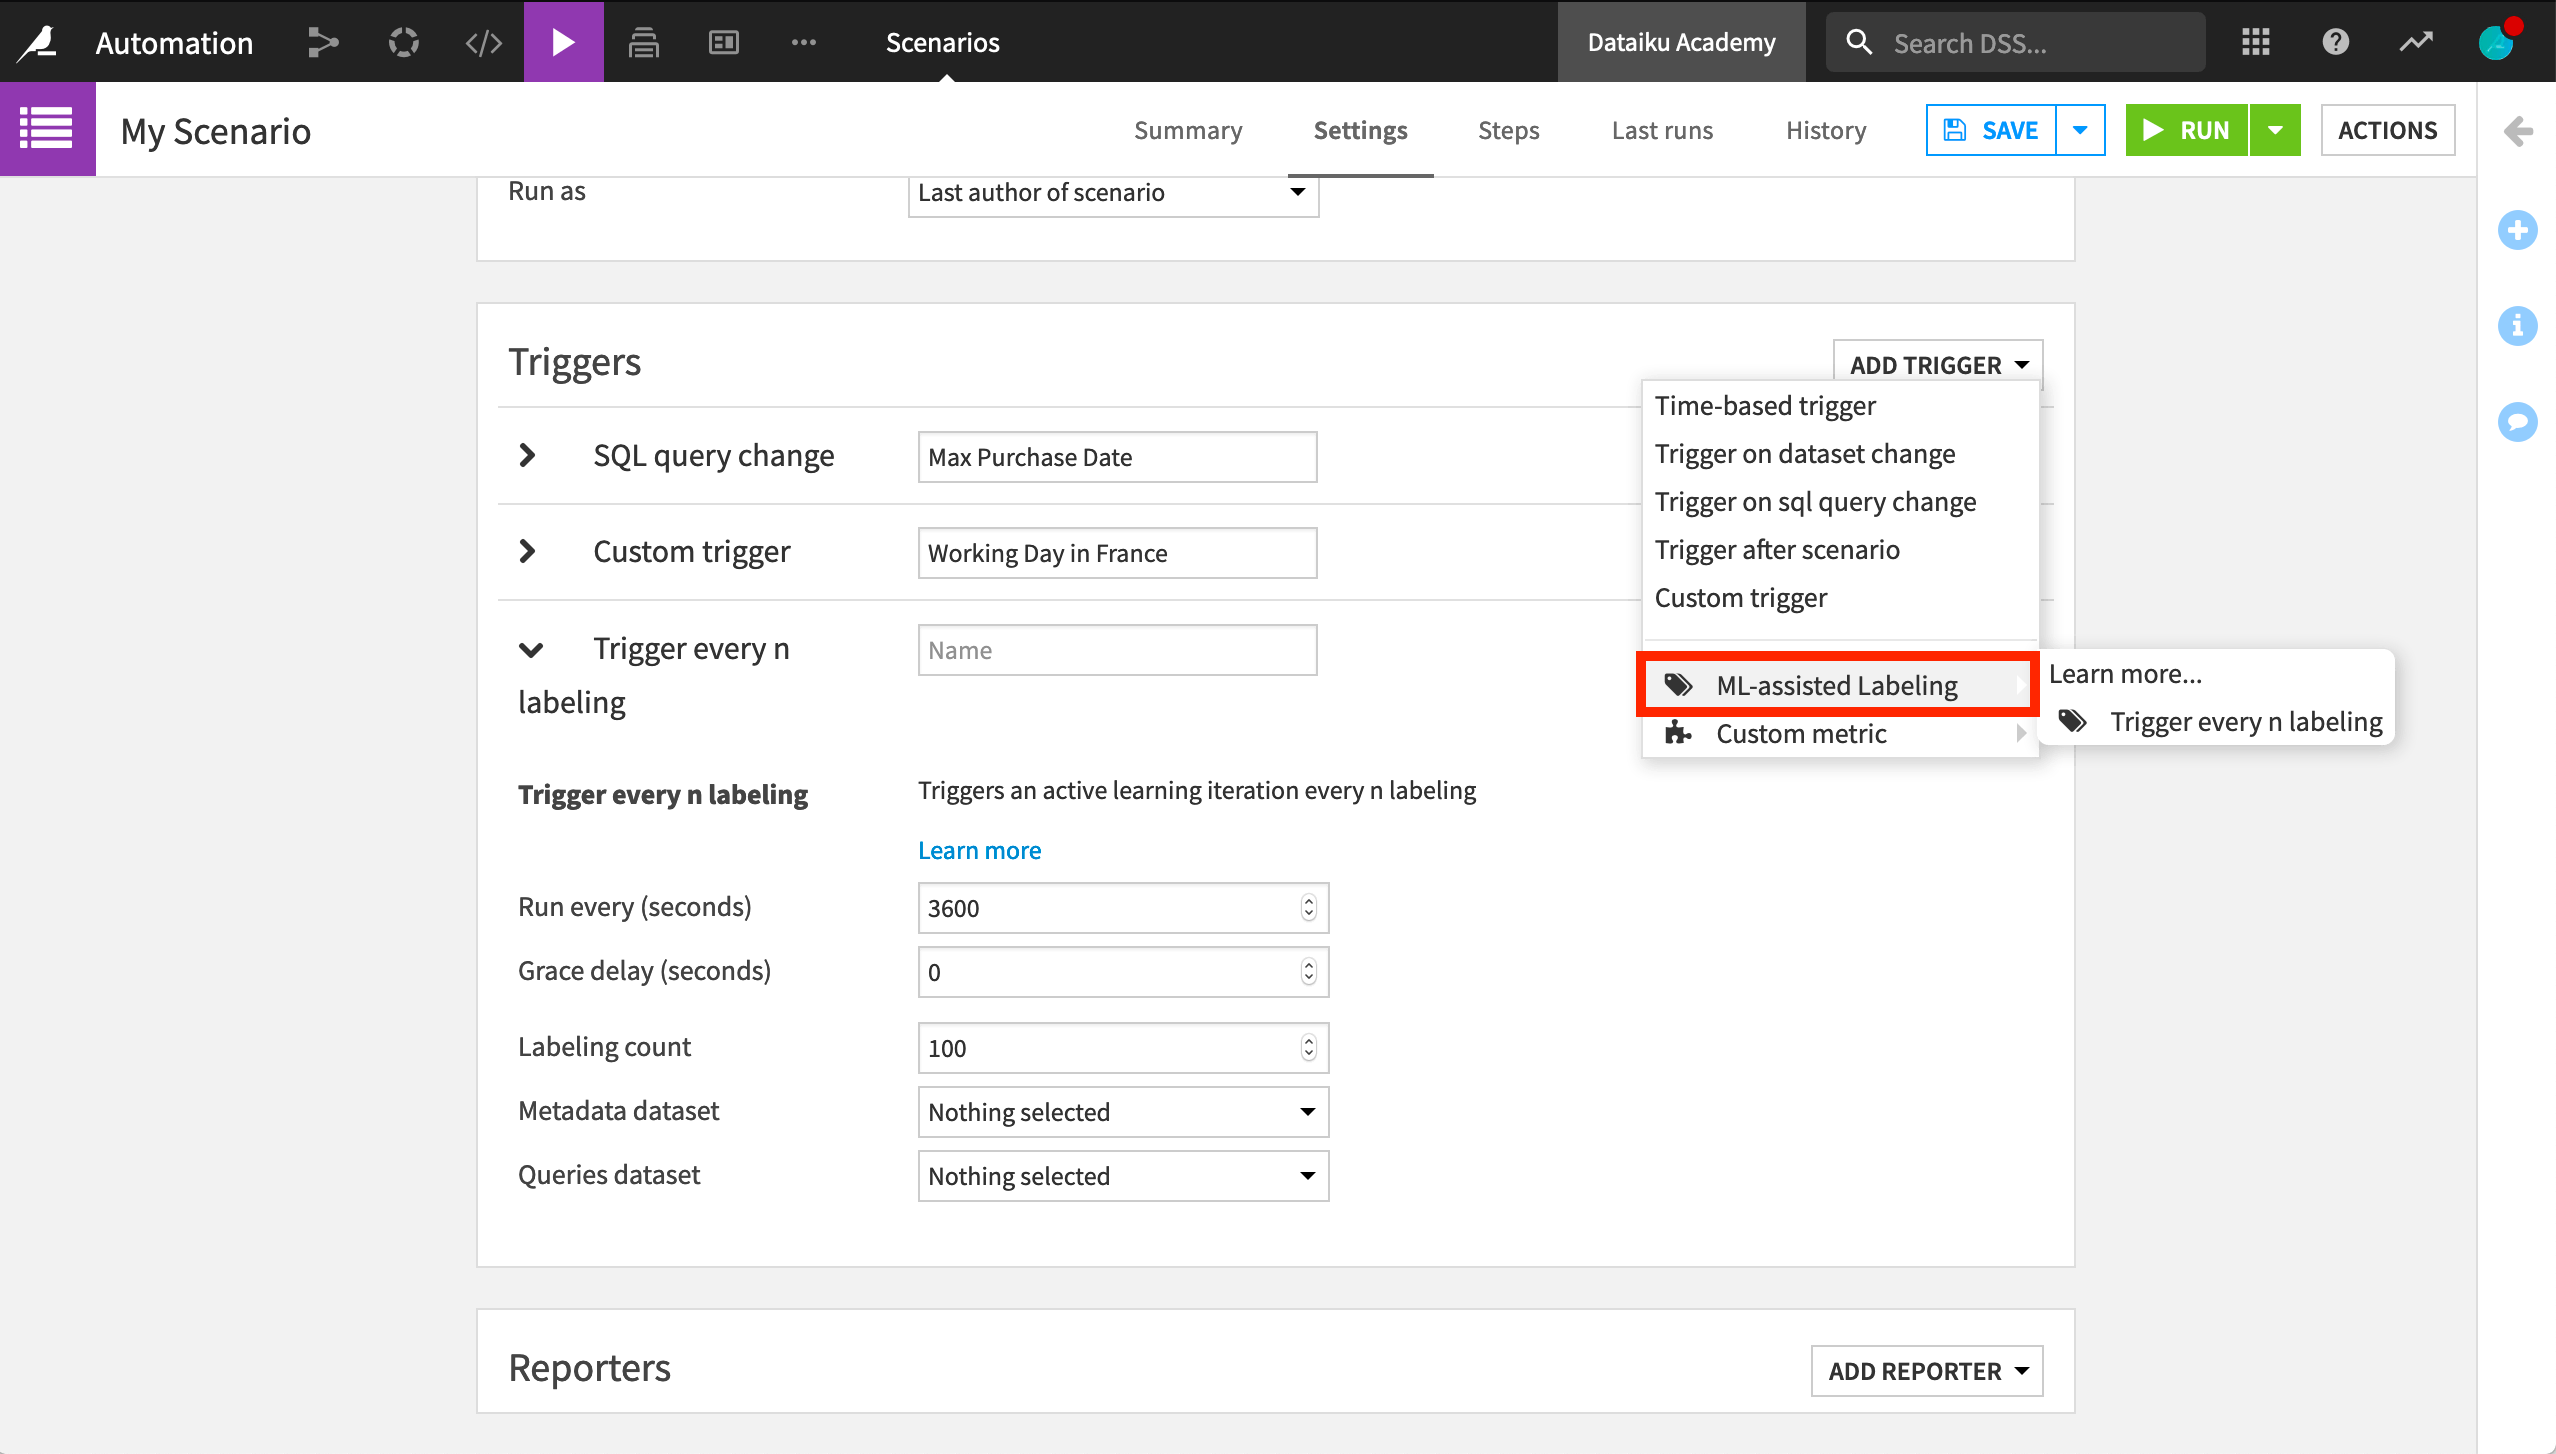
What was once custom code now has a visual interface that anyone can use.
Learn More
To learn more about custom automation, including through hands-on exercises, please register for the free Academy course on this subject found in the Advanced Designer learning path.
You can also learn more about custom automation in the product documentation.