Concept Summary: SQL Notebooks
In the previous video, you learned about SQL notebooks, their features, and some merits of using them in your DSS projects. Let’s now summarize the key points of the video before continuing on to the next lesson.
When to Use an SQL Notebook
An SQL Notebook uses SQL queries to interact with the tables that are associated with your DSS SQL datasets. Using SQL notebooks allow you to:
Quickly prototype an analysis over an SQL dataset.
Leverage an SQL engine for data analysis.
Return query outputs without having to write them as new datasets in your SQL database.
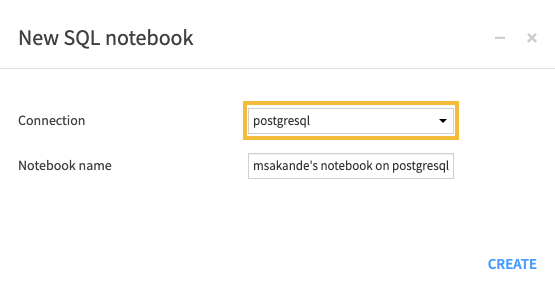
When creating an SQL notebook, you must link it to an SQL connection.

The SQL Notebook interface
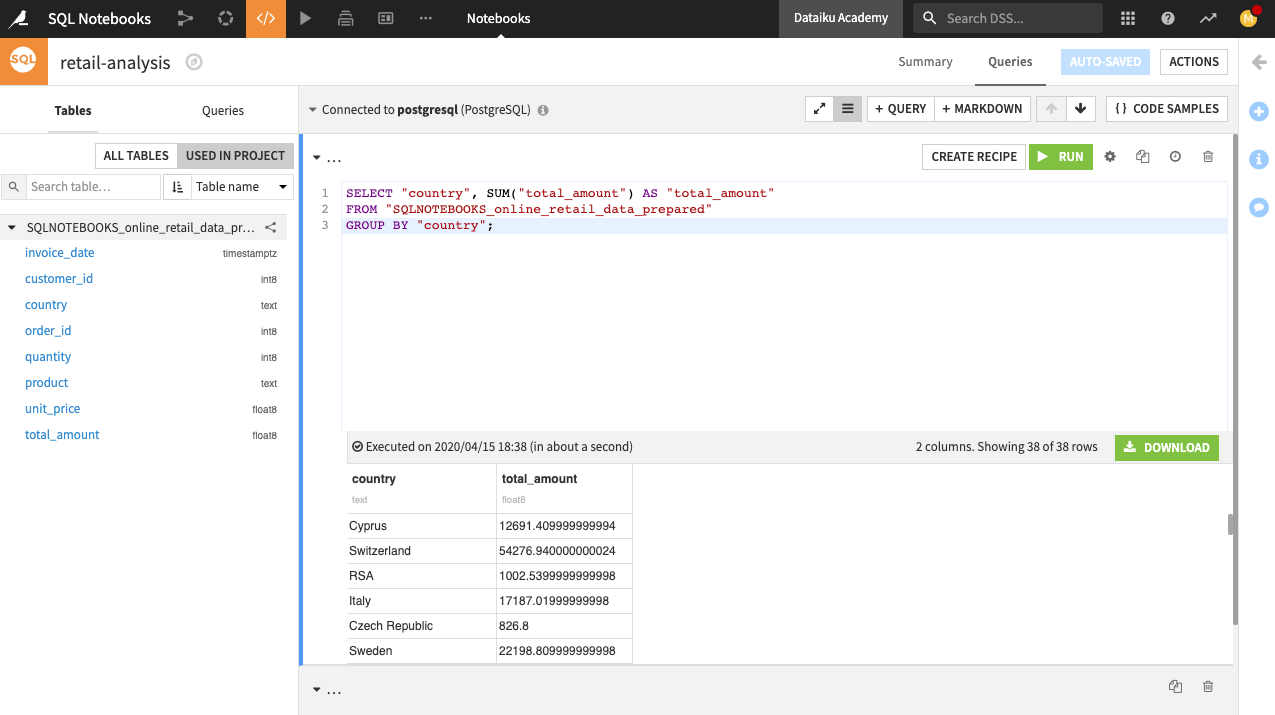
The main area of the SQL notebook interface is a query window for writing queries. The interface also contains a Tables tab which lists the tables that are available in your connection and your project, along with additional information like the list of columns in each table and the column data types.
By clicking the share icon next to a table name, a SELECT statement appears within the query window, and you can quickly build your query by clicking a column name to add it to the query window.
When you run the query, the results appear below the query window, for you to explore and download.

The notebook interface also contains buttons to switch views between full screen and stacked queries modes, and to add a new query cell or a new markdown cell.

Within a markdown cell, you can add comments in plain text or markdown.
Once back in the Flow, notice that the SQL notebook is not represented by a Flow icon. This is because a notebook is a Lab object outside of the Flow. You access notebooks through the code button in the top navigation bar or by typing the shortcut G then N.

Note
To add work in a SQL code notebook to the Flow, you first need to deploy it as a SQL code recipe.
For more information, see SQL notebook in the product documentation.