How-To: Import a Notebook from GitHub
Your data team has done work in Jupyter notebooks and uses GitHub for version control. You want to reuse this work in Dataiku DSS Flows, while keeping the original source on GitHub. Learn how to import a notebook from GitHub.
You will need a Dataiku DSS instance set up to work with git remotes.
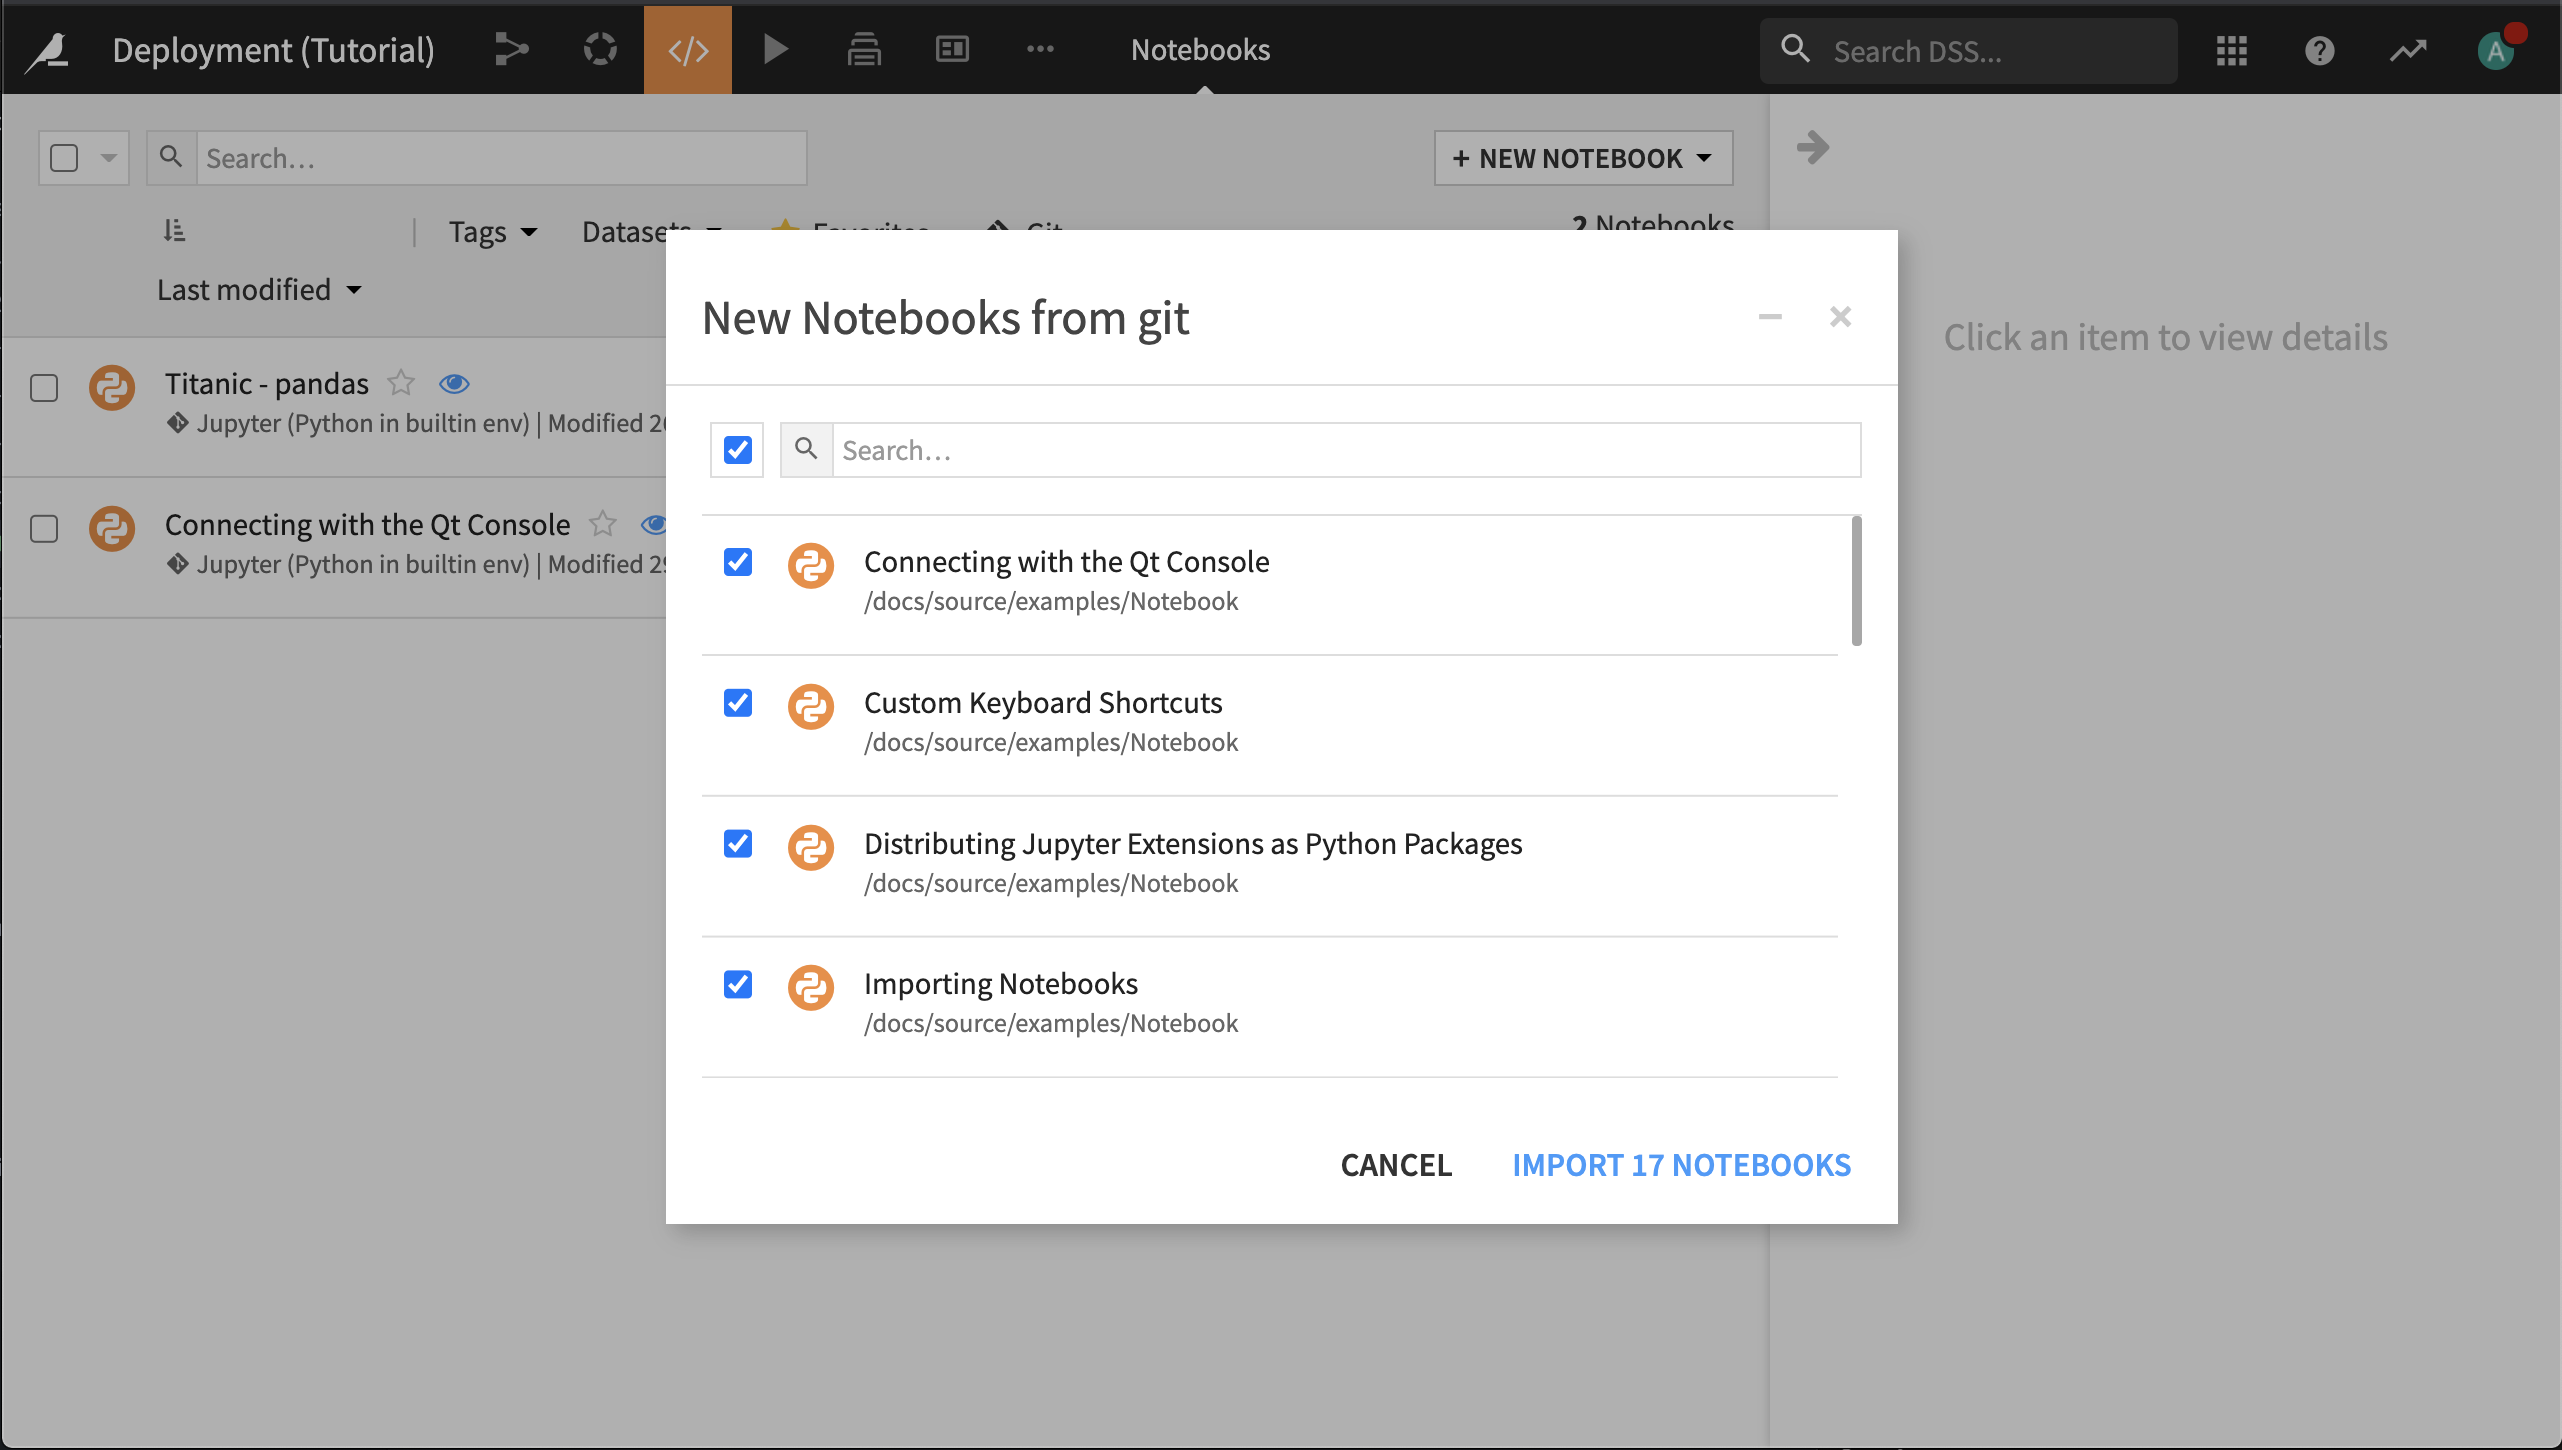
From the +New Notebook menu of a the notebooks list in Dataiku DSS, select Import from Git. Enter the URL of the repository (for example, https://github.com/jupyter/notebook/), the branch you want to pull from, and click List Notebooks.
Dataiku DSS scans the repository for Jupyter notebooks and returns a list. Choose which ones you want and click Import.

Note
Before running the notebook, look at the packages that the notebook code imports, and be sure to change the notebook kernel to associate it with a code environment that has those packages installed.
Best Practices for Notebook Development Between GitHub and Dataiku DSS
You will notice that Dataiku DSS allows you to push your changes to a notebook back to the external git repository. This offers a powerful opportunity to share development of the notebook between Dataiku DSS users and those working outside DSS, but there are some best practices to be aware of.
Namely, Dataiku is not a conflict resolution program.
When you Pull changes from the remote repository, local changes are overwritten by the remote.
When you Push changes from Dataiku DSS, changes on the remote are overwritten by the local.
So if you do want to share development of a notebook between GitHub and Dataiku DSS, you should:
Create a branch on the git remote on which notebook development on DSS will occur.
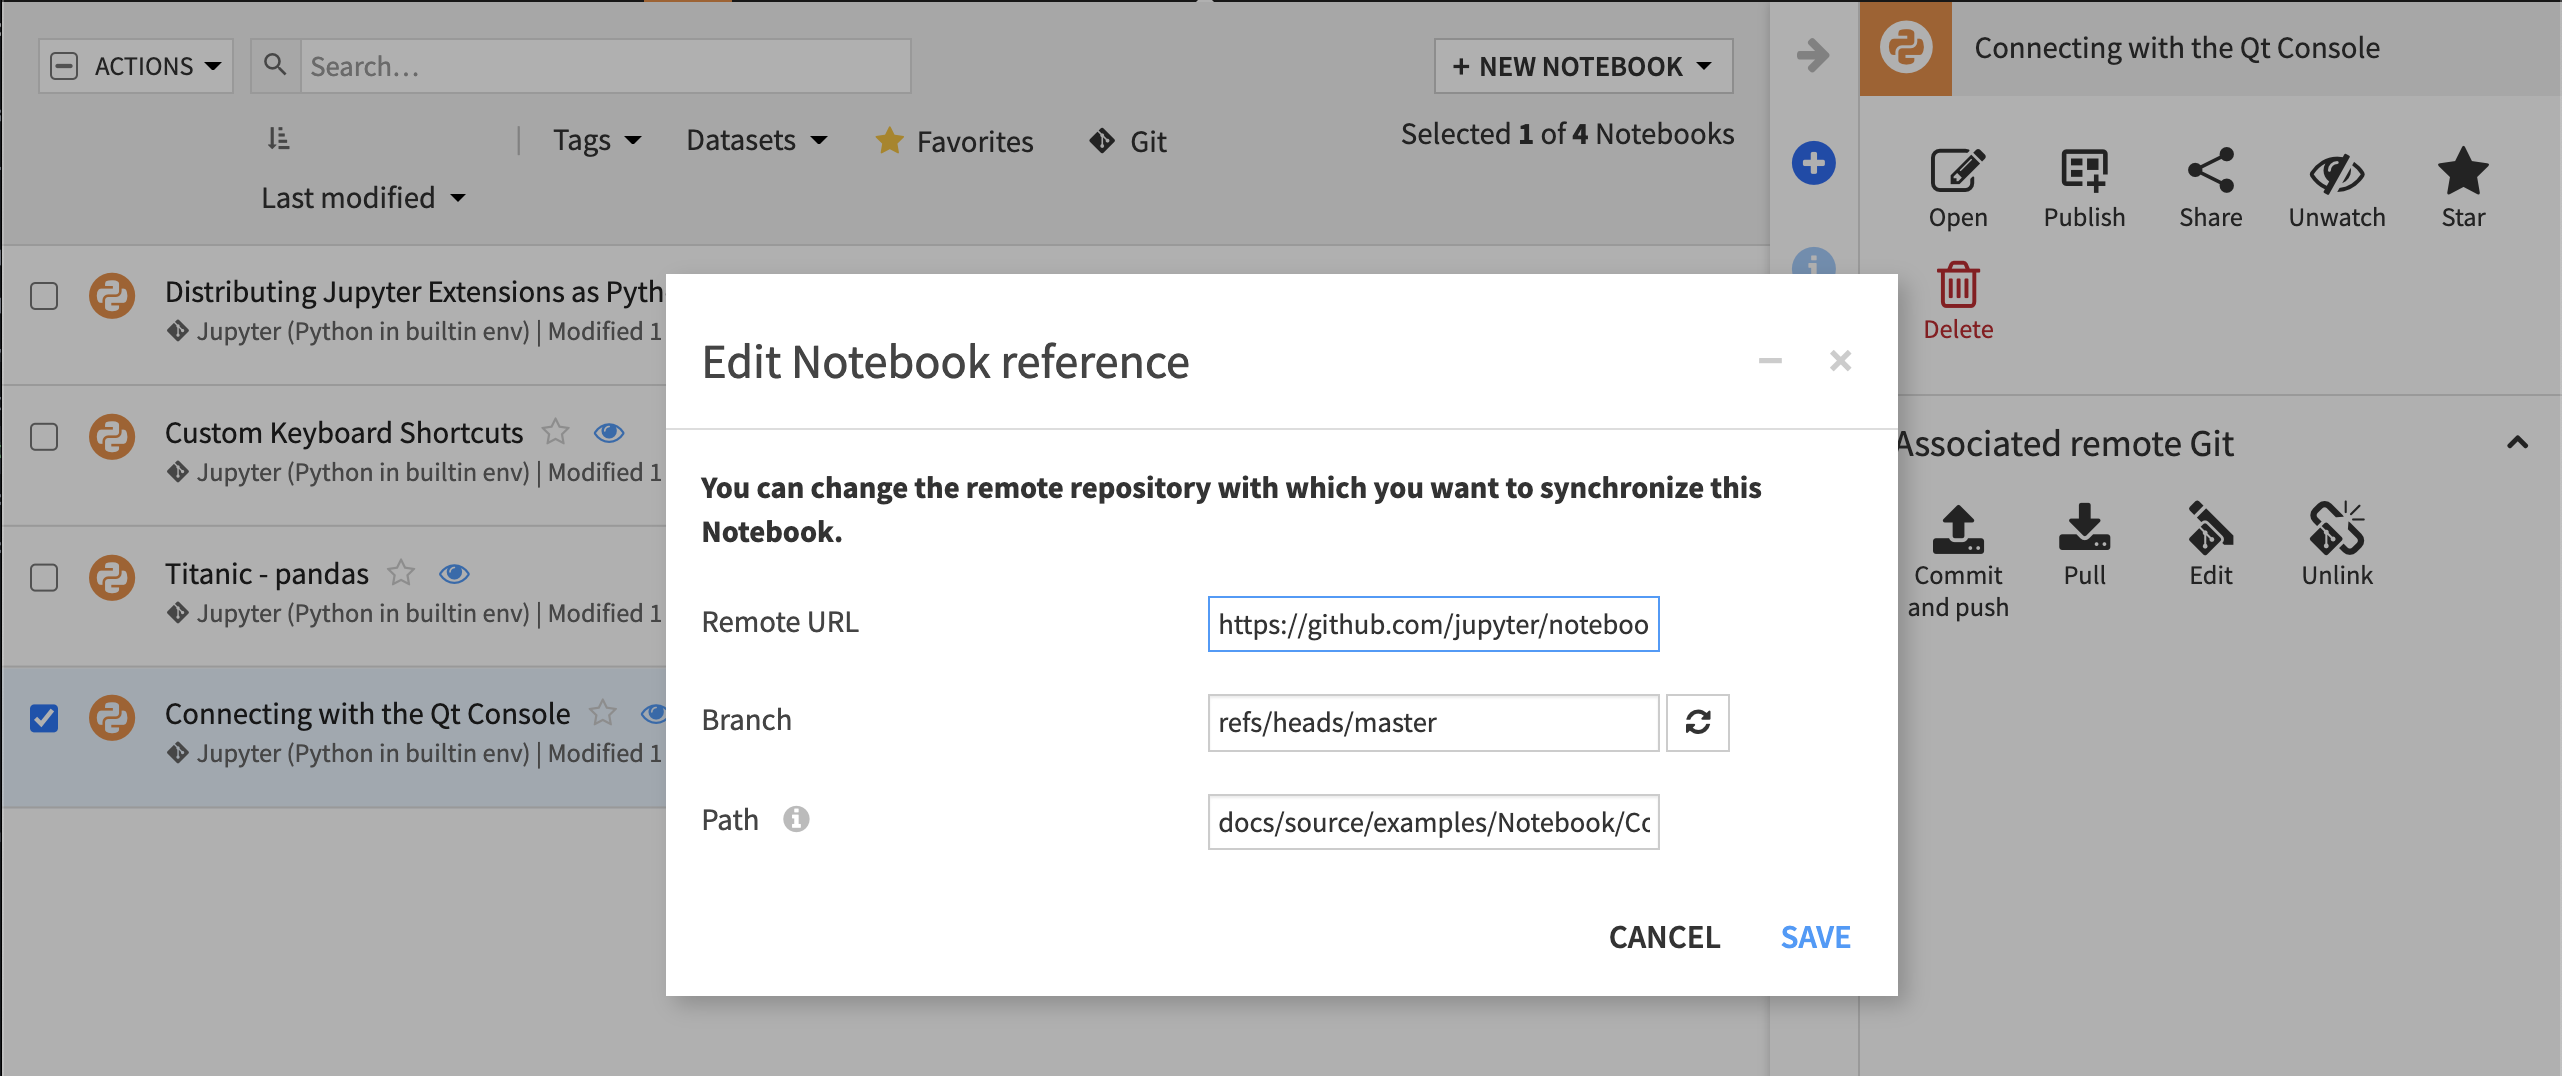
Edit the notebook reference in Dataiku to use this branch.
Develop the notebook in Dataiku, then commit & push your changes to the remote repository.
In GitHub, merge this branch back into the main branch, resolving any conflicts.

For further details, see the product documentation on importing notebooks from Git.