Best Practices for Collaborating in Dataiku DSS
Naming
Properly naming your datasets and your recipes is arguably the most important element for collaboration. Good naming helps you recover your previous work, share your work with others, and understand quickly what your colleagues are working on.
The two main objectives are readable and self explanatory names. Keep your names as short as possible, and think of what this element is doing in your flow. Default names are created by appending the name of the operation to the input’s name. This ordered naming scheme has the benefit of being simple, but it quickly becomes unreadable. Try to replace this name with something more self explanatory.
A good method is to focus on what the created dataset will be used for, and find differentiating names, e.g foo_raw, foo_clean. The input is raw data, the output is clean.
Suggested naming scheme
The following rules maintain names compatible with all storage connections (SQL dialects, HDFS, Python dataframe columns, etc.):
only alphanum and underscore (“_”),
all lowercase,
no spaces,
does not begin with a number.
Optionally, you can adopt prefixes and suffixes for your datasets. (E.g.: foo_t for a dataset in a SQL database, foo_hdfs for a HDFS dataset etc…)
Keep the same tips in mind when naming columns of your datasets, notebooks and projects.
Note
Tip
For projects, informative naming can be a good solution: topic, author, version (date based).
Remember to use fully explicit project names (ex: “Data Ingestion” and not “p001_data_ingestion”…)
Commenting and documentation
Adopting a good naming scheme avoids a lot of long descriptions and many comments. However comments are still very useful when collaborating with others (note that yourself in six months counts as someone else). There are many places where a few words can be very useful:
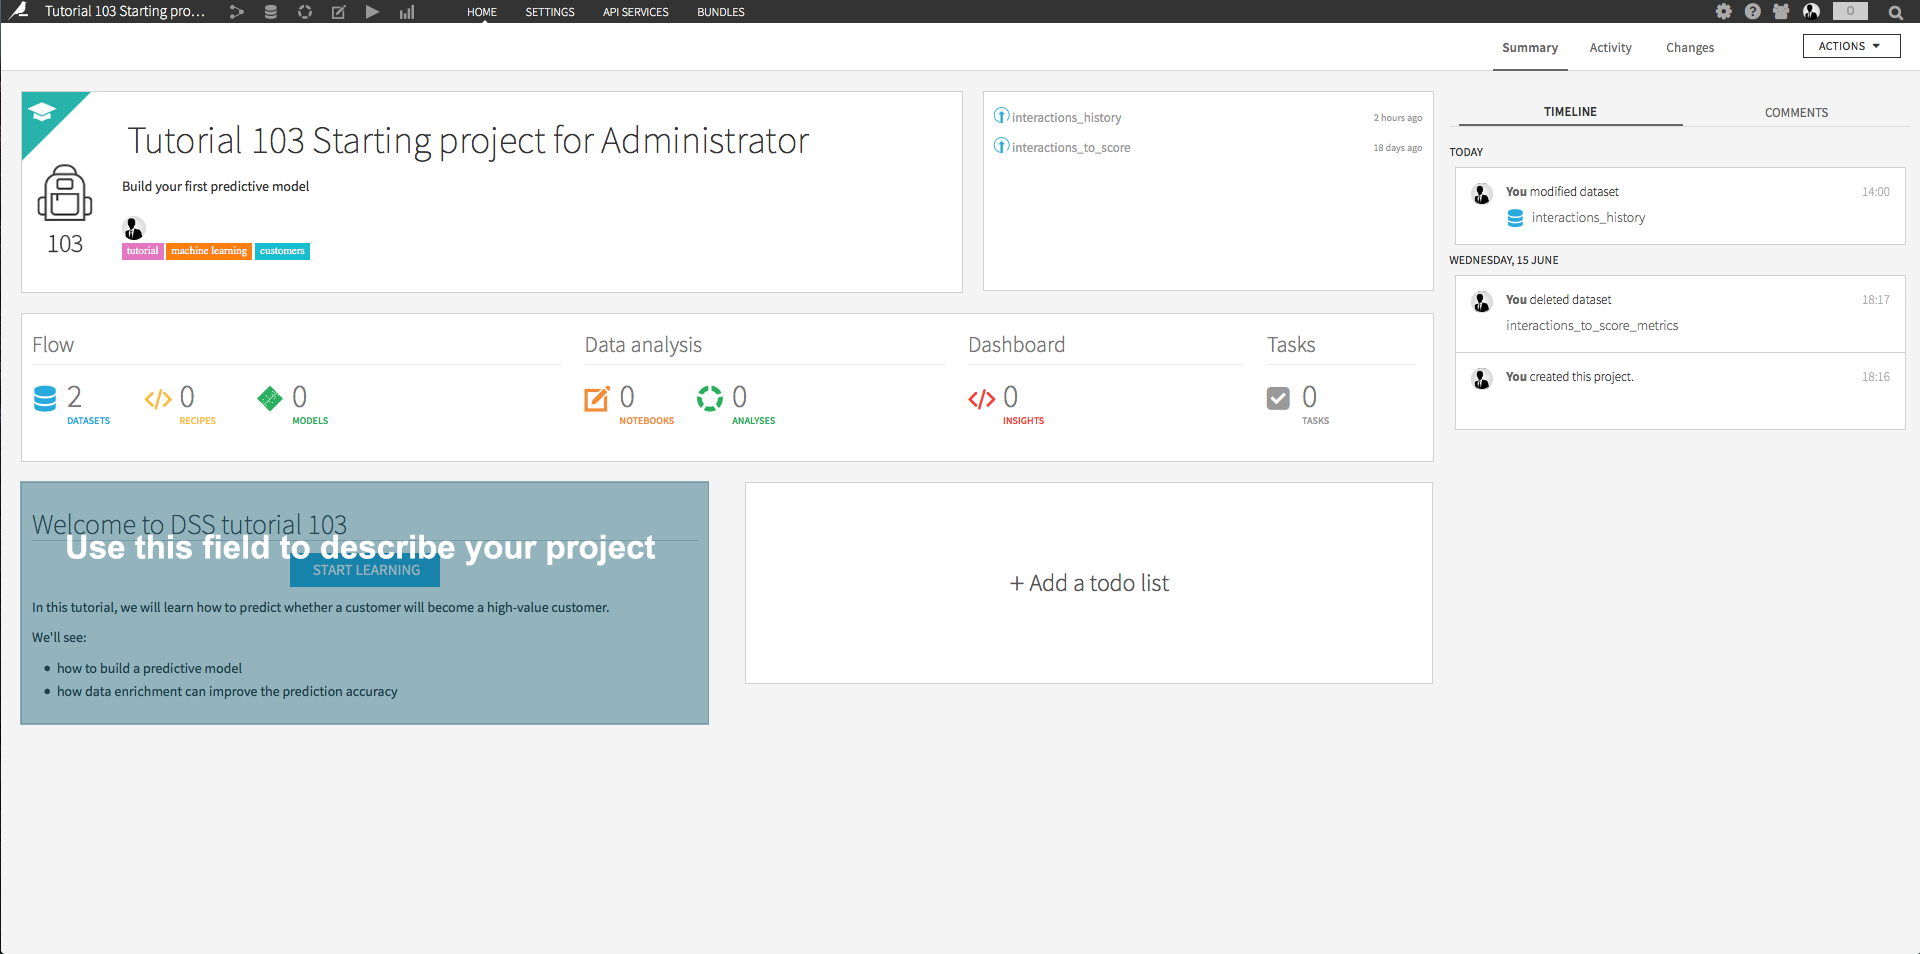
A description on the project homepage. You can add links to datasets, recipes, or any element of the project.
A description in the “summary” tab of a dataset. Note this appears on the flow: click the dataset then “details” in the right column
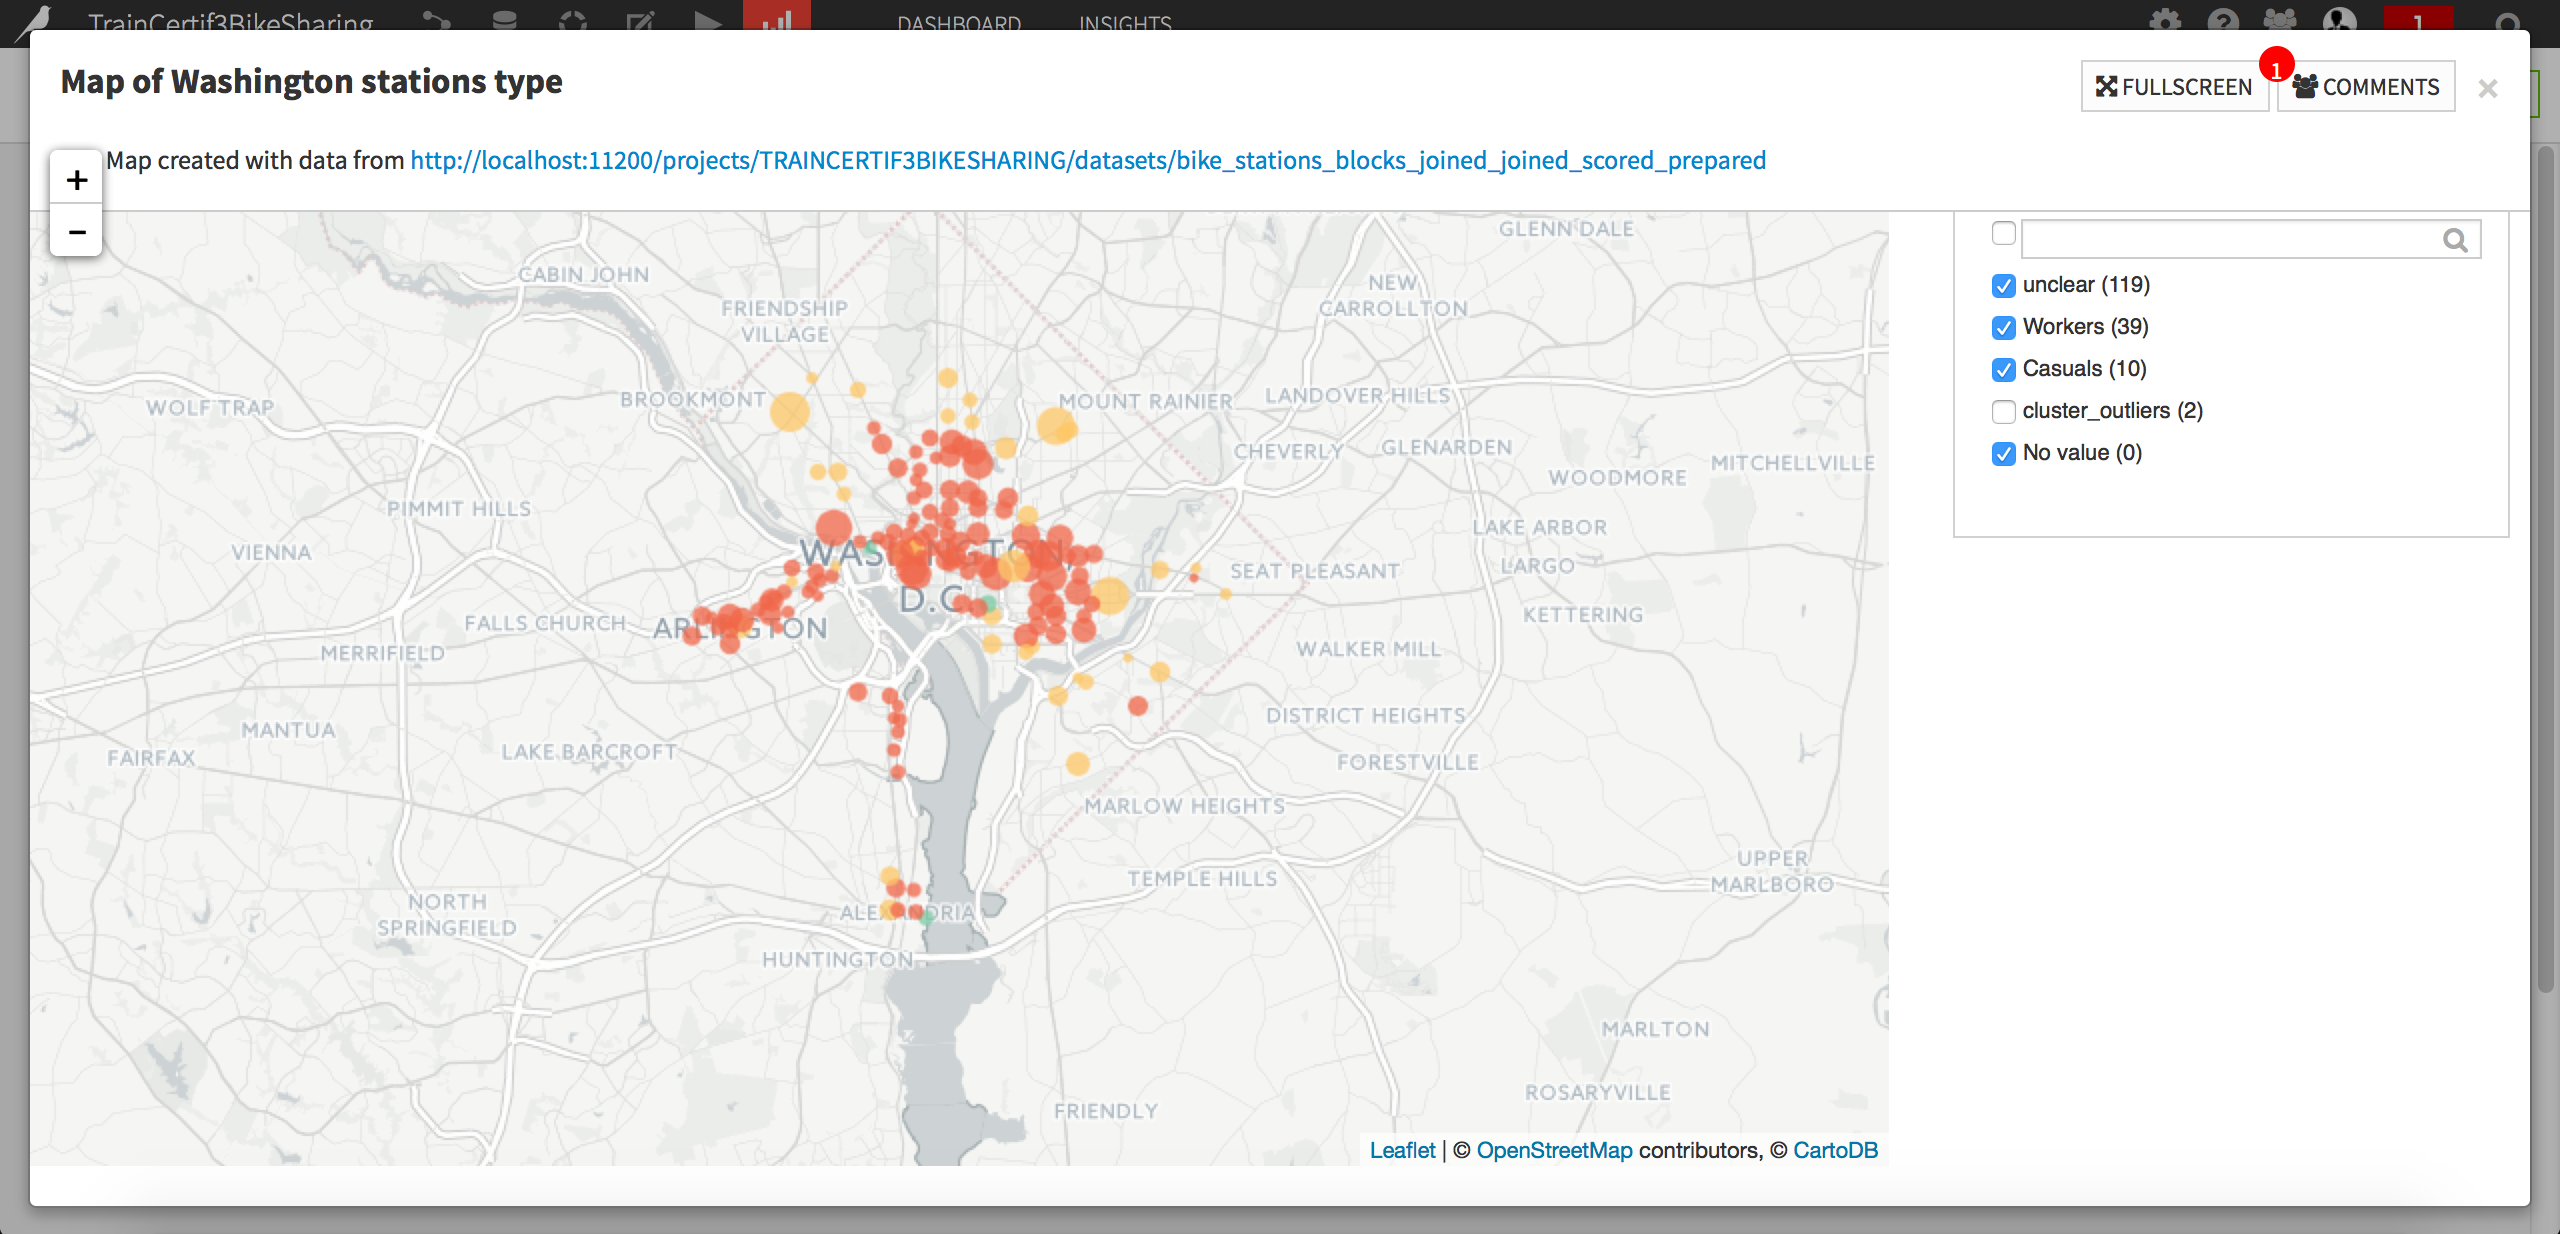
When publishing insights, you can add the link of the corresponding dataset in the description text.
Edit column details to add a short comment.
- Comments in the code of your custom recipes.
There are many online resources about writing good comments. Just a few words:
explain what you intend to do, what it will be used for. (How it’s done and what a recipe does is less important.)
Imagine that you’re taking the project over, what would you want to read here?
Using tags in the flow
Using tags extensively in flow helps identifying at a glance the role of each parts of the flow. You can also tag elements with the name of the person that is responsible for it! Tag color can be changed (use for instance red tags for important or urgent elements):

Suggestions for good tags:
Thematic tags: tag branches dedicated to specific tasks (e.g. “insights”, “preprocessing”), tag inputs as “sources”…
Tag the parts of your flow that are scheduled to run automatically, so you know that changing them will affect a production workflow!
Tag with the progress status: work in progress, done, in production…
Tag with another person’s name to draw their attention to that part of the flow.
Additional collaboration features
Insights
On the insights page, one can see all created graphs and webapps, and publish them on a dashboard. Dashboards can also contain webapps, notebooks (esp. the images they generate), datasets and more.
Dashboards are a good way to share findings among the team, and can be used to show a report to a read-only (e.g. manager) user.
Code samples
Most code input boxes have a button in their top right corner “code samples”, for instance Python recipes or custom python code for a model. Start by exploring the already provided code samples. They are meant as a helper to start when in front of a blank page.
If you find yourself repeatedly writing similar portions of code, consider writing a plugin (big investment, easiest to use even by non-coders), a library, or a code sample (lightest investment). The code snippet can then easily be inserted in other code boxes, and is available for all team members, it’s time saved for everyone!