Packaging a Flow into a Bundle
For the purposes of this tutorial, the Flow and automation scenarios are complete, and we simply need to package the Flow and deploy it to the Automation node.
In order to package the flow into a bundle, from the More Options (…) menu in the top navigation bar, choose Bundles.
Click Create Your First Bundle.
Note
A bundle is a snapshot of a complete Dataiku project.
The bundle includes the project configuration so that it can be deployed to an Automation node. In addition, sometimes, in your Flow, the data for some datasets (such as enrichment data) or models (that are retrained in the development and not the production environment) need to be transported to the production environment.
A bundle can contain data for an arbitrary number of datasets, managed folders, and saved models. A bundle thus acts as a consistent packaging of a complete flow.
On the Automation node, you then activate a bundle to switch the project to a new version. Bundles are versioned, and you can revert to a previous bundle in case of a production issue with the new bundle.
You can set up multiple Automation nodes to create continuous delivery pipelines (for example with a pre-production automation node, a performance test one, and the production one).
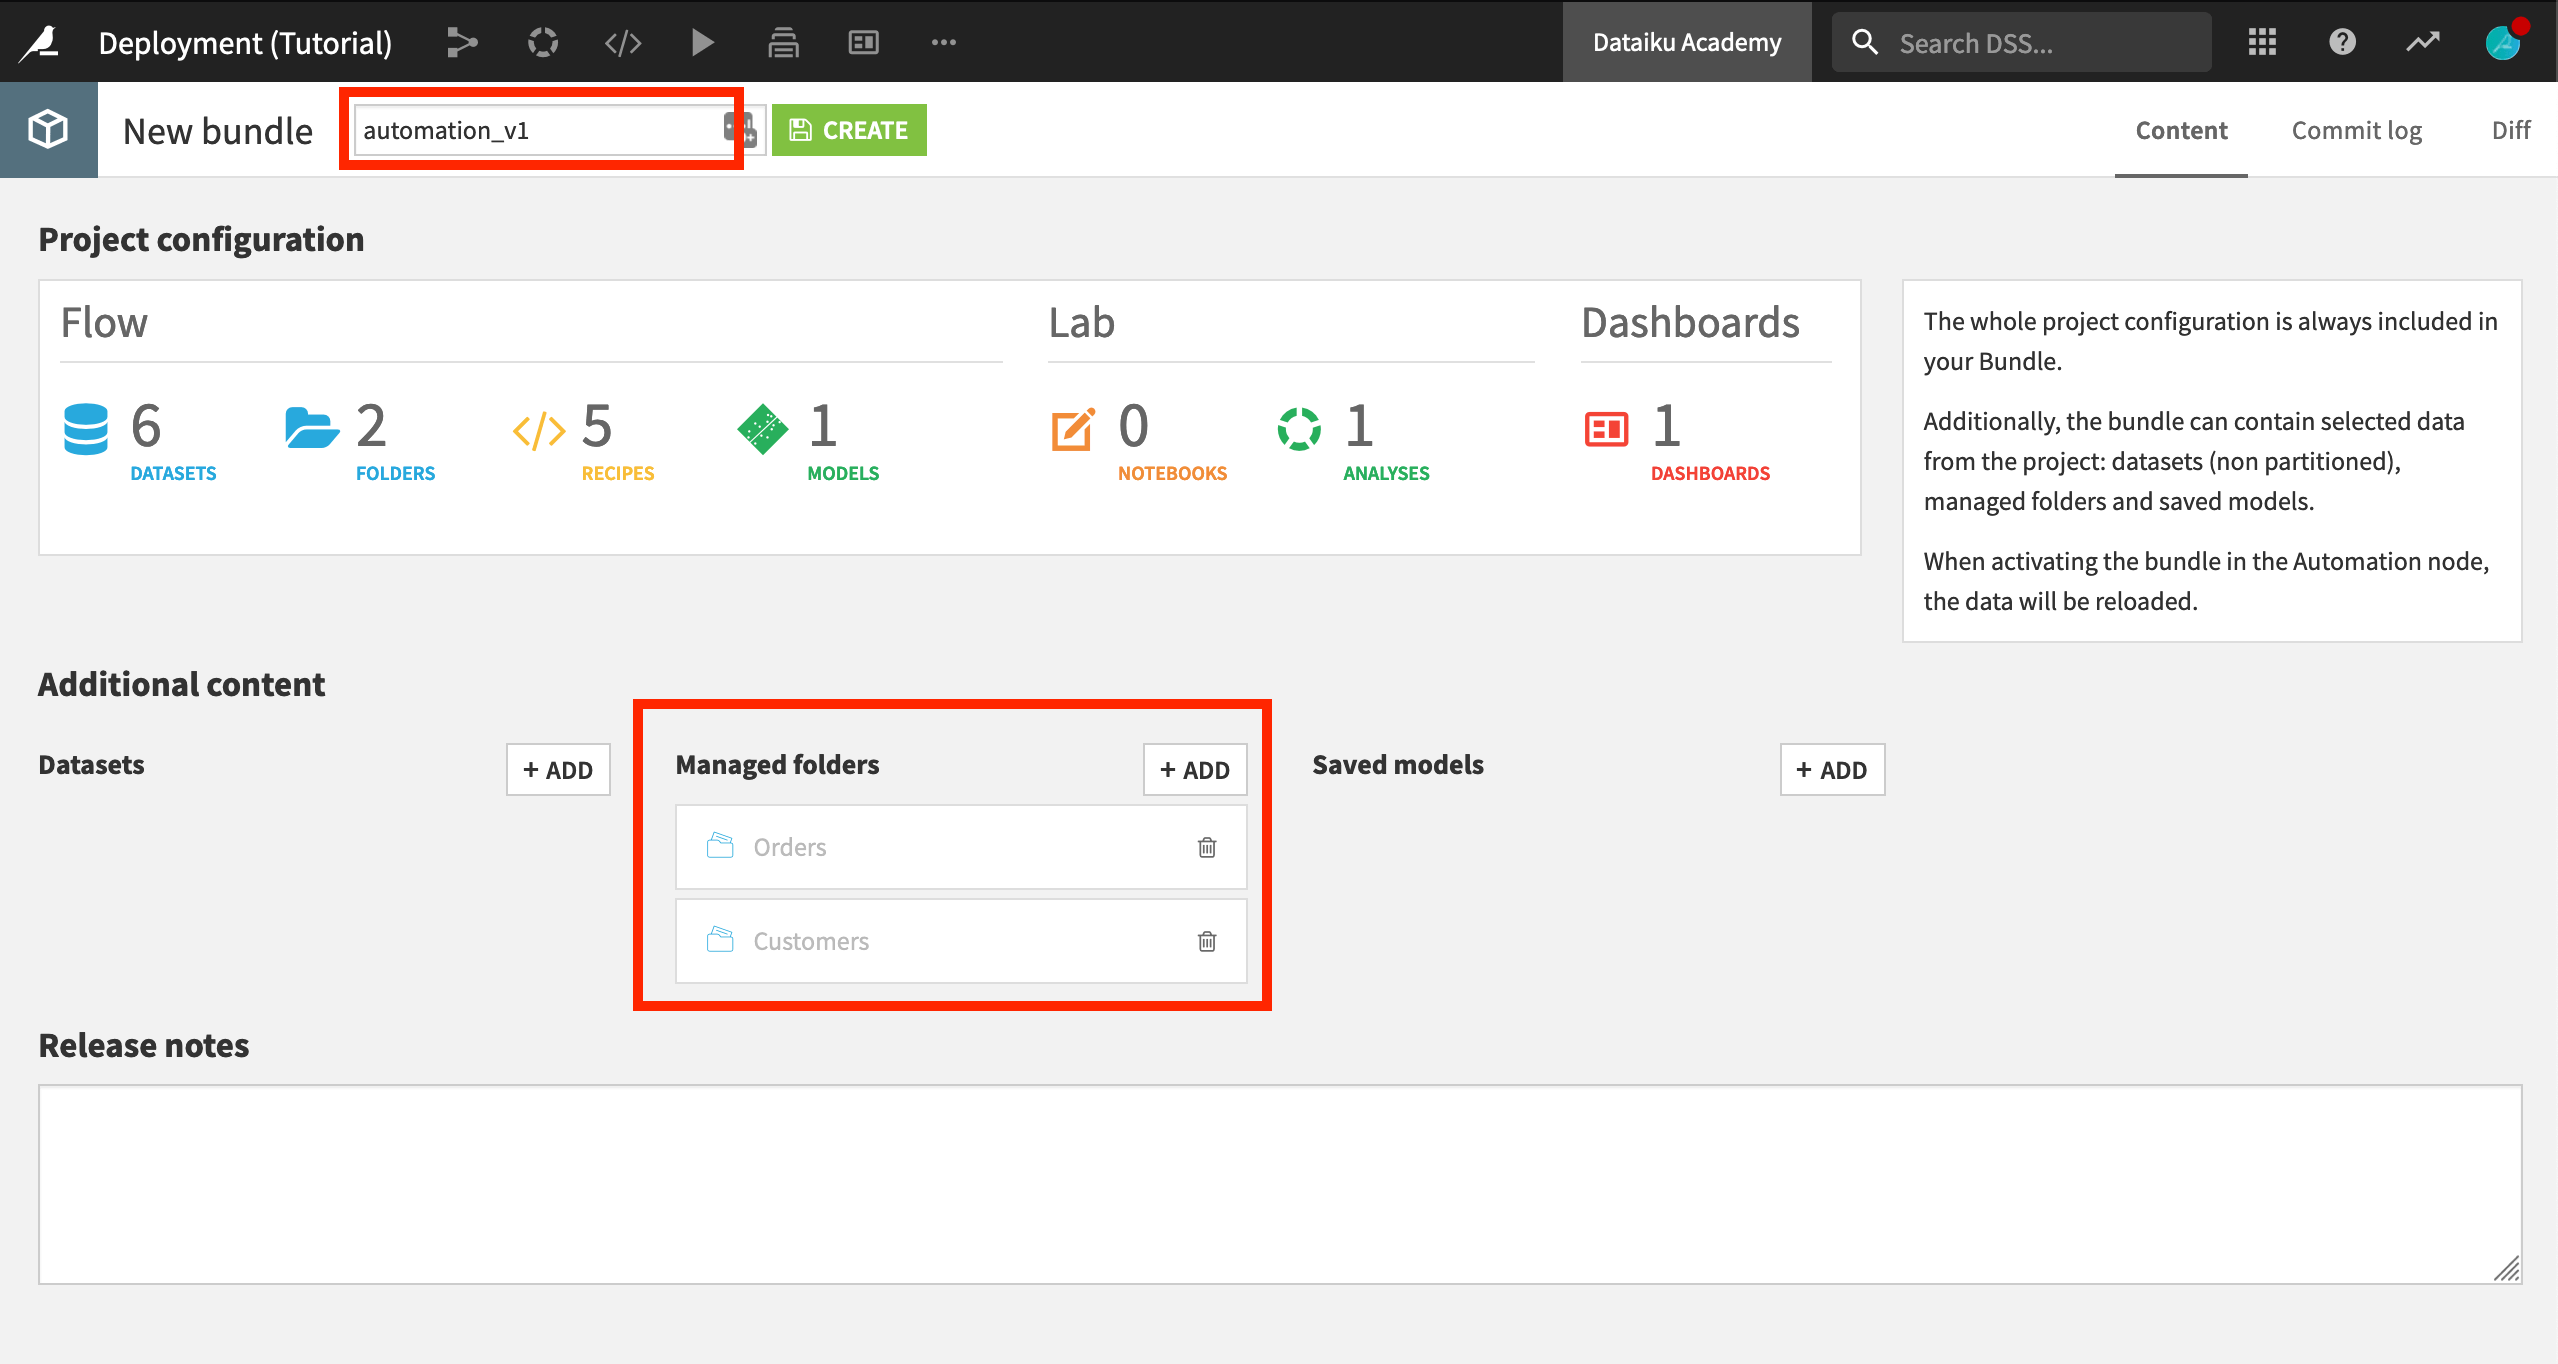
For this tutorial, we will include the data for the Orders and Customers managed folders. In a real-life setting however, these primary data sources would be different on the development and production environments.
Under Additional content, add the Customers and Orders managed folders.
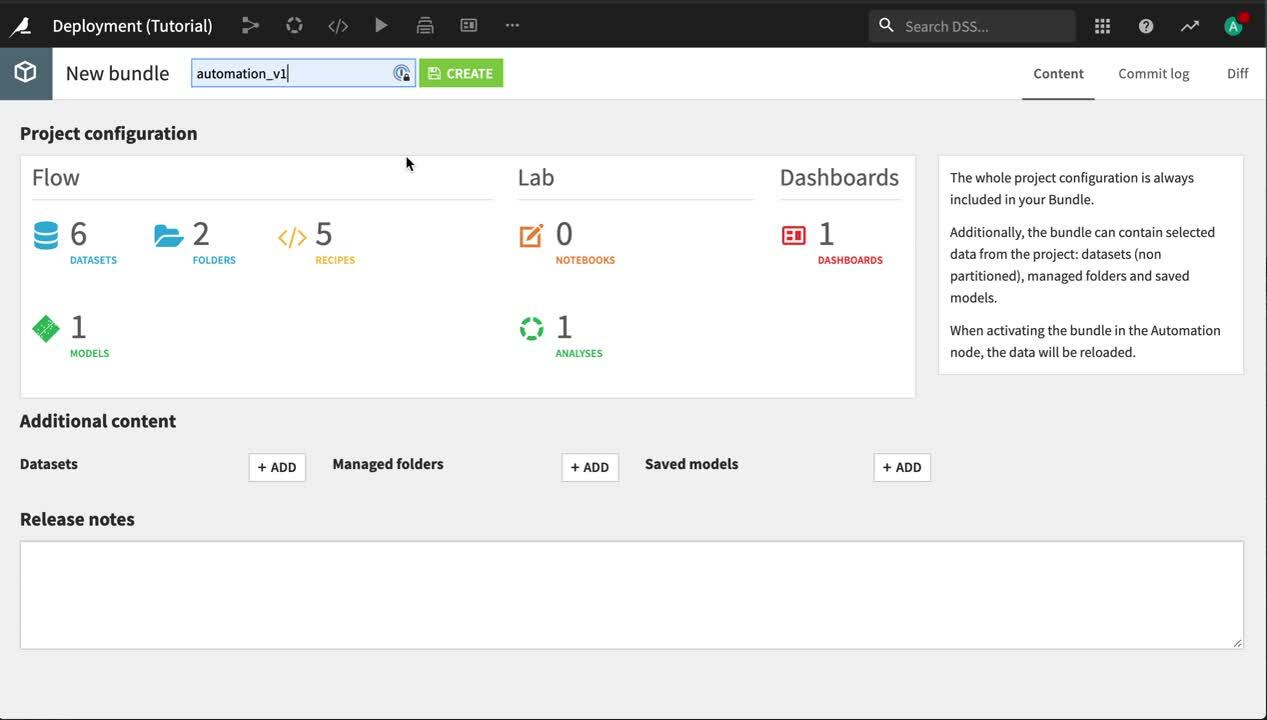
Name the bundle
automation_v1, and click Create.