Deploying a Bundle
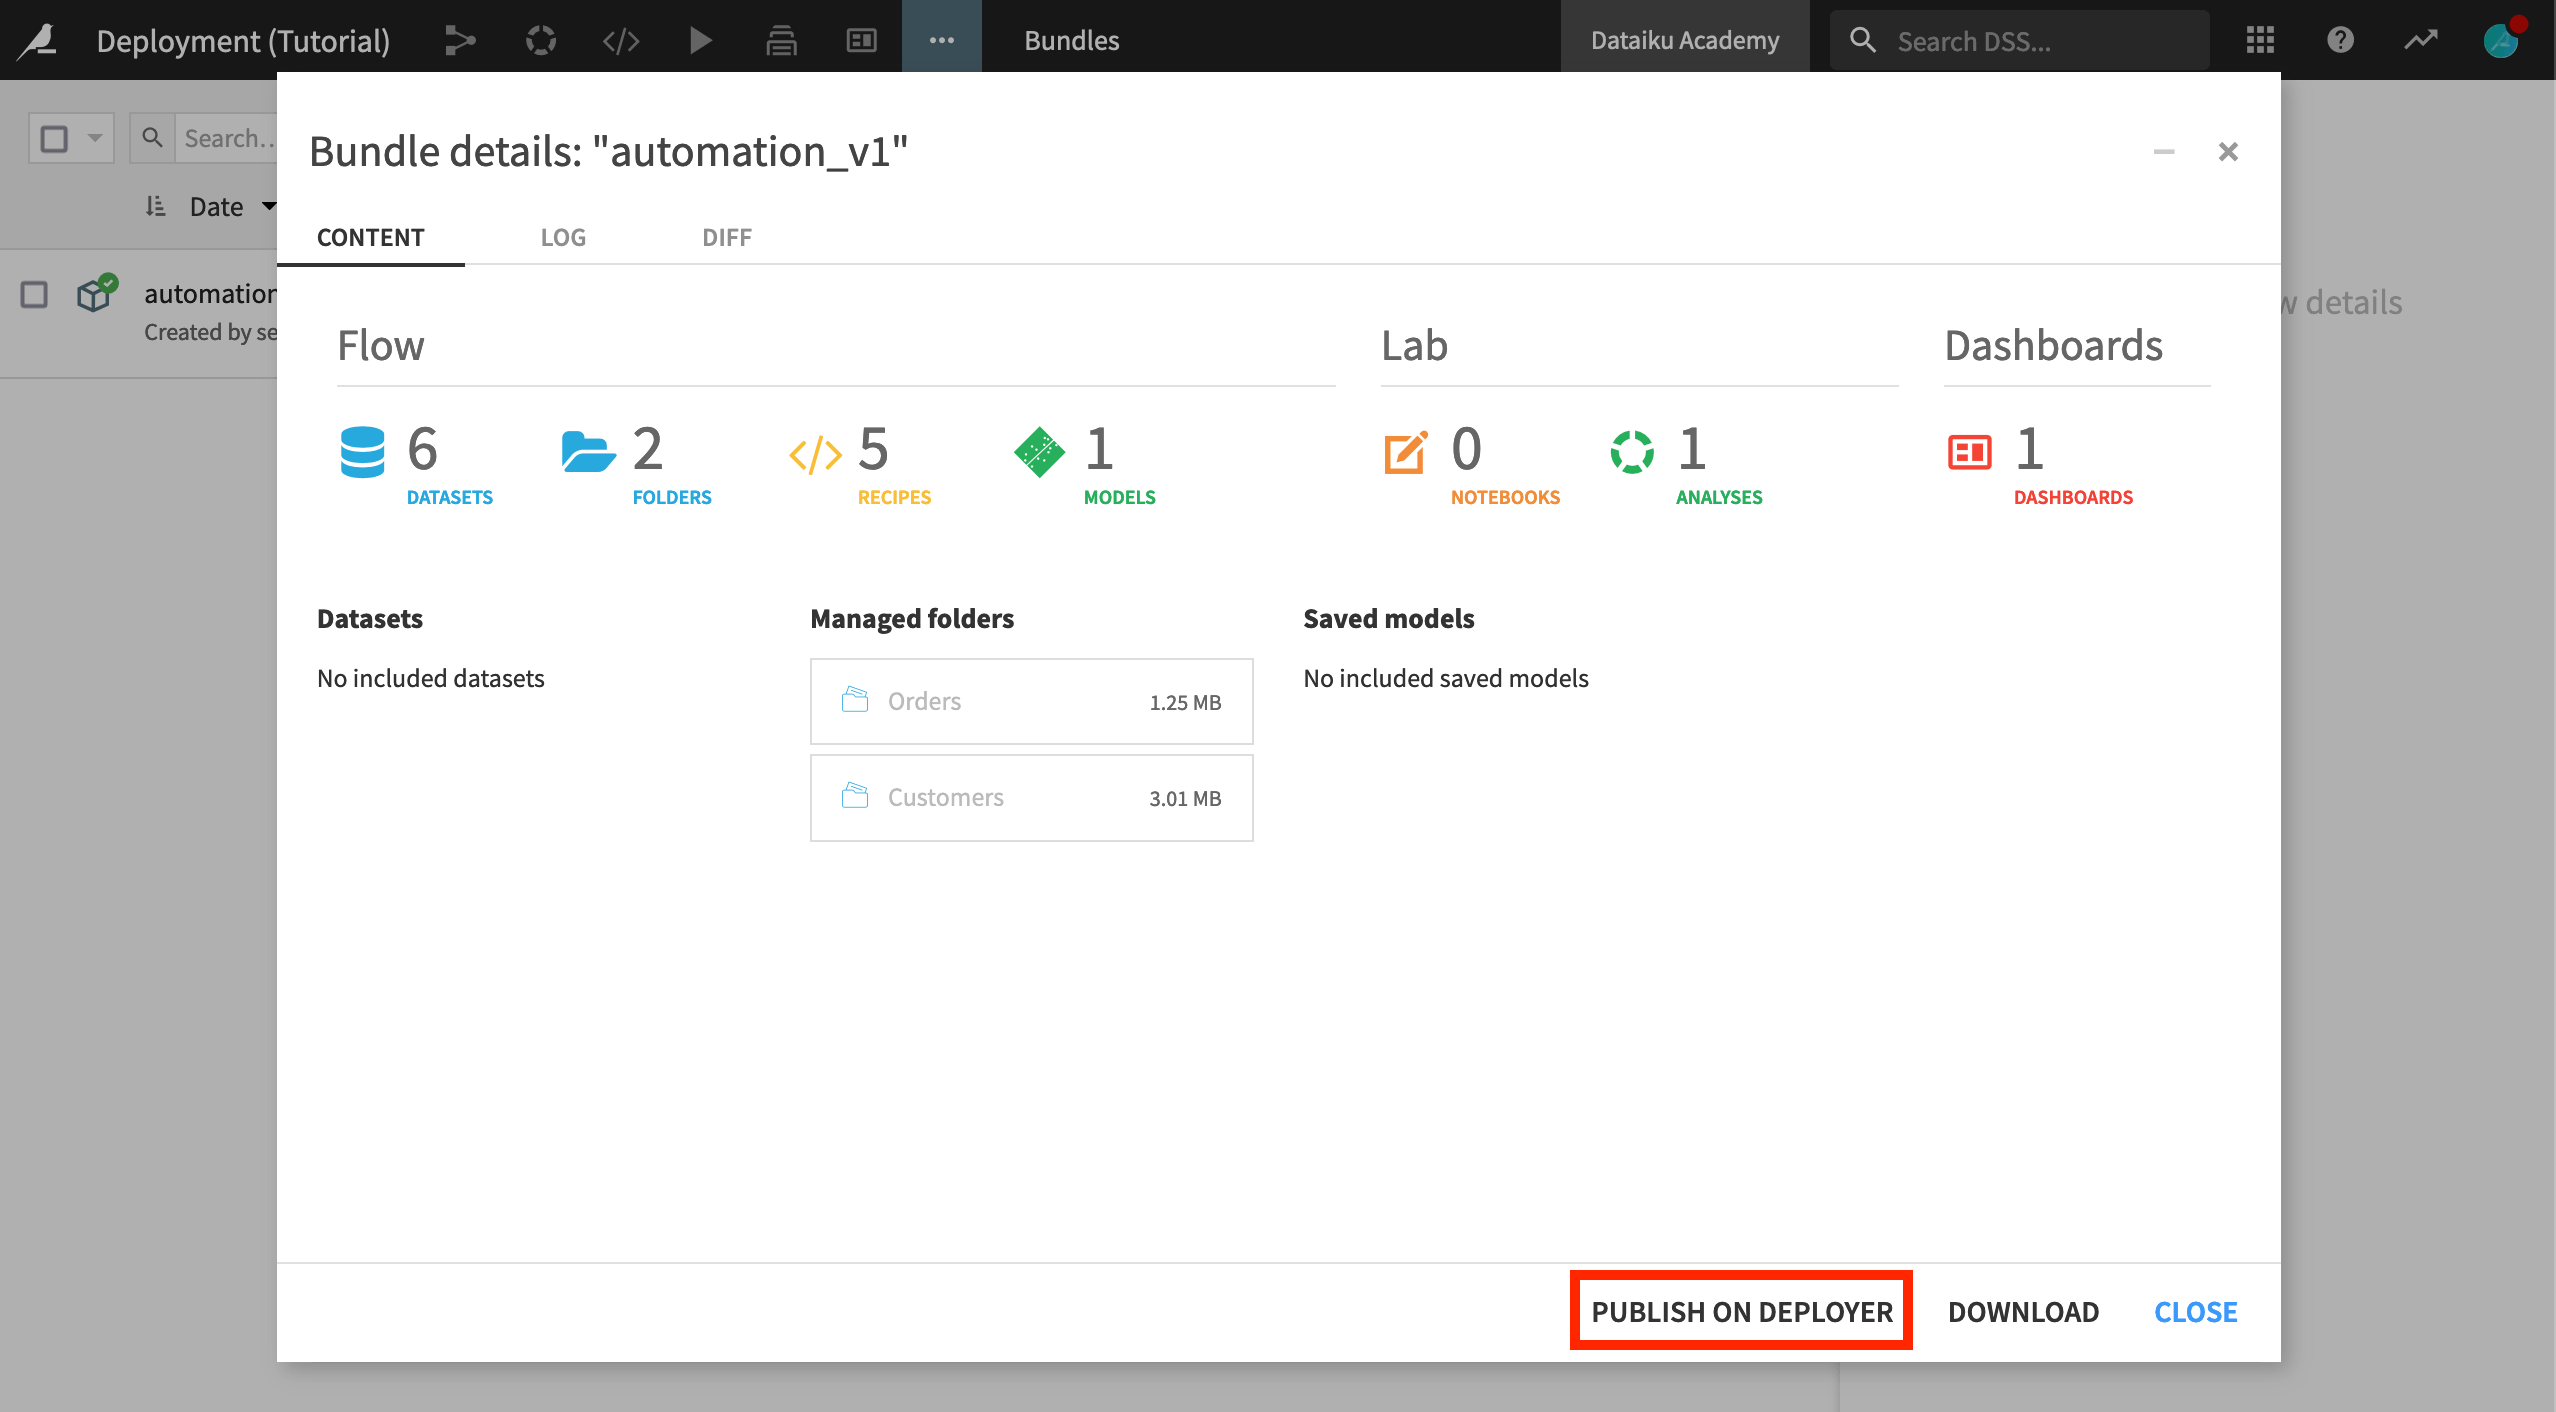
Select the bundle you’ve just created.
In the Actions panel, click Publish on Deployer, and publish the automation_v1 bundle.
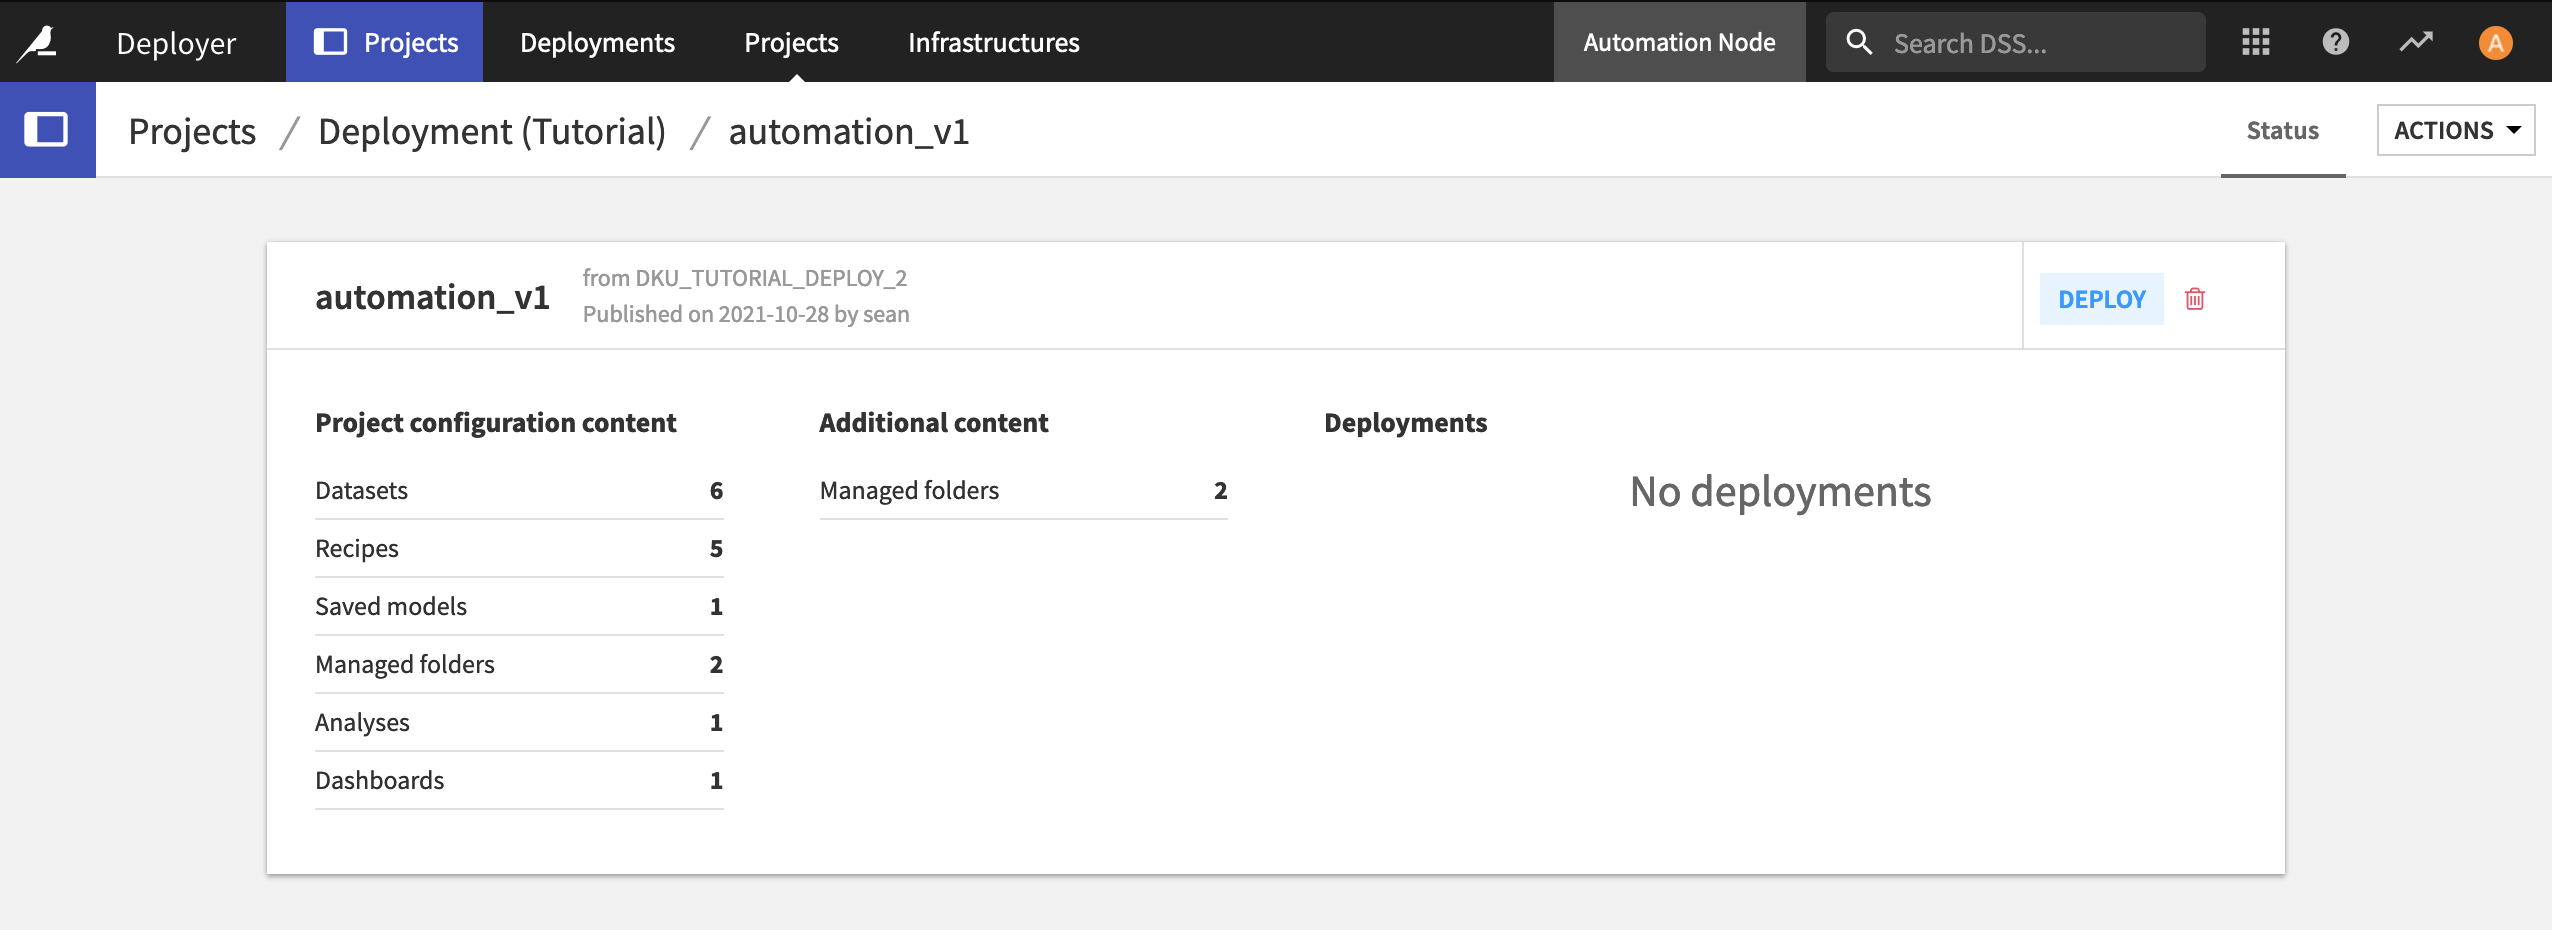
When it completes, open the bundle on the Deployer. Now it’s time to create a new Deployment and push the bundle to the Automation node.
Note
Deployments
The bundle contains the information about the project from the Design node. When combined with information on a production infrastructure, this becomes a Deployment that can be pushed to an Automation node.
Click Deploy.
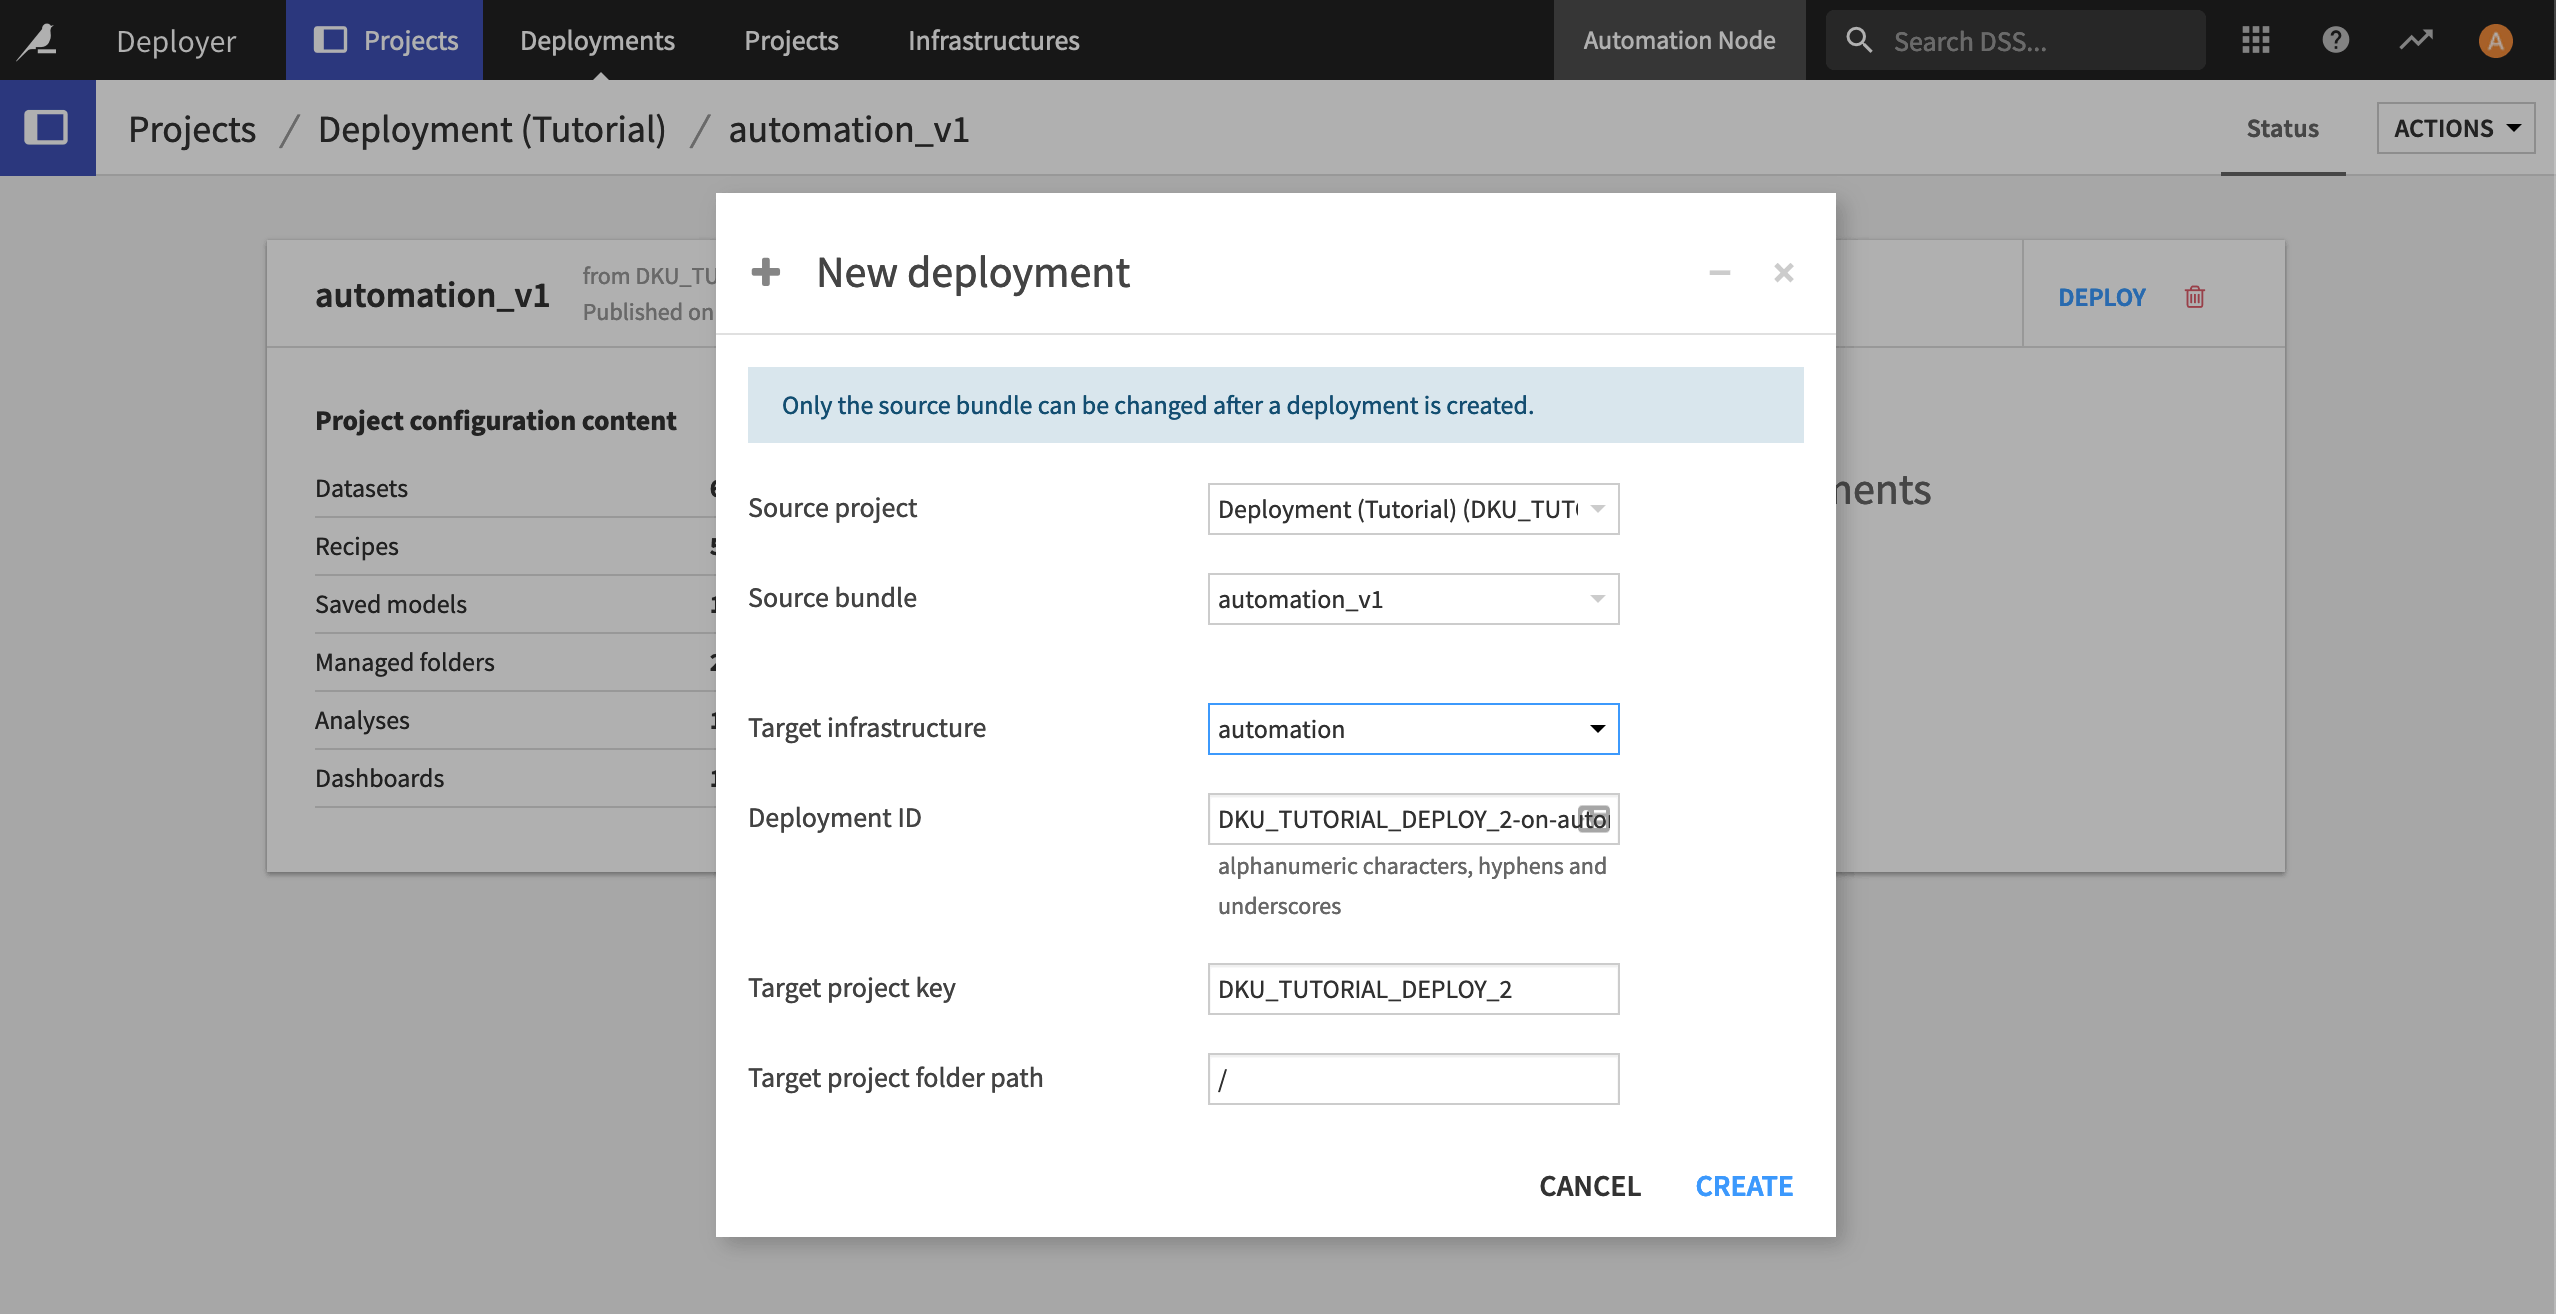
In the New Deployment dialog, select the target infrastructure for the Automation node, and click Create.
In the Status tab of the new deployment, click Deploy and Activate.
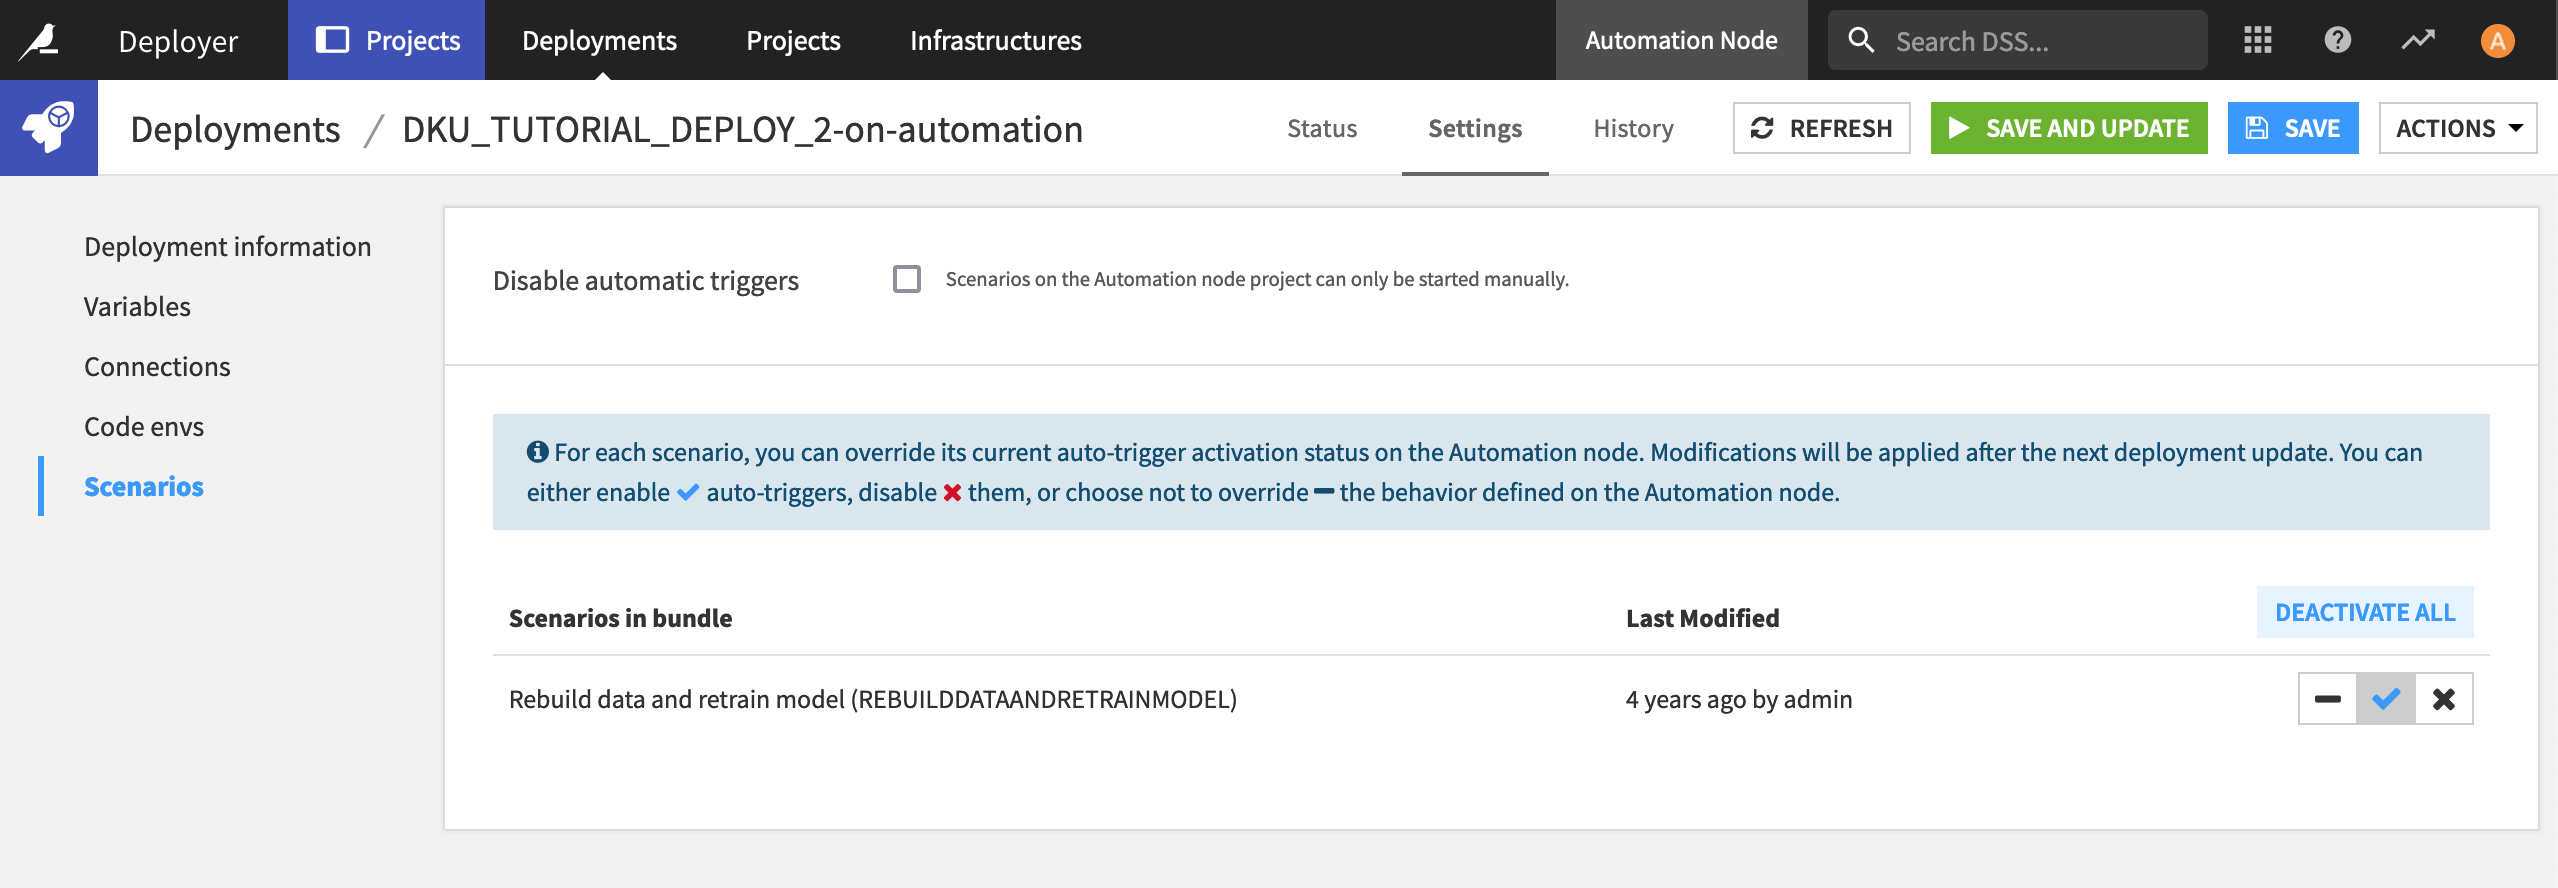
Within the deployment, you can change the deployment parameters on the Settings tab. For example, by default, scenarios are not activated upon deployment.
Navigate to the Scenarios panel of the Settings tab, and click Activate All.
Click Save and Update.
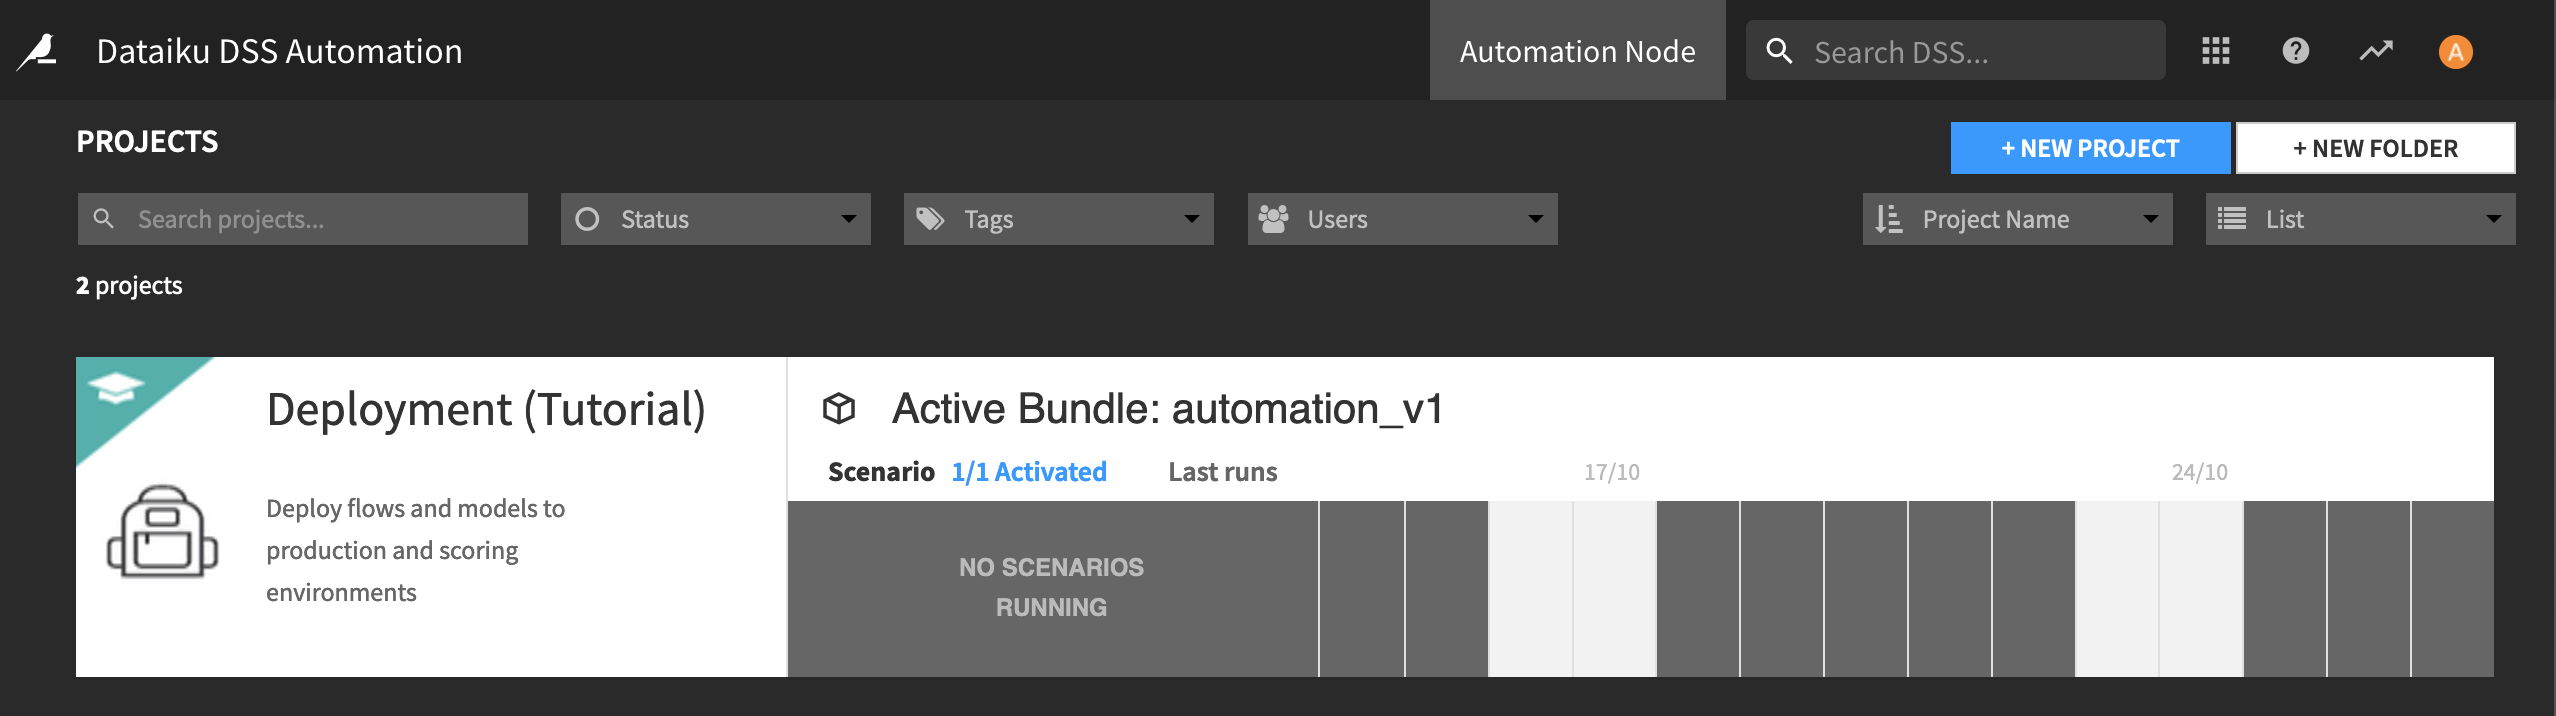
That’s it! The Flow you set up in the Design node is now running in production. If you open your Automation node, you’ll see the project has been deployed.
Note
Connections mapping
Note that you may need to re-map connections to data sources that exist in the Design node to how they should or will exist on the Automation node. Dataiku DSS will prompt you if this is necessary.
In the Automation node, you need to have connections of the proper type, but their definition can change.
A simple example of this is a SQL database: you’ll have a production database separate from the development database, so when deploying the bundle, you’ll need to reattach the SQL datasets to the production database.
