Versioning a Flow
Now, let’s say that we want to change the scenario in the Flow so that it runs on a monthly basis, rather than when the underlying data sources are updated. At a high level, to do this, we need to:
update the project on the Design node;
repackage the project into a new bundle version; and
deploy the new bundle to the Automation node.
Here are the detailed steps:
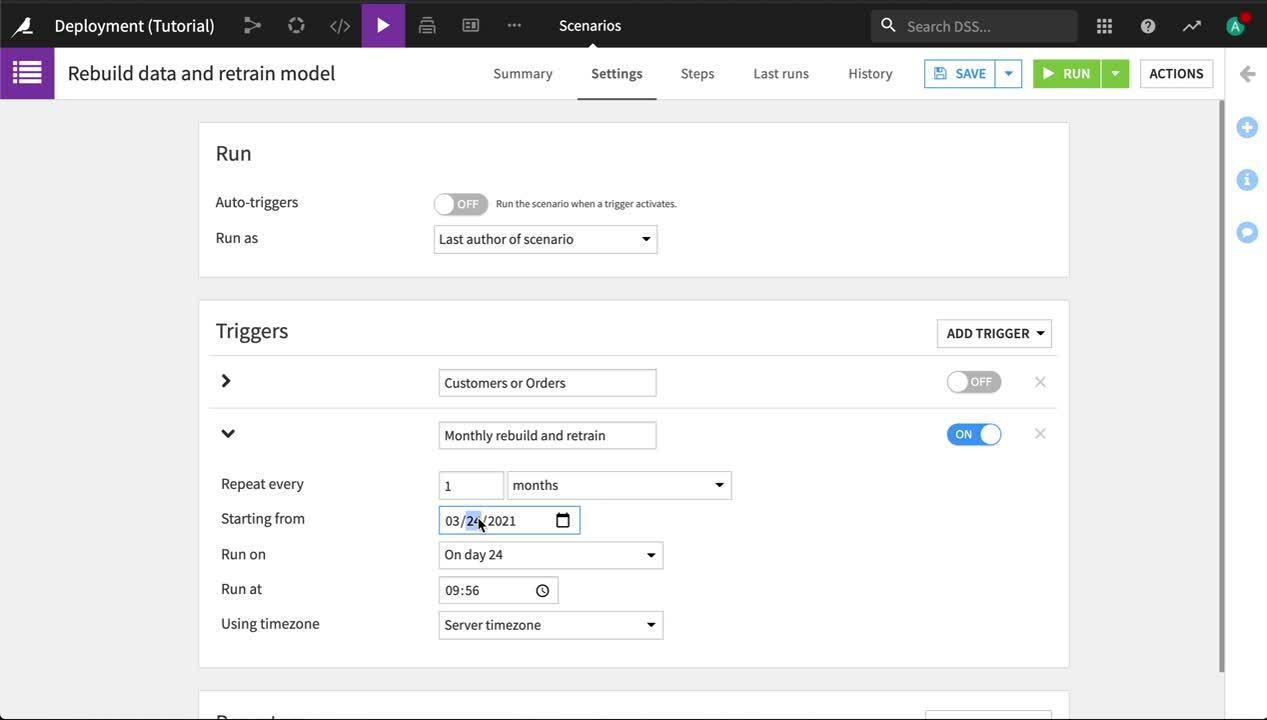
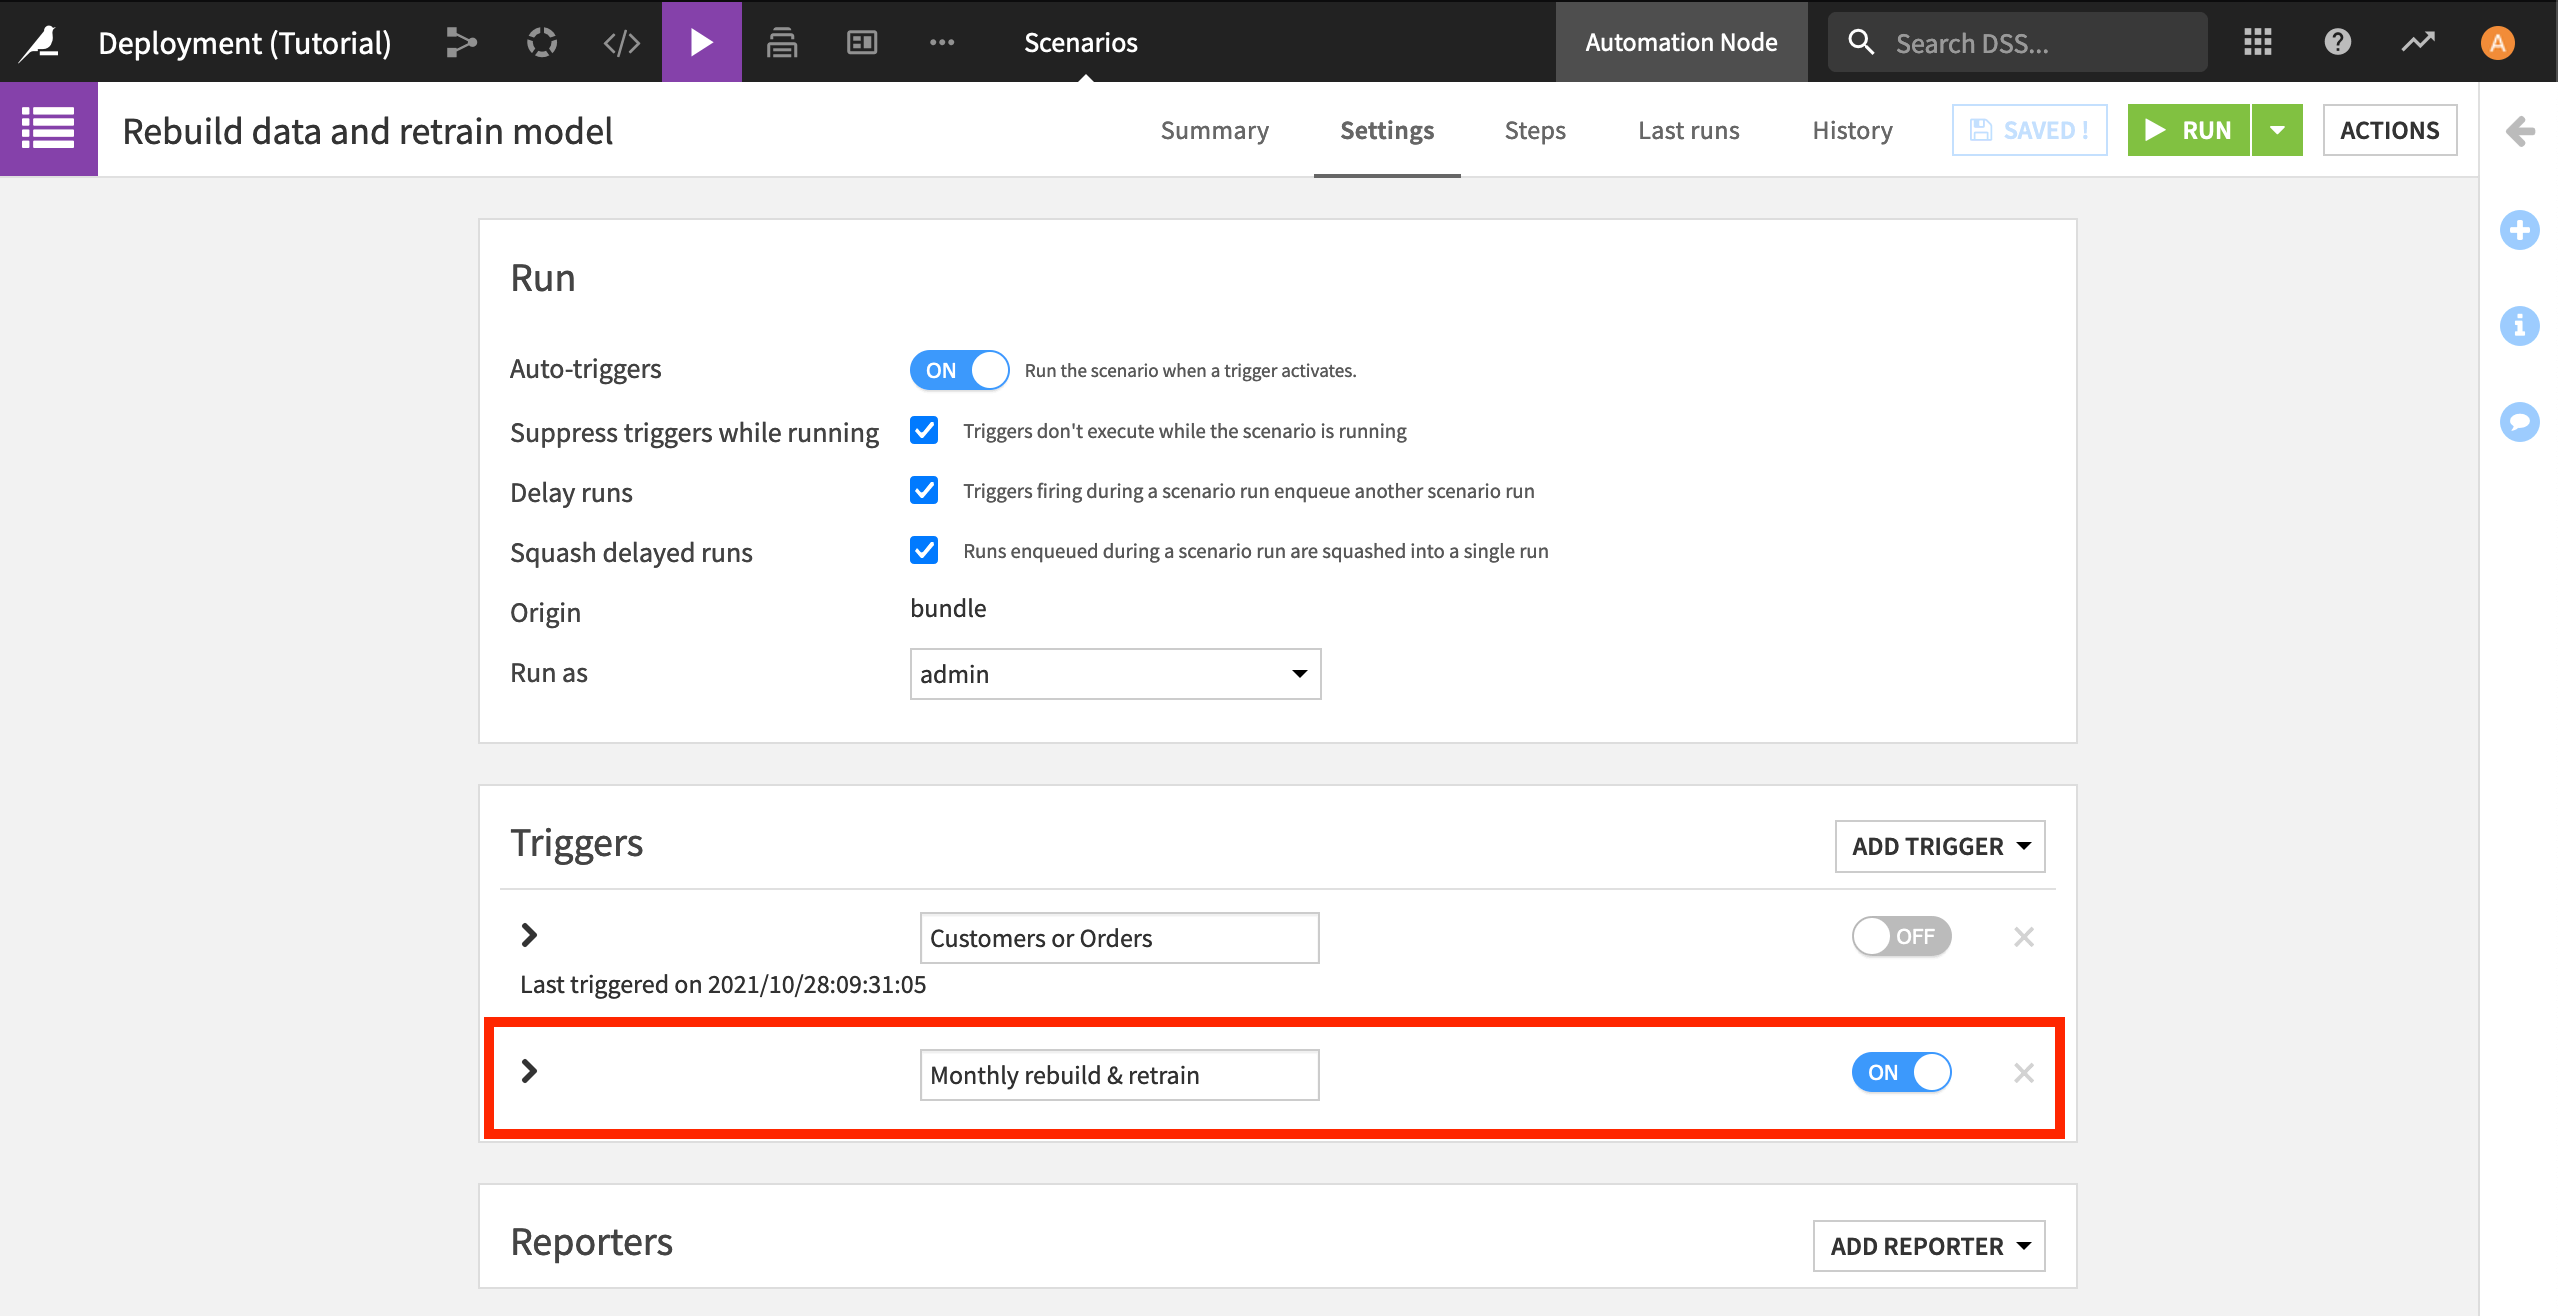
Open the original project on the Design node. Navigate to the Scenarios tab, and open the Rebuild data retrain model scenario.
Rather than deleting it, in case you want to switch back to this trigger later, turn off the existing trigger. Then click Add trigger > Time-based trigger.
Name the trigger
Monthly rebuild & retrain. Have the trigger repeat every 1 month, starting on day 1 of the closest month. Save your scenario.Navigate to the Bundles page. Click + New Bundle, and name it
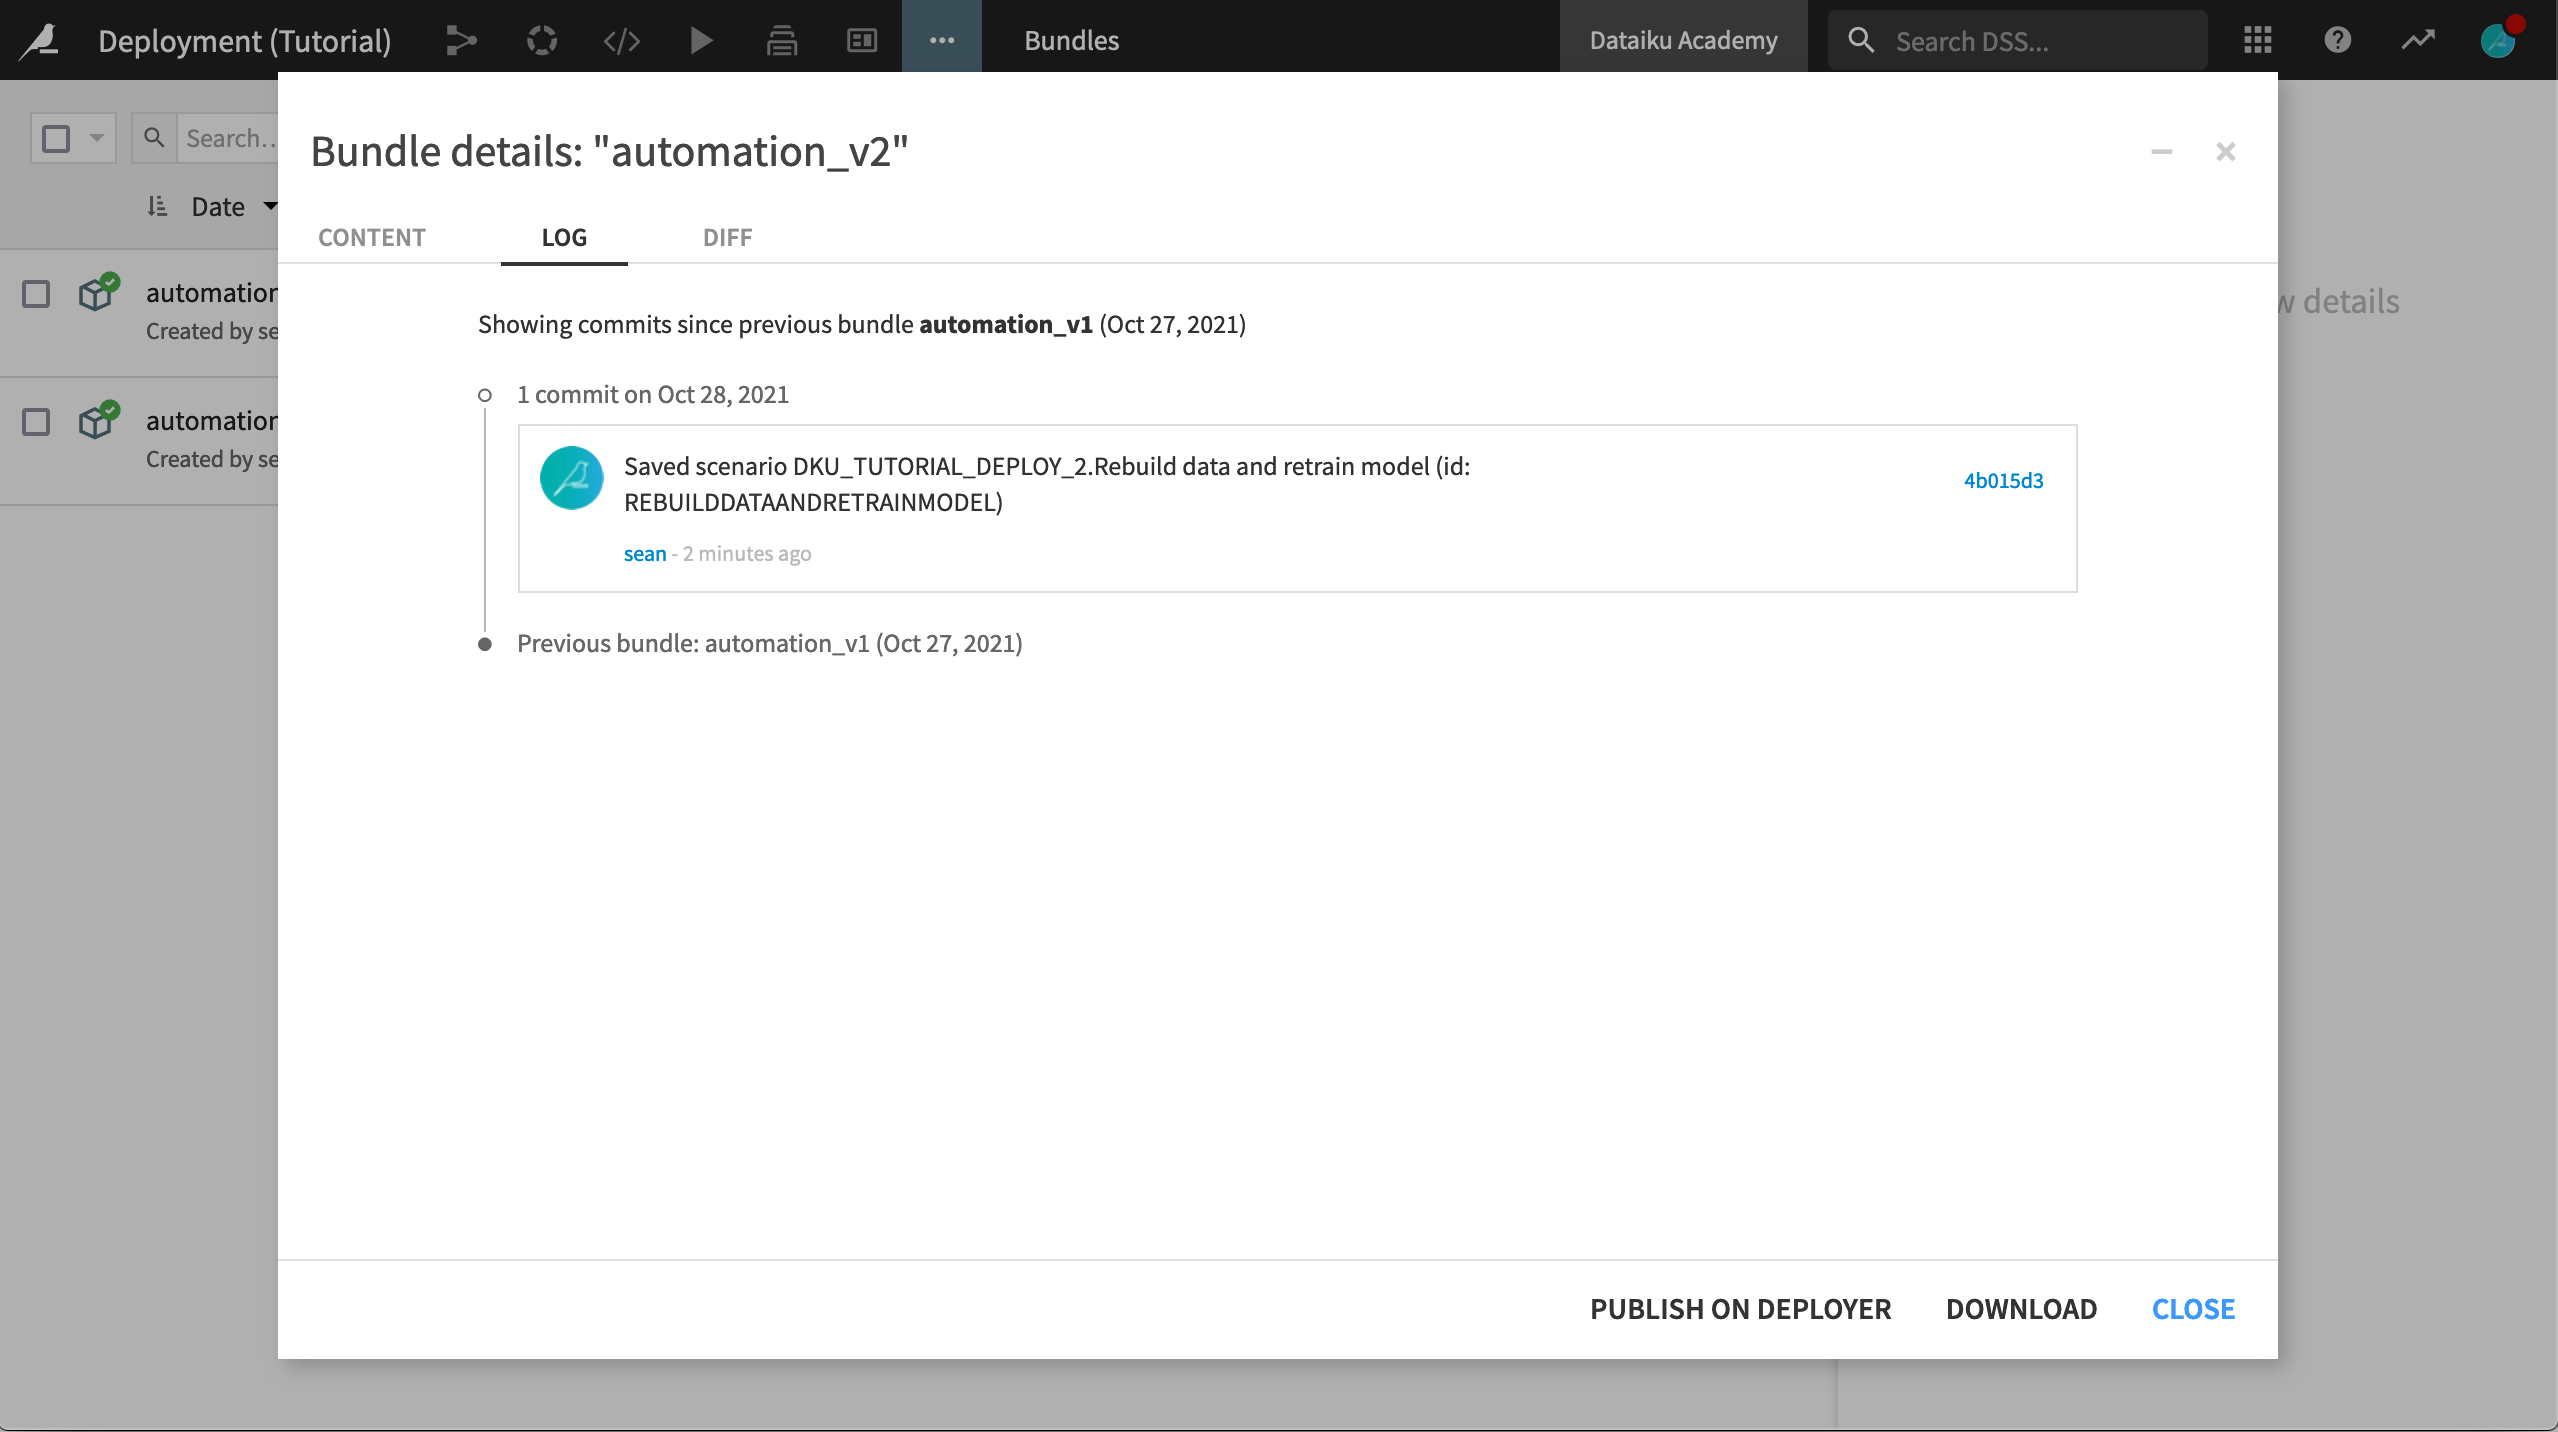
automation_v2.Leave a descriptive release note for your colleagues in charge of the production environment, like
Changed the scenario trigger to be monthly. These changes are now visible in the bundle’s commit log and diff tabs (accessible in the upper right), both here on the Design node and when the bundle is redeployed on the Automation node.Click Create.
See a video to recap the steps in this section.
<!– Vidyard Lightbox video embed –> <script type=”text/javascript” async src=”https://play.vidyard.com/embed/v4.js”></script>
<!– Put this wherever you would like your player to appear –> <div style=”width: 100%; margin: auto; display: block;”>
- <p>
- <img
class=”vidyard-player-embed” src=”https://play.vidyard.com/xEcnWm7qL3dxicHj1vLgF9.jpg” data-uuid=”xEcnWm7qL3dxicHj1vLgF9”; data-v=”4” data-type=”inline”/>
</p>
</div>
Updating a Deployment
Now we want to update our Deployment with the new project bundle, and then push the changes to the Automation node.
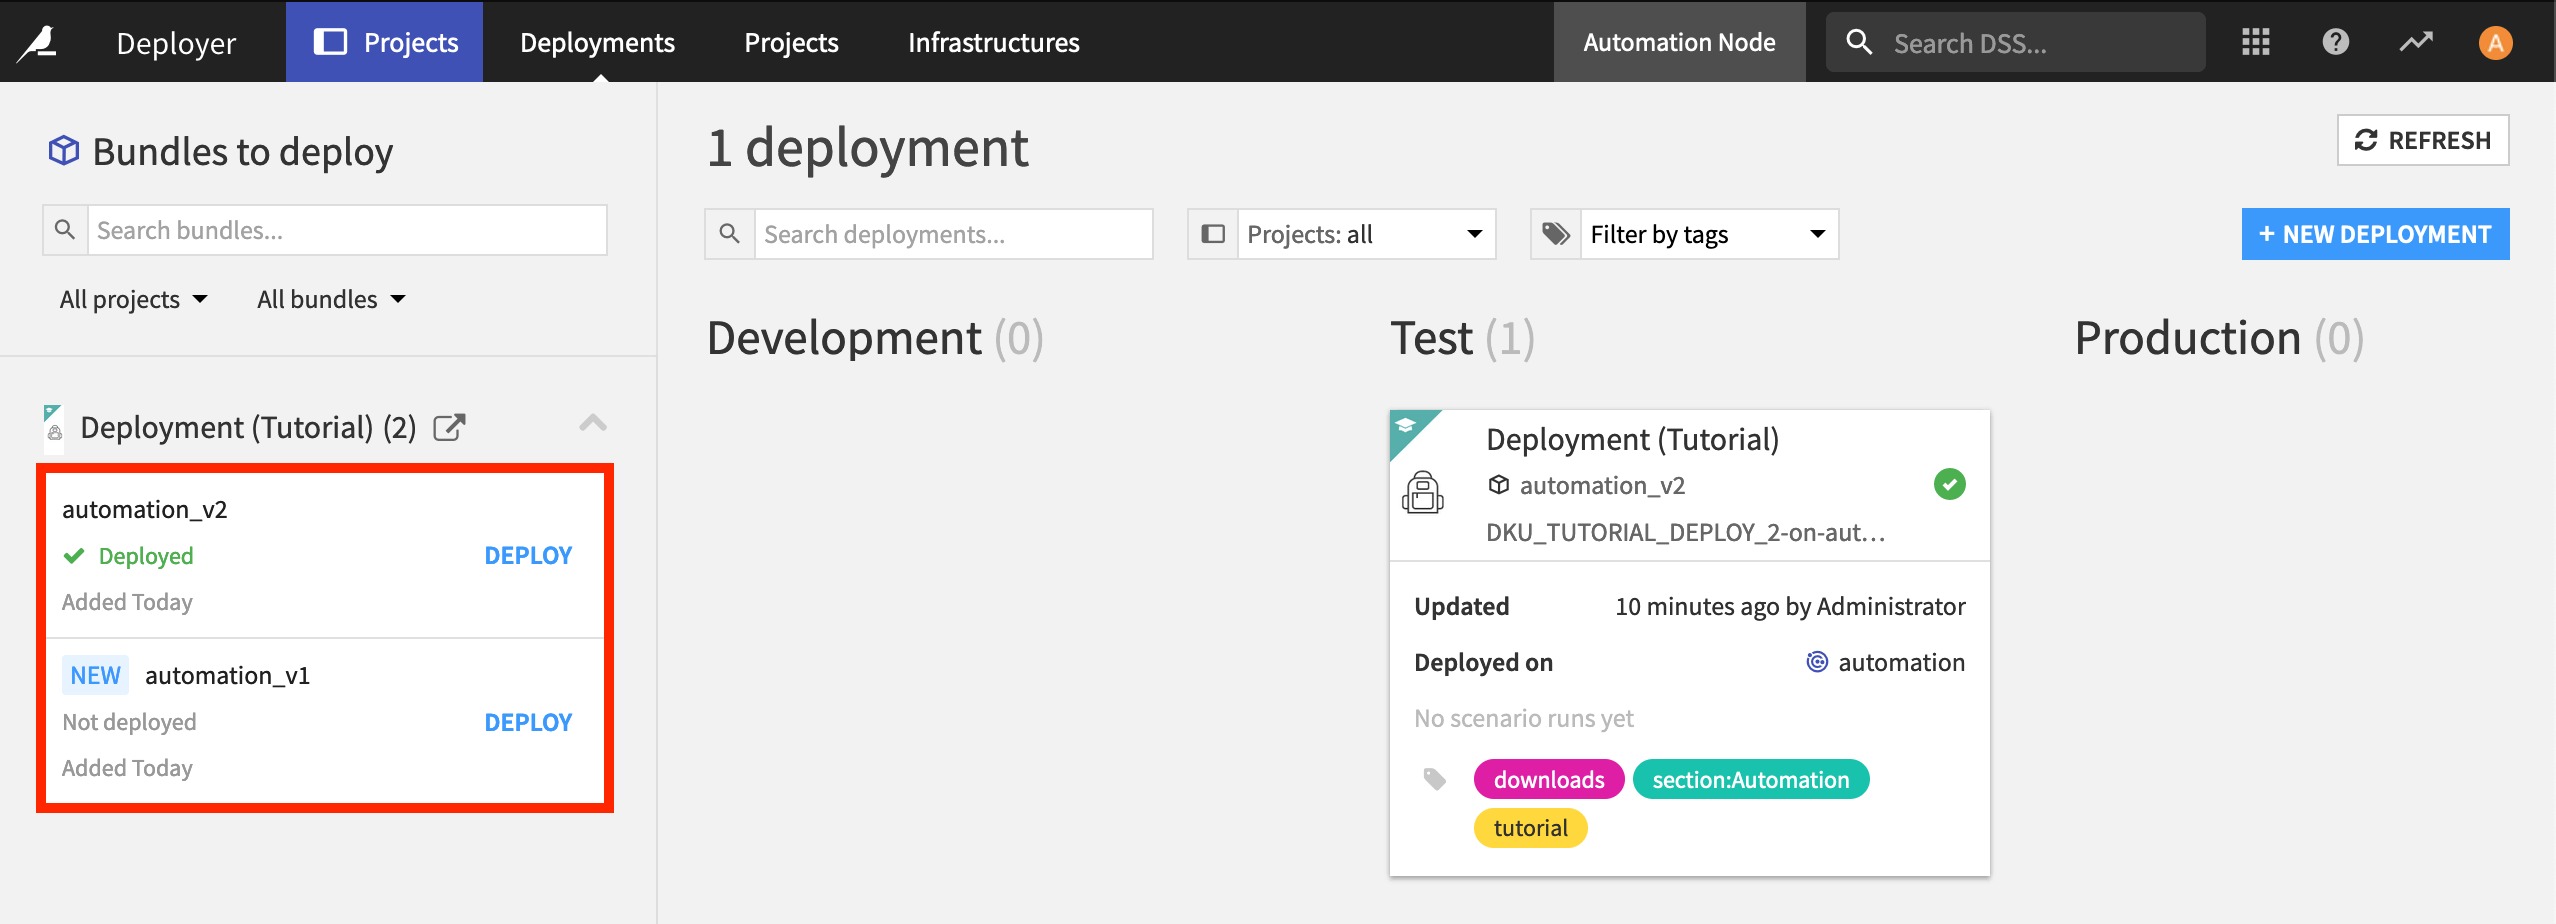
With the new bundle selected, click Publish on Deployer, and then Open in Deployer.
The Deployer opens with the new bundle. Click Deploy once again.
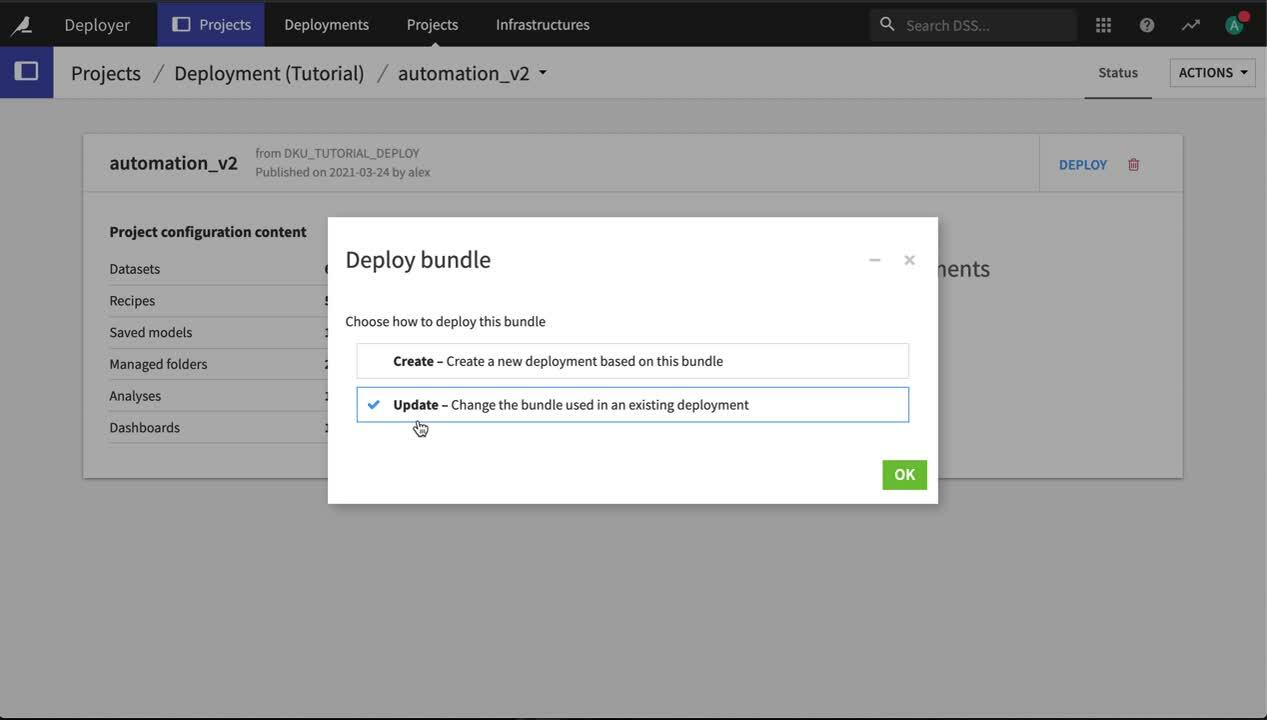
We want to update the existing Deployment, so ensure that the Update option is selected and then click OK.

Confirm the Deployment to update, and click OK.
Click Update to push the changes to the Automation node.
The project in production has been updated to execute on a monthly basis. You can check this by navigating to the Scenarios of the project on the Automation node and seeing that the changes you made on the Design node are visible in the Automation node.
If you ever need to roll back to a previous bundle version, go to the Deployer, select the version you want, and Deploy it as an update.