What’s Next?
Congratulations! In a short amount of time, you were able to:
connect to data sources;
prepare training data;
create visualizations and statistical analyses;
train a model and apply it to new data; and
communicate results.
Note
This simple example was completed using only the native visual tools. However, each of these steps could have been extended or customized with your own code.
If you are interested to learn about coding within Dataiku DSS, please check out the Data Scientist or Data Engineer quick start tutorials.
Your project does not have to stop here. Following this point, you might want to:
create a scenario to rebuild the datasets and retrain the model on a time-based or event-based trigger;
document your workflow and results on a wiki;
create webapps and/or Dataiku apps to make assets reusable;
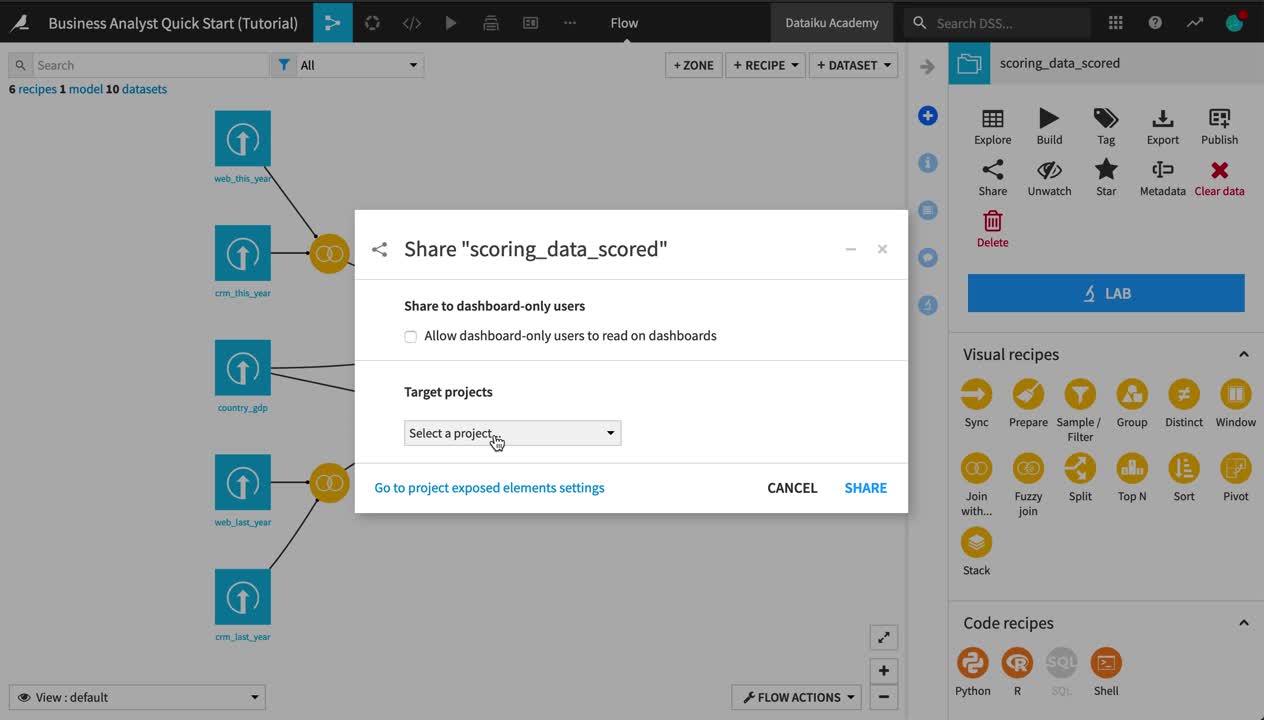
share the output datasets with other Dataiku DSS projects; sync them to other connections; or use plugins to export them to tools like Tableau, Power BI, or Qlik.
Tip
This quick start tutorial is only the tip of the iceberg when it comes to the capabilities of Dataiku DSS. To learn more, please visit the Academy, where you can find more courses, learning paths, and certifications to test your knowledge.