Hands-On: Deploy the Model
In the Machine Learning Basics course, we trained a model to predict the “high revenue potential” of customers for whom we have already observed their previous long-term behavior. They were then stored in the customers_labeled dataset.
Now, we have some new customers, for whom we have the first purchase, and we want to predict whether they’ll turn out to be high revenue customers. This is the customers_unlabeled_prepared dataset. In this dataset, we do not yet have an indication of whether they are high revenue customers.
Over the following hands-on lessons, we will learn how to use the predictive model to score these new records.
We will go through the following steps:
Deploying a model to the Flow
Using this deployed model to score records from another dataset
Understanding the different components used by Dataiku DSS during this workflow
Prerequisites
Start by going back to your project from the Machine Learning Basics course. Alternatively, you can download a new project; from the Dataiku DSS homepage, select +New Project > DSS Tutorials > ML Practitioner > Scoring Basics (Tutorial).
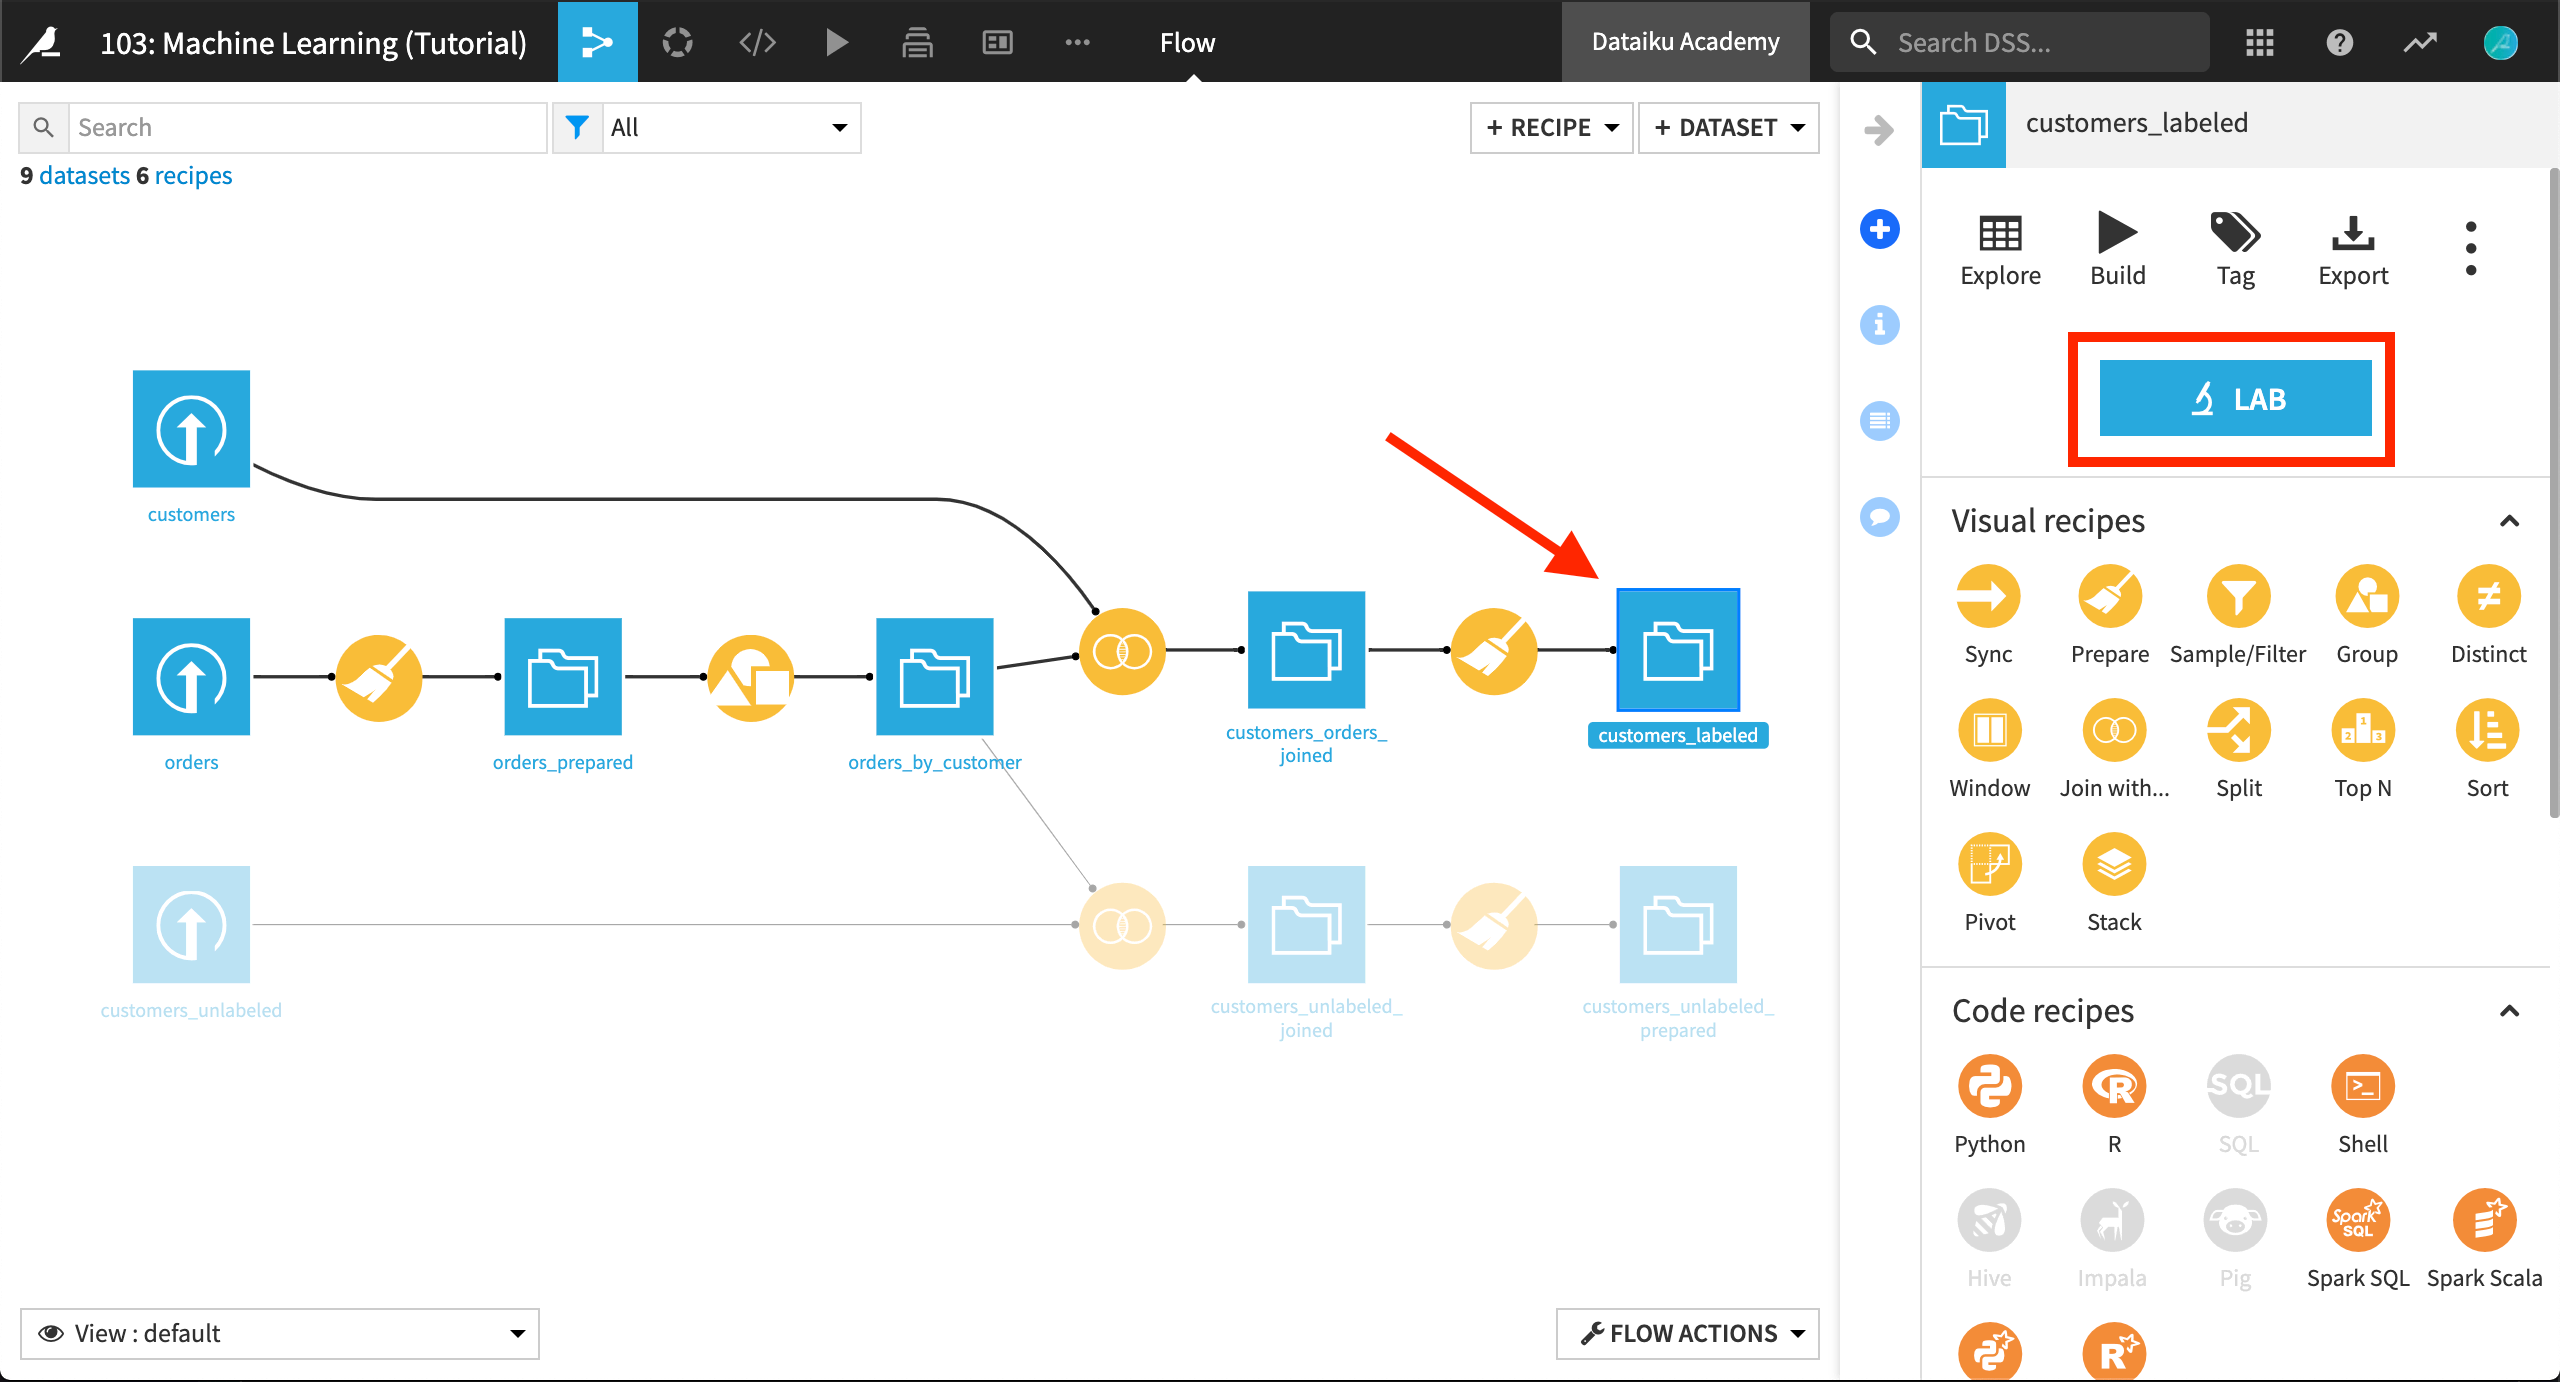
Go to the Flow, click on the customers_labeled dataset, and click on the LAB button.
Click the High revenue analysis to open it.

The Visual Analysis Lab should be as you left it at the end of the Machine Learning Basics course, with the corresponding empty Script.
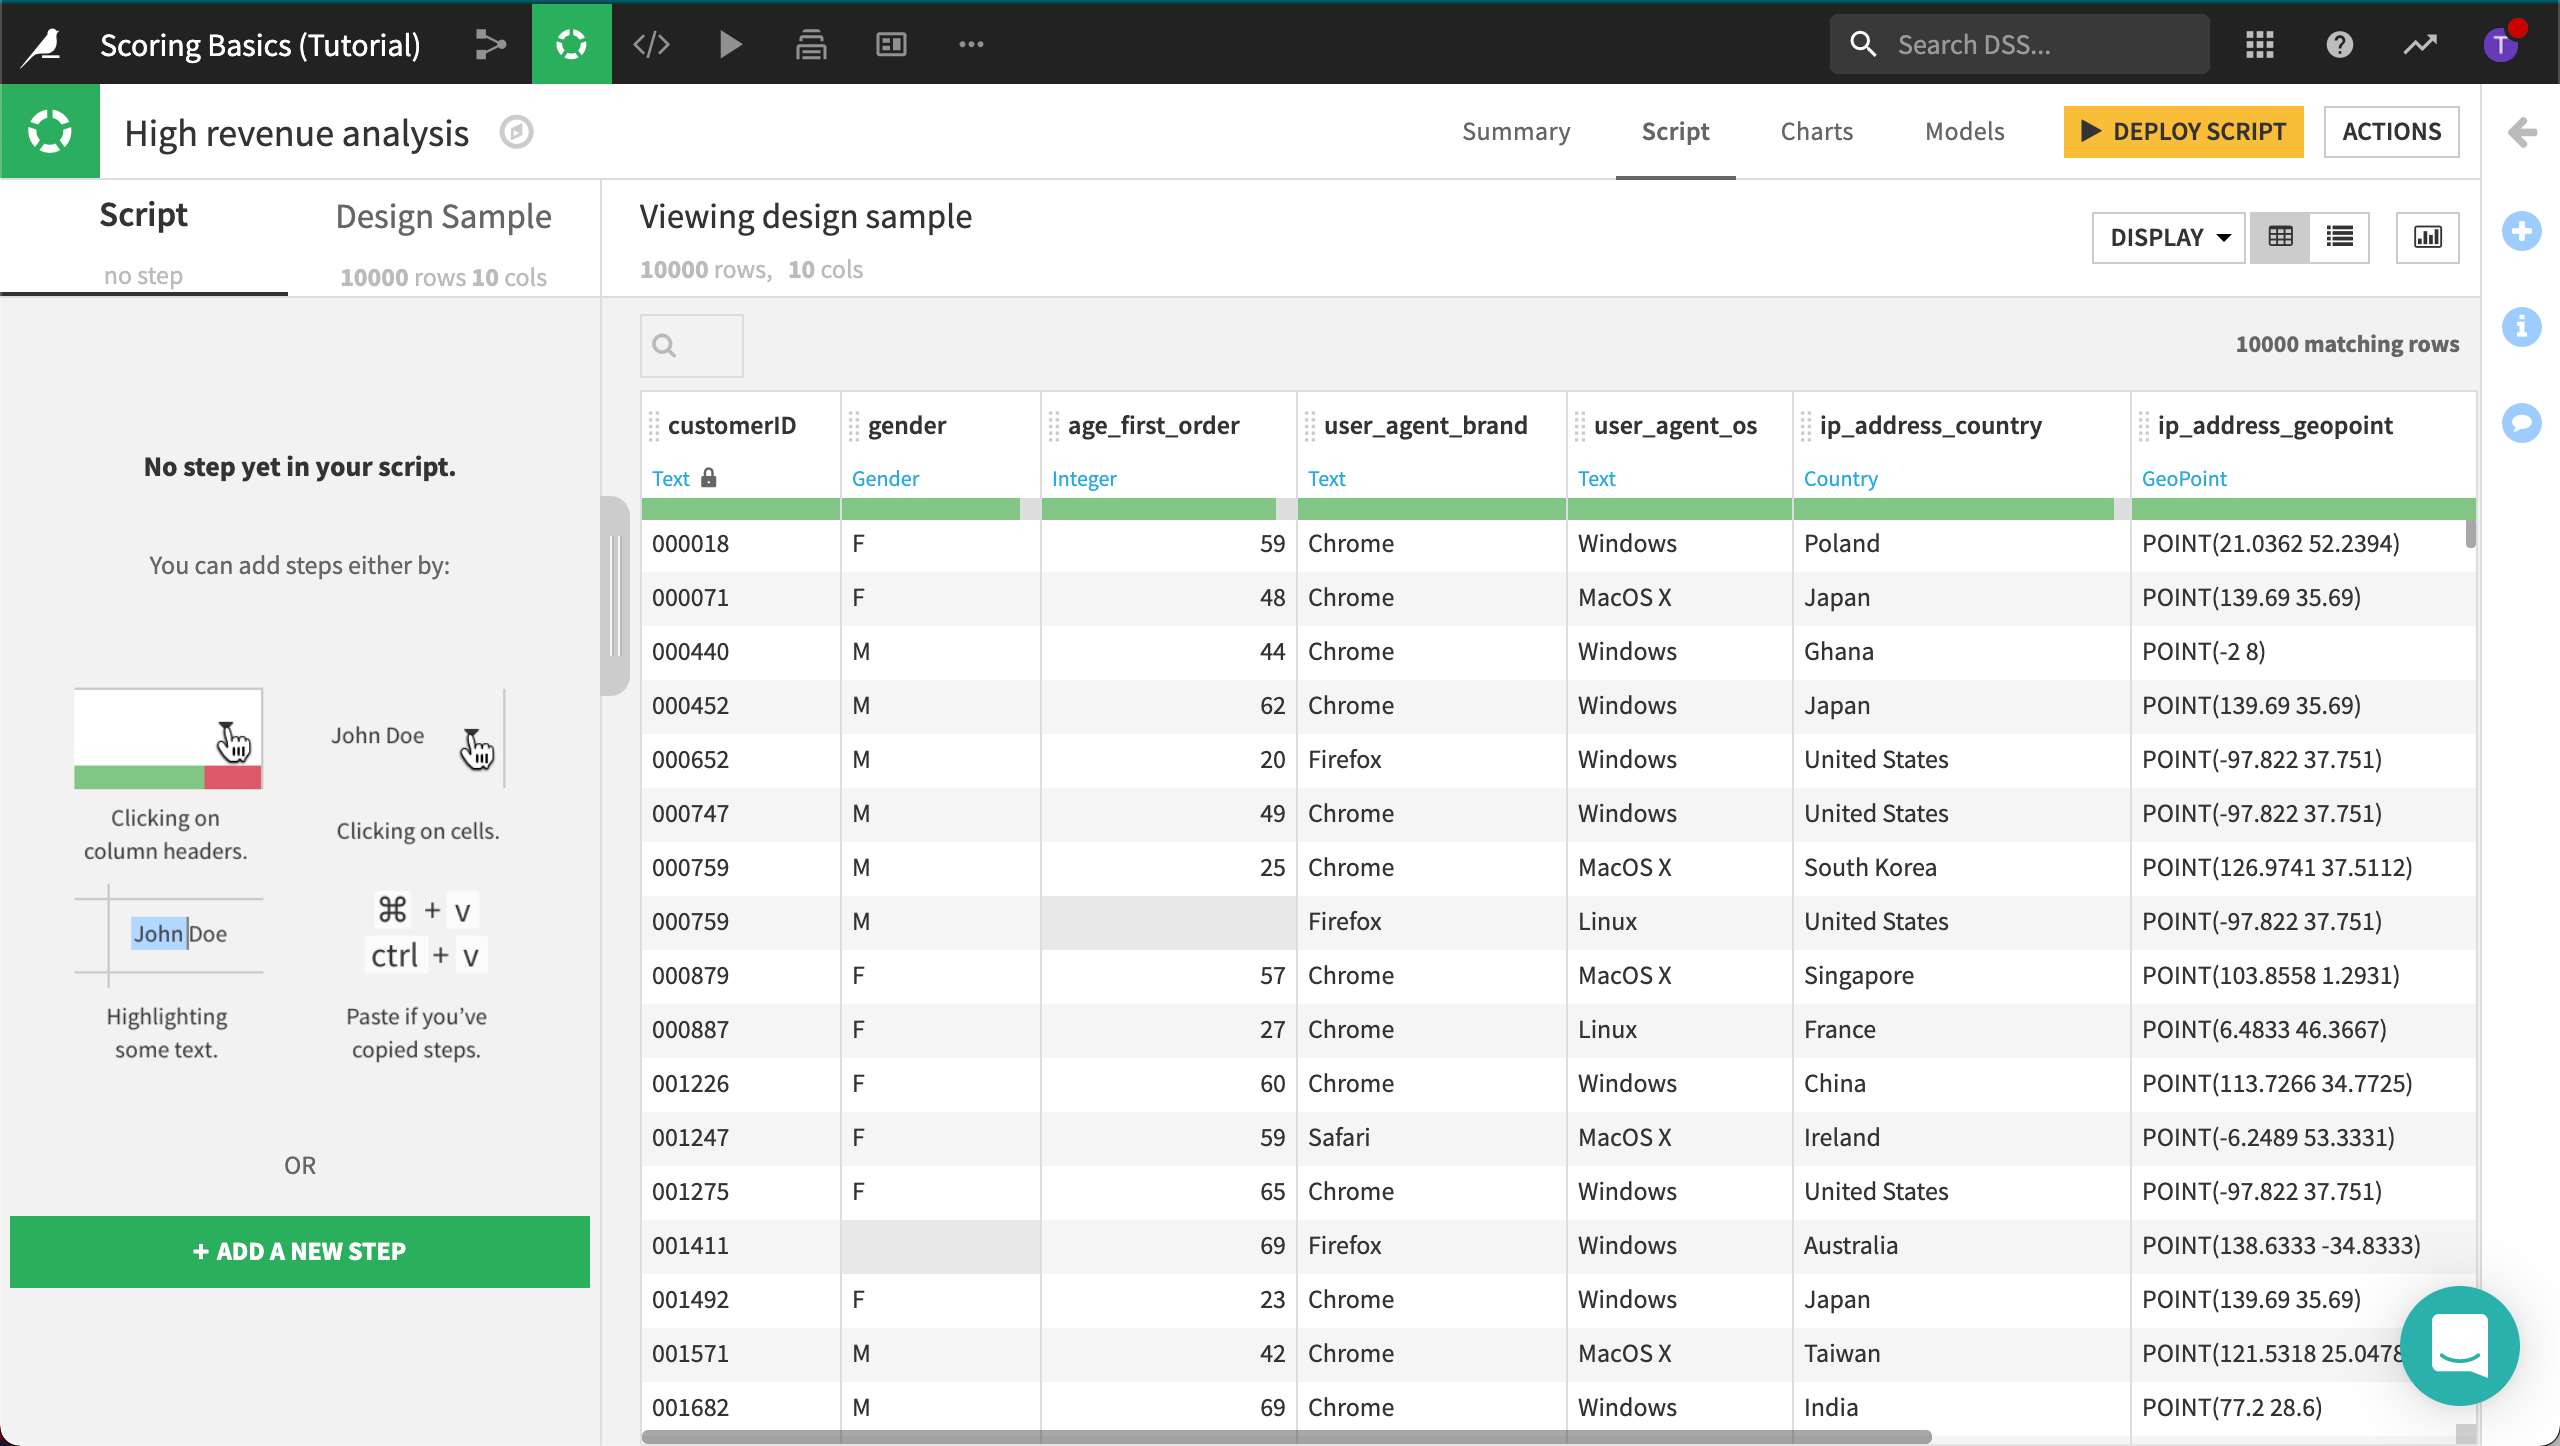
Open the Models tab to see the model training sessions.
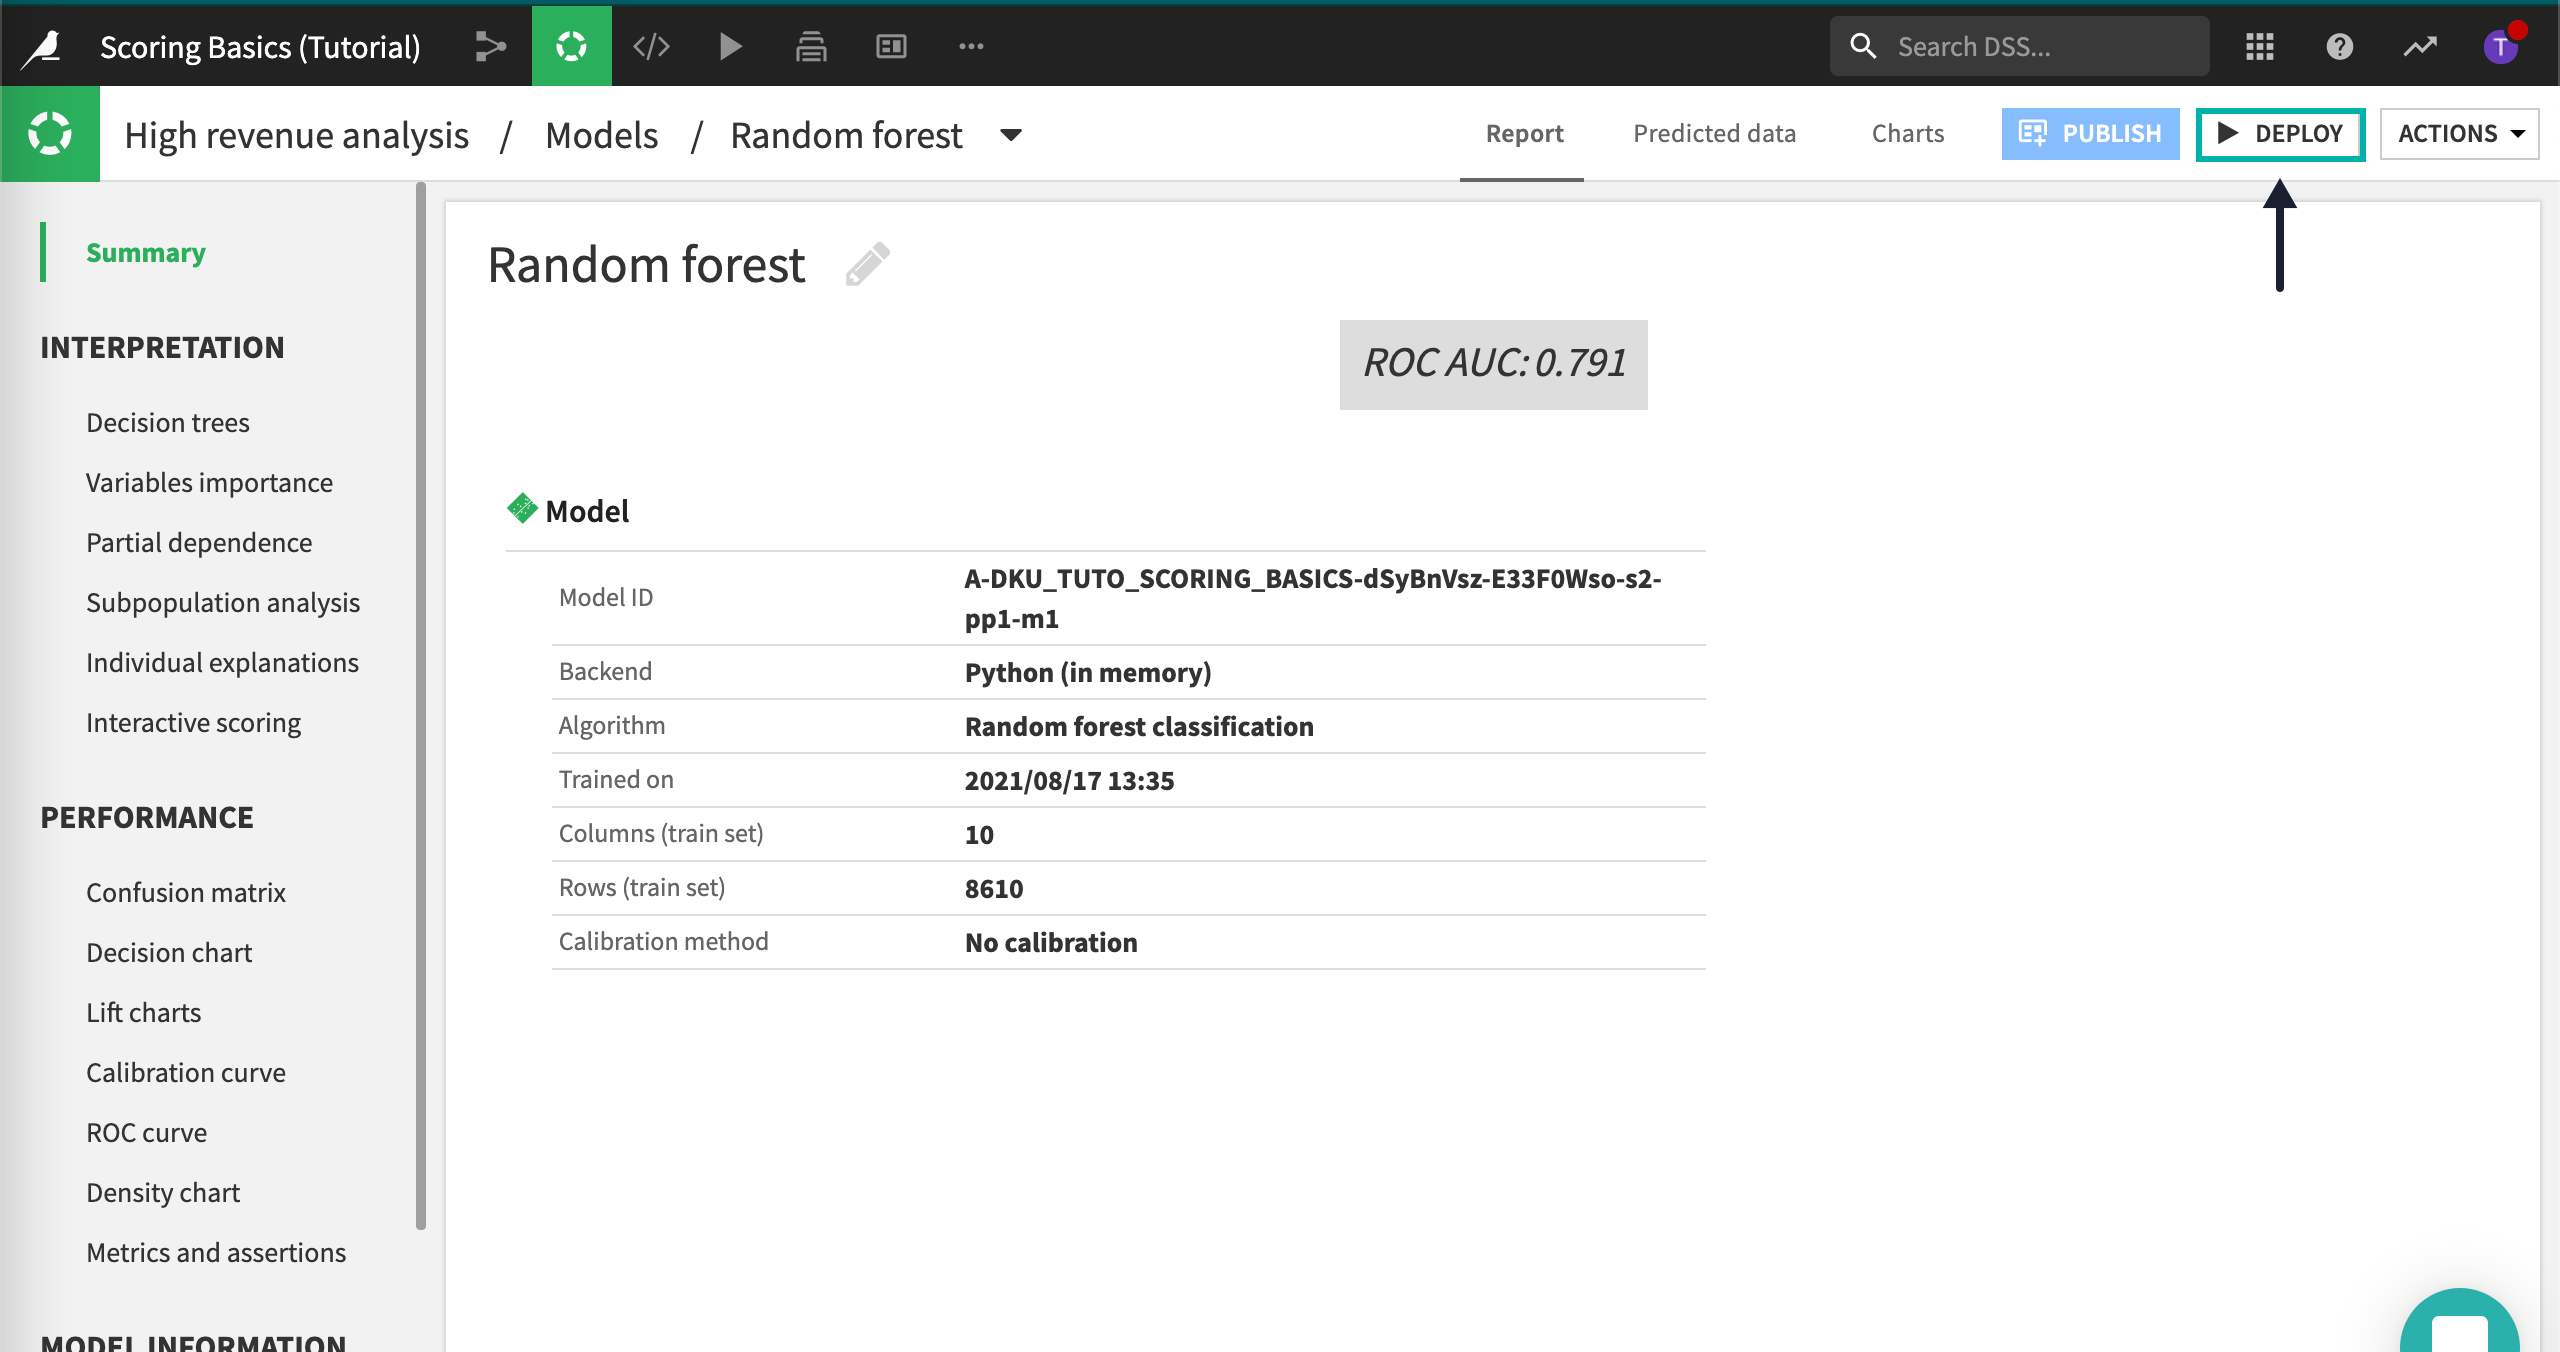
Click on your best performing model–the last random forest.
Note
Naming and describing models
From the main Results view, you can “star” a model. When you dive into the individual summary of a model, you can edit the model name and give it a description. This helps you document your best models and allow others to find and understand them more easily.
Deploy the Model
We are now going to deploy this model to the Flow, where we’ll be able to use it to score another dataset. Click on the Deploy button on the top right.
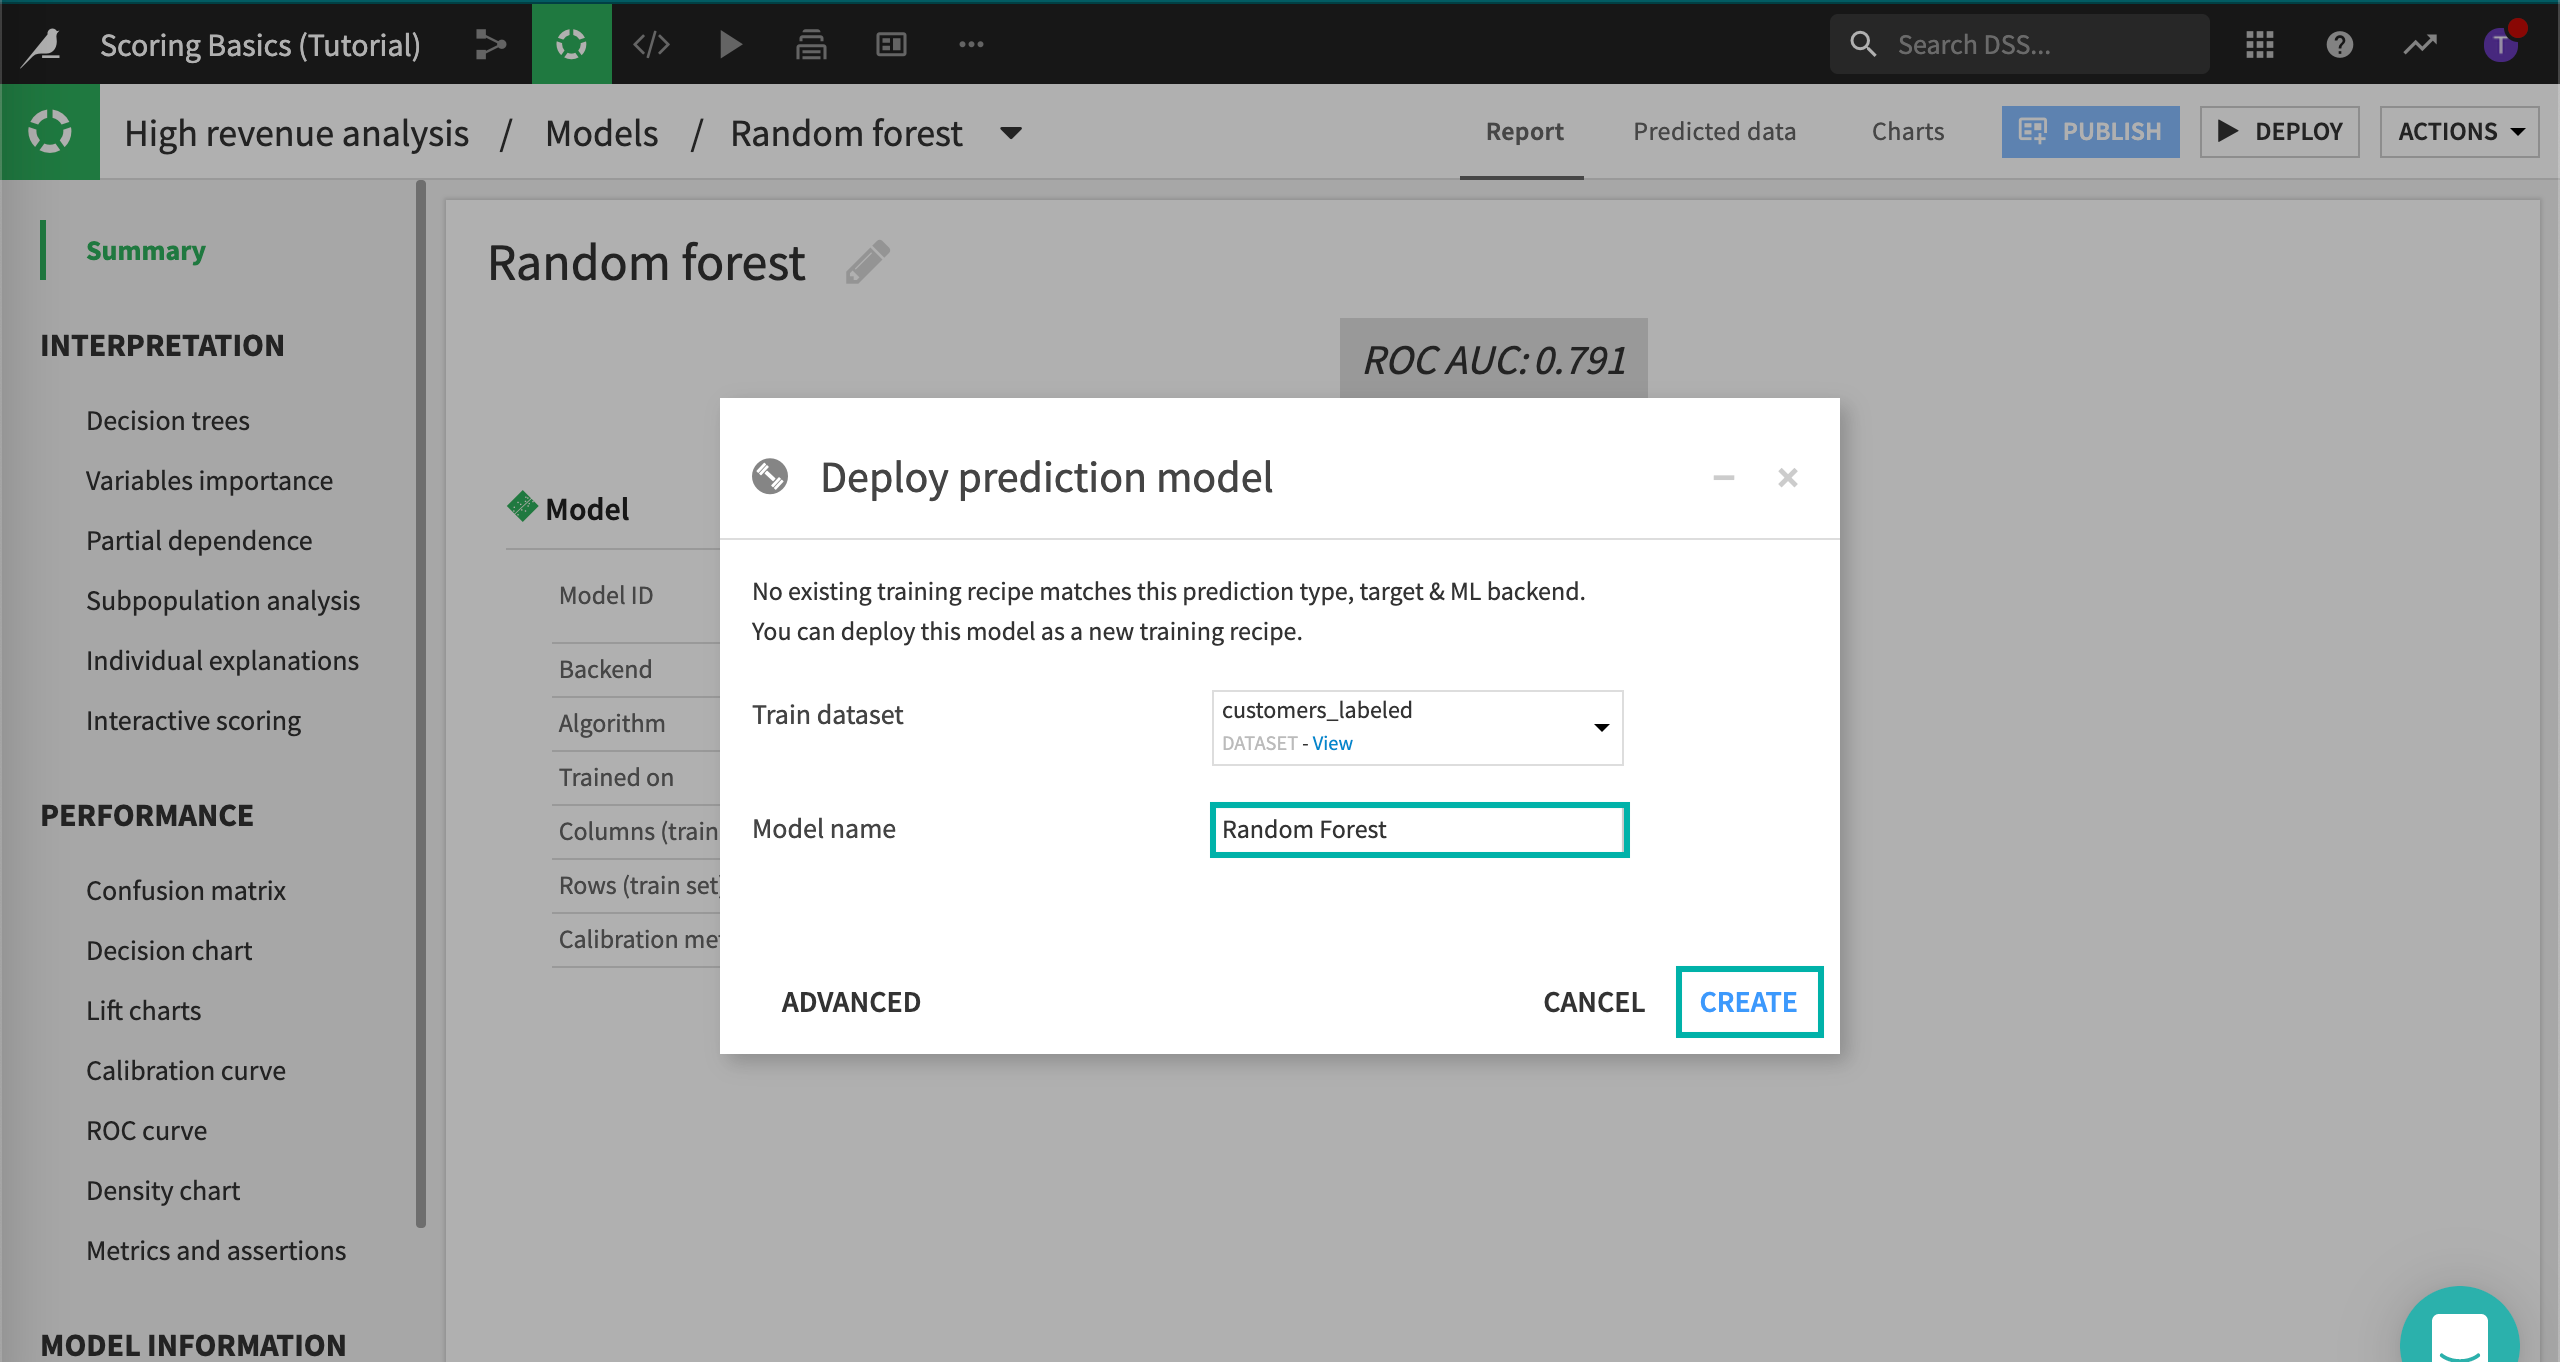
Dataiku DSS displays a popup window. It will let you create a new Train recipe. Train recipes, in Dataiku DSS, are the way to automatically deploy a model in the Flow, where you can then use it to produce predictions on new records.
We’re not going to deploy many models in this exercise, so let’s change the model name to a more manageable
Random Forest, and click on the Create button.
You will now be taken back to the Flow where two new objects have been added. The object’s icons are color-coded in green. The first one is the actual train recipe, and the second one is its output, the model.
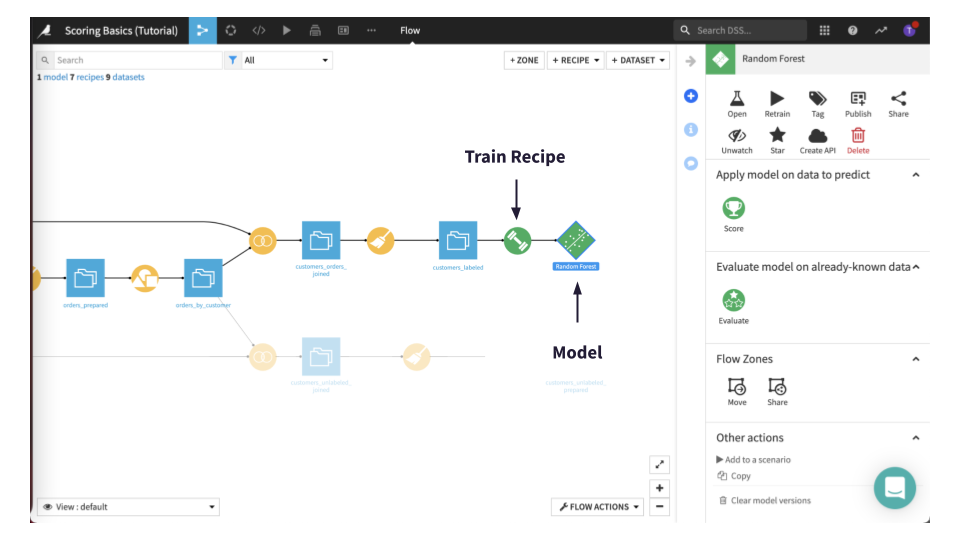
Clicking on the saved model icon, you can find several options in the right panel, such as for retraining the model, creating an API, or the Score and Evaluate recipes.
What’s next?
Now the next step is to apply the model deployed to the Flow to generate predictions for new, unseen data.
We’ll be able to answer the question: which customers in the customers_unlabeled_prepared dataset does the model predict will become high revenue ones?