
How-to | Share a project in the Enterprise Asset Library#
Users who want to share a project in their company’s Enterprise Asset Library must follow certain steps to prepare the project.
The library requires metadata so other users can understand the project. To add project metadata:
Go to the Code menu (
 ) > Libraries > Resources tab.
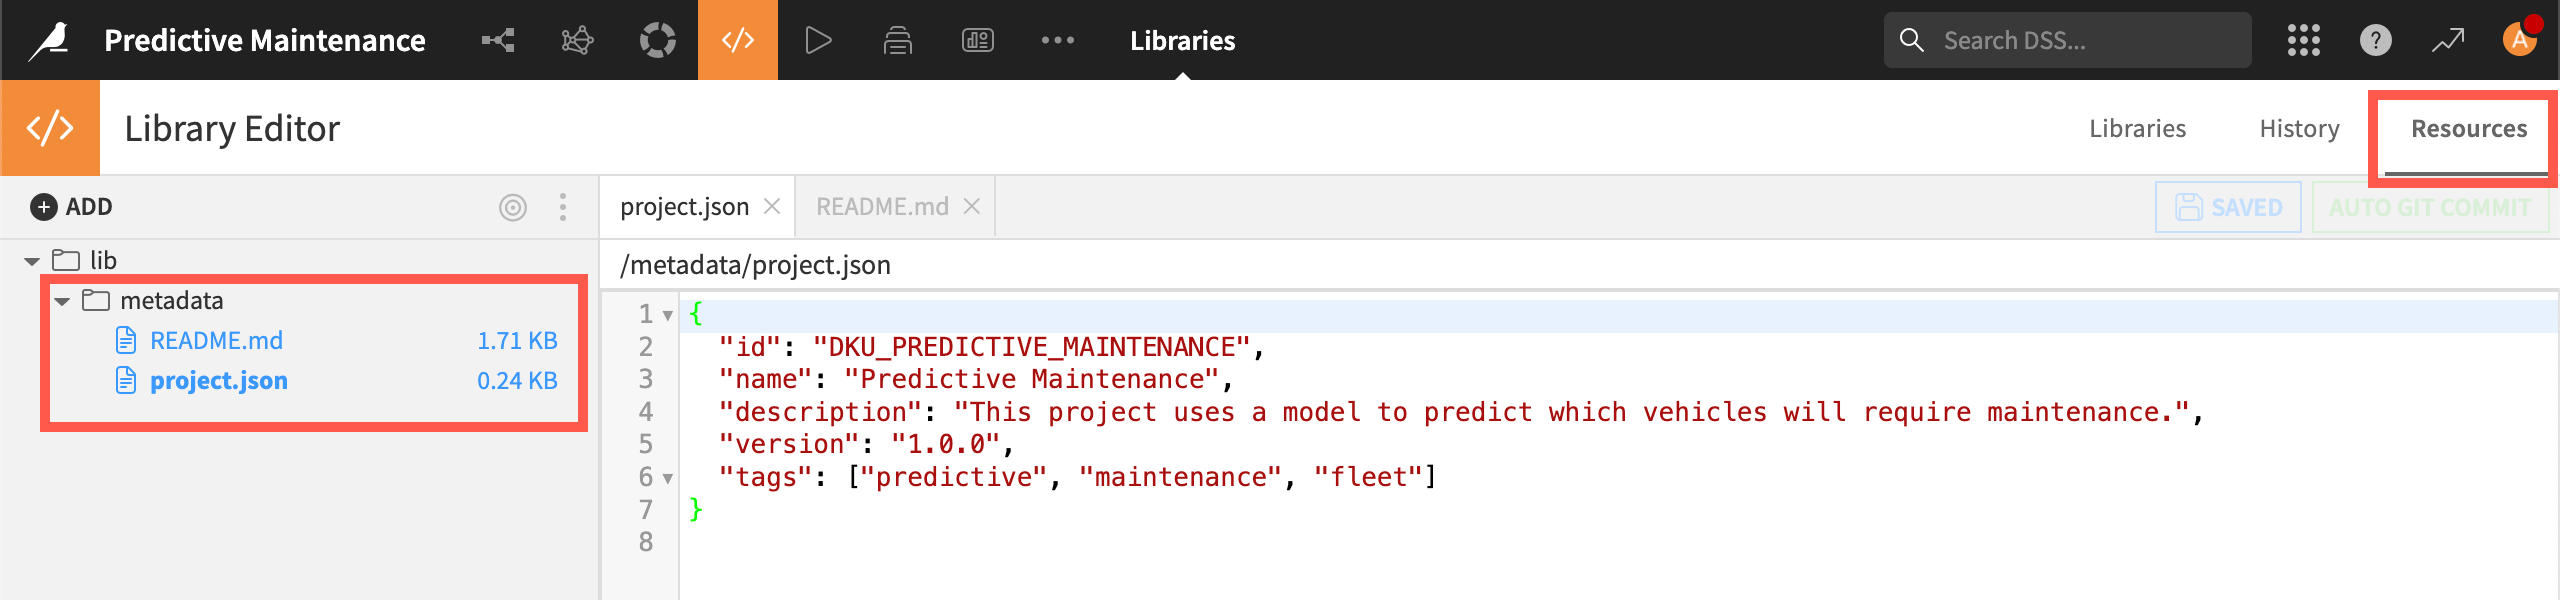
Right-click on the lib folder and create a folder called
metadata.Create a file named
project.jsonin the folder.Copy and paste this JSON template into the file editor:
{
   "id": "PROJECT_ID",
   "name": "project name",
   "description": "project description",
   "version": "1.0.0",
   "tags": ["tag1", "tag2", "tag3"]
}
Replace the dummy text on each line with your project’s information.
Optionally, create another file in the metadata folder called
README.mdand add a richer description in Markdown.Click Save All.
Note
The PROJECT_ID will become the project key in the library and can contain only letters, numbers, and underscores.
After adding the metadata:
Export the project and download the .zip file.
Send the file to your Enterprise Asset Library manager to upload into the library.
The metadata will appear when the manager uploads the project to the library and when colleagues reuse it.