How-to | Update a license file for a cloud setup#
When you deploy a Dataiku instance using Dataiku Cloud Stacks, you configure your Dataiku license. You can update this license. One way to do this is by using the settings under Cloud setup. To do this:
Launch Fleet Manager.
Under Settings, choose Cloud setup.
Select Edit.
In the License section, under License mode, choose Manually entered.
In License file, enter your license file. Be sure to copy the JSON file’s entire contents, including the final ‘}’.
Save your changes.
The license file now displays the updated license expiration date. You’ll need to reprovision the instances to apply the updated license information.
Reprovision the instance to apply the update#
To reprovision an instance after updating the license file:
From Instances, choose All and then locate the instance.
Select the name of the instance to view its settings.
Select Reprovision then select Confirm.
The operation running in the background is a complete reprovision. A new VM instance is created based on the right template, the same data disk is attached to the instance, and the upgrade procedure is launched. After this, all the configurations defined in the instance template are replayed.
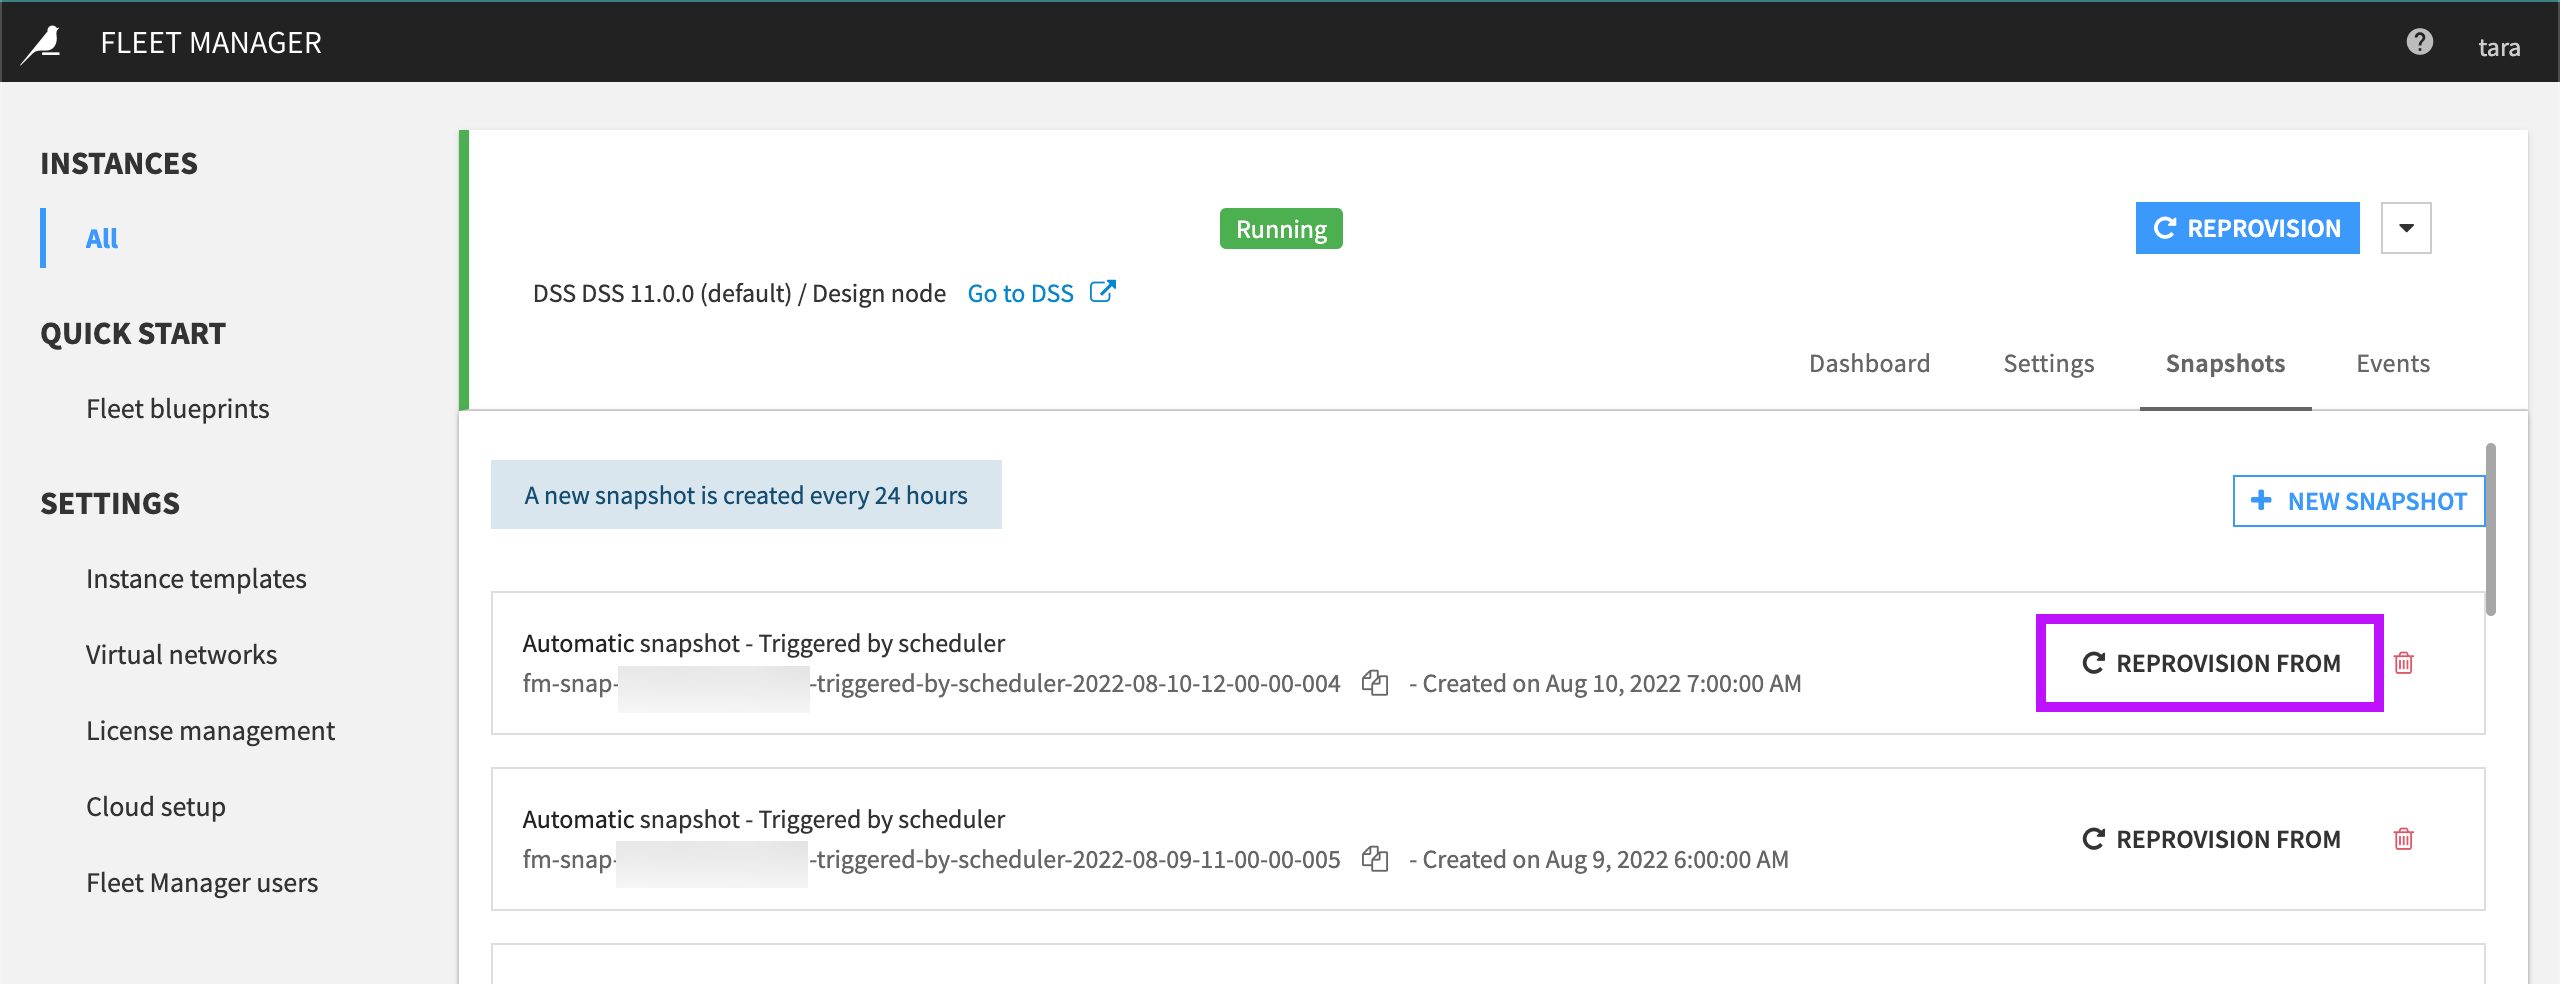
Before reprovisioning, Fleet Manager automatically takes a snapshot of the data disk. If something fails during an upgrade, you can change the version back in the settings and revert to the previous state by selecting Reprovision From in the Snapshots tab.


