
Concept | SQL notebooks#
An SQL notebook allows you to interact with the tables associated with your Dataiku SQL datasets through queries.
With SQL notebooks, you can:
Perform queries on an SQL dataset for quick prototyping and data analysis.
Leverage an SQL engine for in-database computations.
Return query outputs without having to write them as new datasets in your SQL database.
Execute many kinds of SQL statements, from the simplest queries to advanced DDL statements and stored procedures.
Run quick exploratory analysis or create charts from query results.

Creating SQL notebooks#
There are two main ways to create an SQL notebook:
In the Lab menu of an SQL dataset, click New in the Code Notebooks section.
In the Code menu (
 ) > Notebooks page, click the + New Notebook button.
Each SQL notebook is linked to a single SQL connection already set up by an administrator in your Dataiku instance.
When creating a notebook via the Lab, this connection is set up automatically. When creating a notebook via the Code menu, you must link it to an SQL connection on your instance.

The SQL notebook interface#
The main area of the SQL notebook interface is a window for writing queries.
In the left panel, the Queries tab lists all the queries available. The left panel also contains a Tables tab that lists:
The tables available in your connection.
Additional information, like the list of columns in each table.
The column data types.
By clicking the plus (![]() ) icon next to a table name, a
) icon next to a table name, a SELECT statement displays within the query window. This is where you can quickly build your query by selecting a column name to add to the query window.
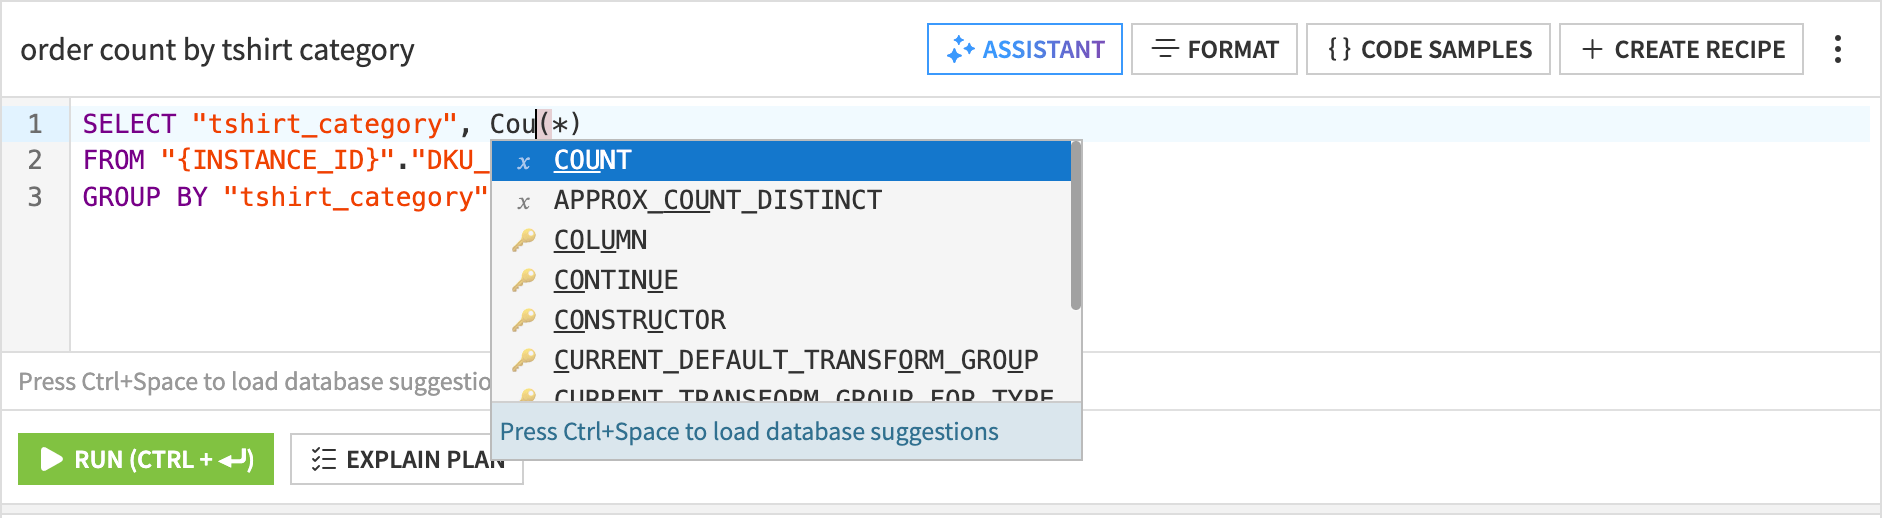
The SQL editor supports autocomplete for different SQL dialects, such as Snowflake, BigQuery, Databricks, etc.
It can suggest:
Keywords (SELECT, FROM, WHERE, etc.)
Functions (SUM, AVG, CAST, etc.)
Data types (DATE, DECIMAL, etc.)
Database name, schema name, table names, and column names.
To use the autocomplete feature, simply type in the editor, and suggestions appear. Optionally, you can use Ctrl+Space to load more options by pinging the underlying database.
Tip
In versions 14.4 and later, you can also use the AI SQL Assistant to write and iterate on queries using natural language.
When you run a query, the results display below the query window for you to explore and download.
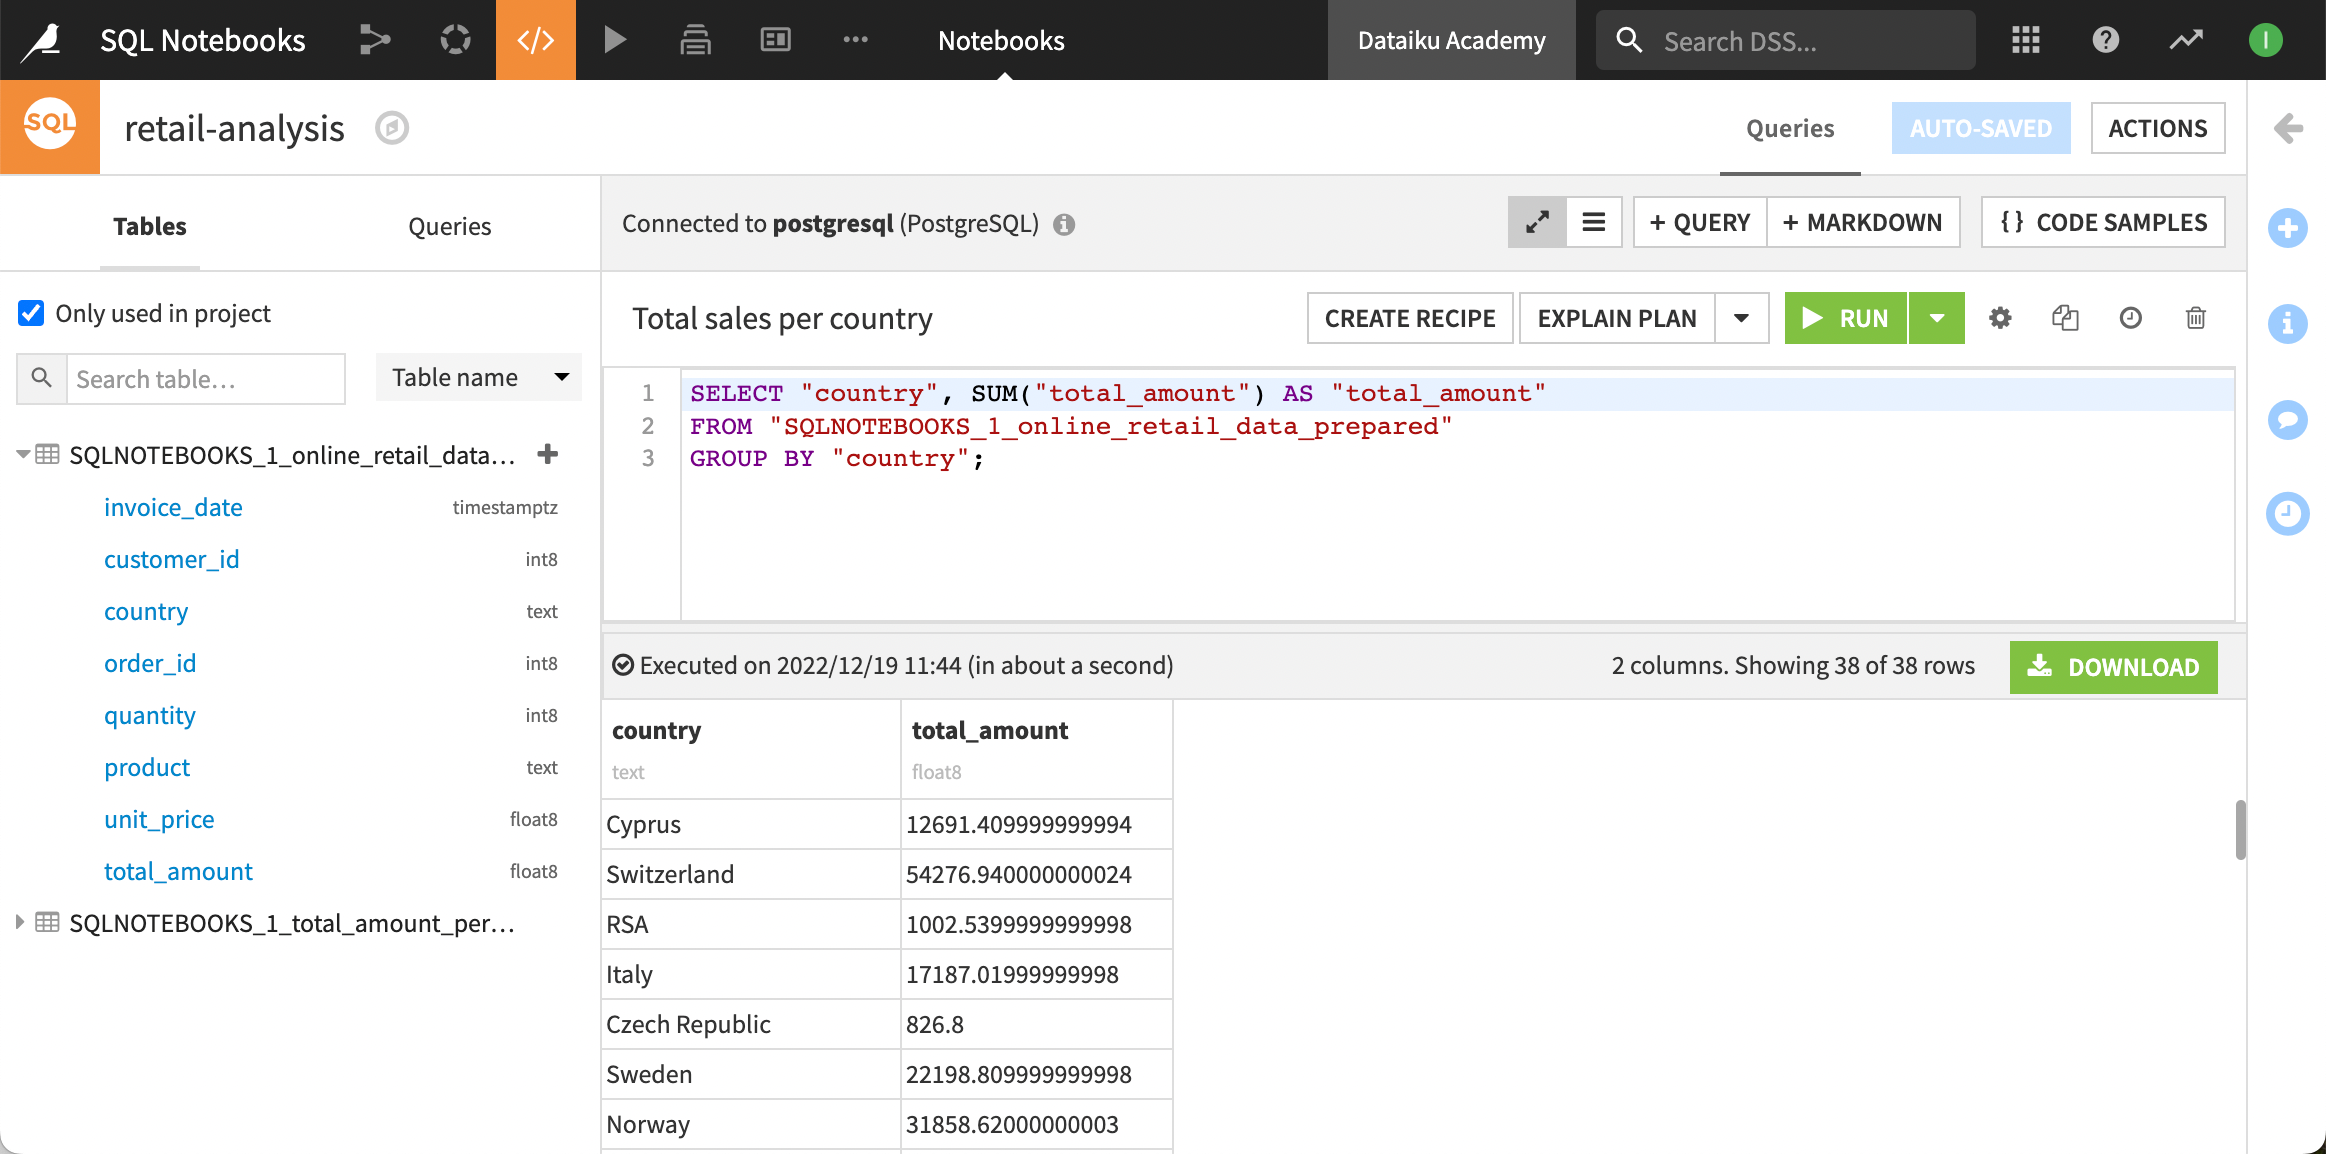
Interactive results table#
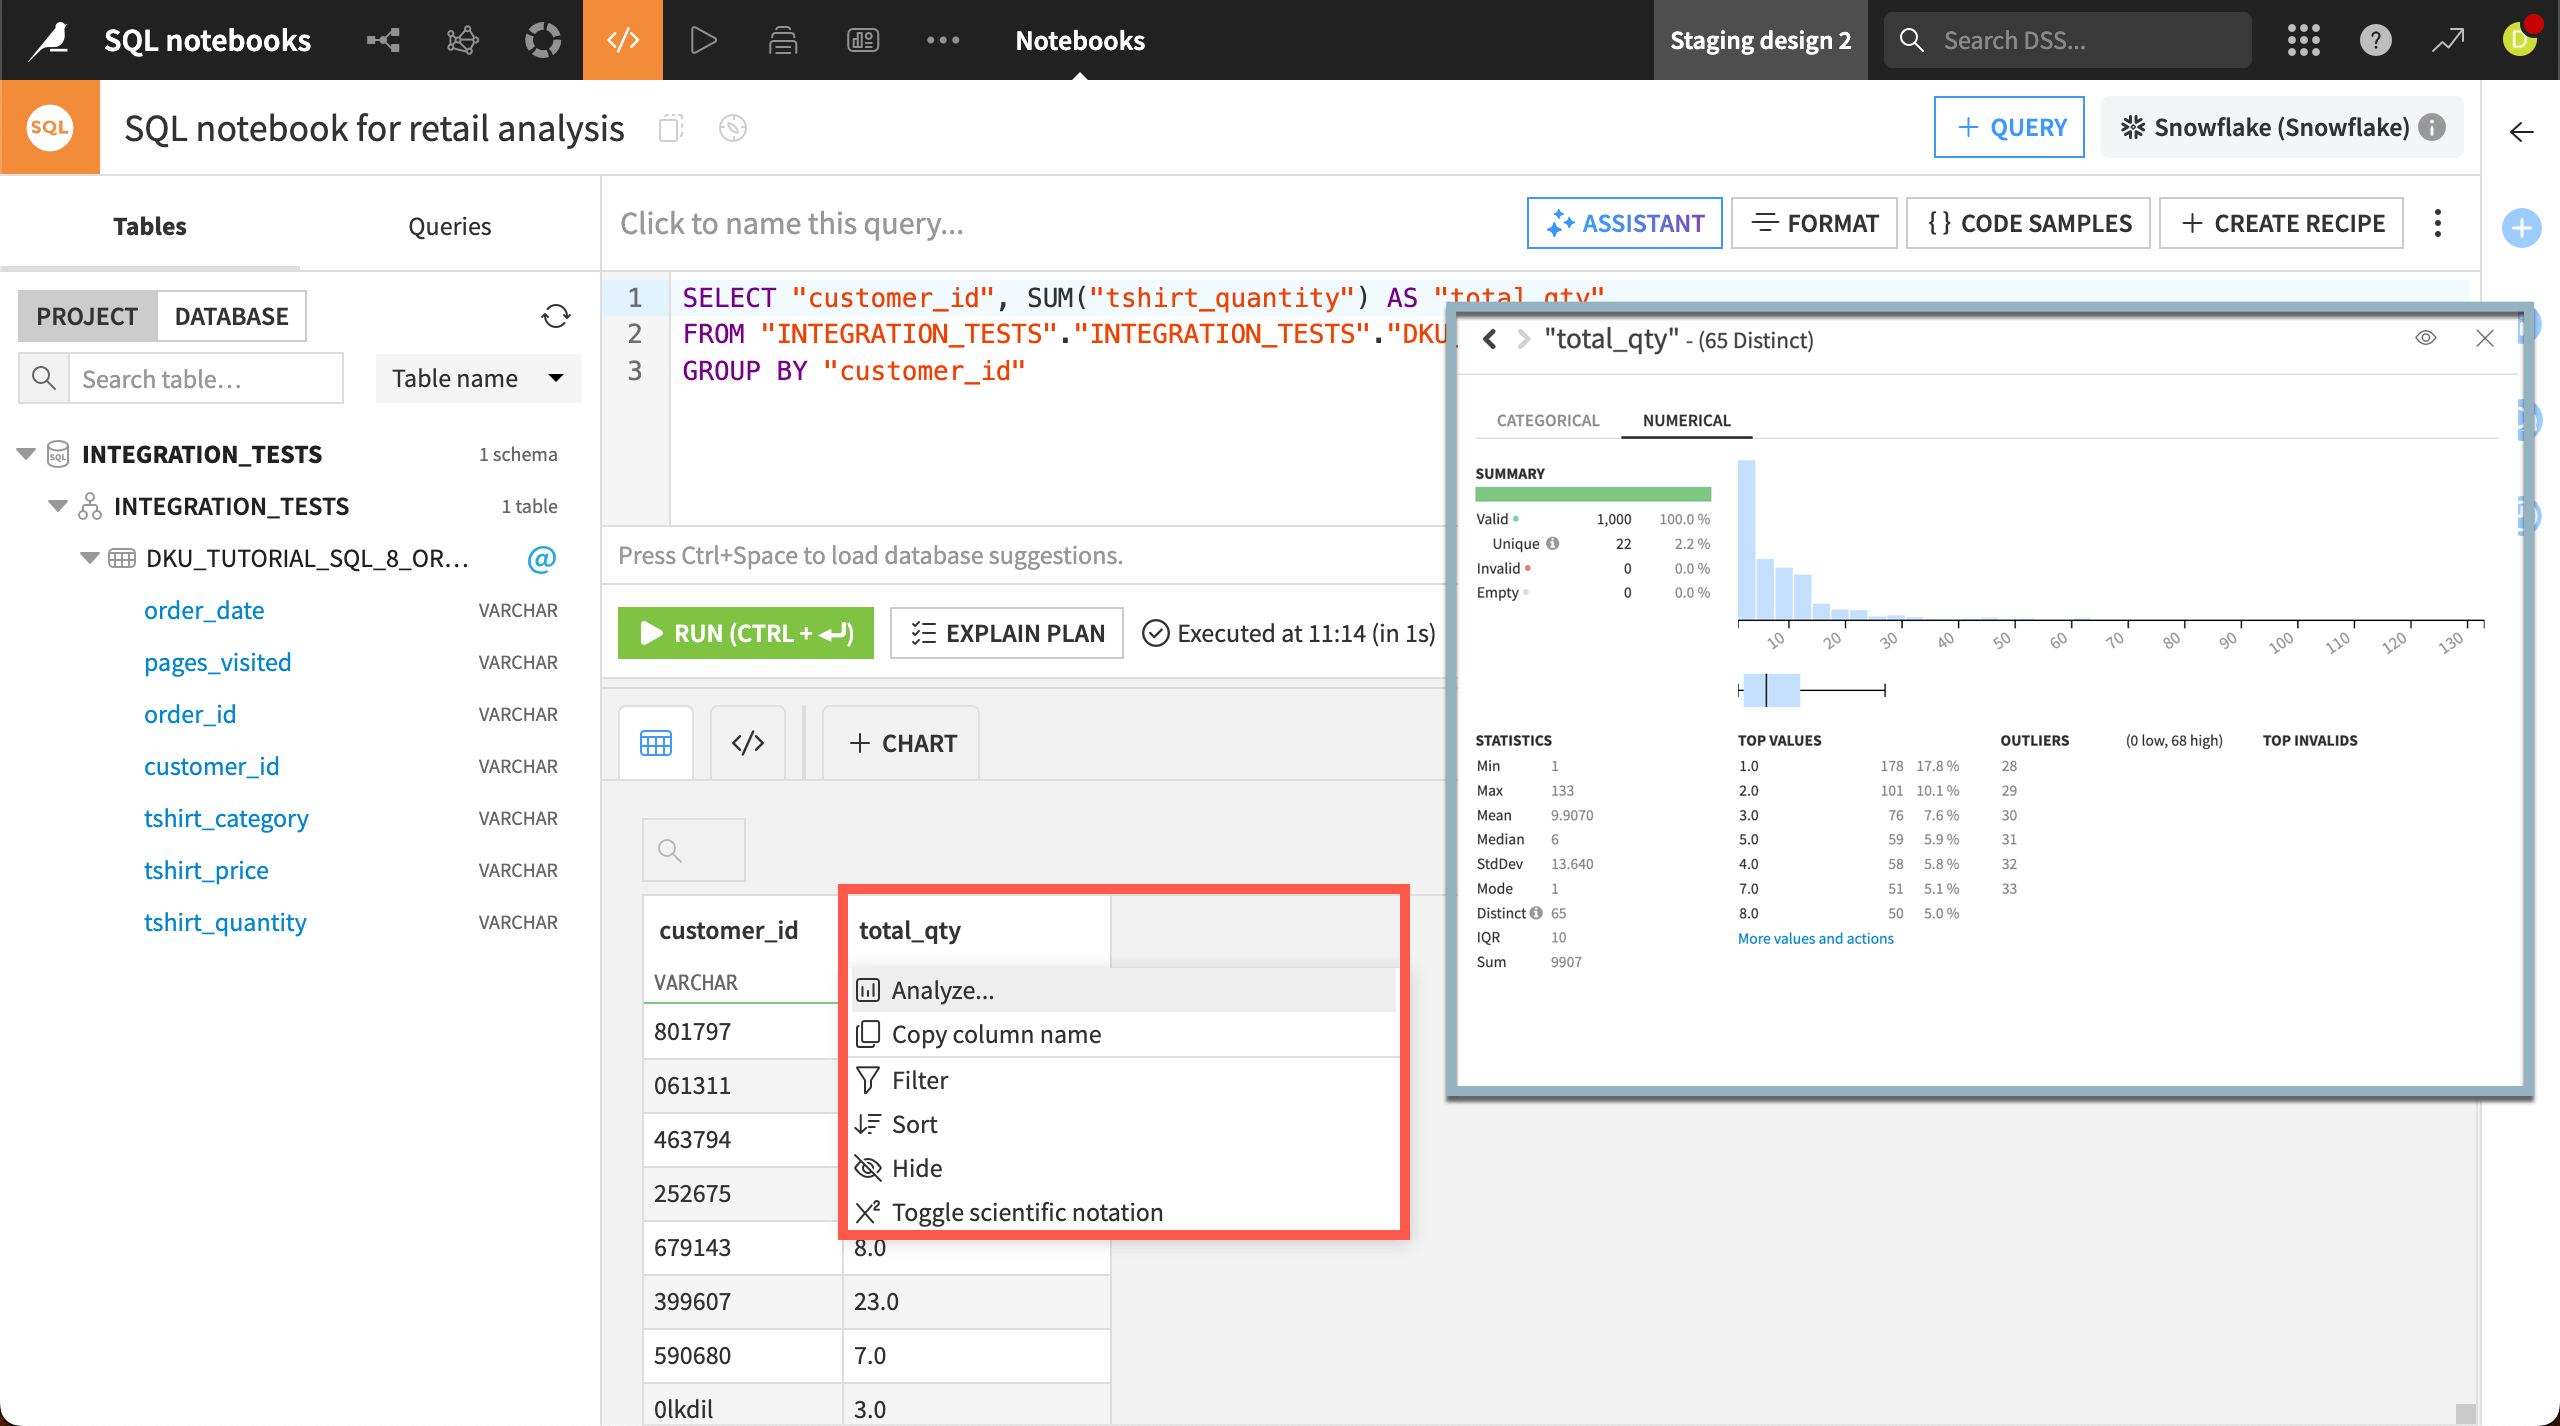
You can interact with the results table in many of the same ways as you would in the Explore tab of a dataset in Dataiku.
Click on a column header in the table to:
Analyze data in the column.
Filter or sort the results without rerunning the query.
Hide or show certain columns in the view.
You can also view the query behind any results table by clicking on the Code button (![]() ) in the results window.
) in the results window.
Charts#
You can also create charts directly from the results in your table. Click the + Chart button to bring up the Chart Editor, where you can build many different types of charts from the results set.
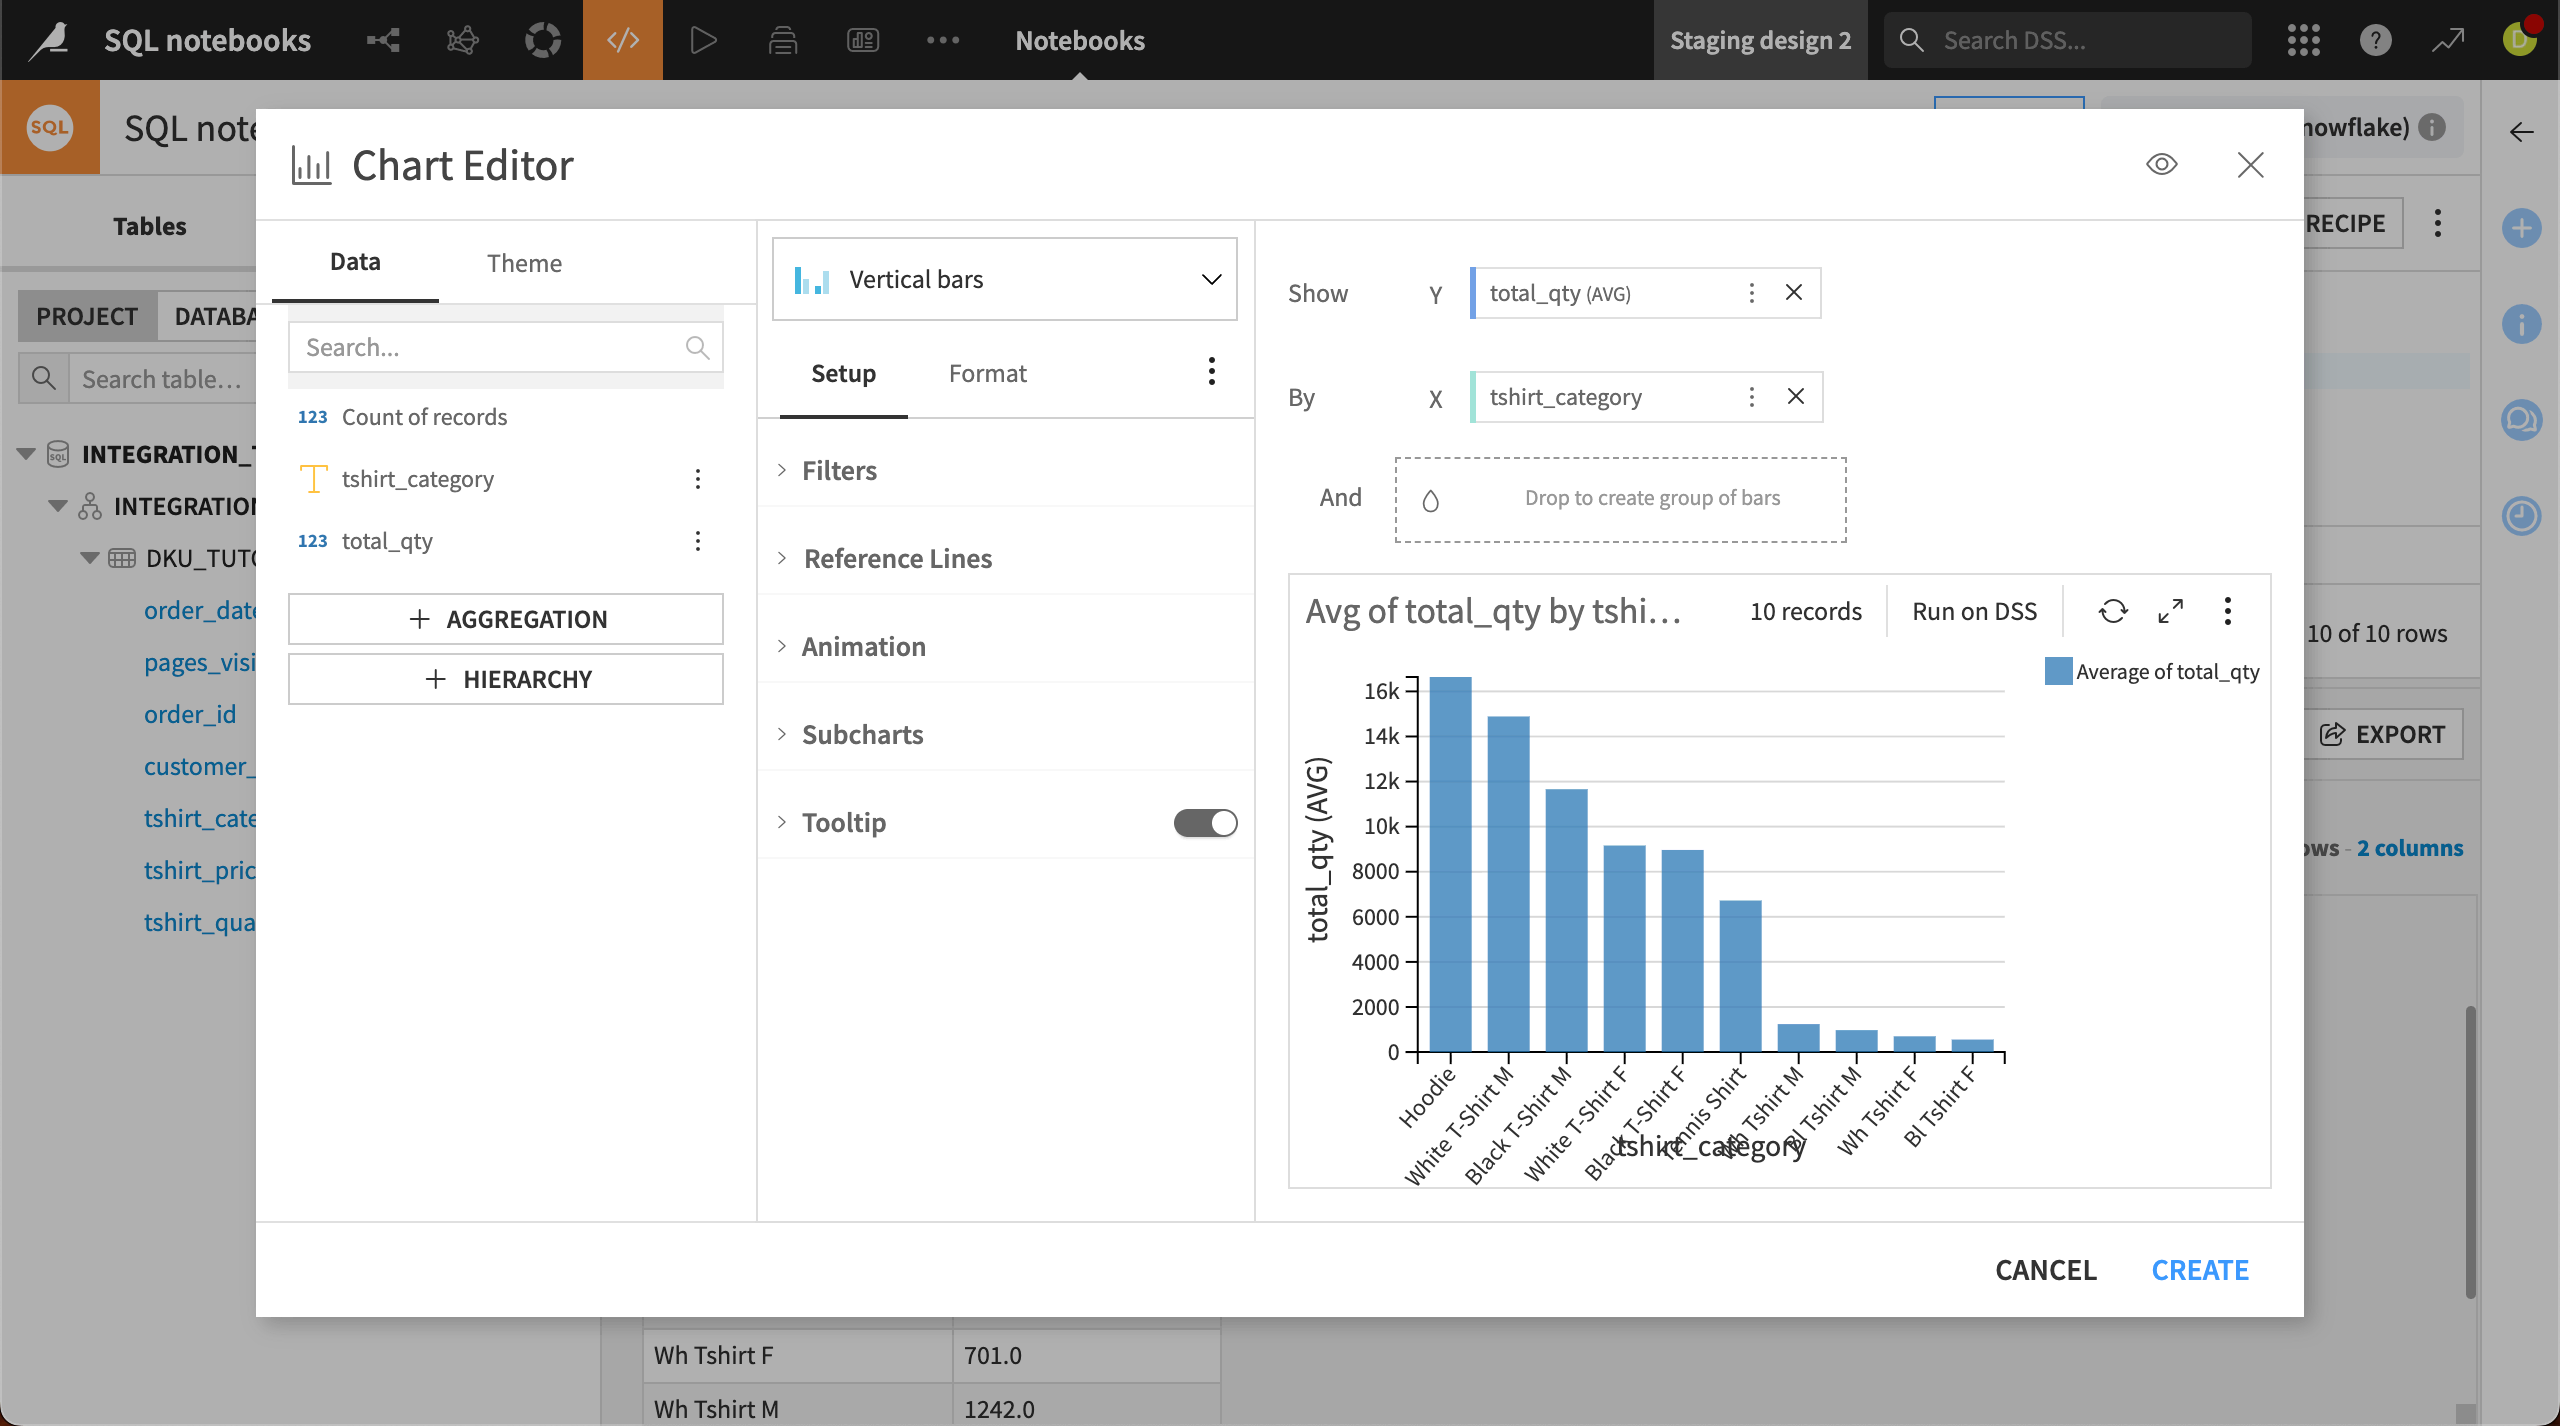
Tip
To make a chart of a large results table rather than a sample, go to the Engine tab of the Chart Editor and choose In database for the execution engine.
Prototyping with notebooks#
Once back in the Flow, you’ll notice the SQL notebook isn’t represented by a Flow icon. This is because SQL notebooks are for prototyping SQL queries before using them in the Flow as SQL recipes.
See also
For more information, see SQL notebook in the reference documentation.
Or, learn how to use a query from a notebook in the Flow by turning the query into an SQL code recipe.