

Classify new images with the model#
After training the model, viewing various metrics, and optionally fine-tuning the model and retraining, we can now use the model to classify a batch of images it has not seen before.
For purposes of this tutorial, we will use images where we know the classification. This can help us further test the performance of our model. However, we also could input images for which we don’t know the classification in order to make useful predictions.
Prepare the data for classification#
Before we can make predictions, we need to create a tabular dataset with the file path and target information, similar to the one we built for the training set.
With the bean_images_test folder highlighted, go to the Actions menu and select the List Contents recipe from Visual recipes.
In the info window, create the recipe with the default settings and name bean_images_test_files.
Select +Add level mapping and set the Folder level to
1, and the Column name totarget.Run the recipe.
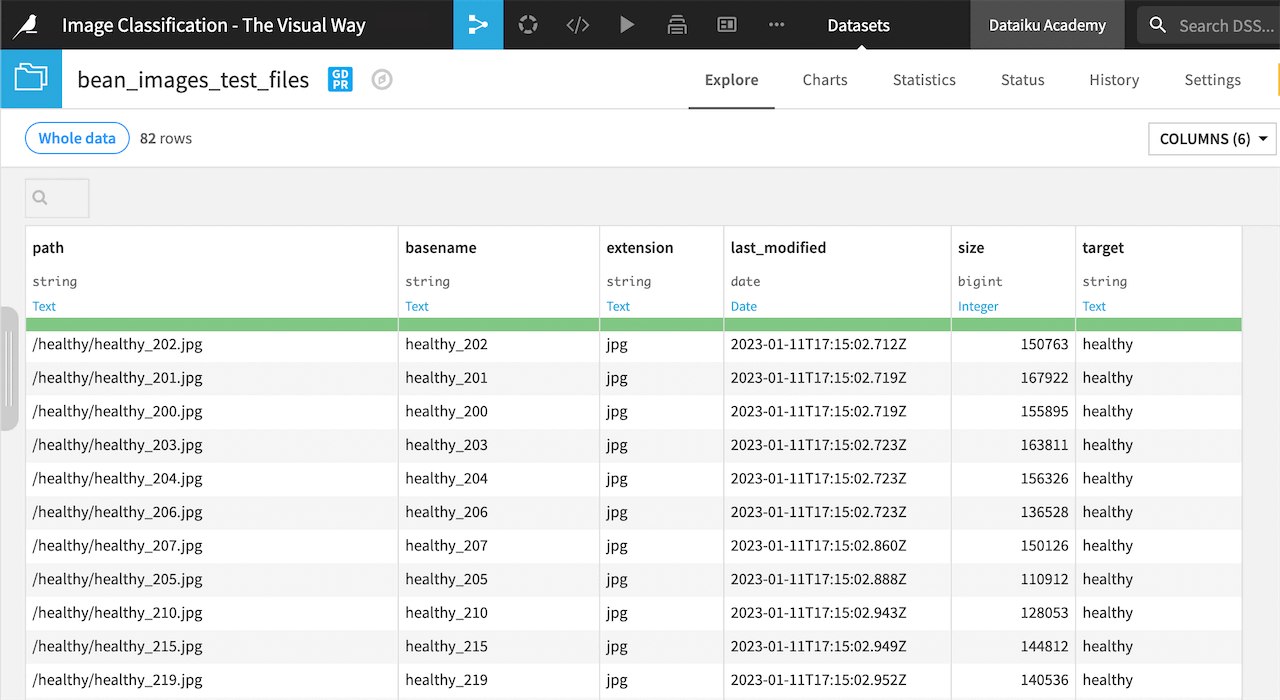
This recipe creates a new dataset in the Flow called bean_images_test_files with information on each of the 82 test images.
Run the model on the new images#
Now we can apply the model to the new images in bean_images_test.
Select the model image classification on bean_images_train_files in the Flow.
In the right panel, under Apply model on data to predict, select Score.
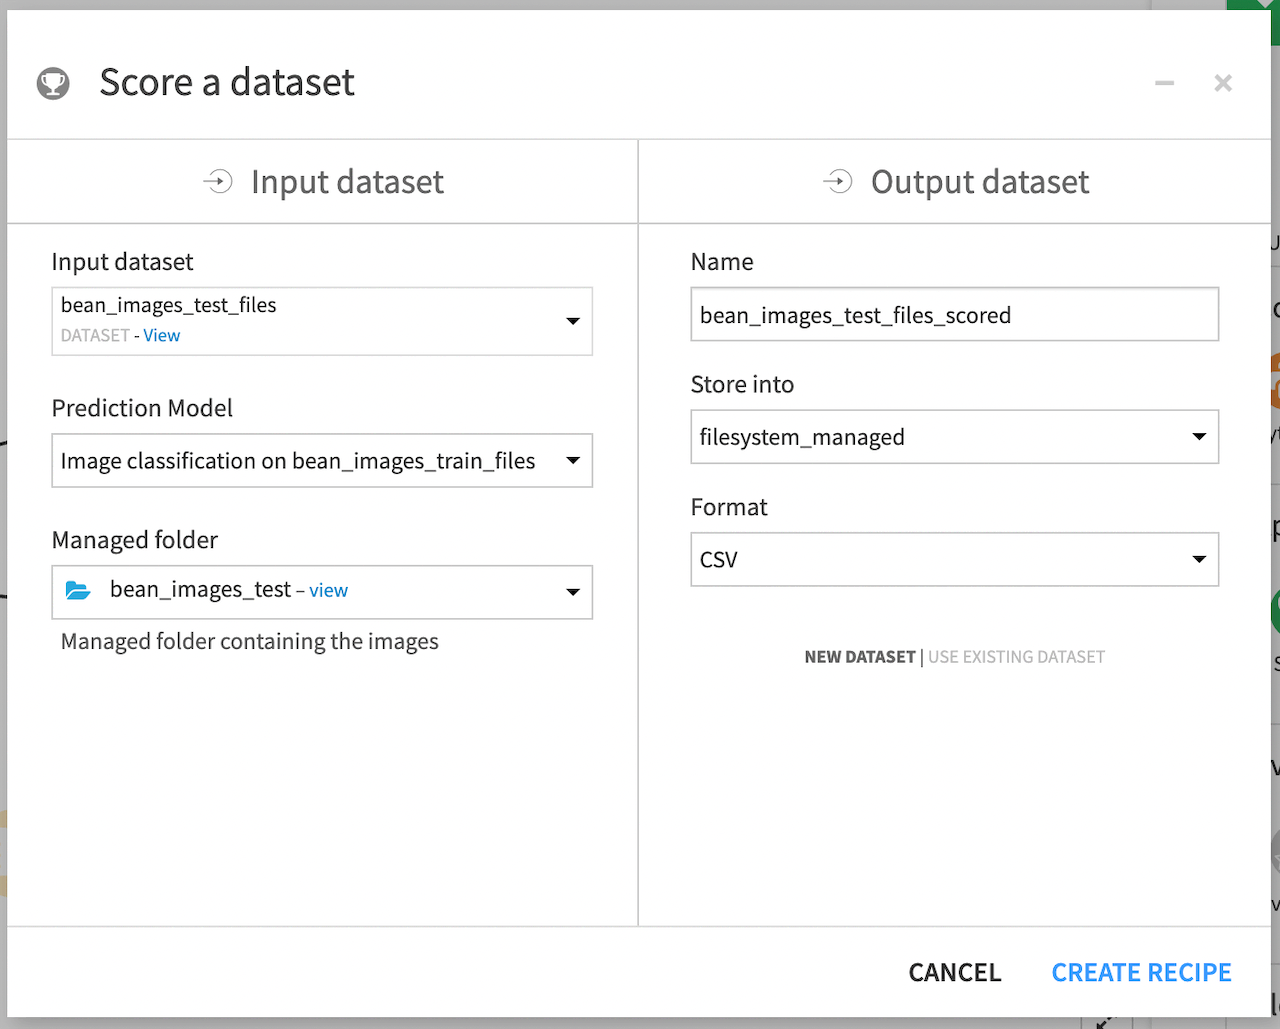
In the info window, set the Input dataset to bean_images_test_files and the Managed folder to bean_images_test.
Name the output dataset or keep the default and select Create recipe.
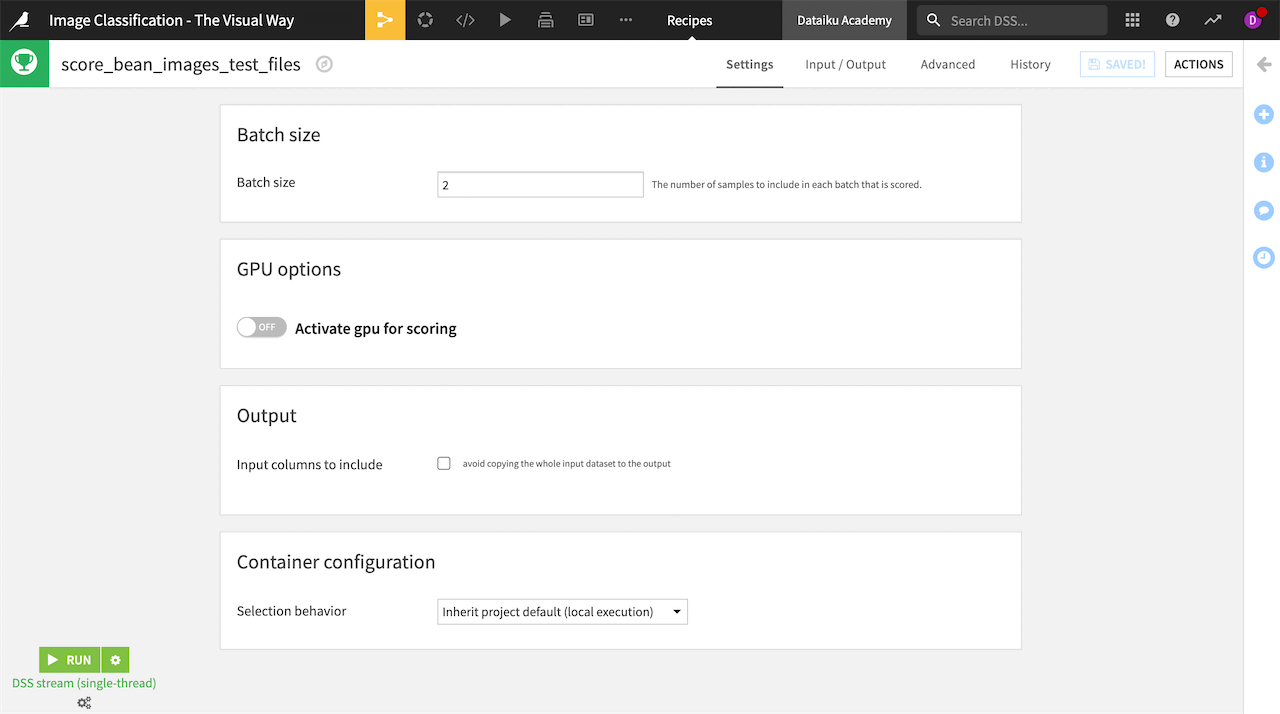
Dataiku navigates to the Settings tab for the scoring recipe. Here you can change the batch size, edit how many images to score at a time, or activate GPU to run scoring more quickly if that is available to you.
Leave the default batch size of 2 and Run the recipe.
Dataiku creates a new dataset in the Flow called bean_disease_test_scored.
Open the dataset bean_disease_test_scored to explore.
Scroll to the right to view the final five columns that include the target, prediction, and probability of each class.
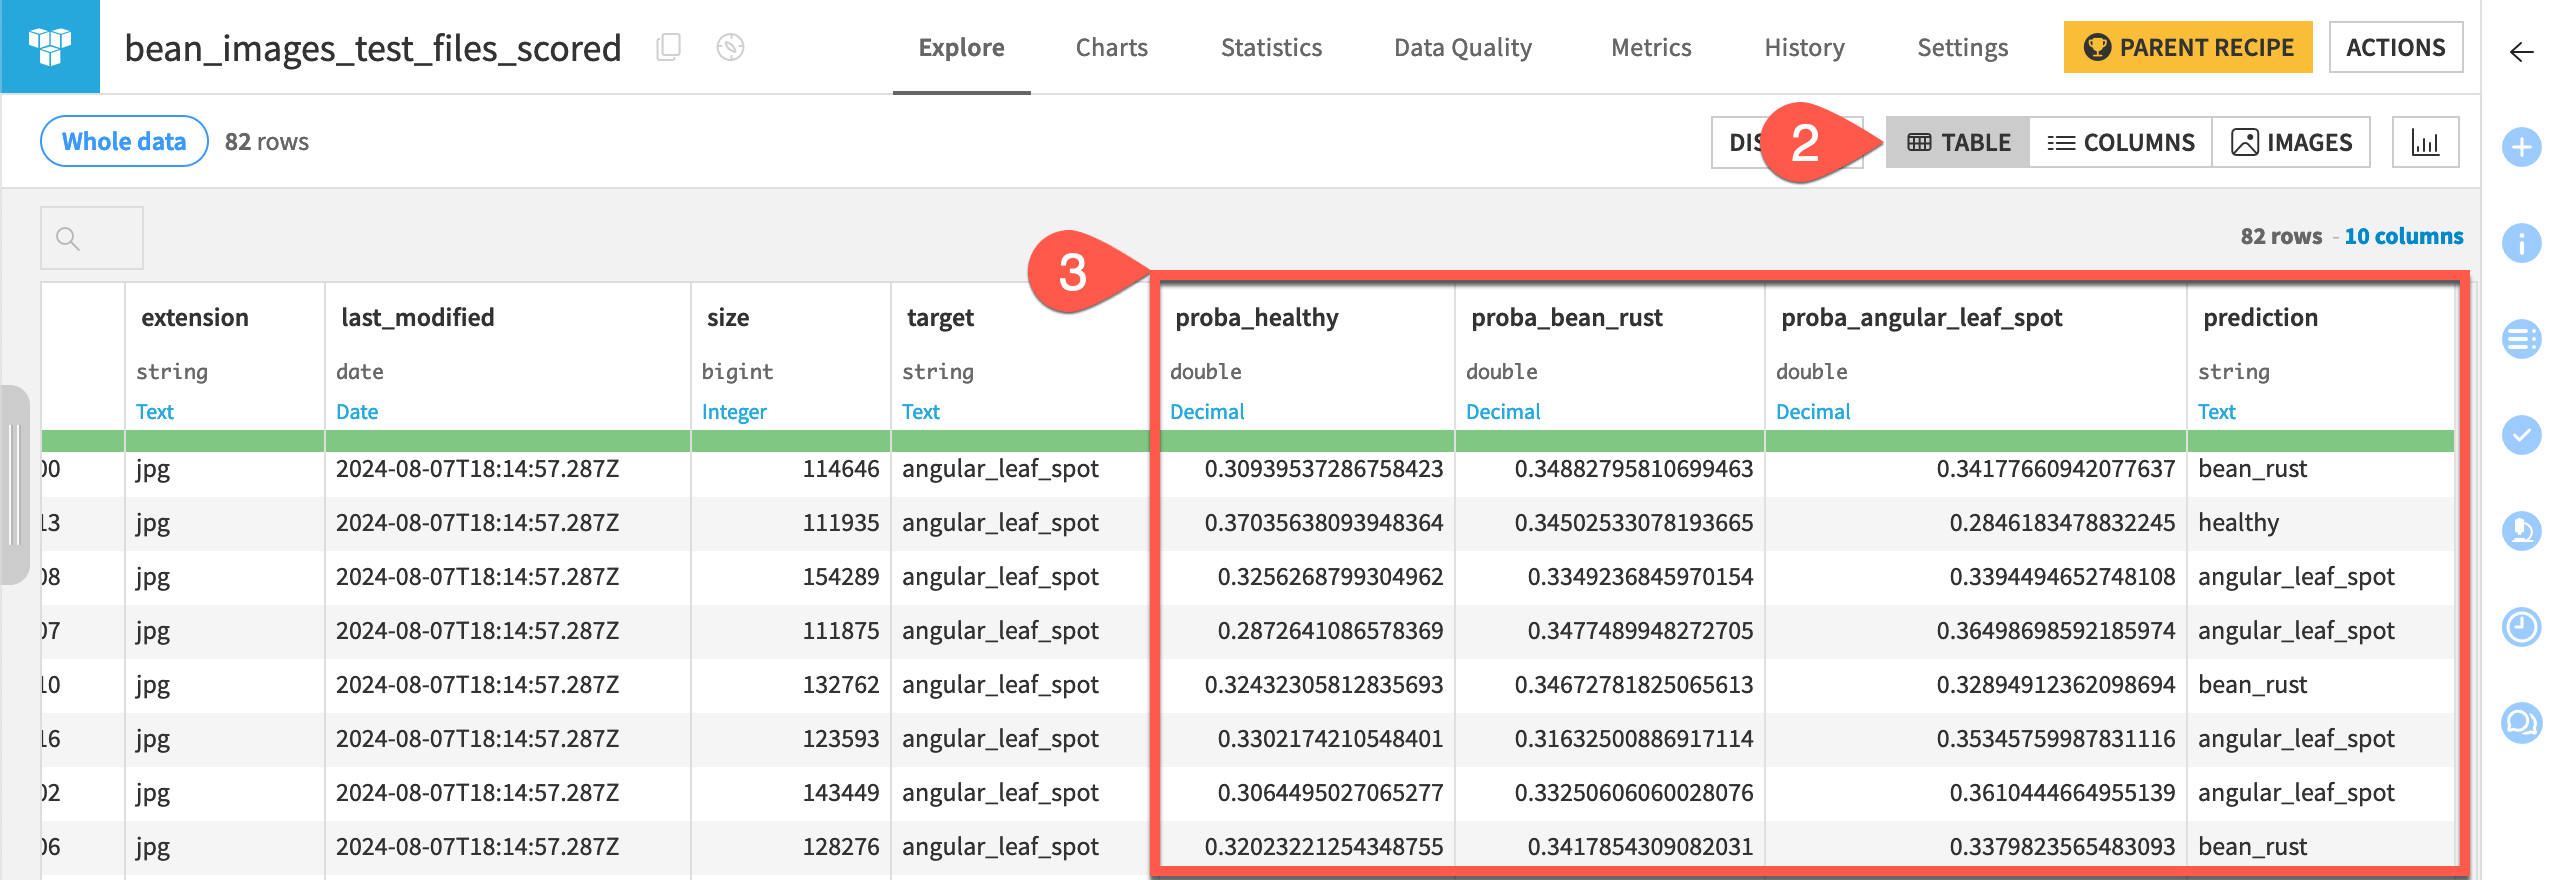
A quick scan of the probabilities tells us again that the model determined very similar probabilities for each of the three classes on many images.
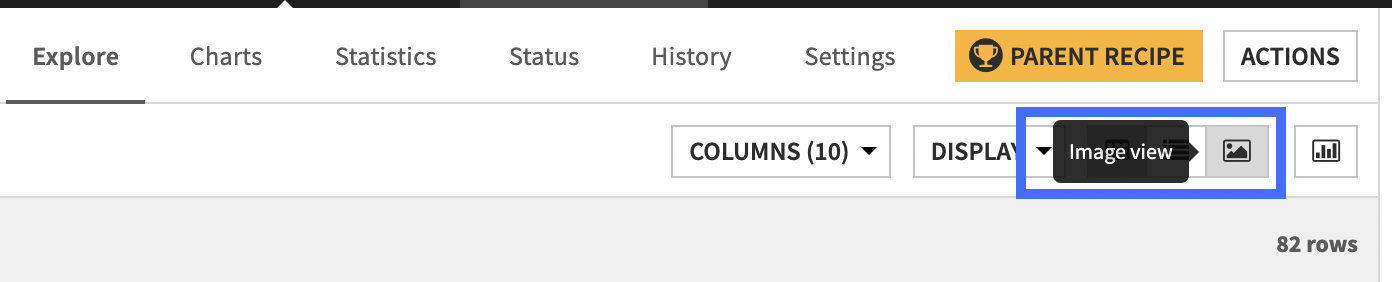
We can view the entire dataset as images to help understand the predictions.
In the top right, click on the Image view button.
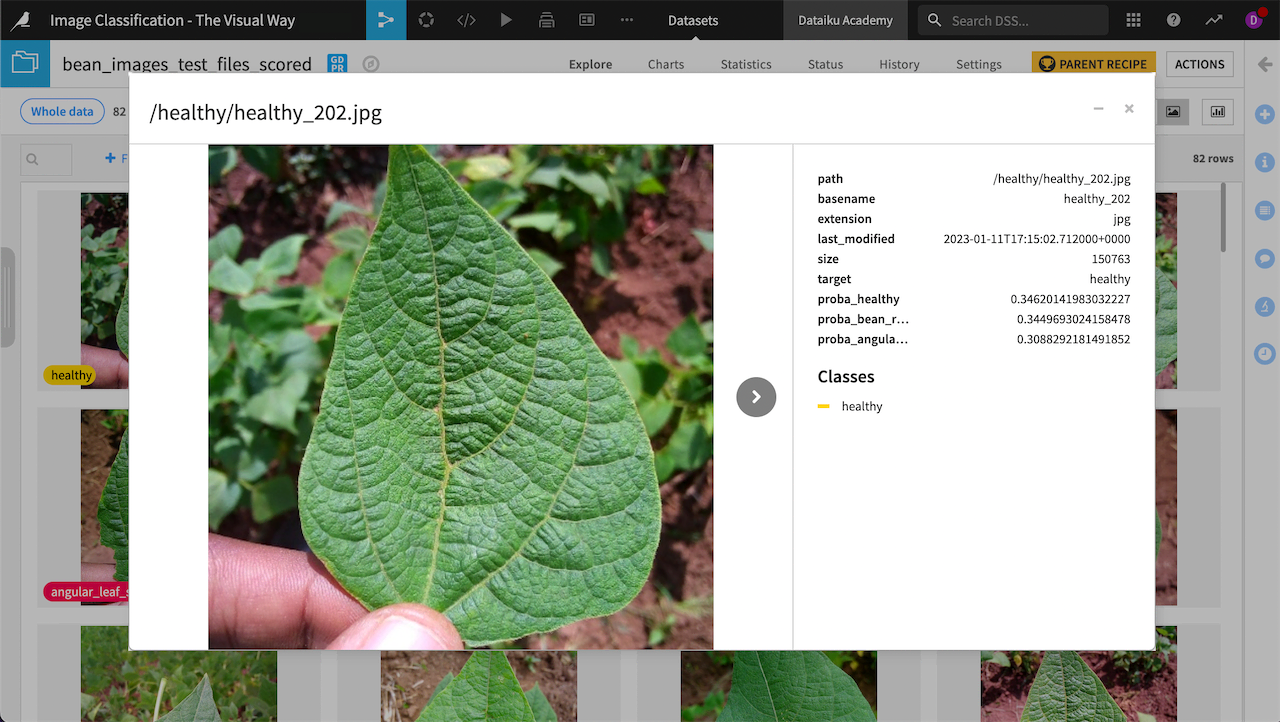
The annotations that appear in this view are the predicted class of each image.
Click on any image to view all information about that image. Use the arrow in the info window to scroll through each image in the dataset.
Create a confusion matrix#
In this case, we scored a dataset that included the ground truth for each image. Because of this, we can create a confusion matrix to get an overall picture of how the model performed on these new images. Note that you cannot do this without ground truth labels. To create the matrix:
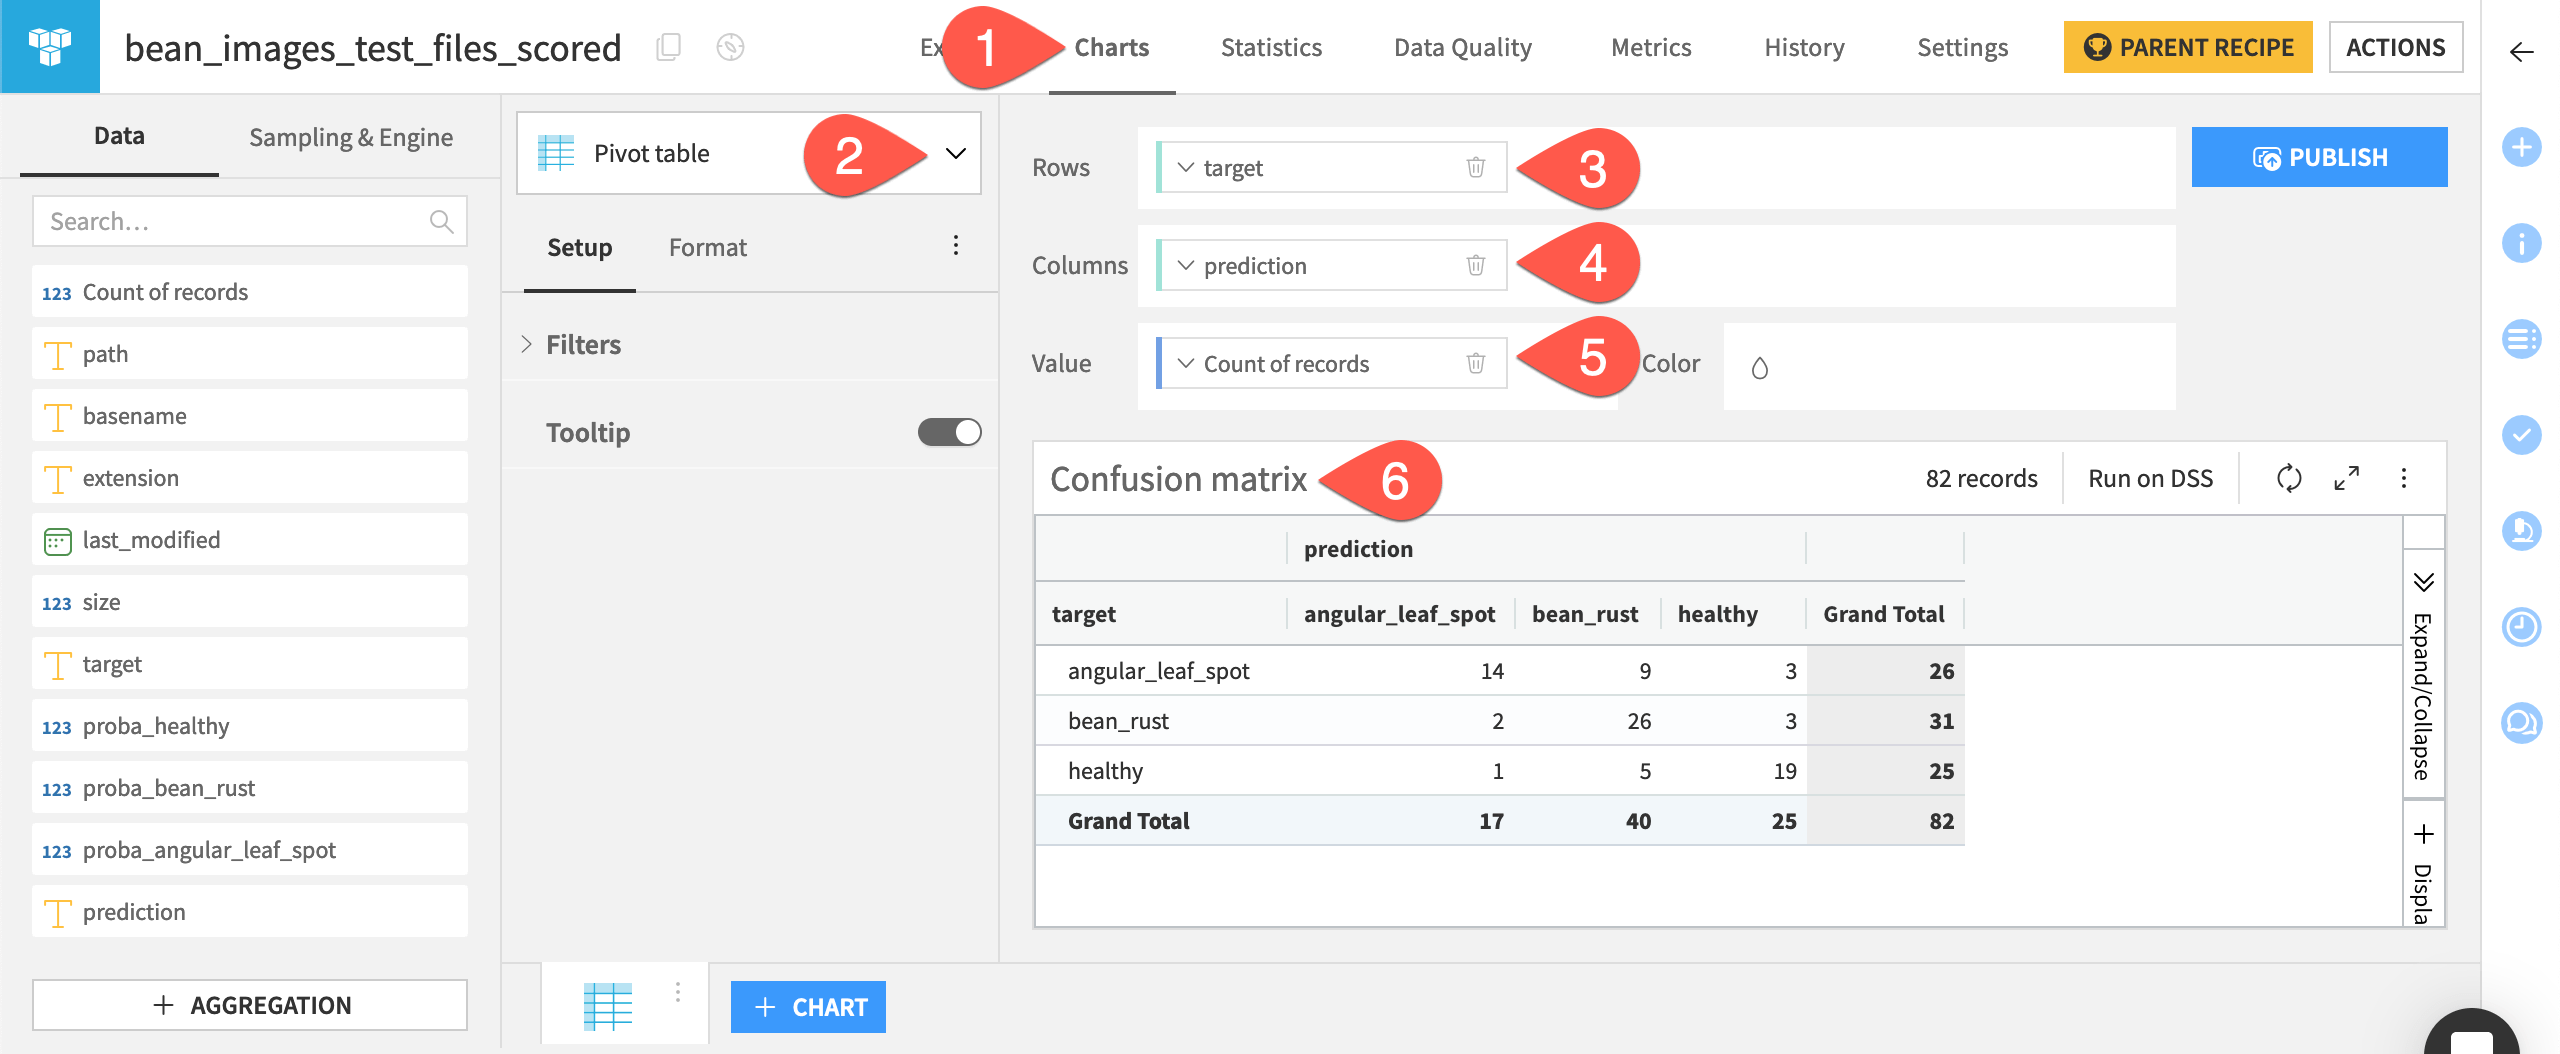
Navigate to the Charts tab.
From the chart type dropdown, choose the Pivot table.
Move the target column to Rows, the prediction column to Columns, and the Count of records measure to Value.
Double-click on the chart title to give it a more descriptive name.
Your results may vary, but the chart below shows the model did a fairly good job of predicting the healthy and diseased plants.
What’s next?#
Congratulations on building your first image classification model in Dataiku! You’re ready to create a new model on your own images.
You also might want to learn how to build object detection models in Dataiku with this tutorial.