Concept | Project deployment#
Watch the video
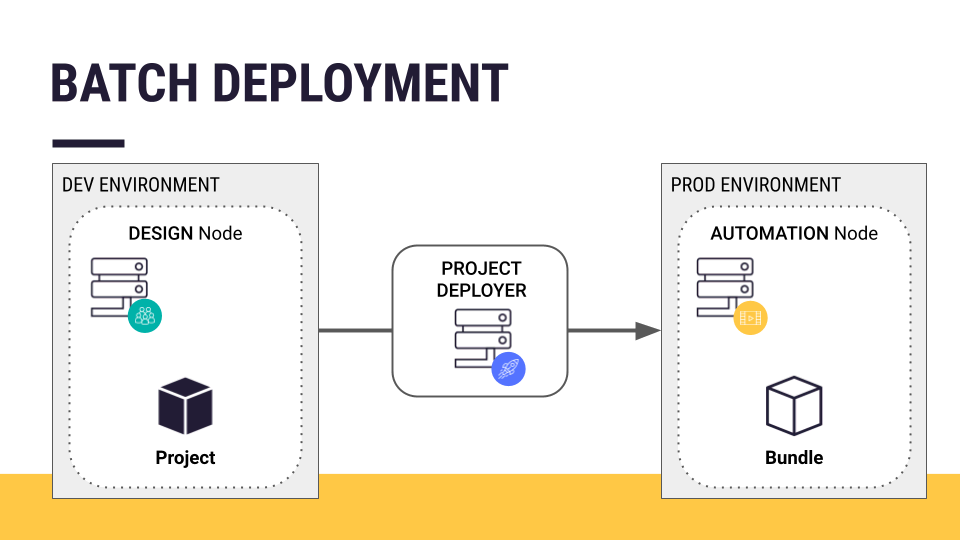
This article discusses the process for pushing a batch processing project from a development to a production environment. In other words, how does one go from a project on a Design node to a project bundle deployed on an Automation node? You’ll achieve this with the help of the Project Deployer.
Ready for production#
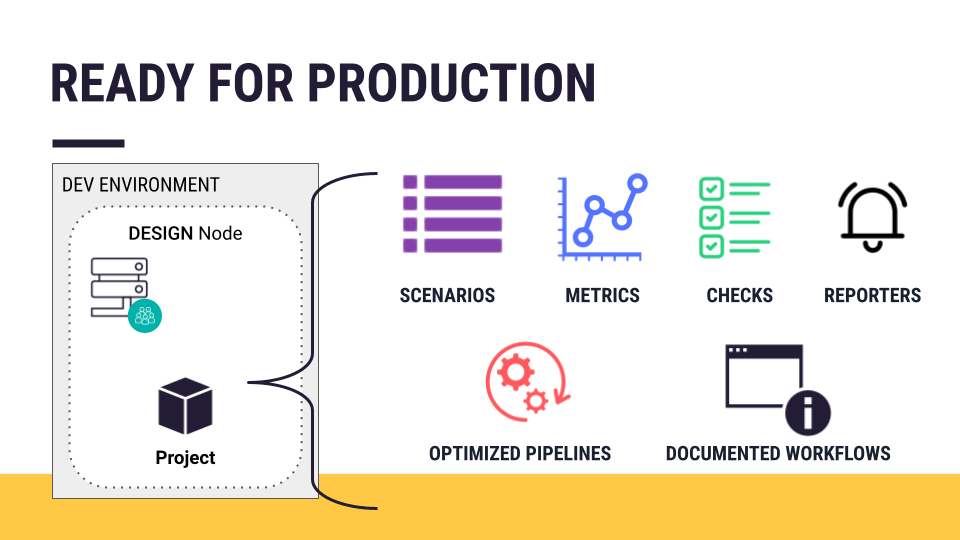
Assume you have a batch processing project ready for deployment into production. Among other qualities, a project ready for deployment into production most often includes:
Robust scenarios with metrics, data quality rules and/or checks, and reporters
Optimized data pipelines
Well-documented workflows
Tip
A project ready for production might also have test scenarios.
Development vs. production environments#
To batch deploy a project into production, you need to transfer the project from its development environment (a Design node) to a production environment. In the case of a batch processing workflow, that production environment is an Automation node.
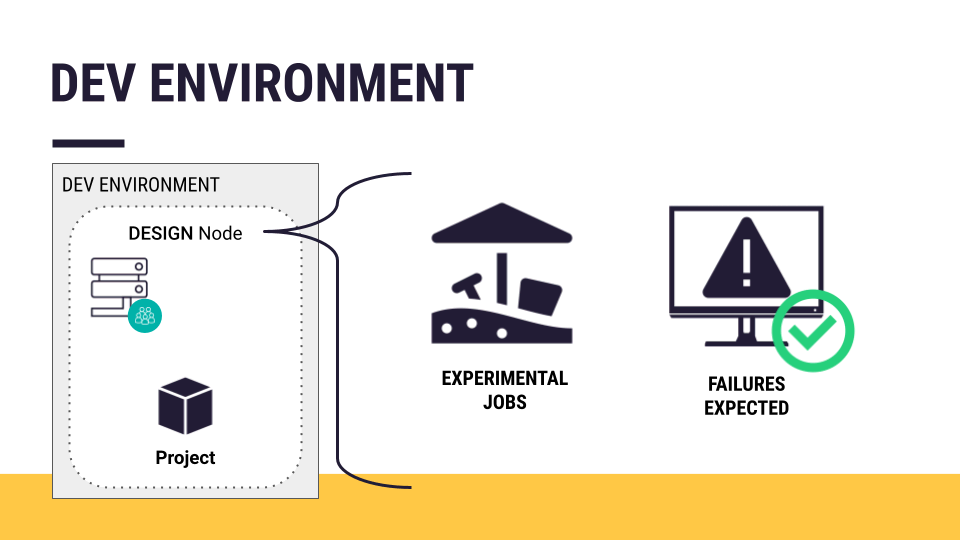
Recall that a Design node is an experimental sandbox for developing data projects. Since you are creating new data pipelines there, you can expect jobs to fail occasionally.
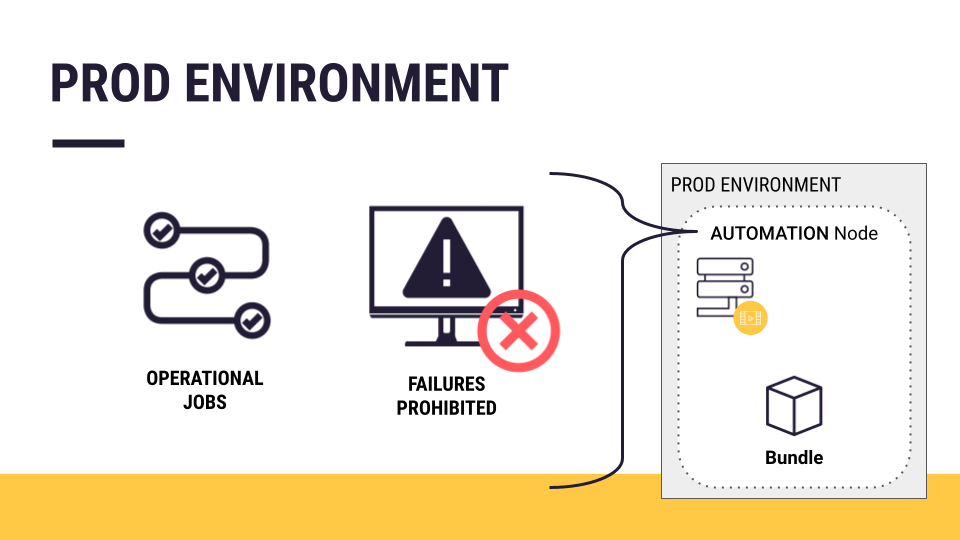
An Automation node, on the other hand, is a production environment. It’s for operational jobs serving external consumers.
The Automation node also needs to be ready for production. Among other requirements, it should have:
The correct connections, such as the production version of databases.
The same plugin versions and code environments found in the project on the Design node.
The Project Deployer#
Watch a short video on the Project Deployer

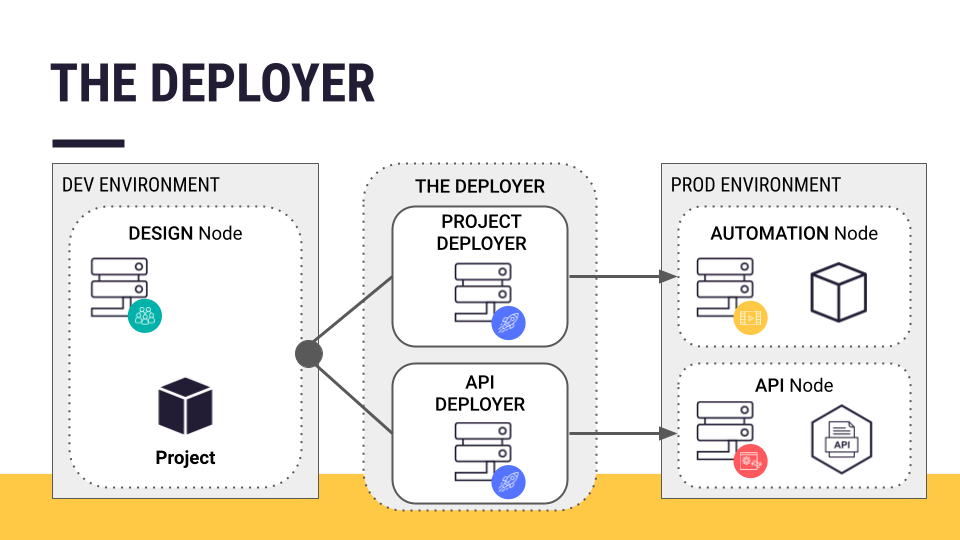
How do you transfer a project from a Design node to an Automation node? You use the Project Deployer to make this process easy and centralized.
The following details are relevant only to administrators, and so we won’t cover it in great detail.
The Project Deployer is one of two components of the Deployer:
Deployer component |
Purpose |
|---|---|
Project Deployer |
Deploy project bundles to an Automation node for batch processing workloads (which is the focus here). |
API Deployer |
Deploy real-time API services to an API node (as you’ll do in the API Deployment course). |
Note
If your architecture has a single Design or Automation node, the Project Deployer can be part of this Dataiku node itself — a local Deployer. In that case, no additional setup is required. It comes pre-configured.
If your architecture includes multiple Design and/or Automation nodes, a separate node can act as the centralized Deployer for all Design and Automation nodes. This is a standalone or remote Deployer.
You’ll find more in the reference documentation on Setting up the Deployer for self-managed instances.
Project bundles#
You’re probably familiar with creating an export of a Dataiku project from the homepage of a Design node. You can import this kind of export to other Design nodes for further development.
Unlike an exported project, a project bundle is a versioned snapshot of the project’s configuration. This snapshot can replay the tasks performed on the Design node — on an Automation node.
Important
Project configuration means items like project settings, notebooks, visual analyses, recipes, scenarios, shared project code, and the metadata from objects like datasets, saved models, and managed folders.
Once a project is ready for deployment, creating a project bundle is simple. Navigate to the Bundles page from the More Options () menu, and click to create a new bundle.

Additional bundle content#
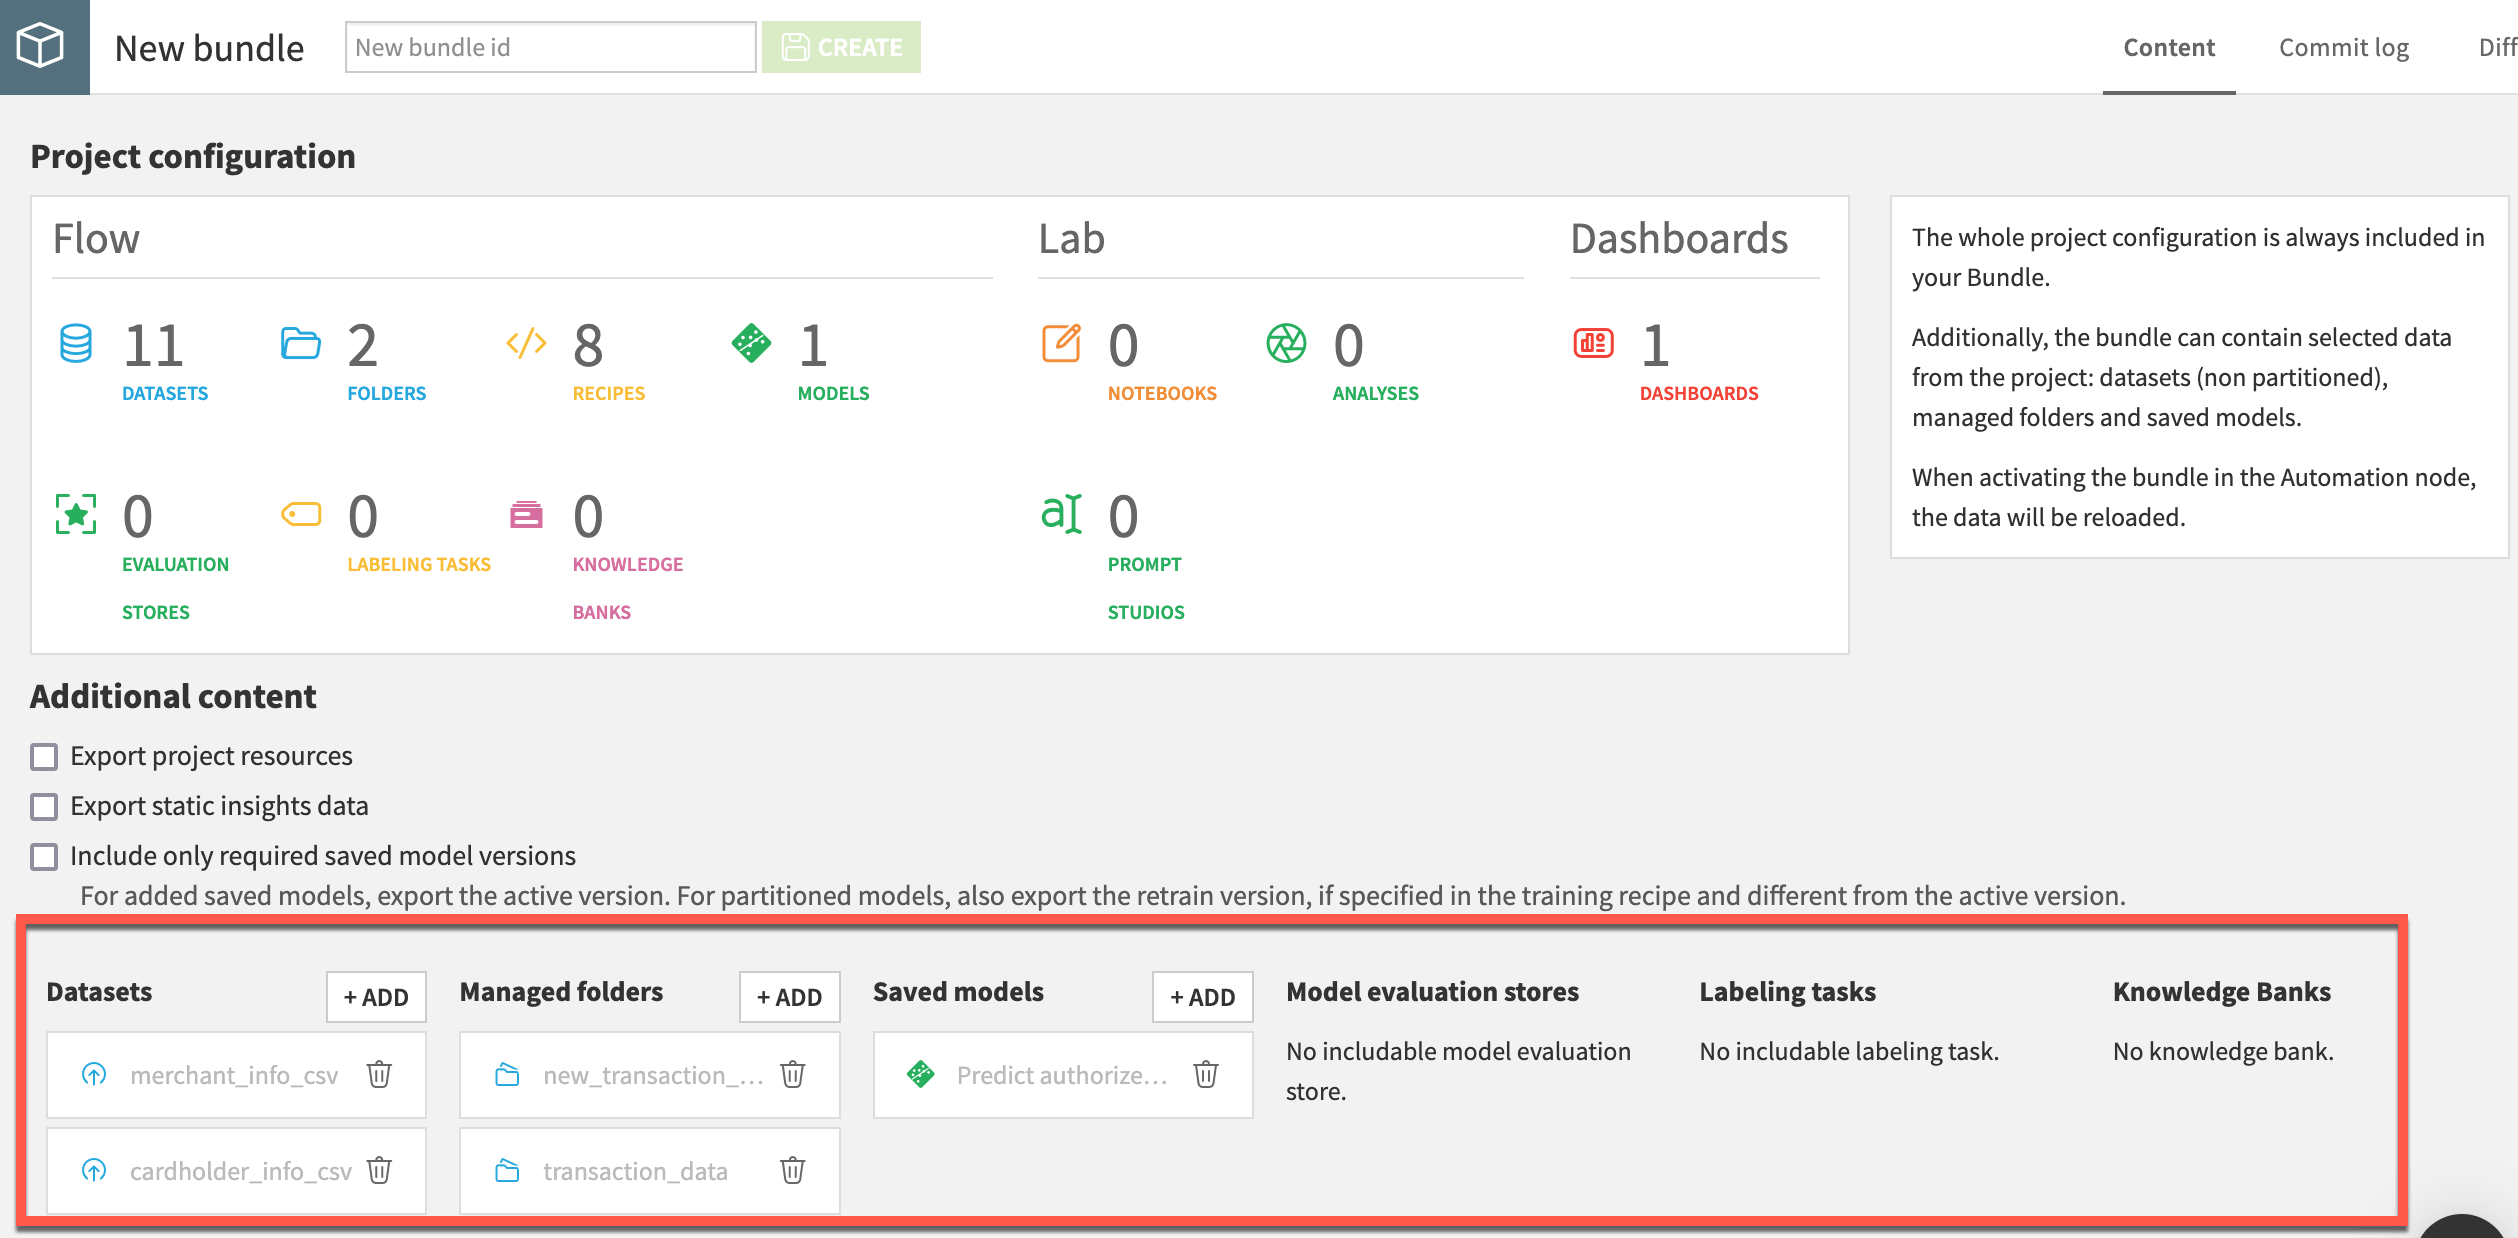
You then have the option of including additional content to the project bundle. A project bundle doesn’t include the actual data, nor any saved models deployed to the Flow. This is because when the project is running on the Automation node, you’ll have new production data running through the Flow.
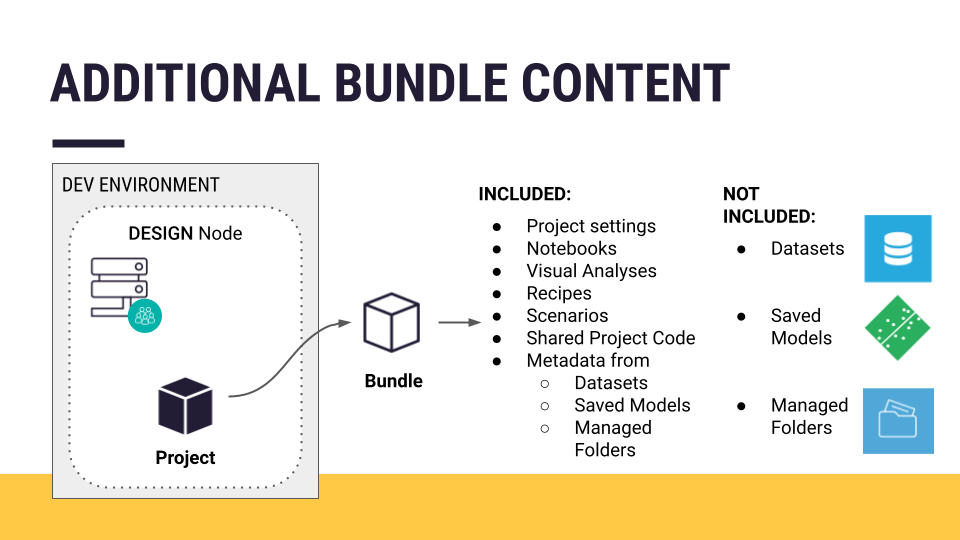
Depending on your use case, however, you may want to add additional objects such as certain datasets, managed folders, saved models, etc. For example:
You may need to include datasets for enrichment or reference datasets not recomputed in production.
If you plan to score data with a model trained in the Design node, you need to include the model in the bundle.
Deploying a bundle#
Once you’ve created the bundle, you can publish it on the Project Deployer. Once on the Deployer, you can manage all bundles from all projects on the instance in various stages of production. If your infrastructure is in place, deploying the bundle is only a few more clicks.
For any particular deployment, you can manage settings, such as remapping connections between the development and production environments.

Next steps#
Those are the basics of creating a project bundle on a Design node and transferring it to an Automation node. See Tutorial | Deploy a project bundle to a production environment to gain experience doing this yourself!
See also
Learn more about Production deployments and bundles in the reference documentation.

