
Concept | Common steps in visual recipes: Pre-filter, Post-filter, & Computed columns#
Watch the video
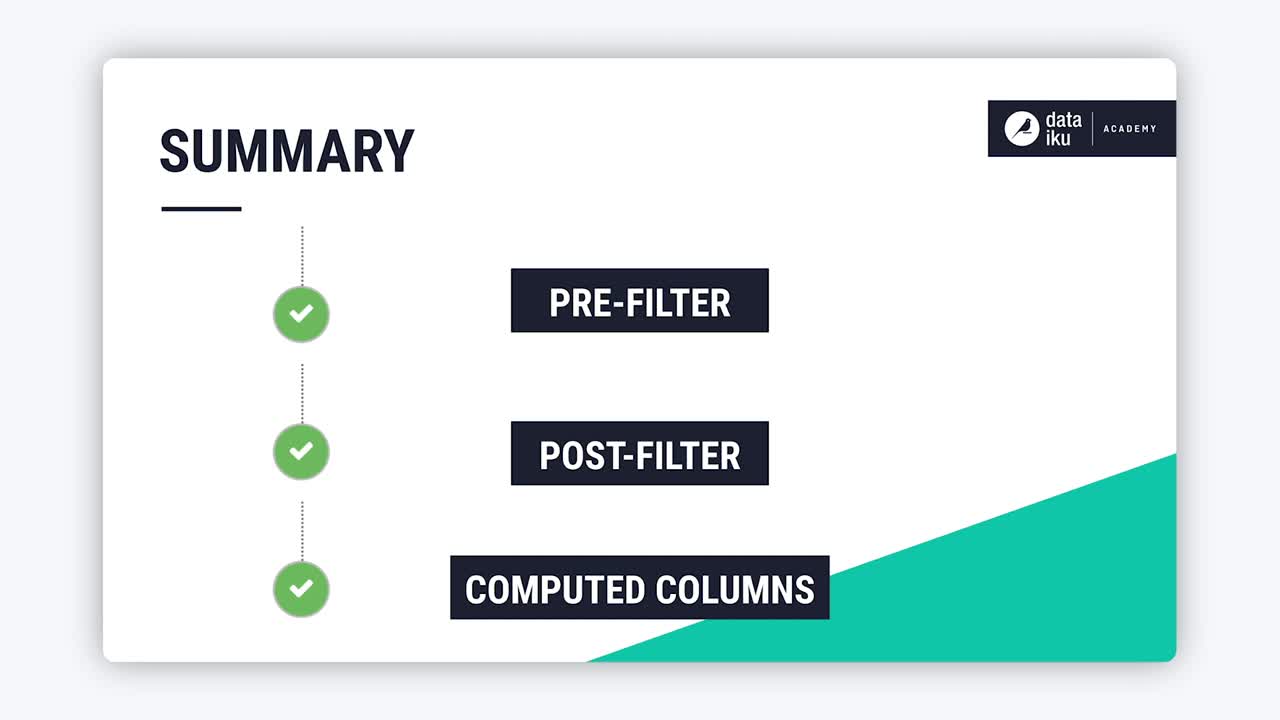
When working with Dataiku visual recipes, you can leverage some common steps that can be used within multiple Dataiku recipes. These common steps include:
Pre-Filter
Post-Filter
Computed Columns
When working on data projects with visual recipes in Dataiku, filtering is often used in combination with other data preparation steps. For example, we can use a Sample/Filter recipe to choose a smaller subset of a larger dataset before applying other visual recipes.
In other cases, we may use a Sample/Filter recipe after applying a visual recipe that computed aggregated statistics on the whole dataset, but we want to keep only a certain subset of interest.
To make this process easier, Dataiku allows users to apply a Pre-Filter or Post-Filter in most visual recipes. This means, instead of having to add a standalone Sample/Filter recipe before or after another recipe, we can simply go to the Pre-Filter or Post-Filter step of the recipe itself.
Similarly, the Computed Columns step allows computation of new columns as part of a visual recipe, without having to create a new Prepare recipe with a Formula processor.
Let’s see how each of these common visual recipe steps work.
Pre-filter#
The Pre-Filter step can be applied in most visual recipes, including:
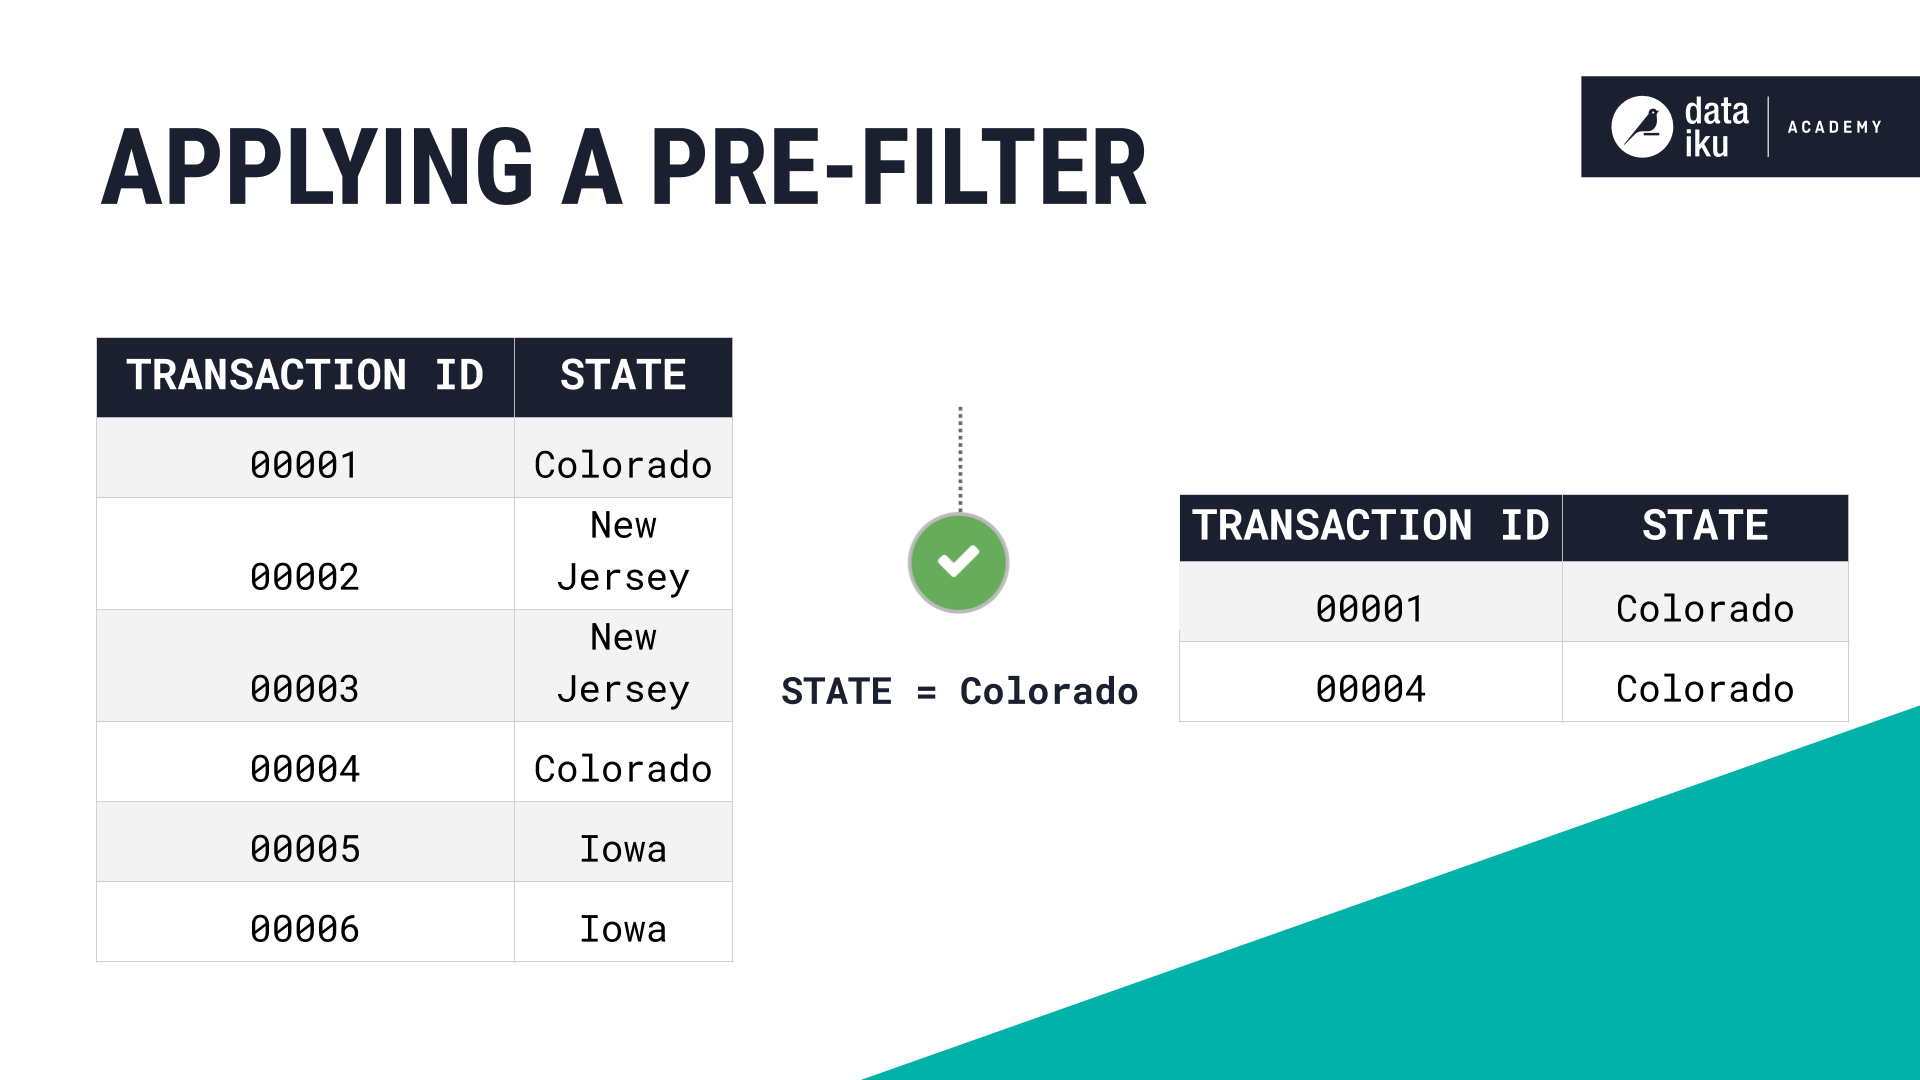
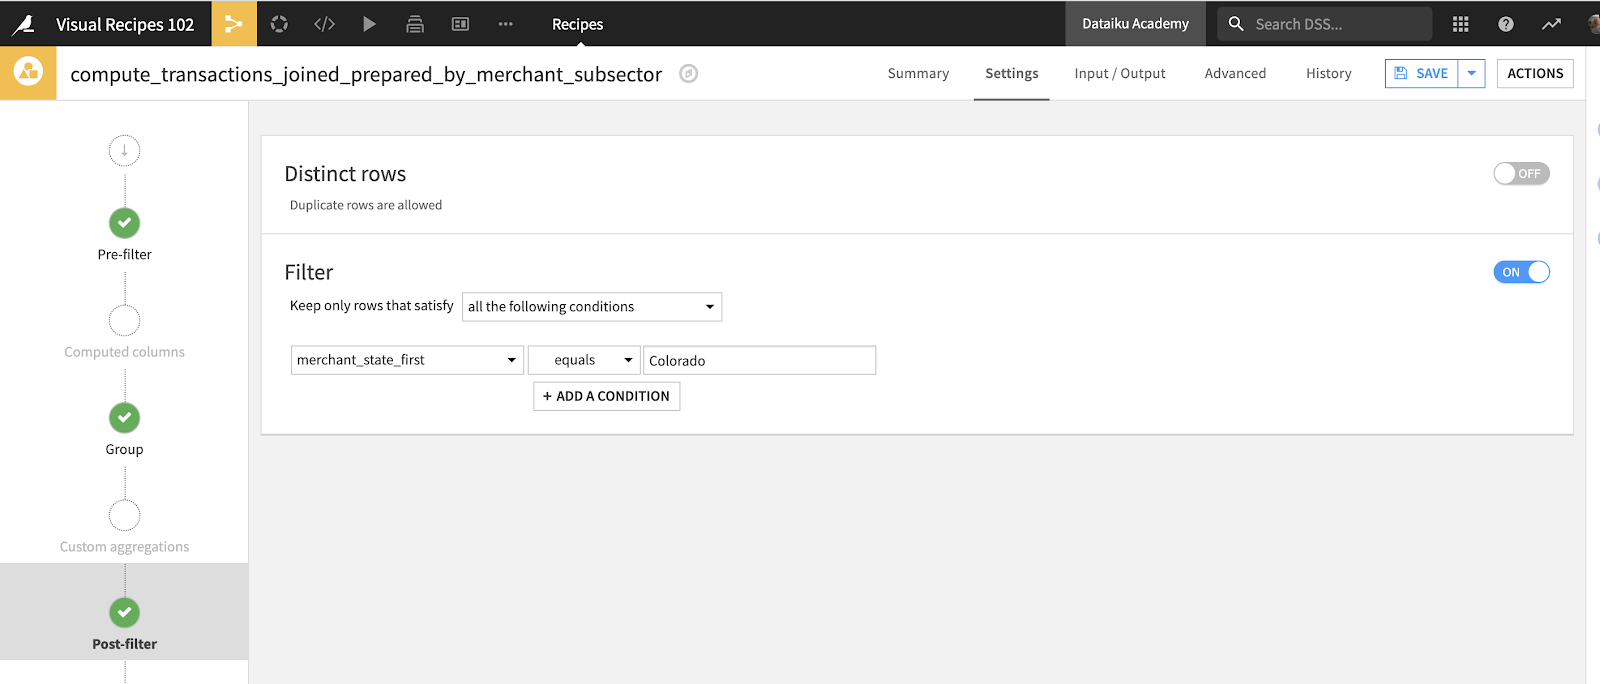
To apply a pre-filter, go to the Pre-Filter step of any of the visual recipes listed above and activate Filter. For instance, if we’re working on a dataset containing credit card transactions, we could use a pre-filter to only keep rows that correspond to a given state before we apply another visual recipe.
Post-filter#
The Post-Filter step in visual recipes functions in a similar way as the Pre-Filter step. You can apply a post-filter in the following recipes:
Let’s say that we’re working on the same credit card transactions dataset. We want to leverage one of the visual recipes listed above, and in addition, we only want to keep the transactions for which the average purchase amount is over 100.
In this case, we would need a post-filter, because we’d be filtering the newly created rows based on the values computed by the Group recipe.
We can also use the Distinct function in the Post-Filter step to remove row duplicates. Similarly to the Filter function, the Distinct function lets us avoid having to create a separate Distinct recipe.
Computed columns#
We often want to create new columns based on those already present in our dataset. This can be achieved by using the Formula processor in the Prepare recipe.
However, we don’t always need to create an entirely new Prepare recipe just to add a formula step and compute a new column. Instead, we could save time by using the Computed Columns step, which is available in the following visual recipes:
The Computed Columns step lets us create a new column using either a Dataiku formula or SQL, based on the existing columns of the input dataset of the visual recipe.
For example, as shown below, we can create a new column card_purchase_amount_range using a formula or a column count_of_records using an SQL expression.

Next steps#
Learn more about visual recipes by checking all the different articles and tutorials in the Prepare and Transform Data section.