How-to | Deploy an API service from the Automation node on Dataiku Cloud#
You can deploy API services from the Automation node. This can be useful if, for example, you want an API endpoint to perform a lookup in a dataset that’s updated by a Flow running on the Automation node.
Create your API service in the Design node project.
Publish your project to the Automation node. (Tutorial | Deploy a project bundle to a production environment walks through the steps).
Once on the Automation node, build the Flow so as to populate all datasets with data.
Note
To make sure the Flow on the Design node and the Automation node don’t collide and provoke data inconsistencies, your datasets must be relocatable or you must remap the connection on the Automation node.
If you are using the referenced mode with a dataset in the api-node-referenced-data connection, that dataset will be automatically relocatable. There is nothing for you to do.
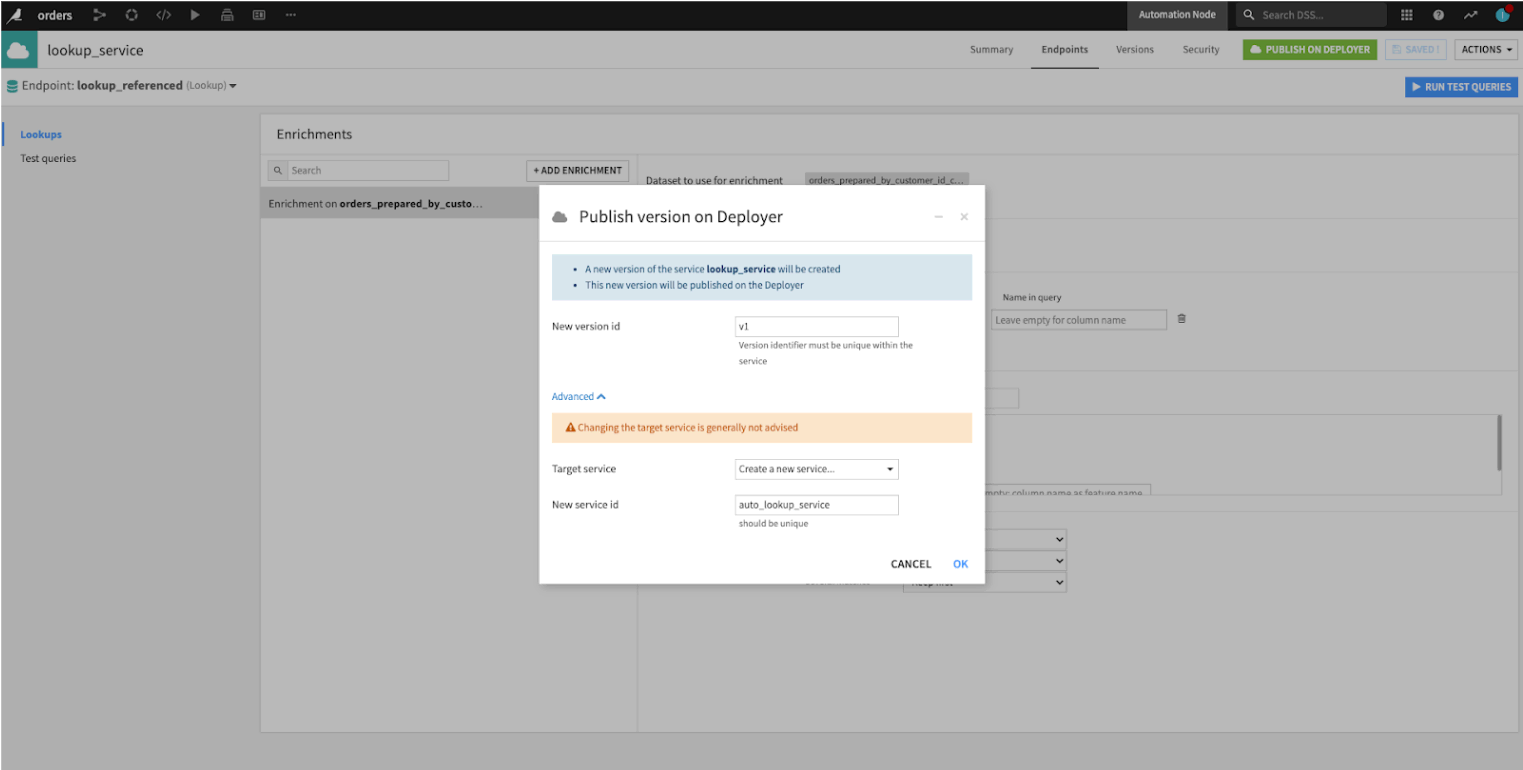
Still on the Automation node project on the Automation node, go to the API Designer. Find the API service, and deploy it to the Deployer (click on the service > Publish on Deployer). The endpoints in the service will use the data created by the Automation node Flow.
Tip
To have clear naming of all services, the trick is when deploying the service to the Deployer, click on the advanced option, and change the default name of the target service. This makes it clear that it comes from the Automation node. Otherwise, it will be suffixed with 2.
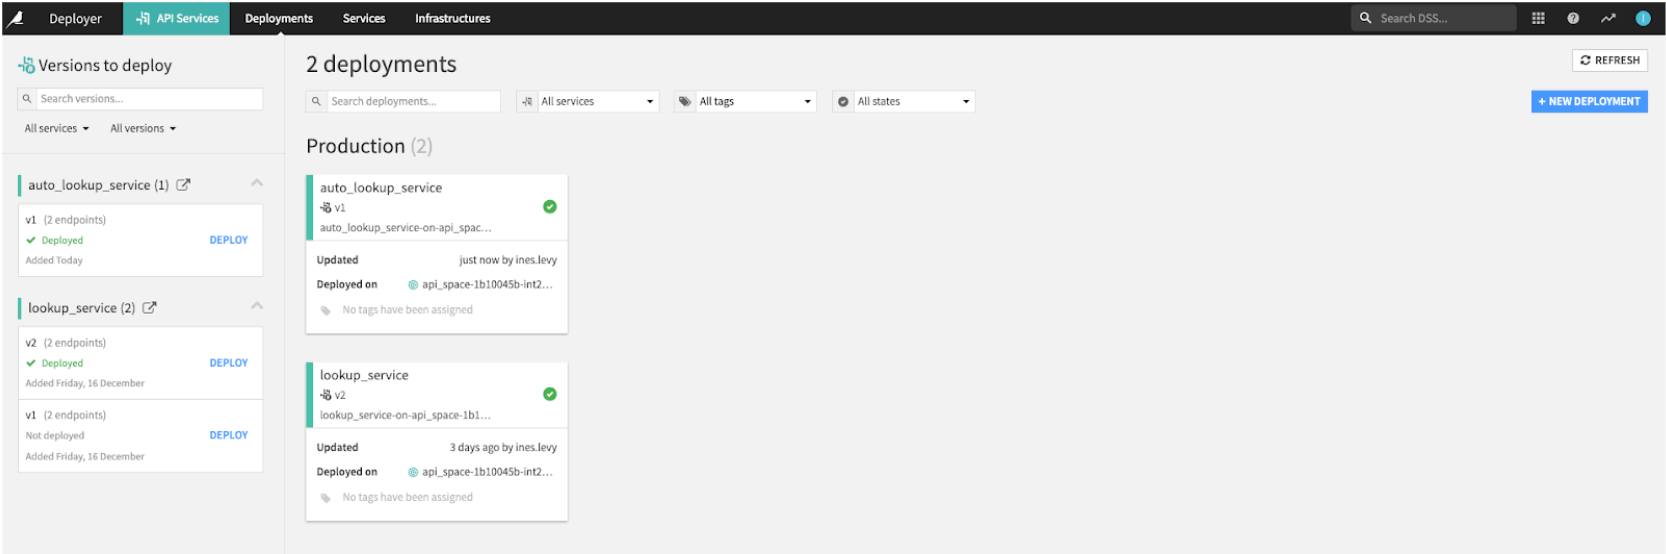
If you had also deployed the API service from the project on the Design node, you will have both your Design and Automation API services deployed looking like this: