
Concept | Webapps#
Watch the video or read the summary below.
Webapps are custom applications hosted by Dataiku, which allow you to extend Dataiku’s visualization capabilities. While Dataiku offers many native charts, webapps provide a way to build custom interactive experiences for your end users.
Why use a webapp#
Webapps bridge the gap between complex data science and business value. While Dataiku offers extensive native visualization tools, a webapp might be the right choice depending on your specific requirements and coding expertise.
Because webapps are code-based, a key factor in choosing this route is the creator’s proficiency in the relevant language (such as Python, R, or JavaScript).
A webapp could be a suitable option if your project requires:
Requirement |
Description |
|---|---|
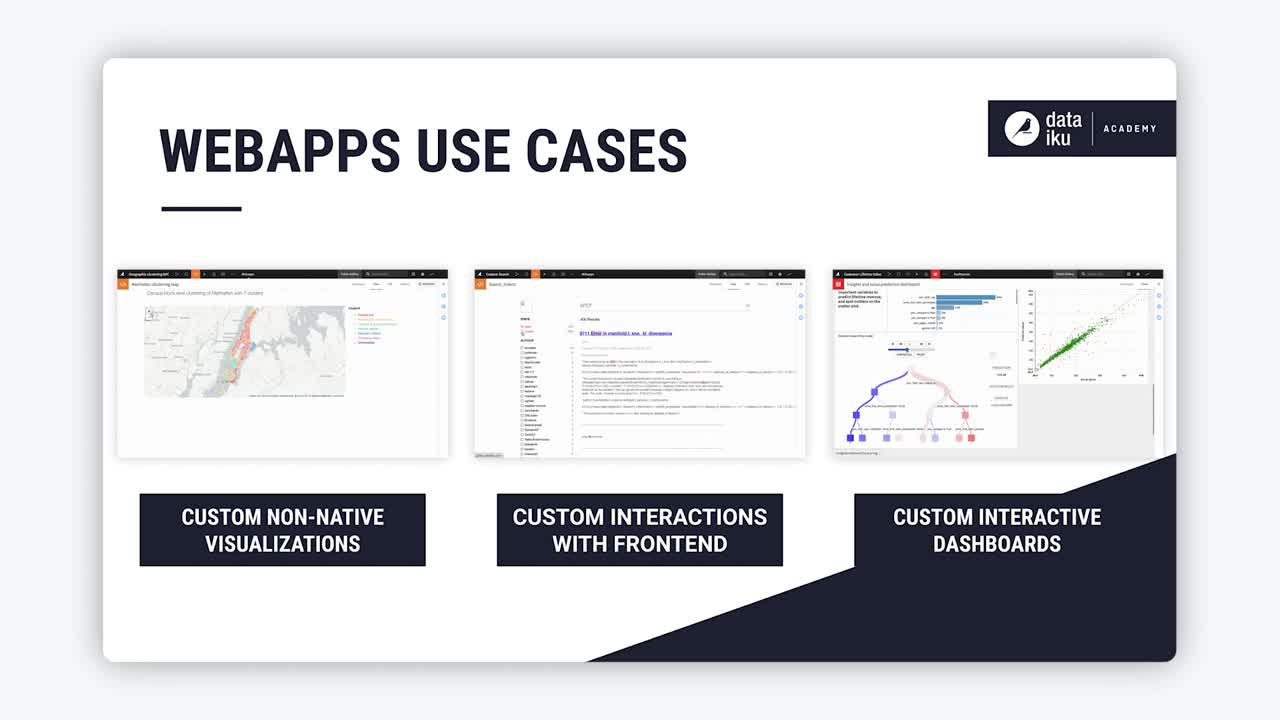
Custom interactivity |
Dashboards that update based on complex user inputs or logic not found in native charts. |
Specialized visualizations |
Use of specific libraries (such as Leaflet or Plotly) for unique data storytelling. |
Operational frontends |
Custom interfaces that allow users to trigger backend processes or interact with data. |
Webapp types#
Dataiku supports several frameworks, allowing you to choose the one that fits your coding expertise.
Code-first frameworks (Python and R)#
These frameworks are ideal for data scientists who want to build apps using only their preferred language.
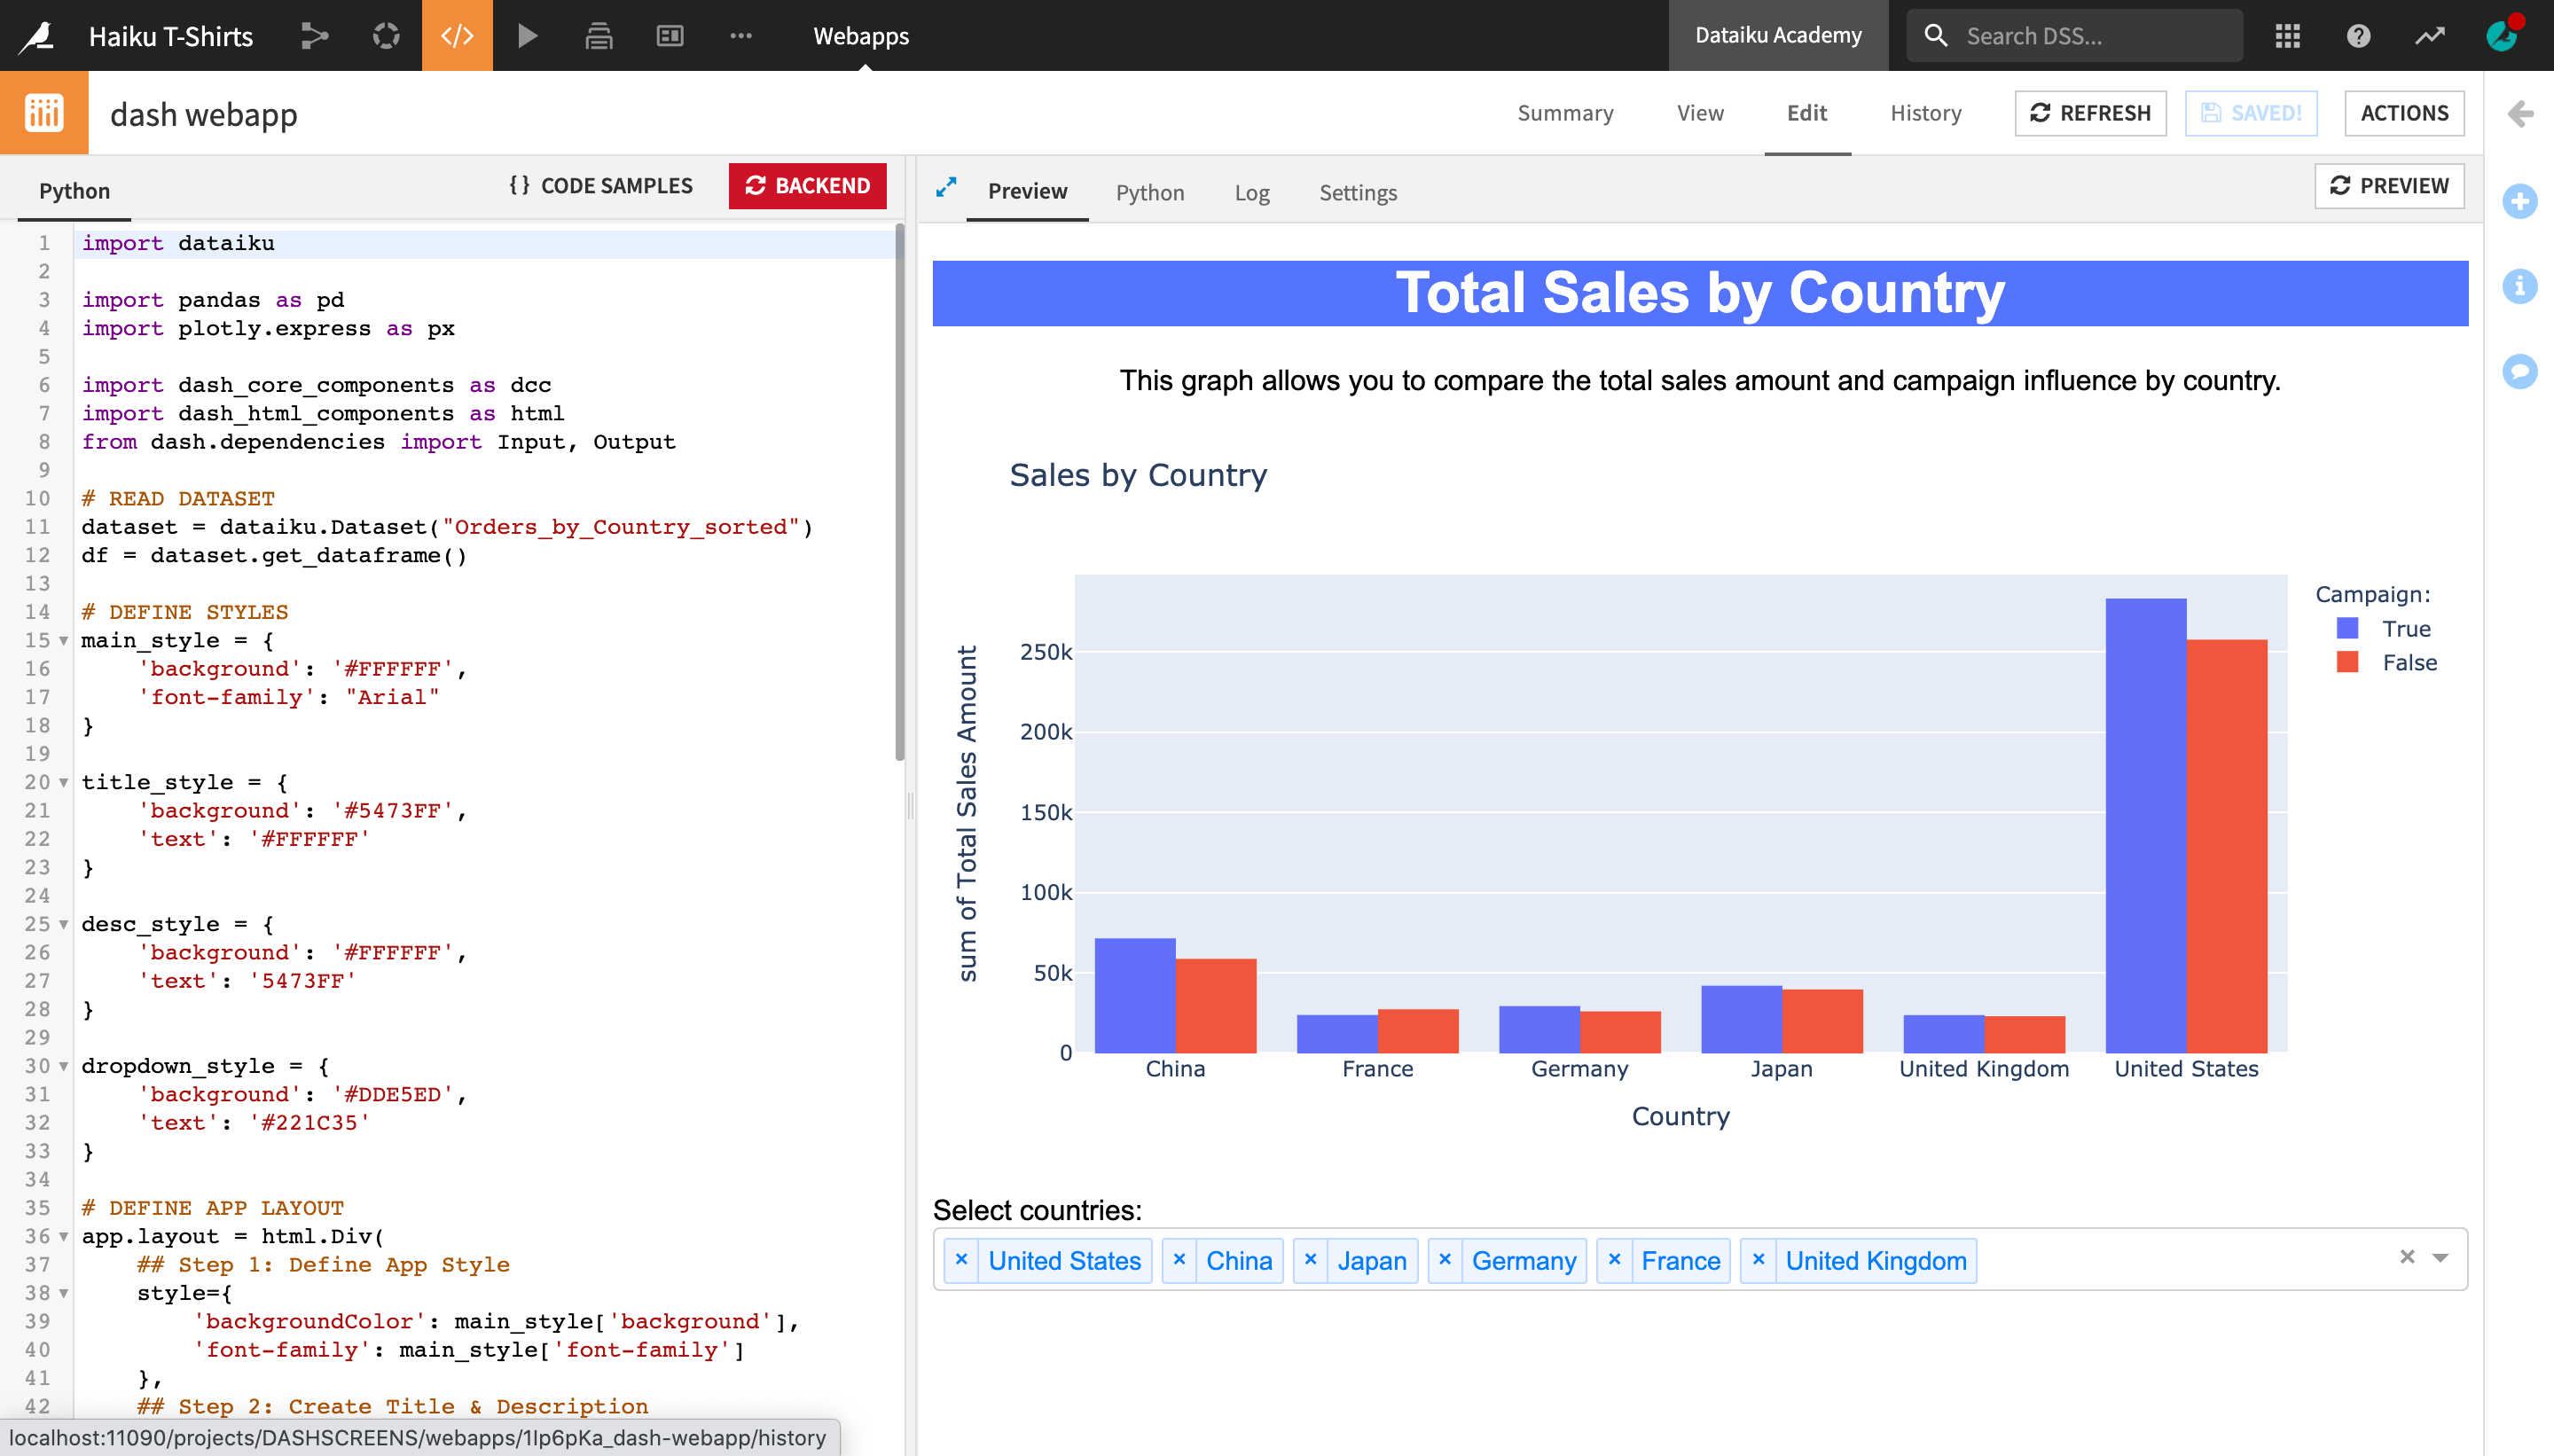
Dash is a productive Python framework for building analytical web applications.
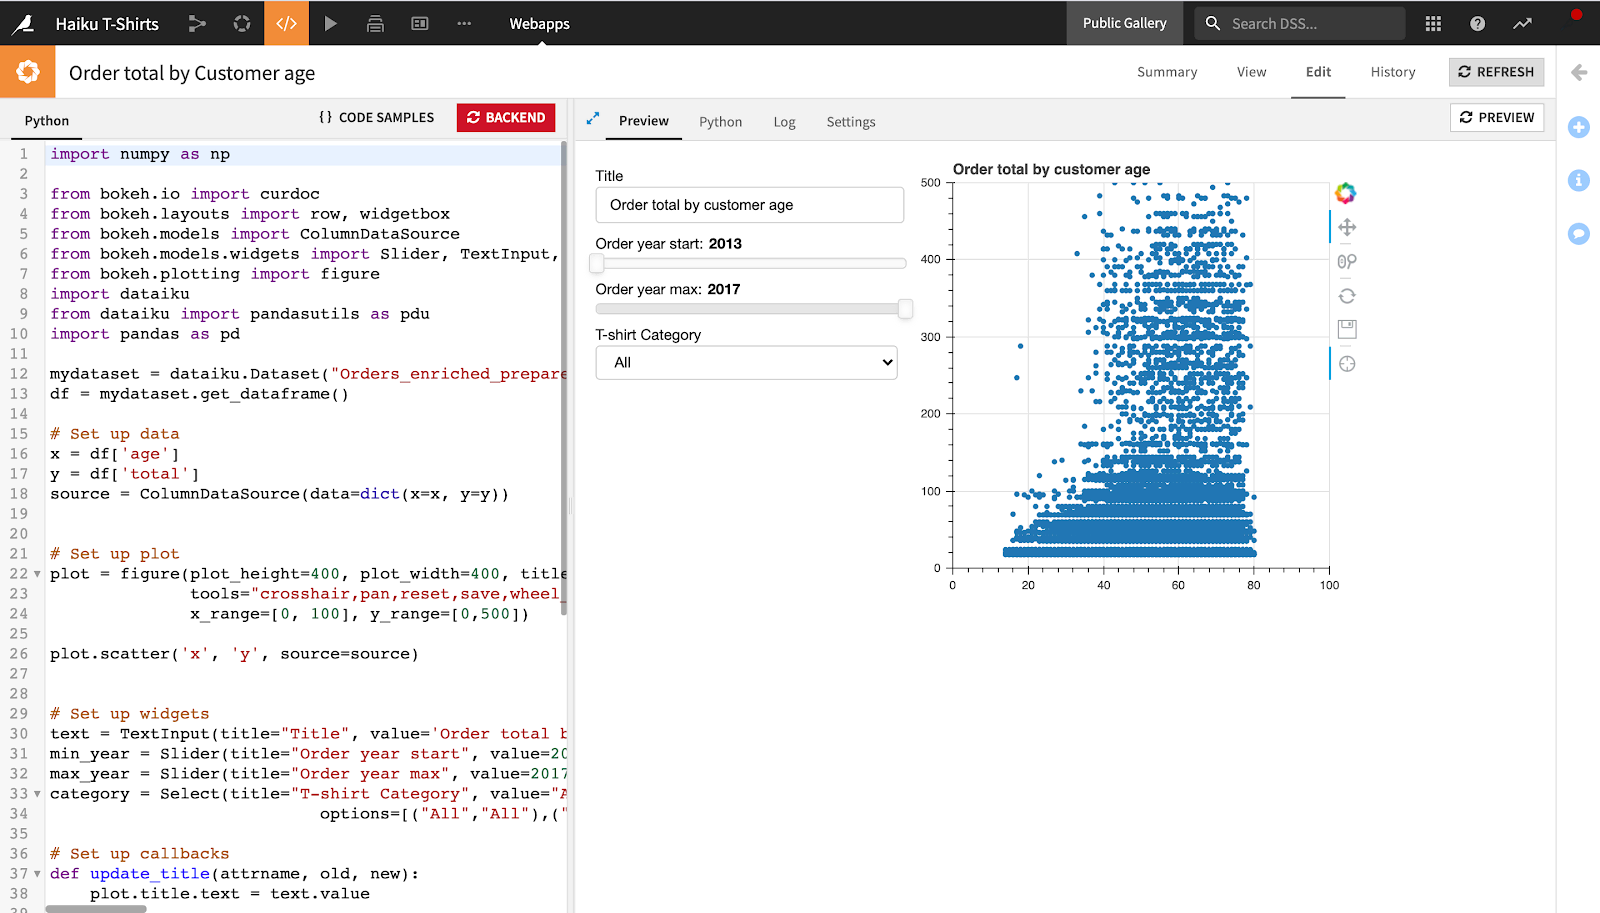
Bokeh is a Python library for creating interactive visualizations for modern browsers.
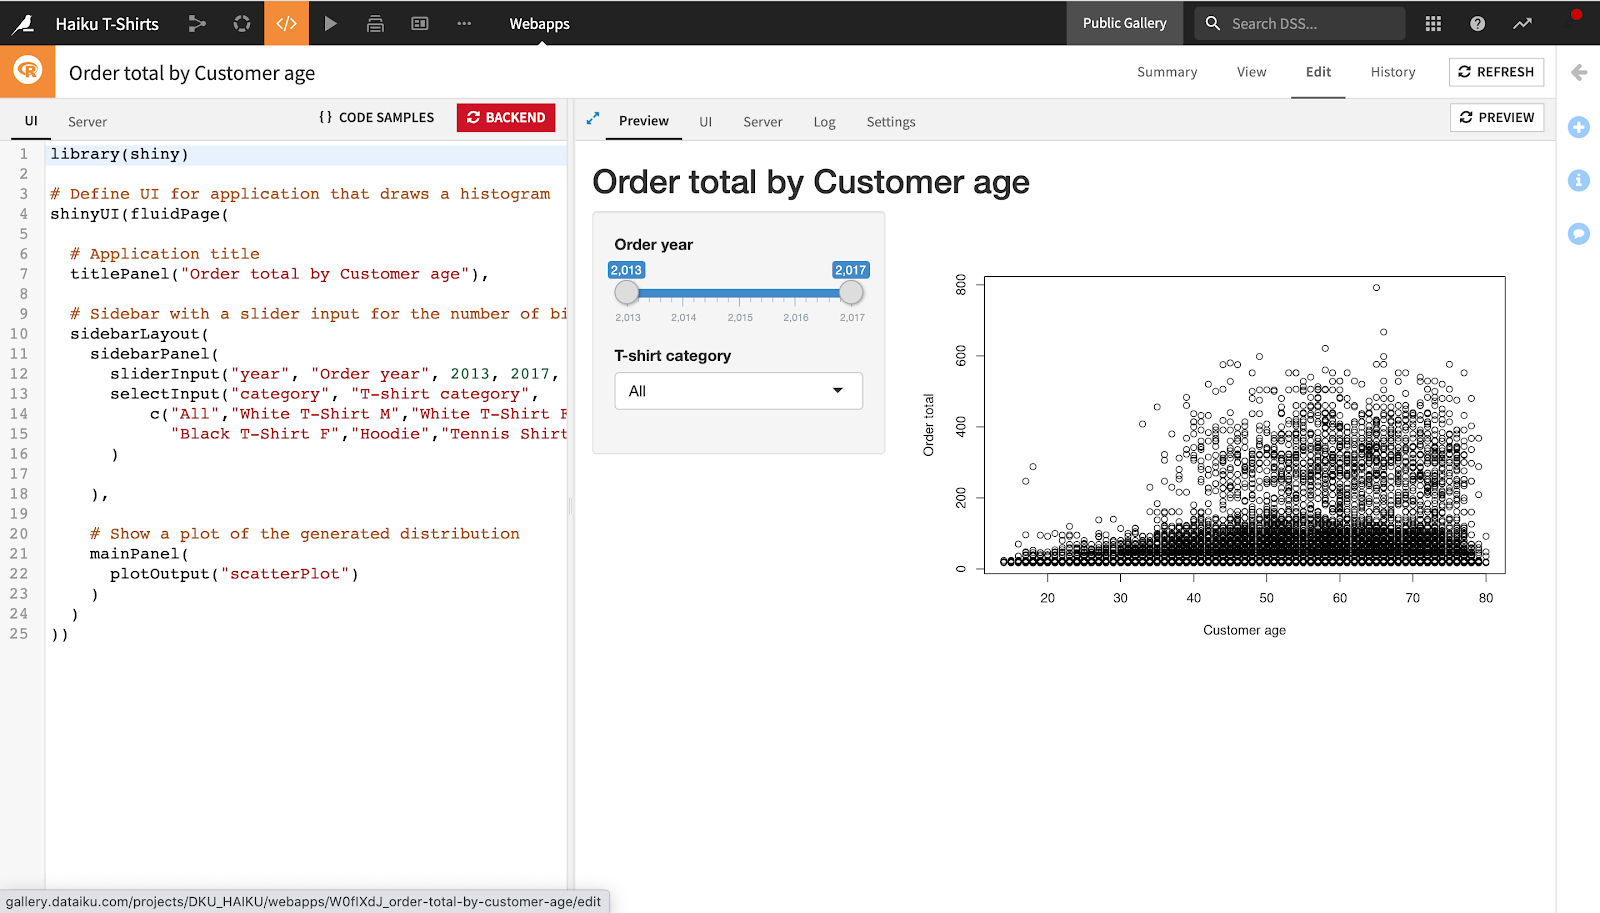
Shiny is the standard for building interactive web applications using R.
Streamlit is a popular Python framework for turning data scripts into shareable webapps in minutes.
Standard webapps (HTML/JS)#
For full control over the user interface, you can build webapps using HTML, CSS, and JavaScript. These apps can also include a Python backend (using Flask) to handle data processing and API interactions.
See also
To learn how to build a standard webapp, see HTML/CSS/JS: your first webapp in the Developer Guide.
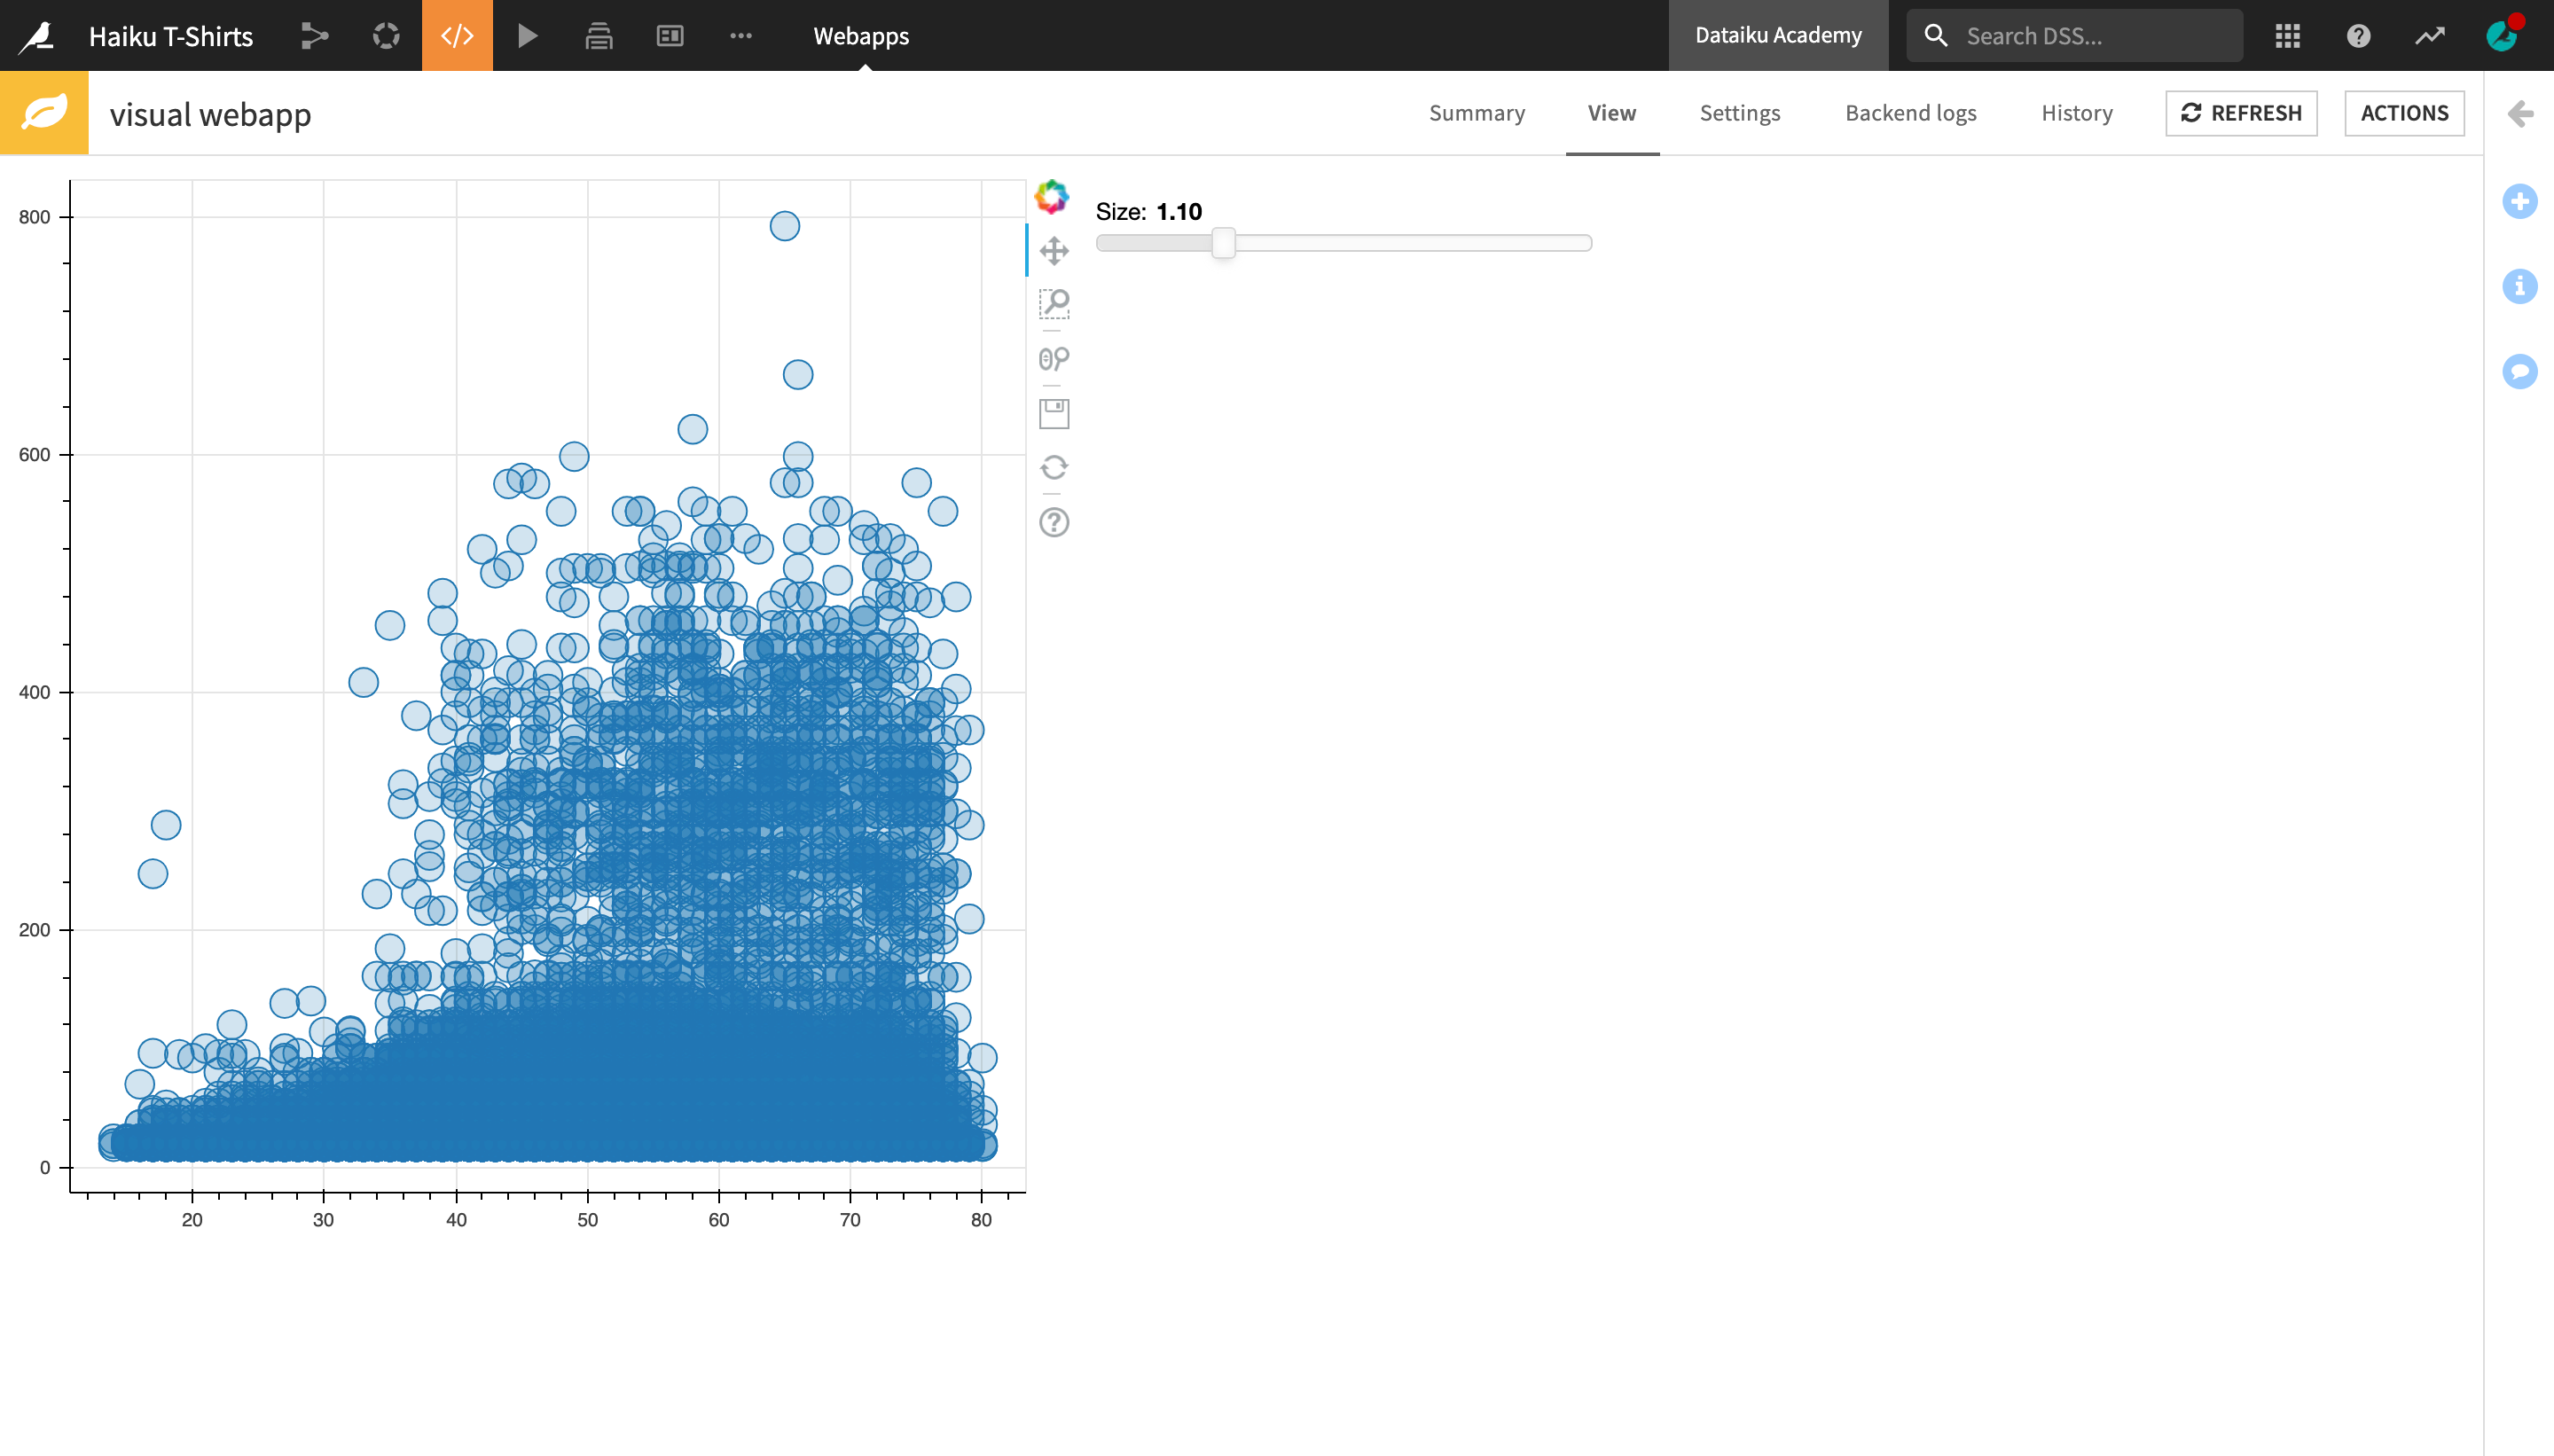
Visual webapps#
These are code-based webapps (developed as plugins) that offer a visual interface for non-coders to select datasets and parameters without writing code.
Create a webapp in Dataiku#
You can access webapps from the top navigation menu of a project, by hovering over the Code menu and clicking Webapps.
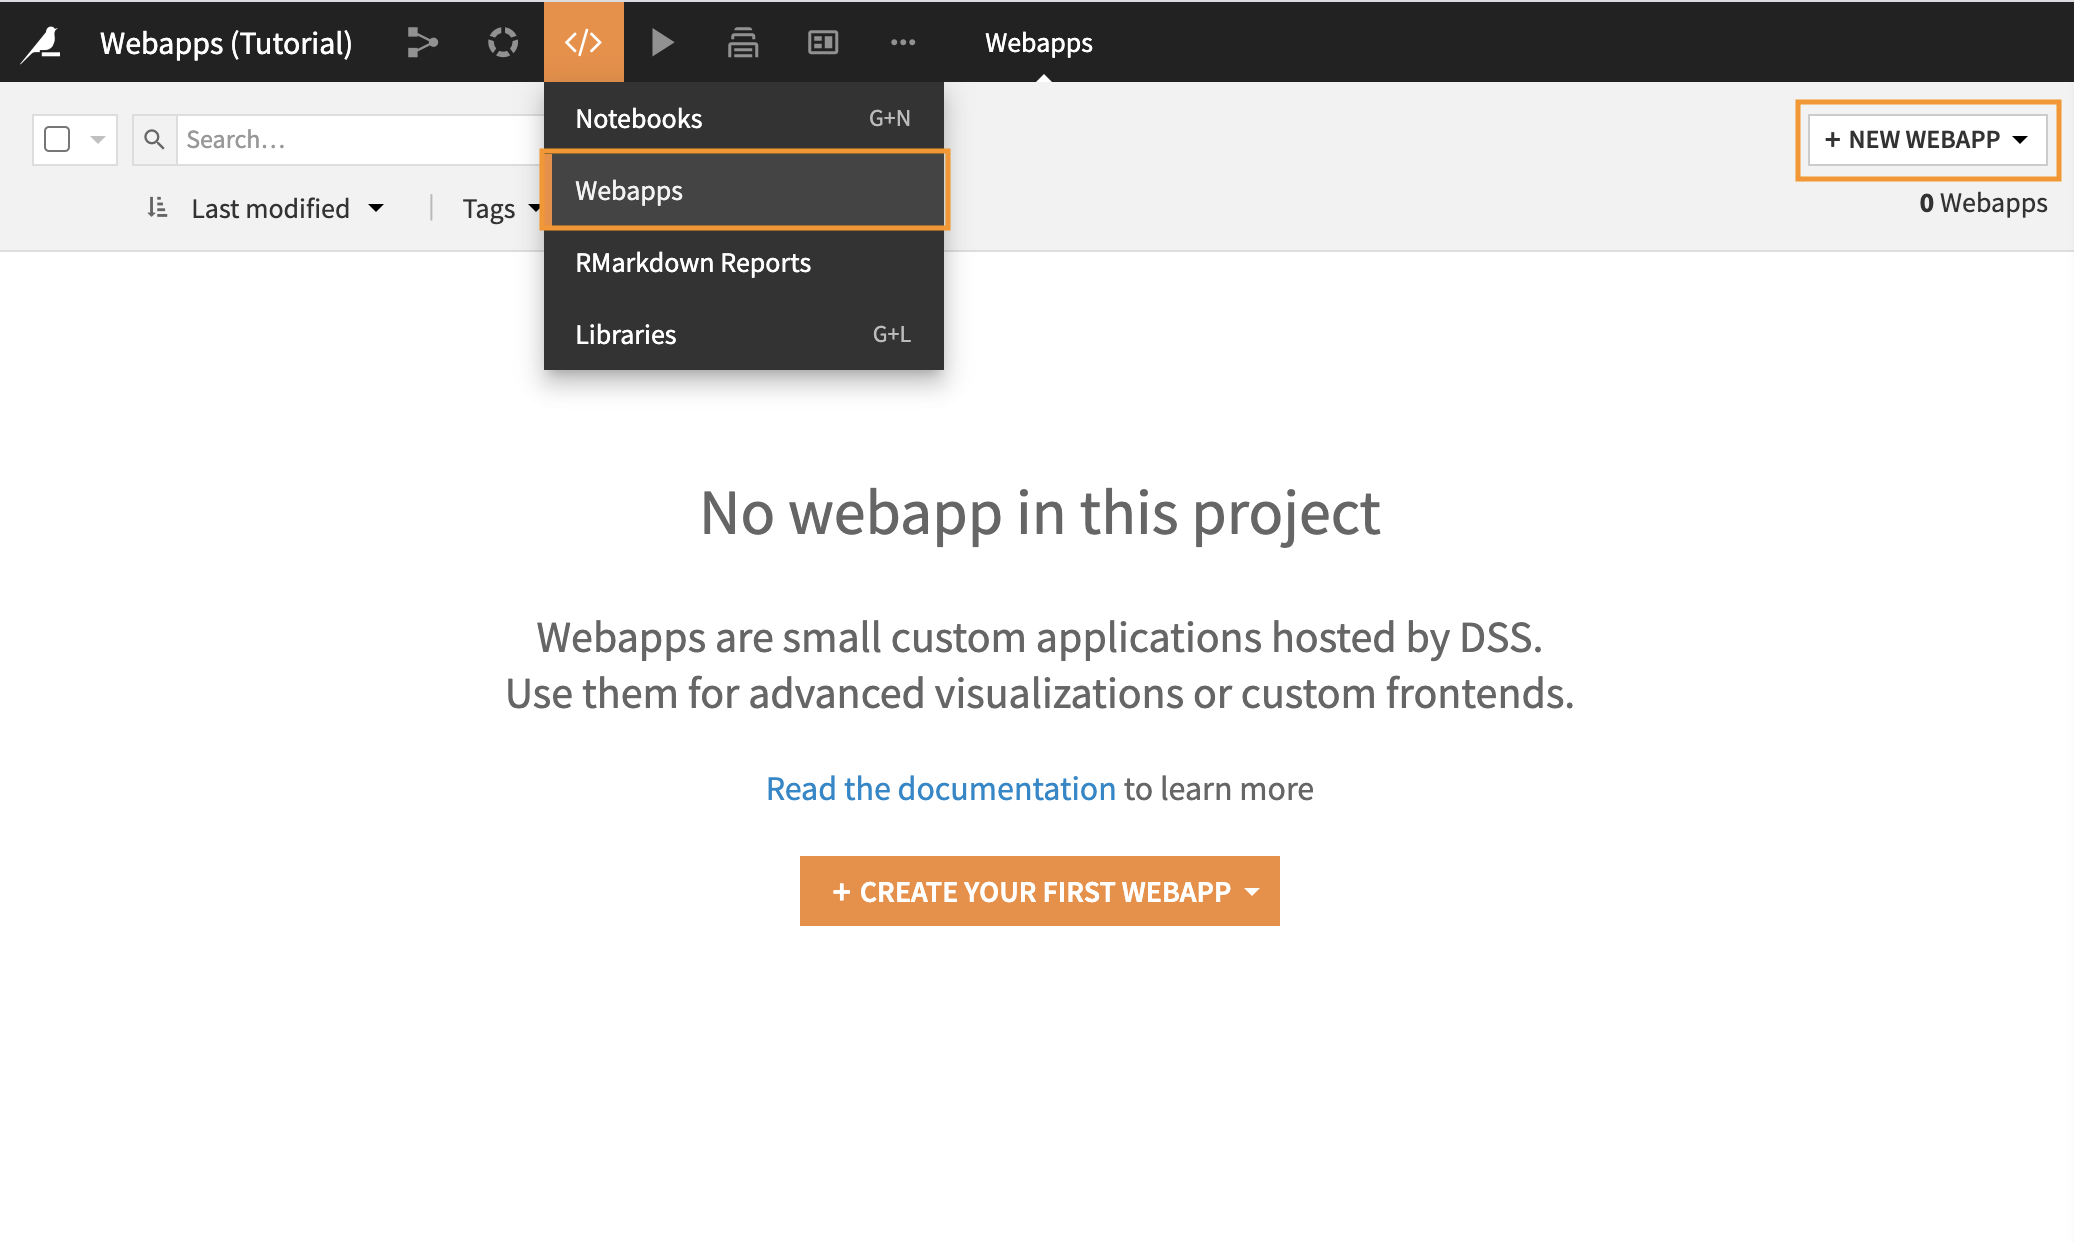
To develop a webapp, you can start from scratch or from a template. Dataiku takes care of the hosting, making the app available to anyone with access to your project.
Webapps vs. Dataiku apps#
It’s important not to confuse webapps with Dataiku apps. These are two different tools.
Webapps |
Dataiku apps |
|
|---|---|---|
Development |
Code (Python, R, JS) |
Visual UI (no code) |
Primary goal |
Custom UI/Visualization |
Reusable project automation |
User experience |
Free-form app |
Form-based automation |
See also
Learn more about the difference between Dataiku apps and webapps in Concept | Dataiku apps.
Share and publish a webapp#
Before others can interact with your webapp, you must manage its accessibility and visibility. In the Dataiku UI, sharing and publishing are distinct actions with different purposes.
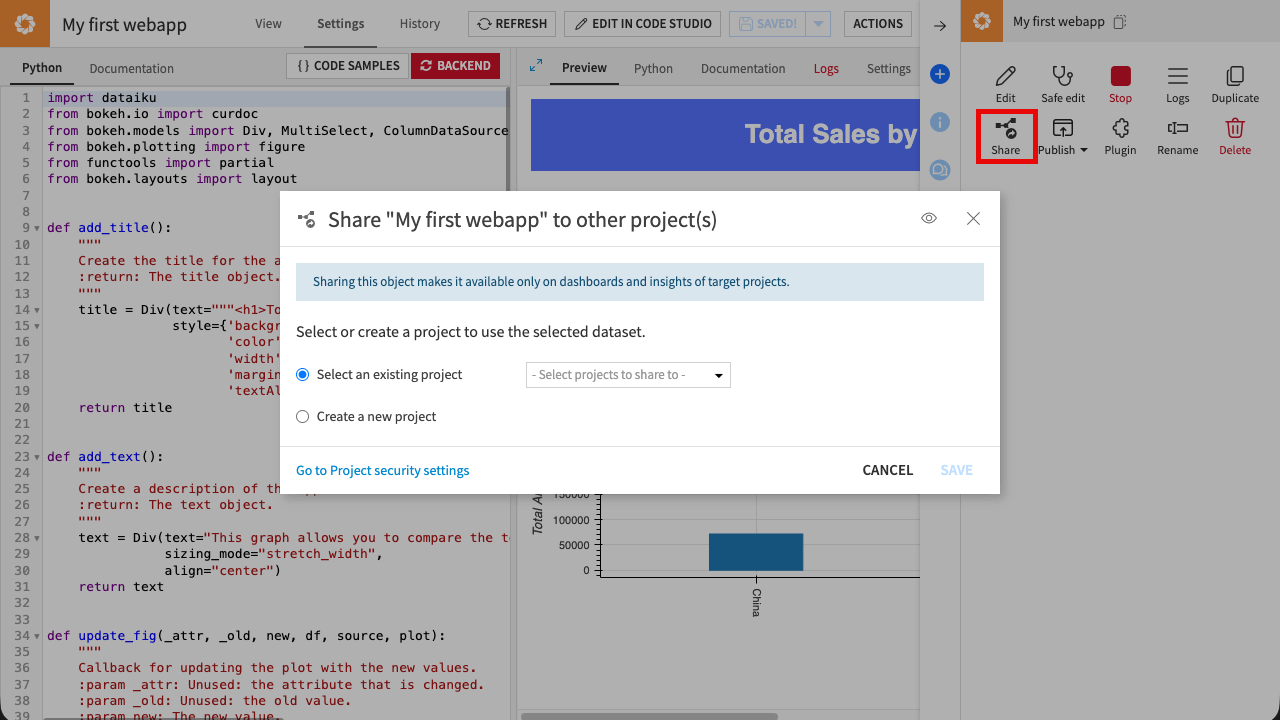
Share a webapp#
Sharing makes a webapp available to other projects.
To other projects: Click Share to make the webapp available for use on dashboards and insights within other projects.
User permissions: To control which specific users or groups can see or edit the webapp, use the Go to Project security settings link.
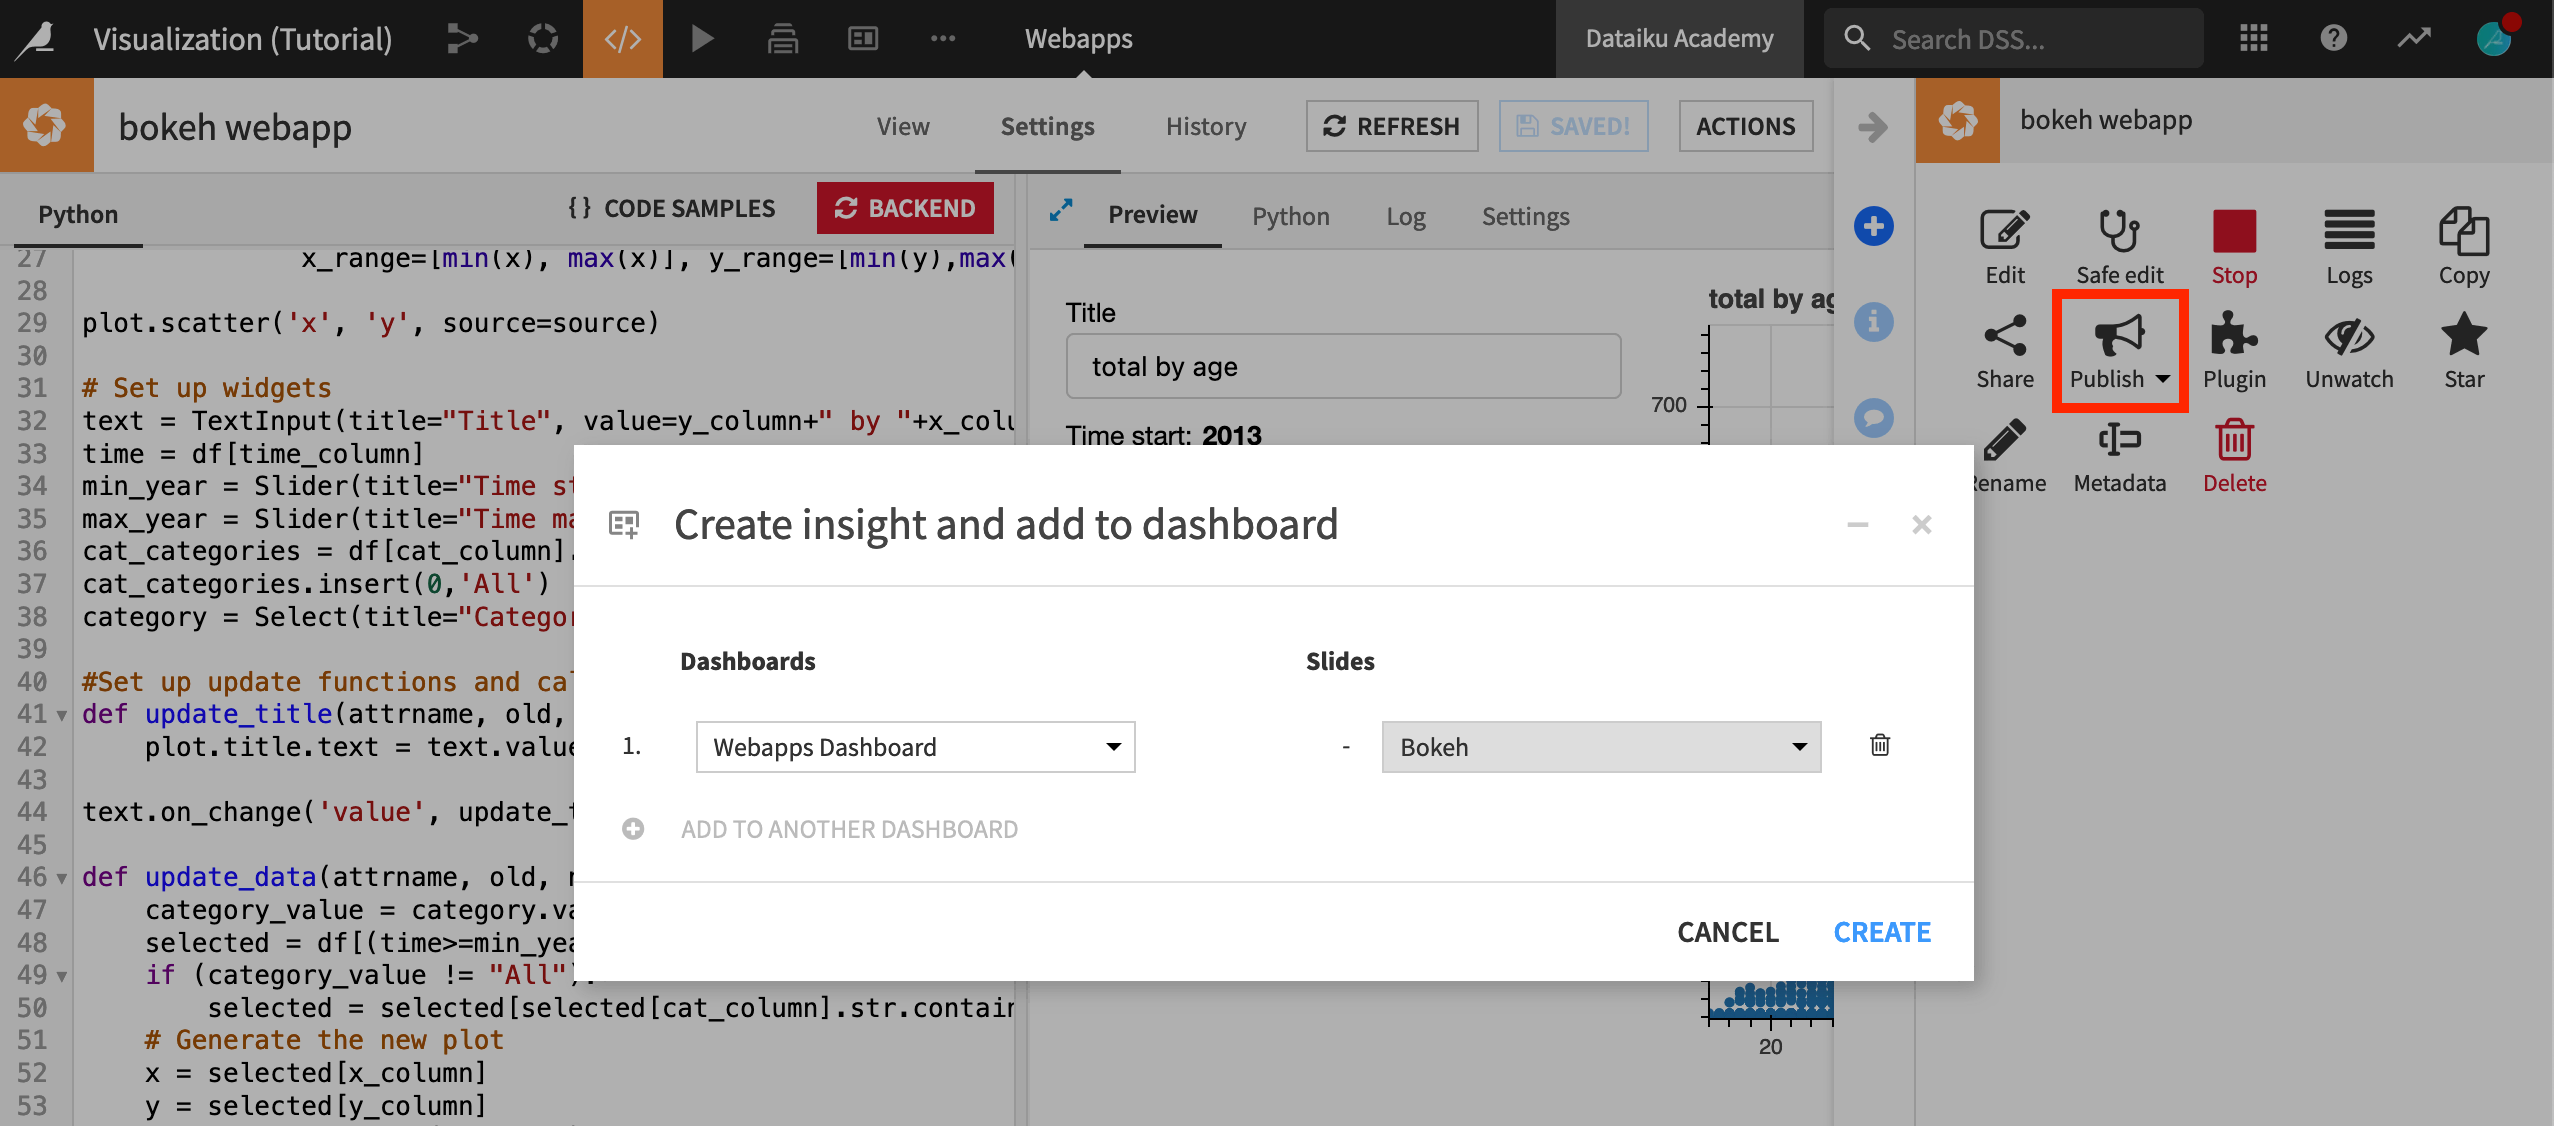
Publish a webapp#
Publishing makes the webapp visible as a consumable insight.
Dashboards: Select Publish > Dashboard to display the webapp as a tile on a dashboard.
Workspaces: Select Publish > Workspace to add the webapp to a dedicated workspace for business users.
Public URL: For broader reach, administrators can make webapps public, allowing access via a standalone URL outside of the Dataiku interface. For more information, see Public webapps in the reference documentation.
Next steps#
You have learned about webapps and how they work in Dataiku.