Concept | Plugin development#
Watch the video

Plugins let you extend Dataiku’s native capabilities by adding custom code or integrating external services directly into your Flow. They’re a powerful way for advanced users, data scientists, and developers to build and share reusable components across an organization—from custom recipes to specialized tools packaged in a single plugin.
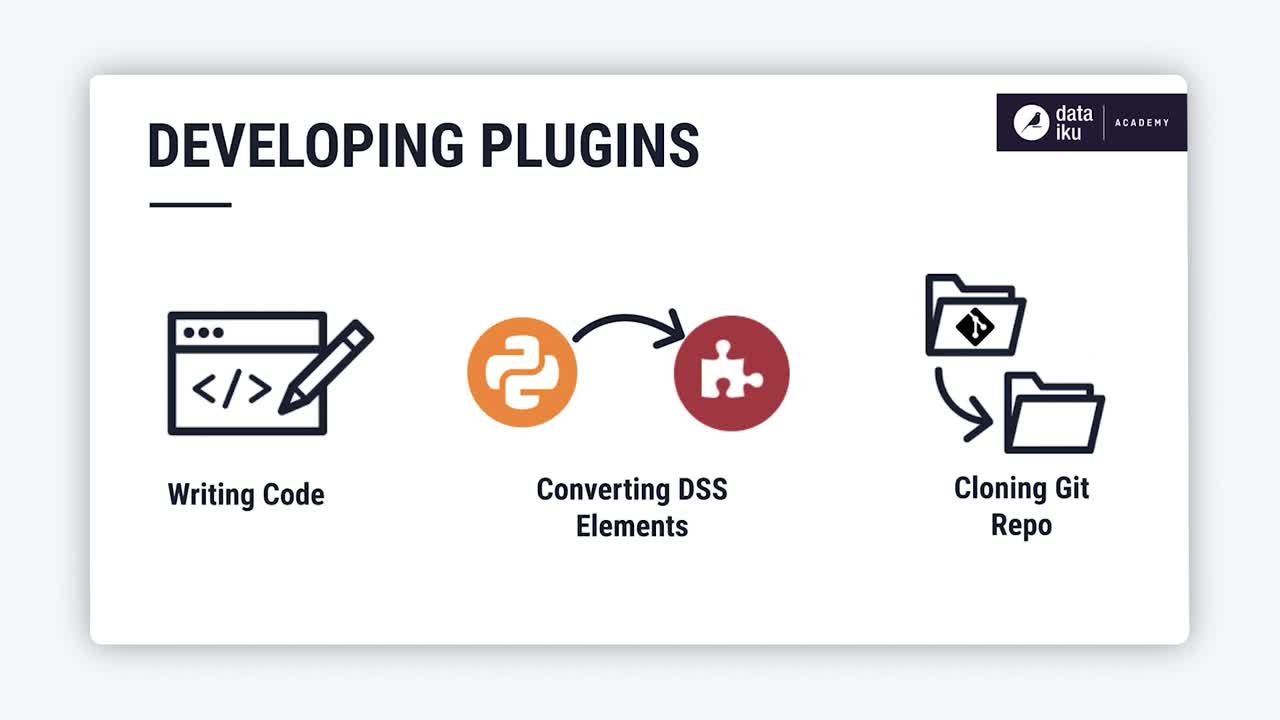
In this lesson, we’ll explore the structure of a plugin, the steps involved in creating a development plugin, and its main use cases.
Understanding plugin structure#
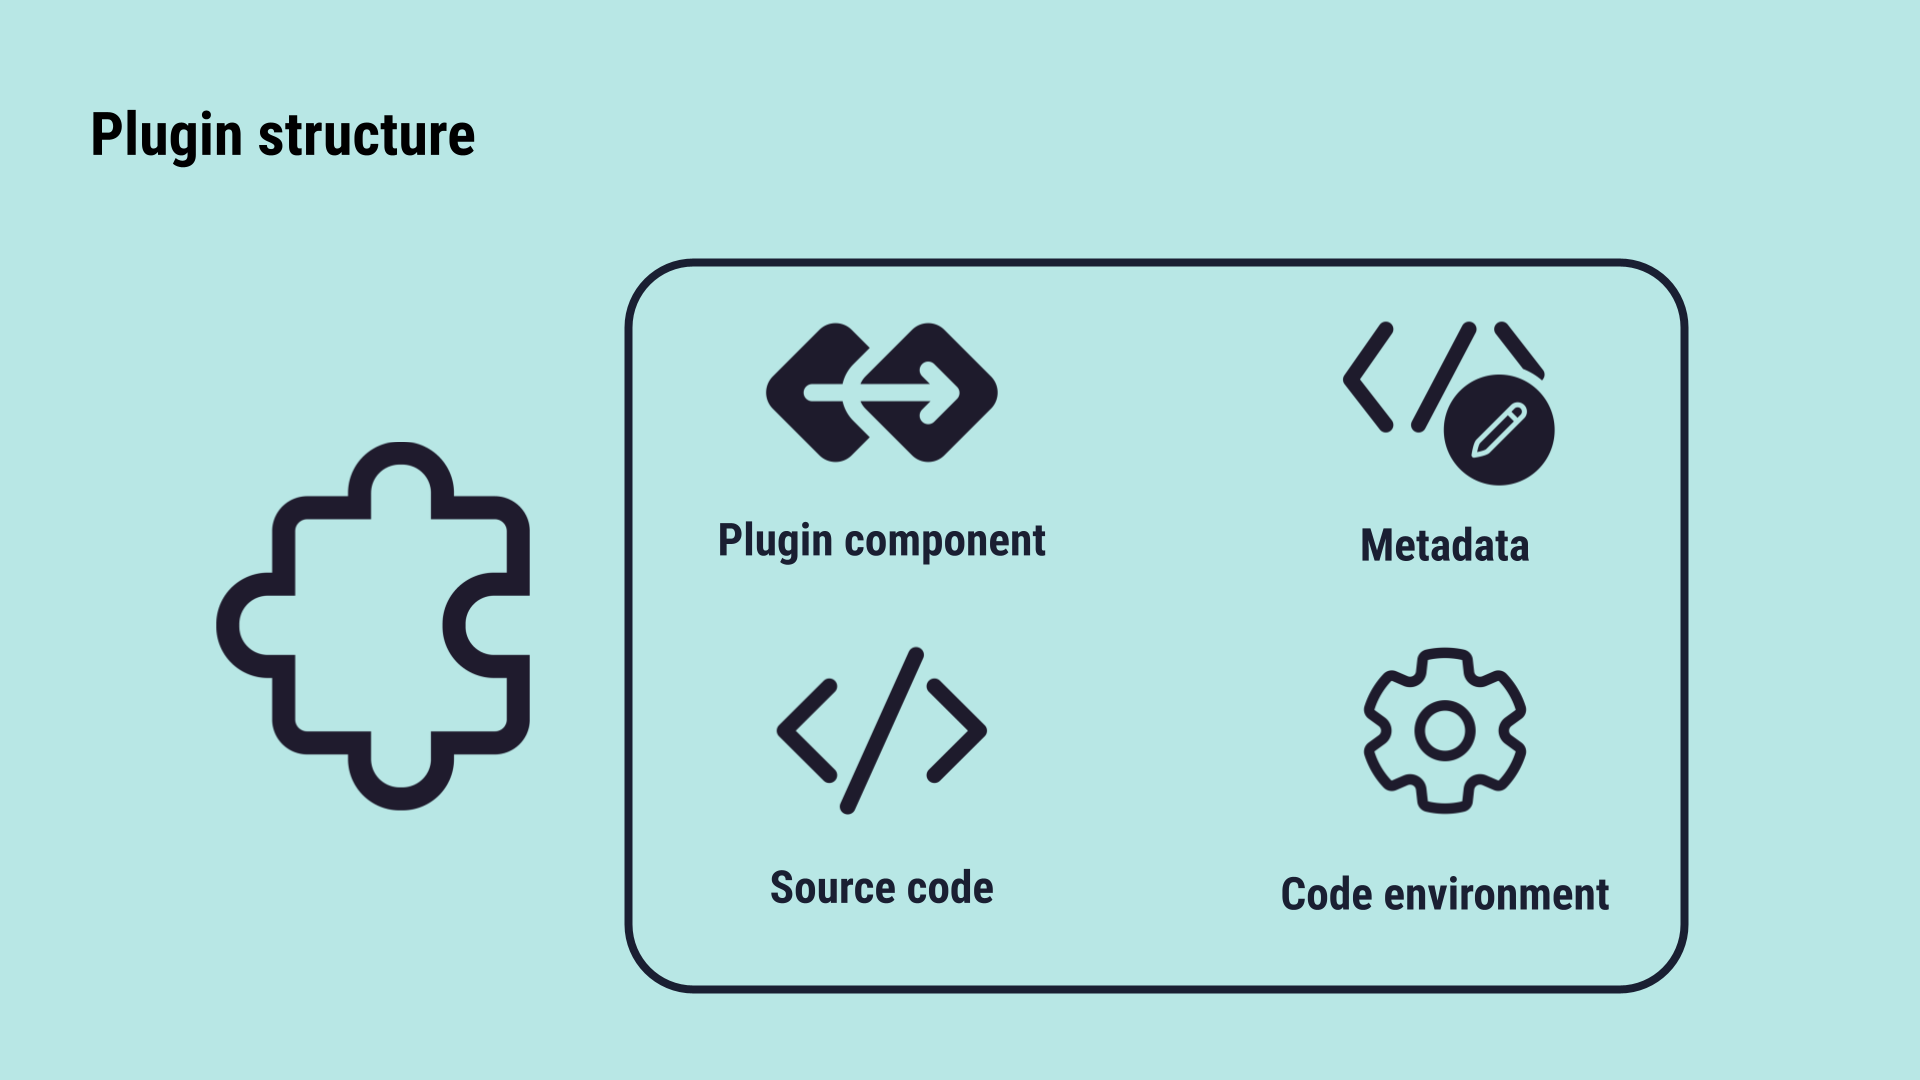
A Dataiku plugin is essentially a directory structure containing various components and metadata that Dataiku recognizes. When developing a plugin, you work with this directory structure.

Plugin components: A plugin can contain multiple components, which appear as new elements in the Dataiku user interface. You can find the exhaustive list of components in Plugin Components.
Source code: The plugin’s custom logic is written in a code language, typically Python or R.
Metadata: A
plugin.jsonfile defines the plugin’s properties, components, and user interface elements. Find more information about this file configuration on Creating and configuring a plugin.Code environment: The code env can be associated with the plugin, and shared across all its components.
Development plugins are often created by converting an existing code element (like a code recipe) into a component within a new or existing plugin.
Create a development plugin#
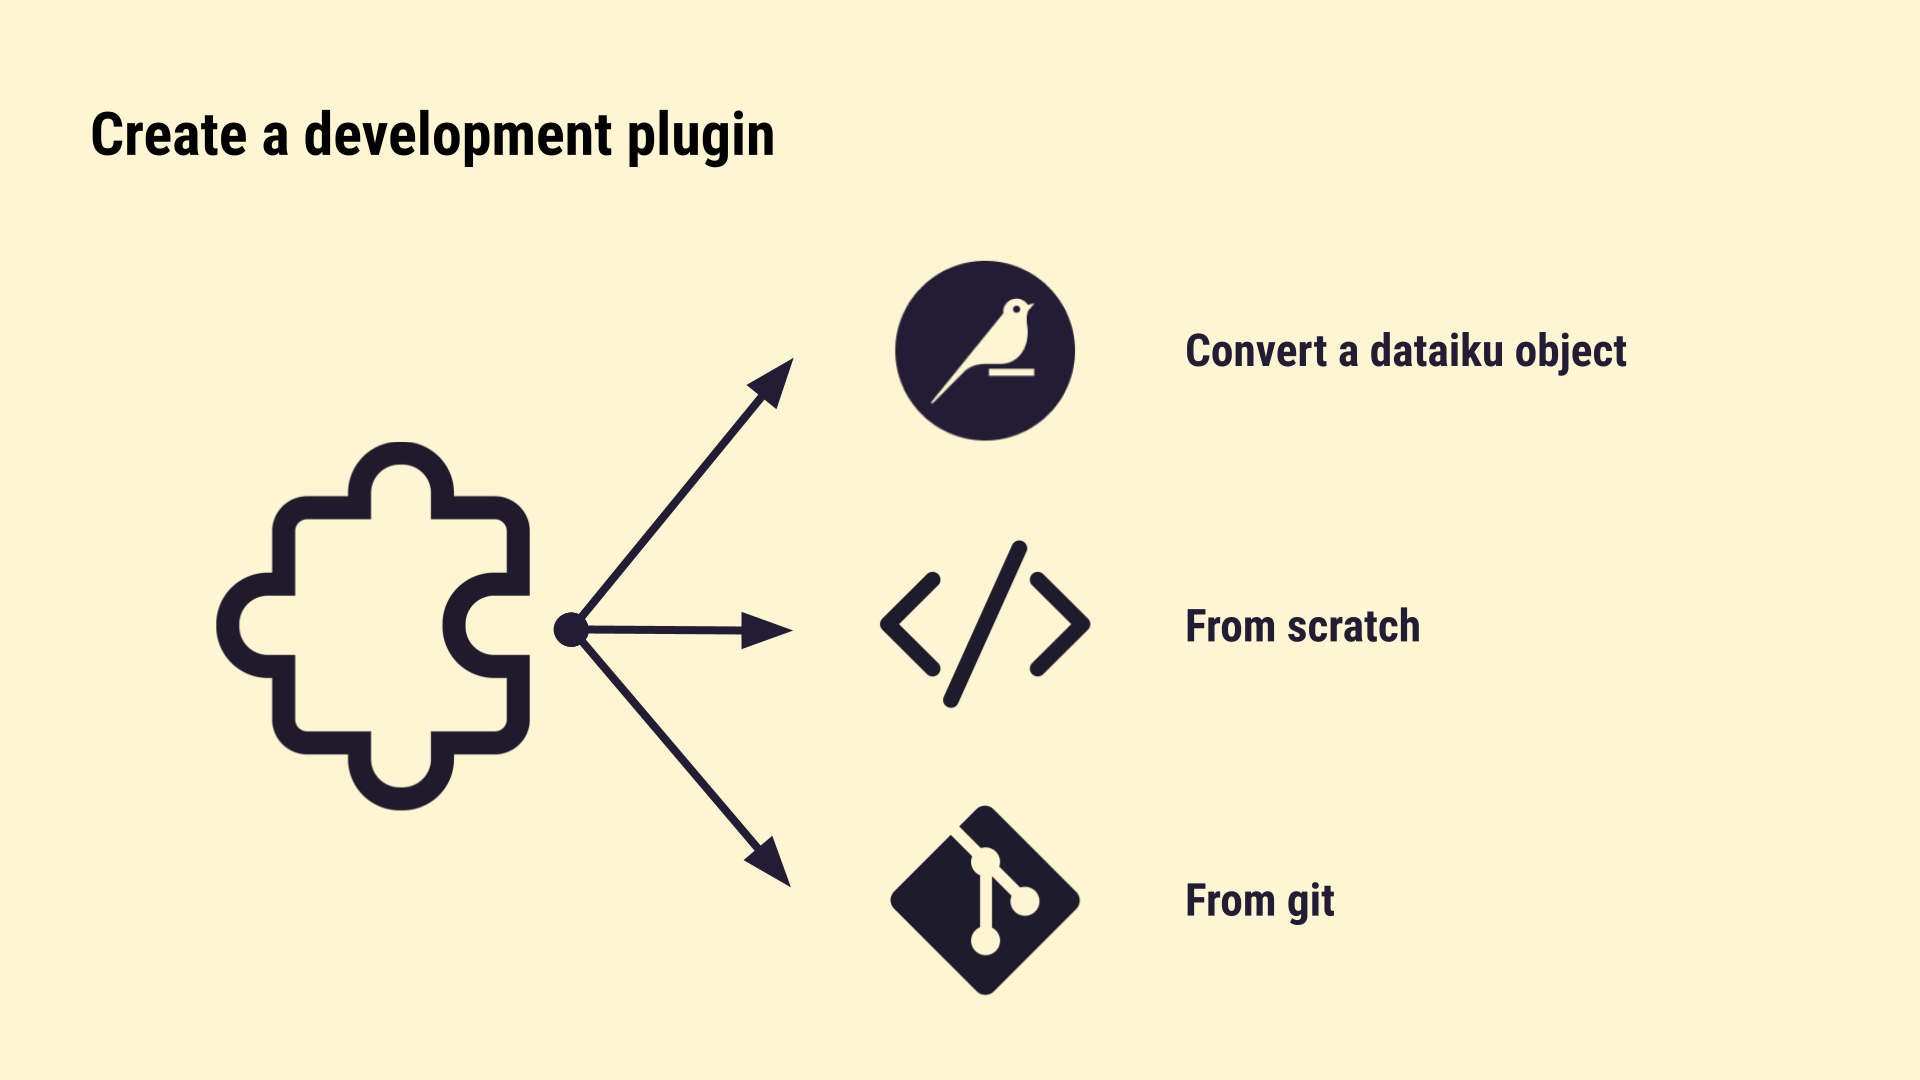
You can create a development plugin in three different ways:
Convert a Dataiku code-based element, such as a code recipe, to a plugin.

You’ll explore the first way below.
Add a recipe component#
To add a recipe component to the development plugin, you have the possibility to use the Convert to plugin action.

This action lets you either create a new plugin that includes the recipe, or add the recipe component to an existing plugin, allowing you to build on existing functionality or develop a standalone feature.
Note
When included in a plugin, a recipe becomes part of the plugin directory structure and includes starter code that you can customize to fit your project requirements, providing a ready-to-edit foundation for your custom logic.
Modify the plugin component starter code#
To create a good quality plugin, you should follow good coding practices when modifying the starter code. Some practices to consider include:
Using good naming conventions.
Writing clear descriptions.
Checking for errors in user inputs.
Note
It’s not recommended to import dataiku into your library. With few exceptions, a plugin won’t depend on Dataiku unless it’s an administrative plugin.
Key use cases#
Plugins enable you to perform a wide range of custom actions that are not available as native Dataiku features. Here are some common examples that highlight the power of extending Dataiku’s capabilities:
Use Case |
Examples |
Learn more |
|---|---|---|
Dataset plugins |
Create a plugin dataset component to provide a flexible approach to creating and integrating custom datasets into your data projects. |
|
Agent plugins |
Create a custom code agent that is not tied to a project, allowing for export and reuse across Dataiku instances. |
|
Prediction algorithm plugins |
Create a prediction algorithm component to extend the list of algorithms available in Dataiku’s Visual ML tool with proprietary or specialized models. |
See also
For more tutorials and code examples for each of these use cases, browse the Developer Guide plugin tutorial section.
Support and best practices#
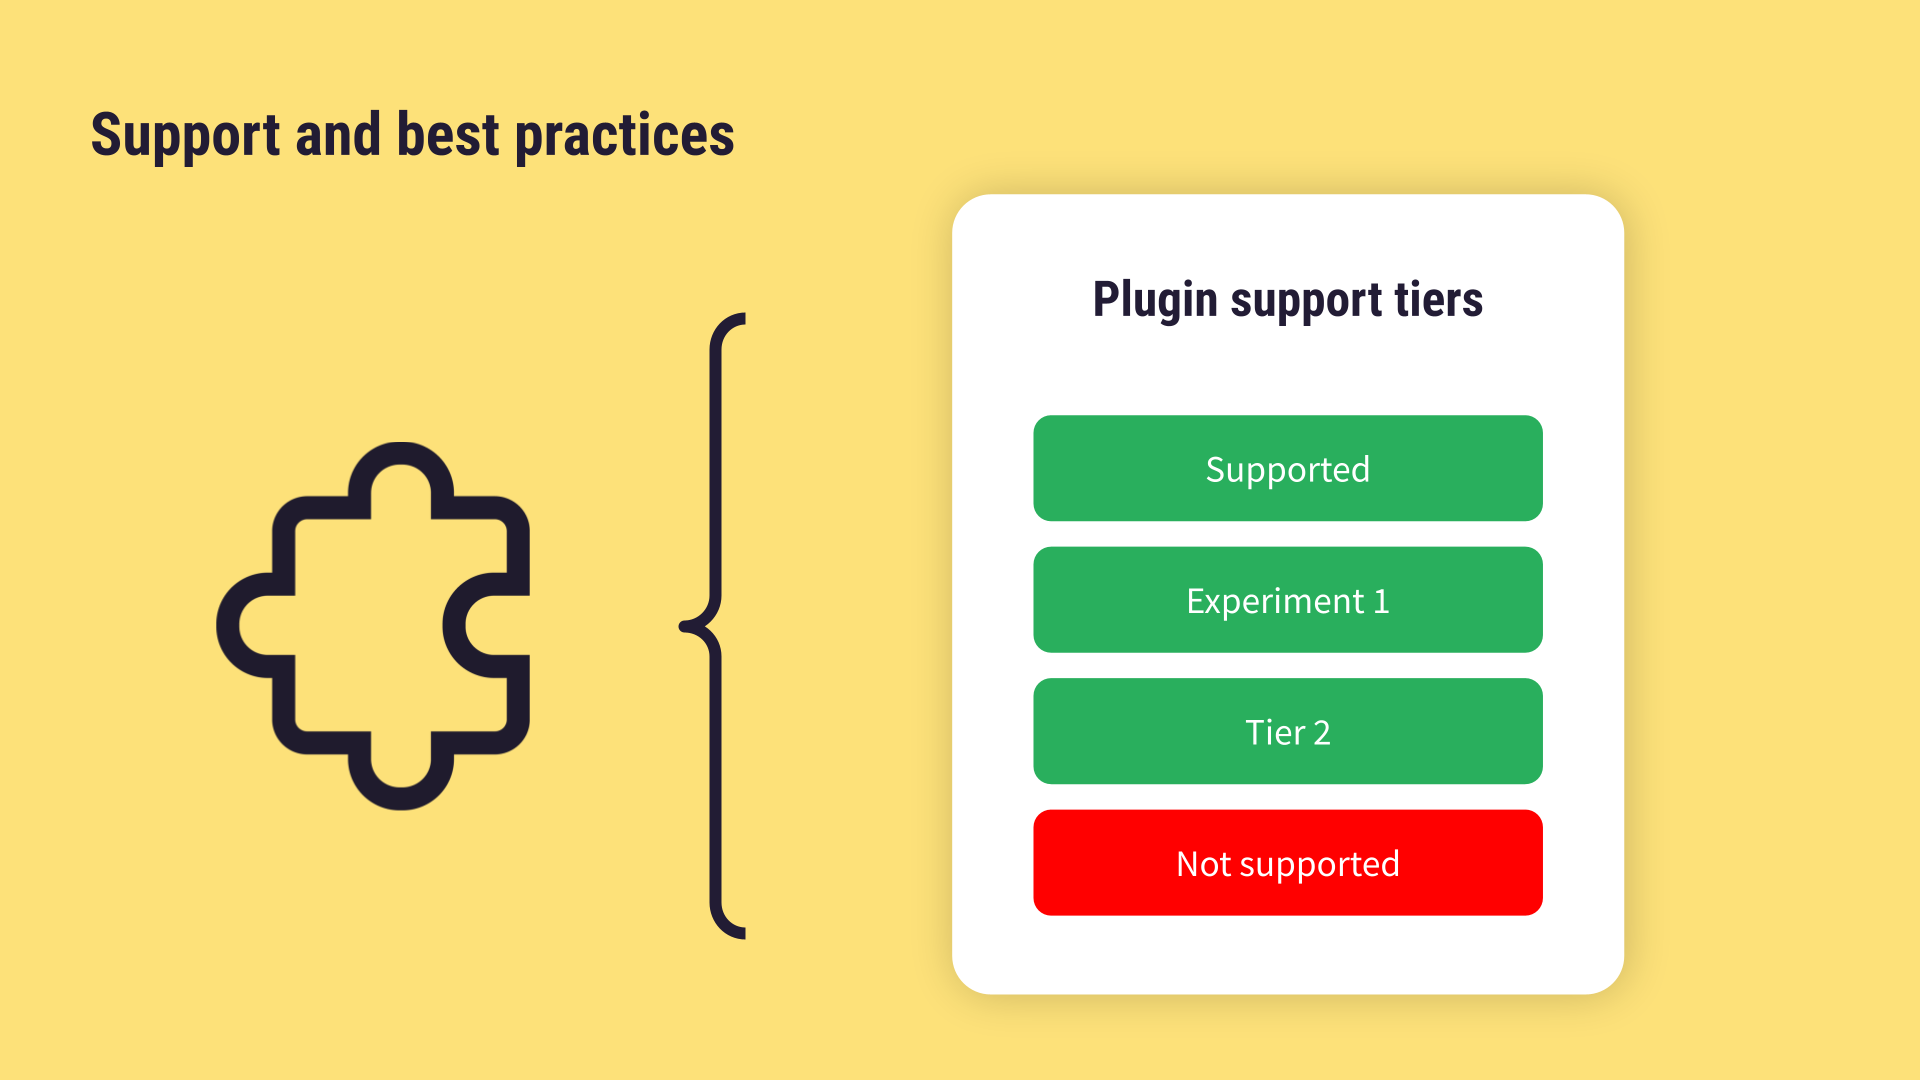
While plugins allow you to significantly customize and extend Dataiku, it’s important to understand the implications for support and maintenance.
Generally, by using plugins, you lose the support coverage available for Dataiku native features. This is because the custom code in the plugin is external to the Dataiku platform’s core code.

There are some exceptions, such as the Time Series Preparation plugin, which may have full support. In such cases, the support tier will be stated explicitly on the plugin documentation page.
Important
Whenever possible, Dataiku highly recommends using native features and components over creating a plugin. Reserve plugin development for cases where a native feature cannot achieve the required customization or integration.
Next steps#
Now that you understand the concepts and structure of Dataiku plugins, learn how to get started with your first plugin recipe component in the developer guide.

