Tutorial | MLlib with Dataiku#
Introduction#
Apache Spark comes with a built-in module called MLlib, which aims at creating and training machine learning models at scale.
Dataiku makes it easy to use MLlib without coding, using it at an optional backend engine for creating Models directly from within its interface.
Prerequisites#
Dataiku 12.0 or later.
An Advanced Analytics Designer or Full Designer user profile.
Spark enabled and a working installation of Spark, version 1.4+ (the more recent the version, the better, as the MLlib API is evolving quickly).
An Advanced Analytics Designer or Full Designer user profile.
Tip
To become familiar with visual ML, visit Machine Learning Basics.
We use here the usual Titanic dataset, available for instance from the corresponding Kaggle’s competition. Start with downloading the files, and create the two train and test datasets.
Training an MLlib model#
Double-click on your train dataset, and create a new Analysis using the green button at the top right.
From the Survived column header, click on Create Prediction model.

This is the important part. In the new modal window, in the ML Backend drop-menu menu, select a Spark configuration (we’ll use the default here).

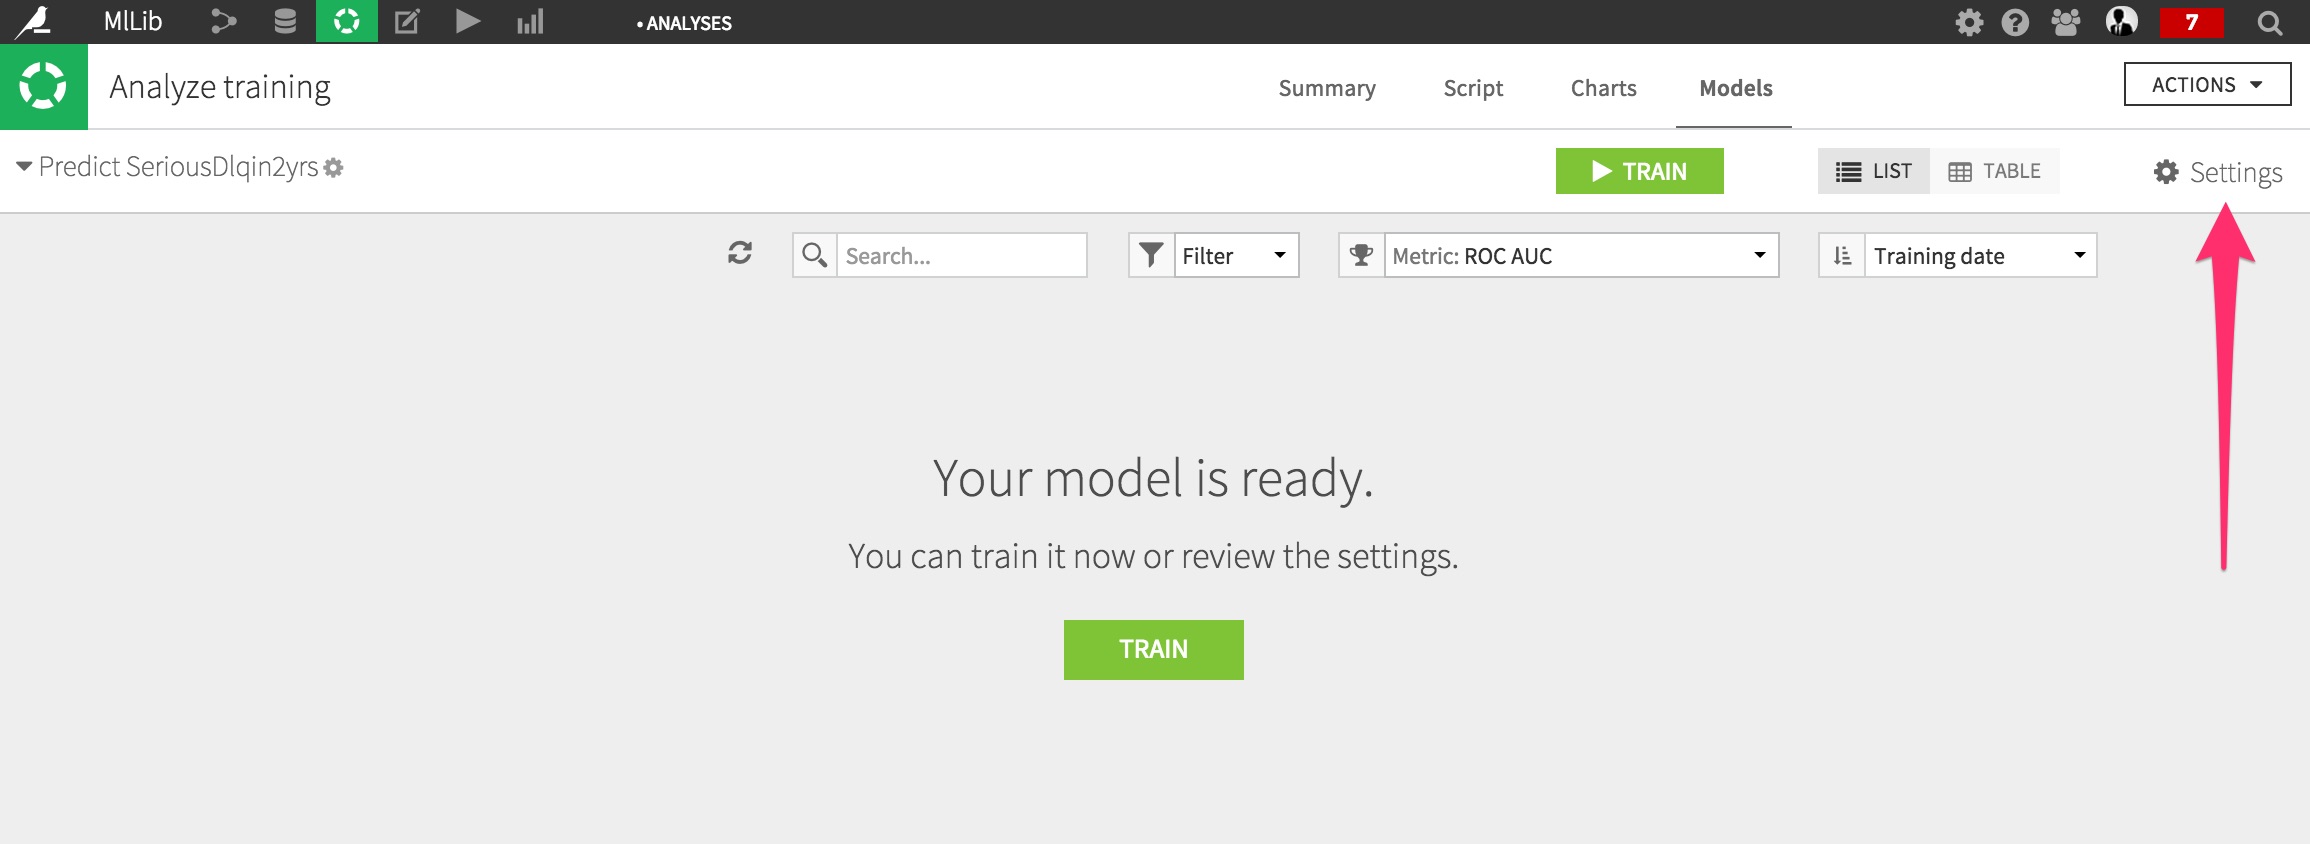
Create the model. You are taken to a screen telling when the Model is ready to be trained. Don’t train the model, but instead click on Settings.

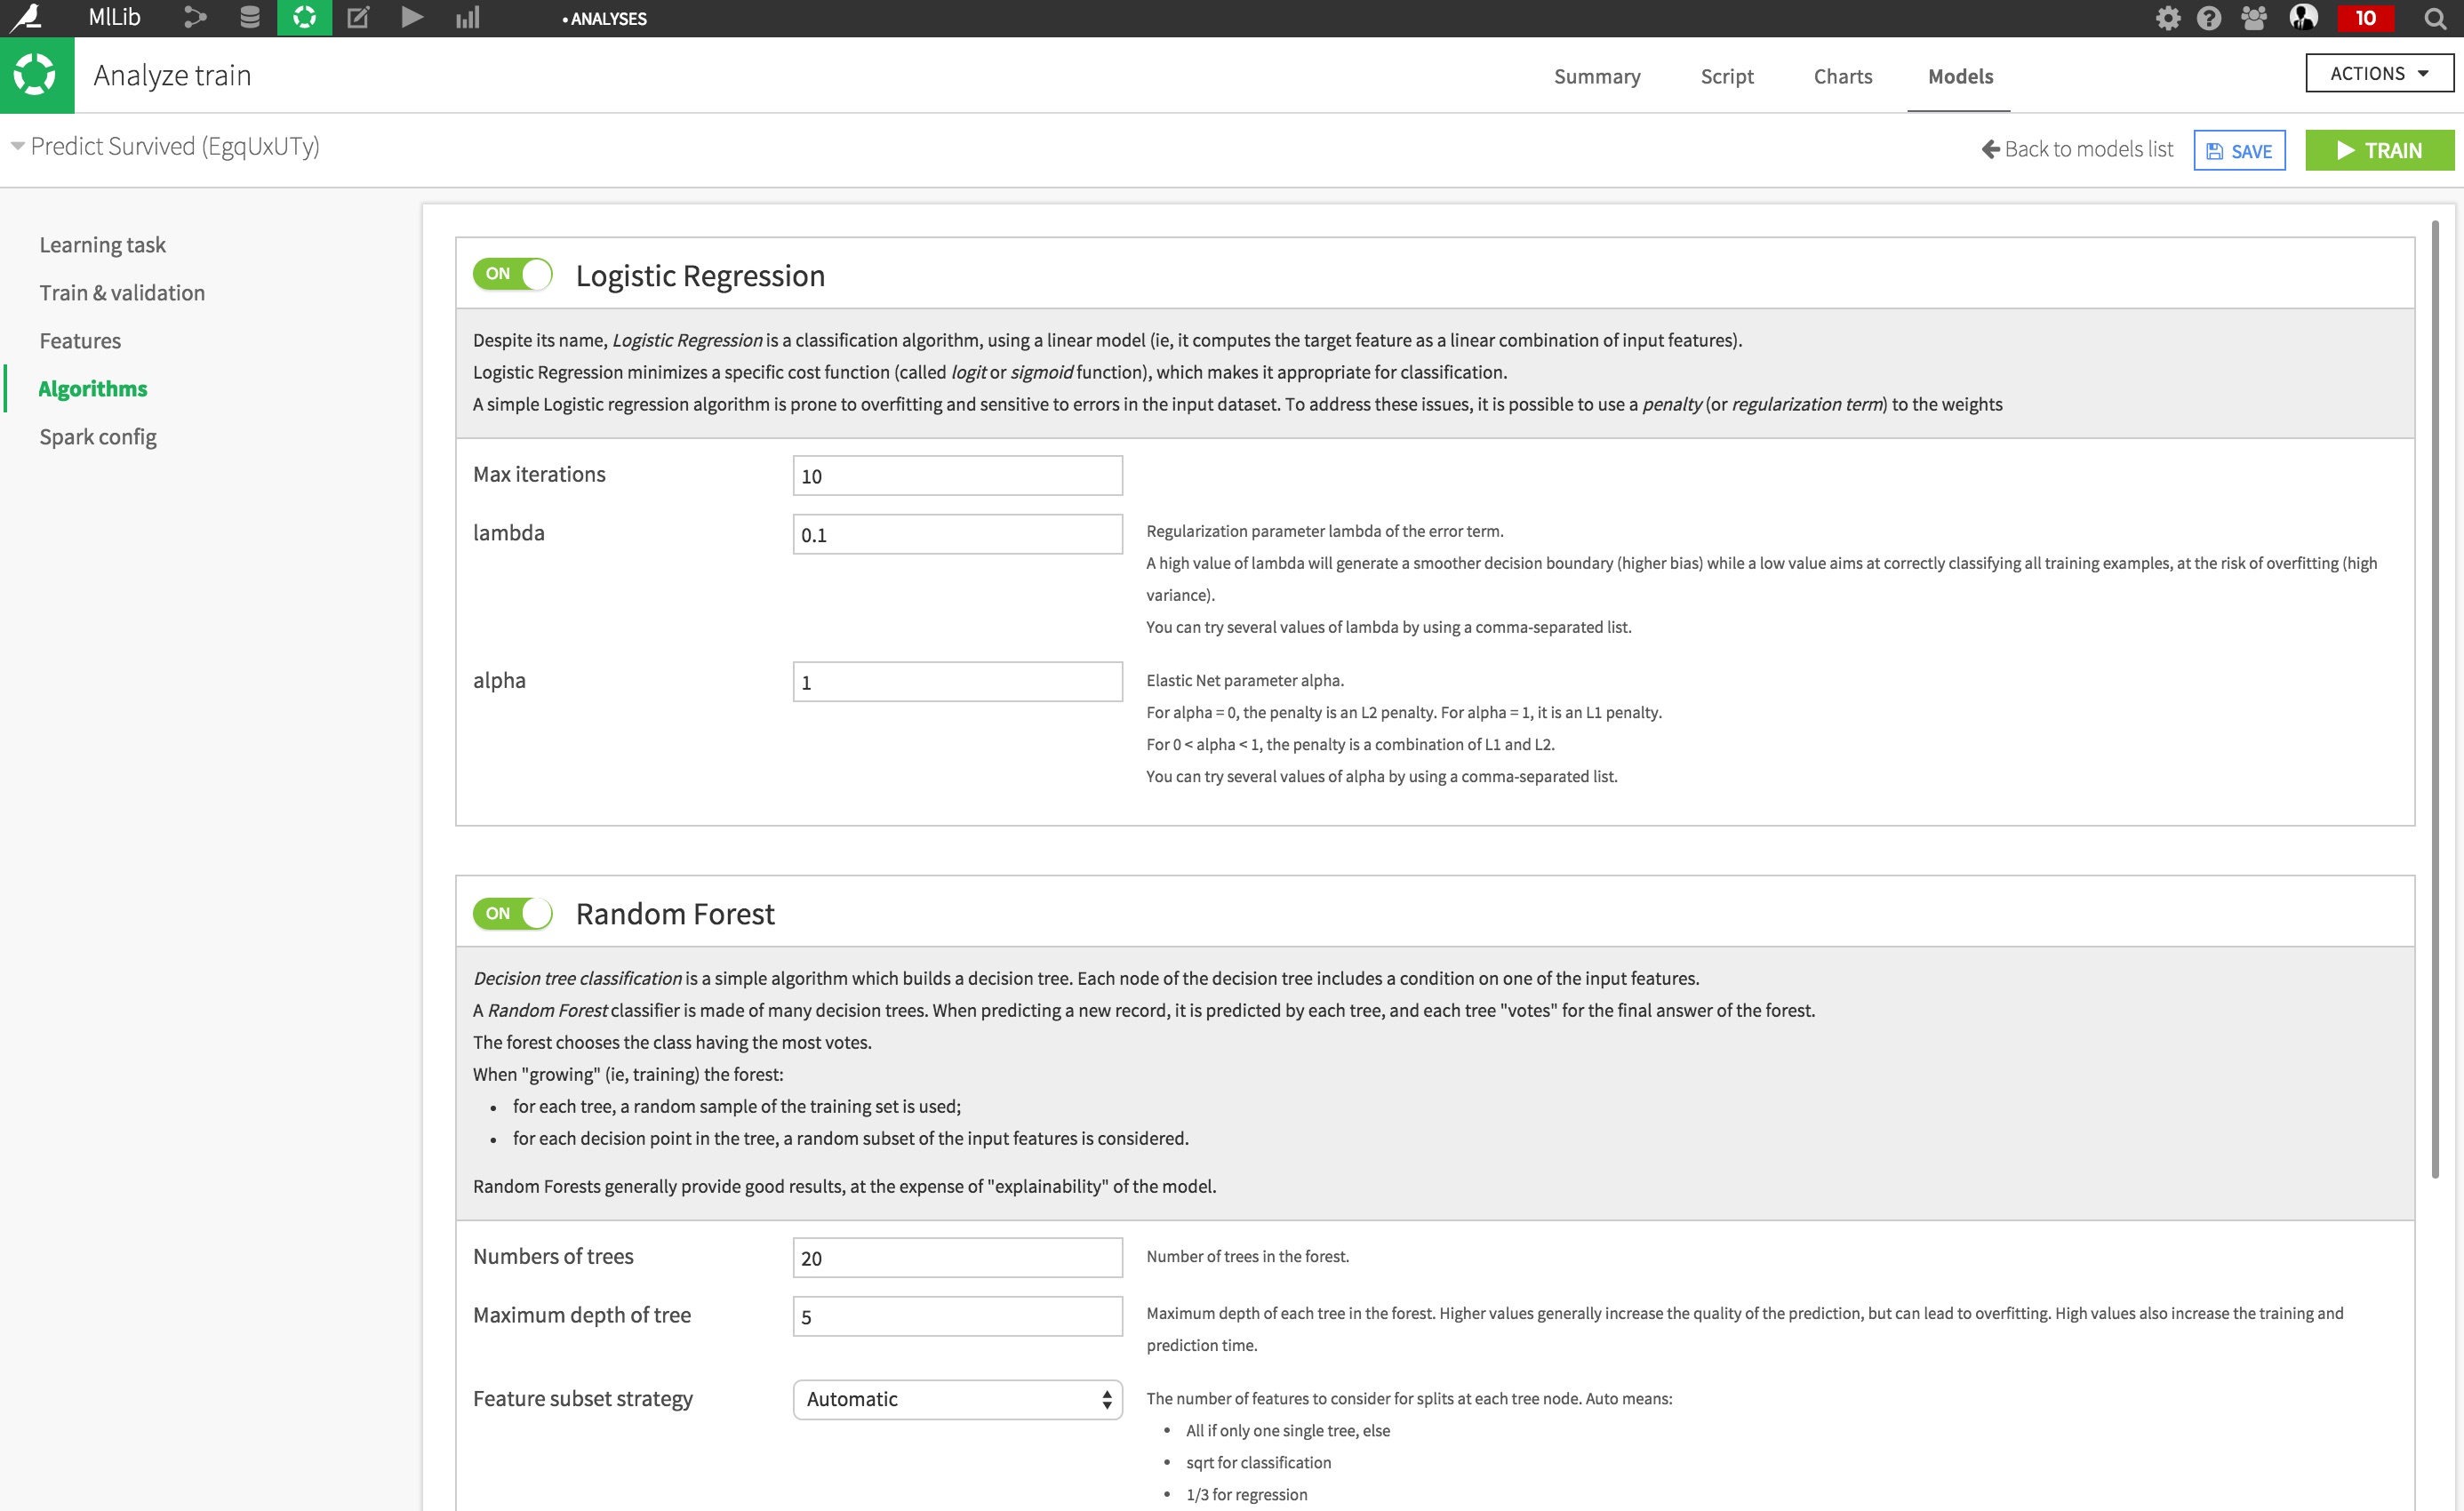
Under the Algorithms section, activate Random Forests.

Click on Train, and wait for your task to complete. Once done, the summary results screen appears.

Your models are now trained. They’re ready to be deployed to automate their use to score new records.
Using an MLlib model#
The Random Forests offer the best performance.
Click on it, and from the top right, select Deploy.

You are taken to the Flow screen.
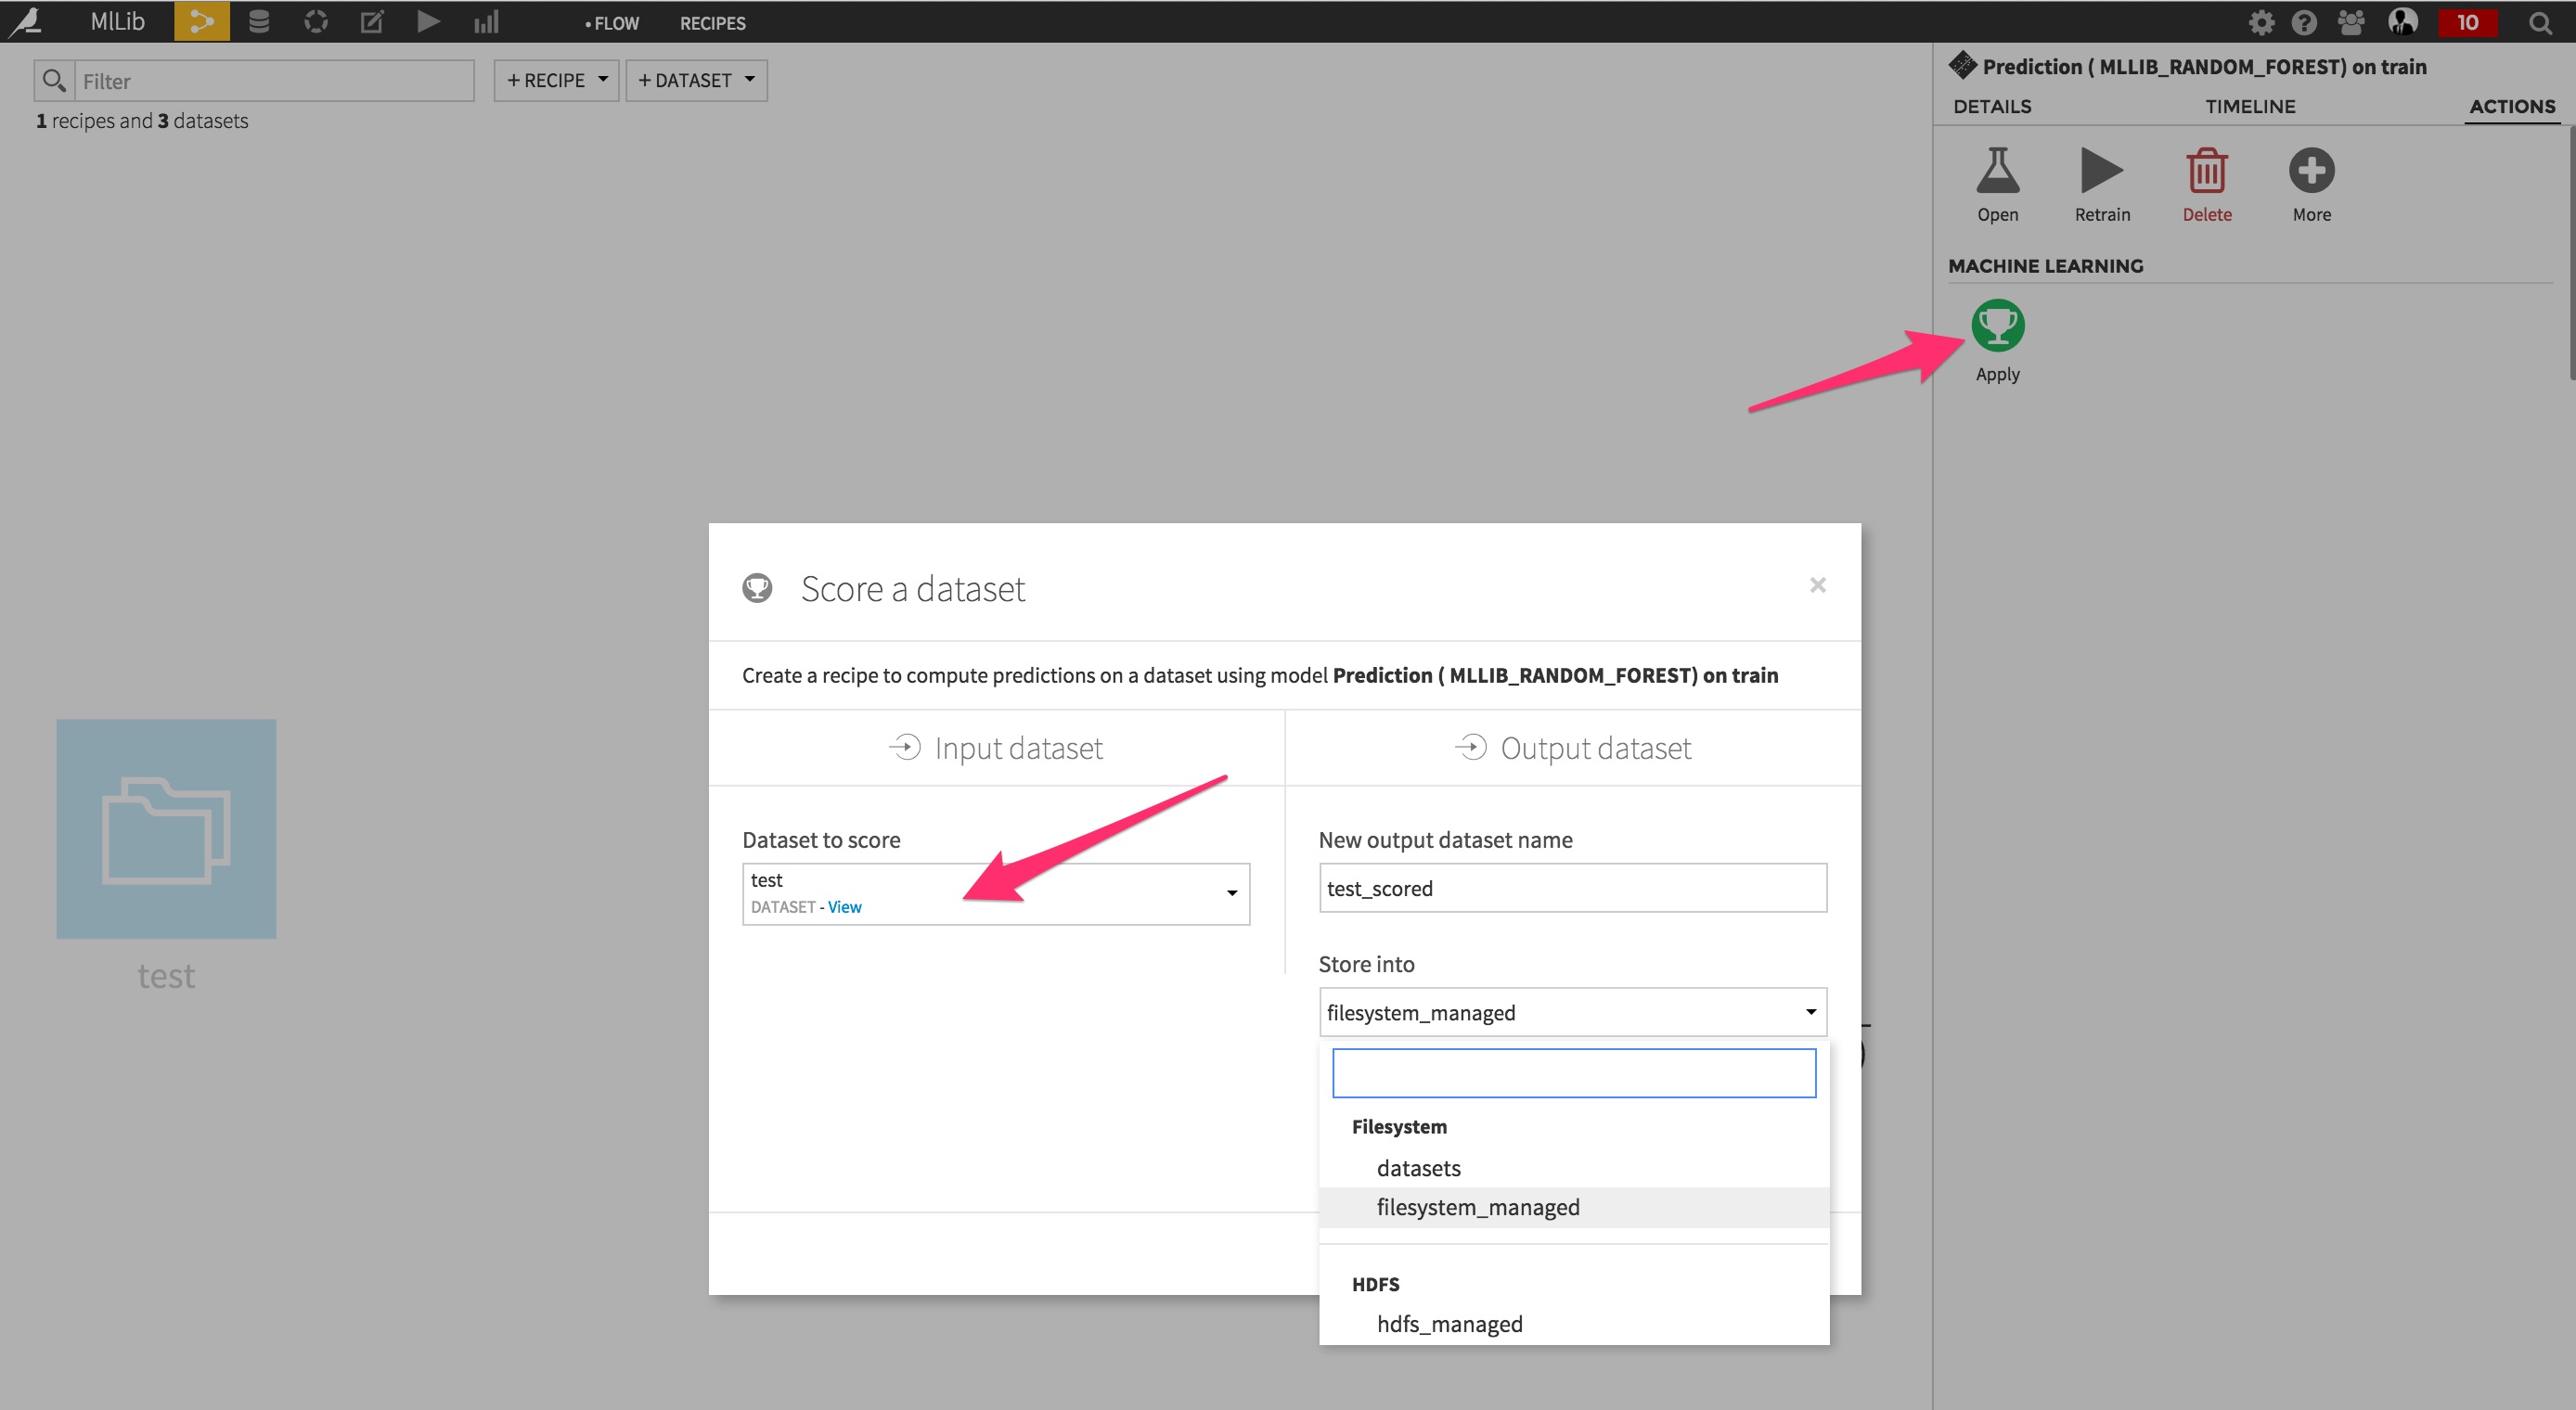
From the last green Prediction icon, select Apply and create a scoring recipe that will be used to score the test set.

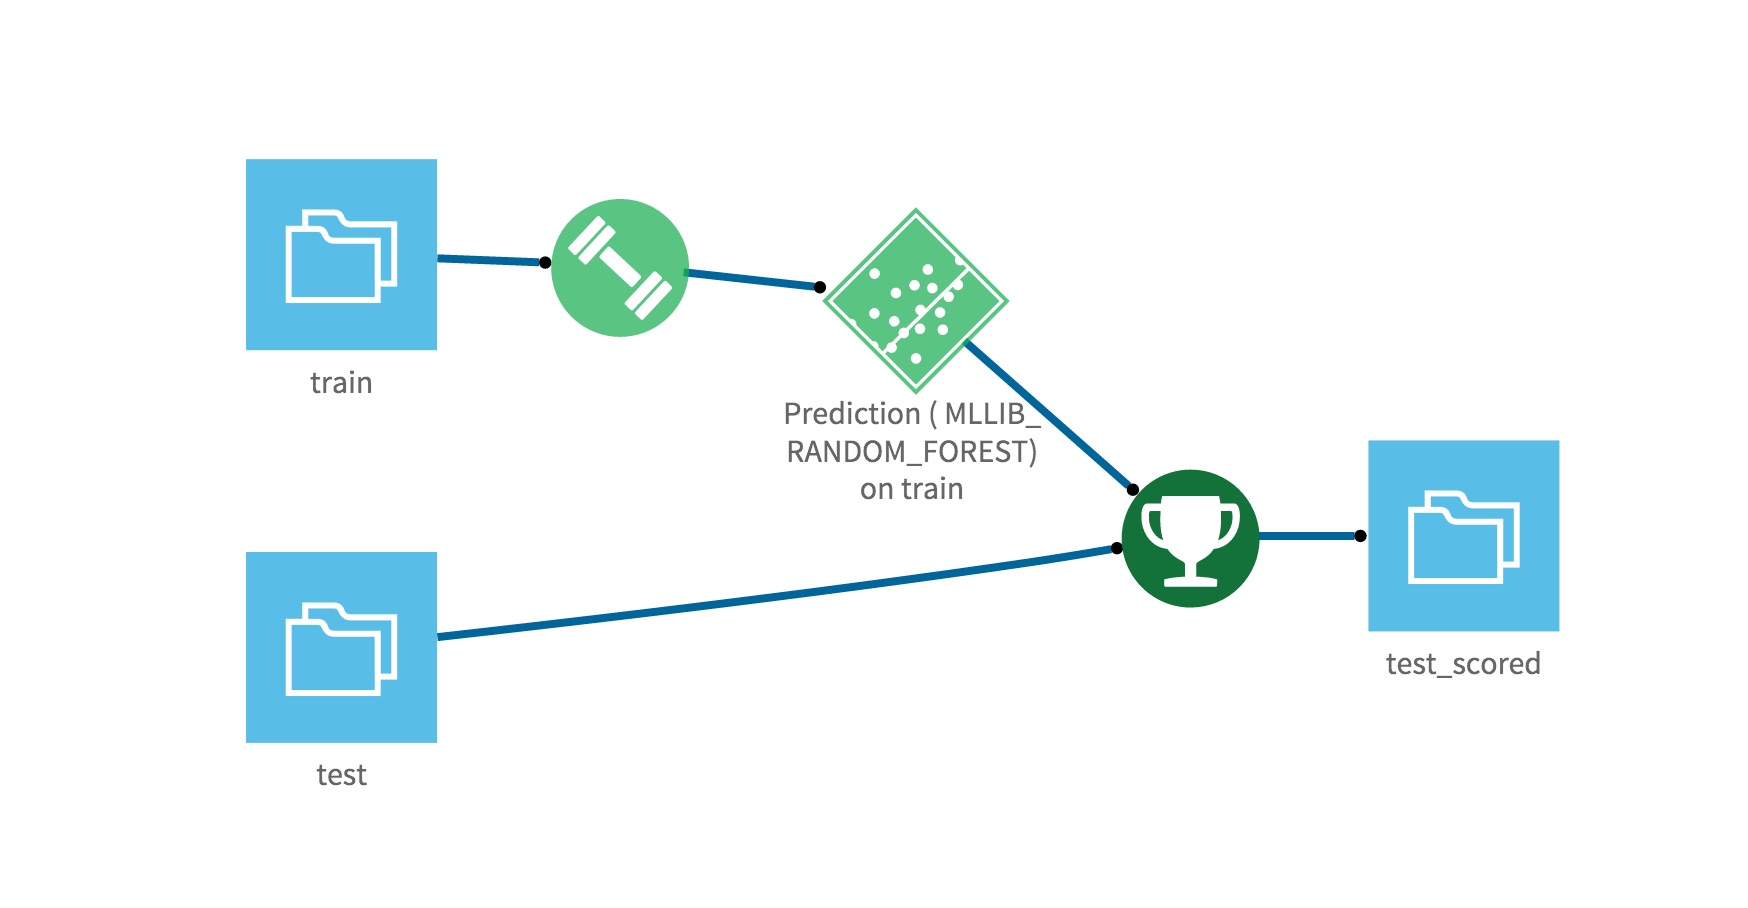
Your Flow is now complete:

You’ll just need to actually build the dataset to get the predictions!
Using MLlib in Dataiku can now be done entirely from the interface, without having to write complex code. This opens up great opportunities as more and more people will be able to leverage Spark to analyze data.

