Apply a model to generate predictions on new data#
See a screencast covering this section’s steps
Up until now, the models you’ve trained are present only in the Lab, a space for experimental prototyping and analysis. You can’t actually use any of these models until you have inserted them into the Flow. The Flow is where your actual project pipeline of datasets and recipes lives.
Choose a model to deploy#
Many factors could impact the choice of which model to deploy. For many use cases, the model’s performance isn’t the only deciding factor.
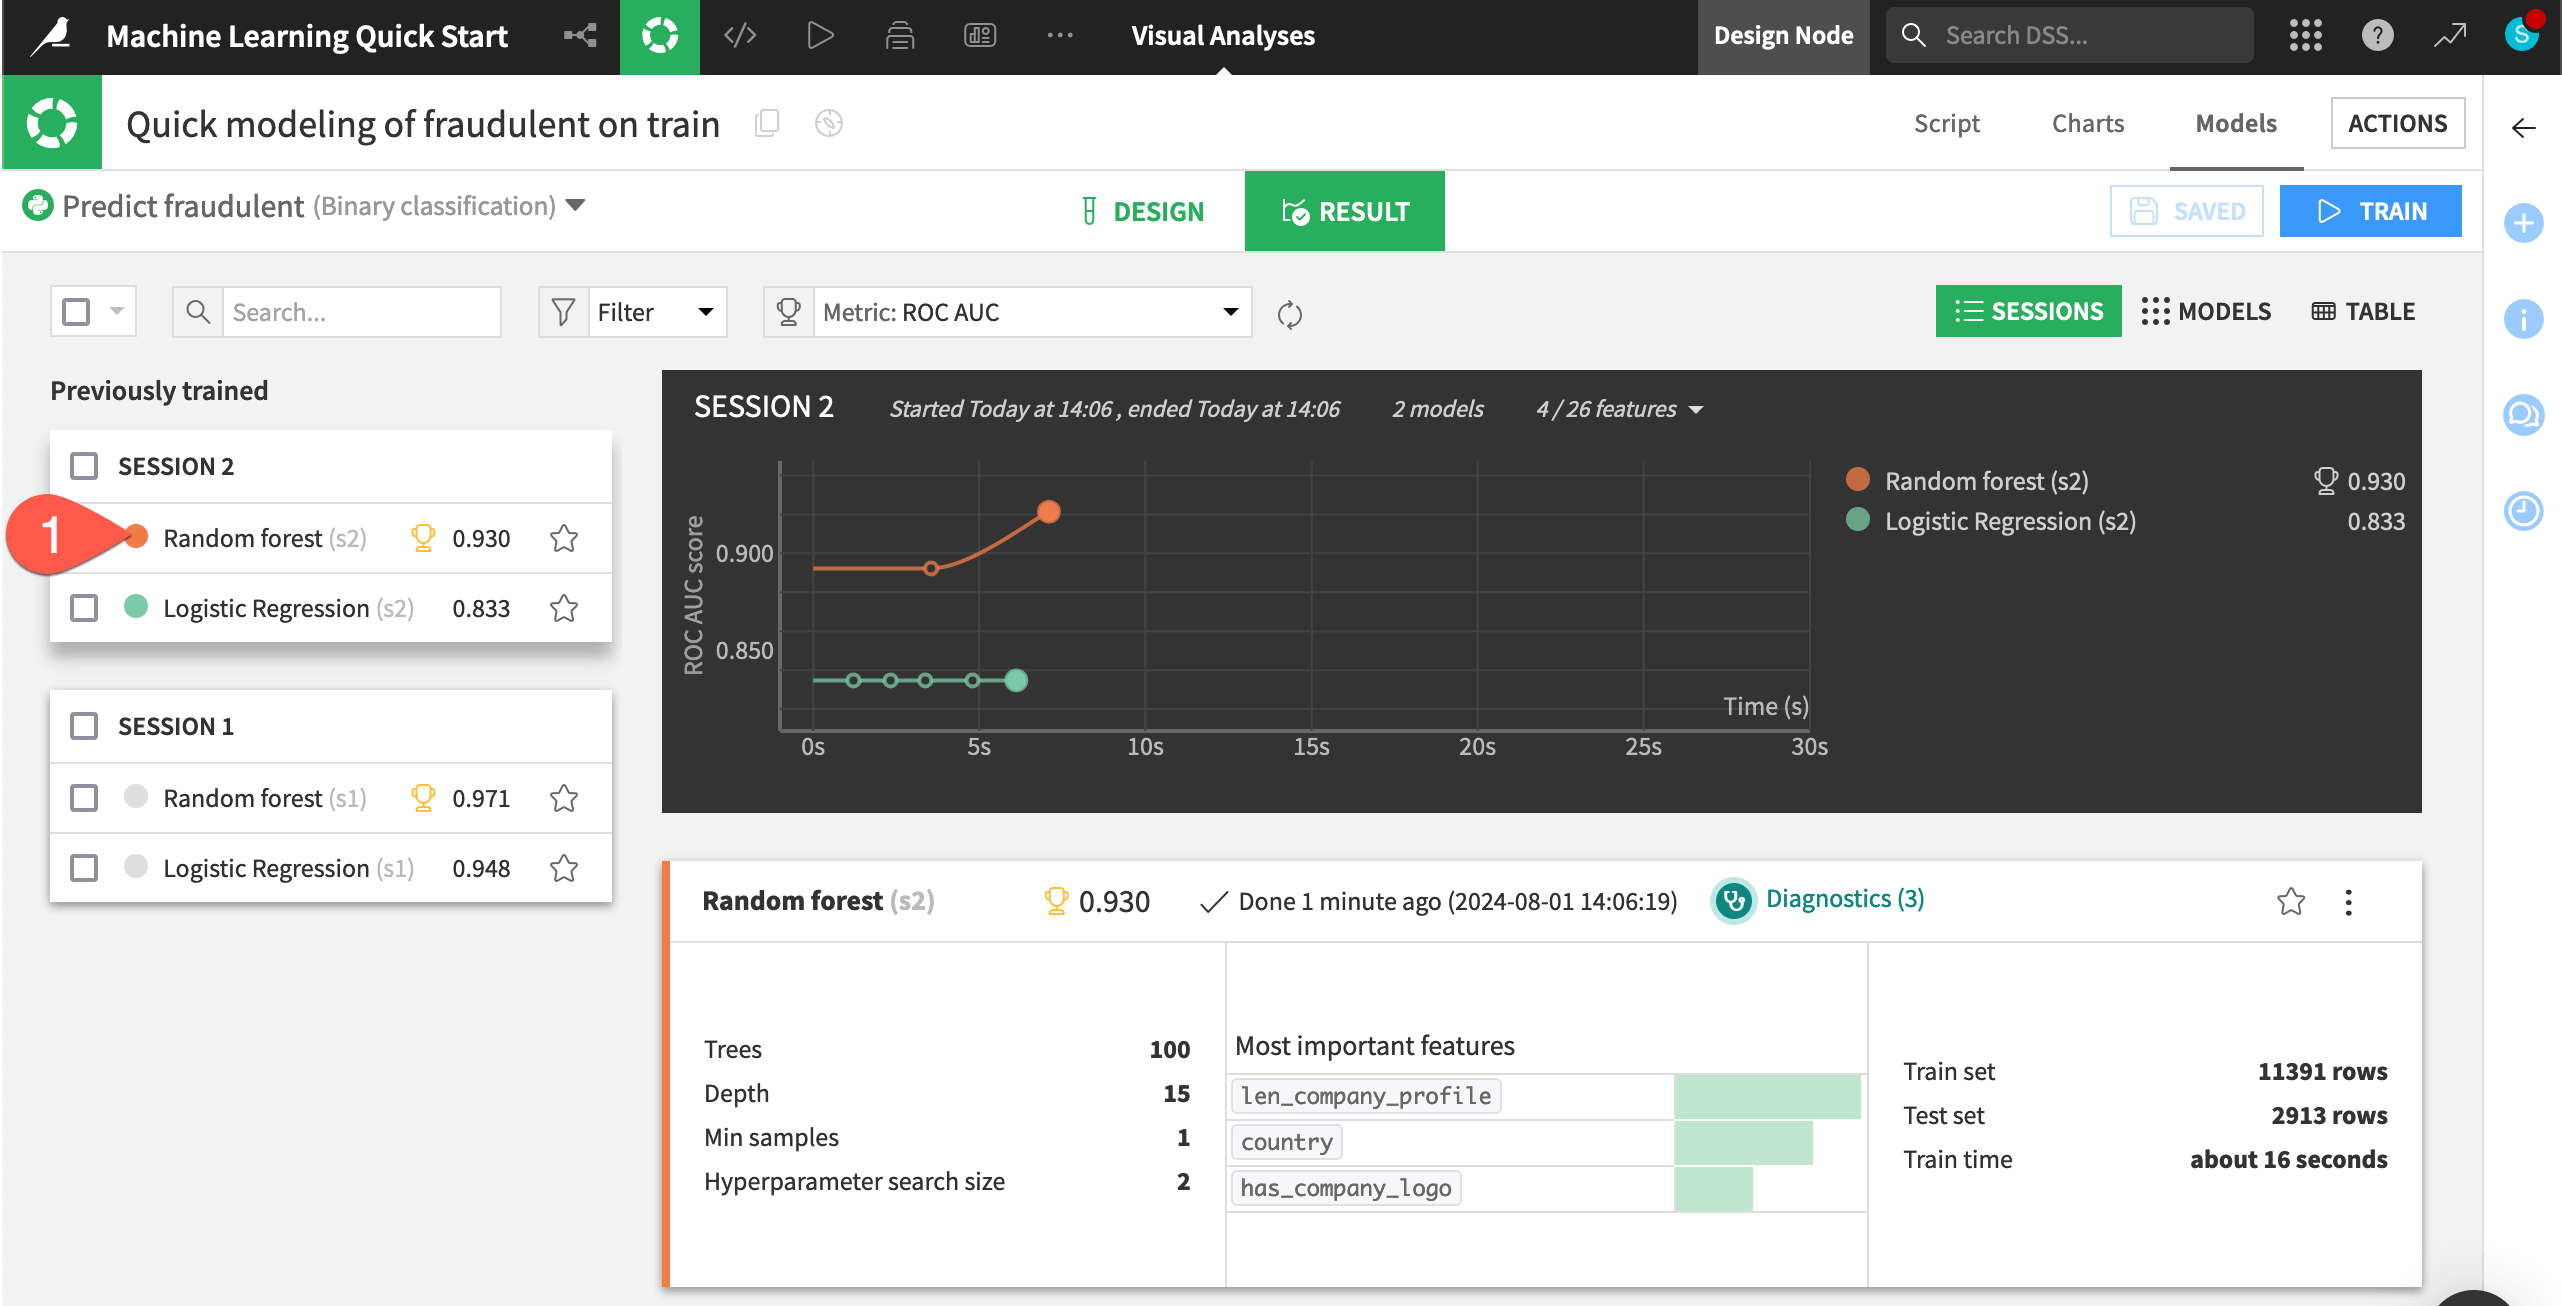
Compared to the larger model, the model with three features cost about 4 hundredths of a point in performance. For some use cases, this may be a significant difference. For others, it may be a bargain for a model that’s more interpretable, cheaper to train, and easier to maintain.
Since performance isn’t too important in this tutorial, choose the simpler option.
From the Result tab, click Random forest (s2) to open the model report of the simpler random forest model from Session 2.
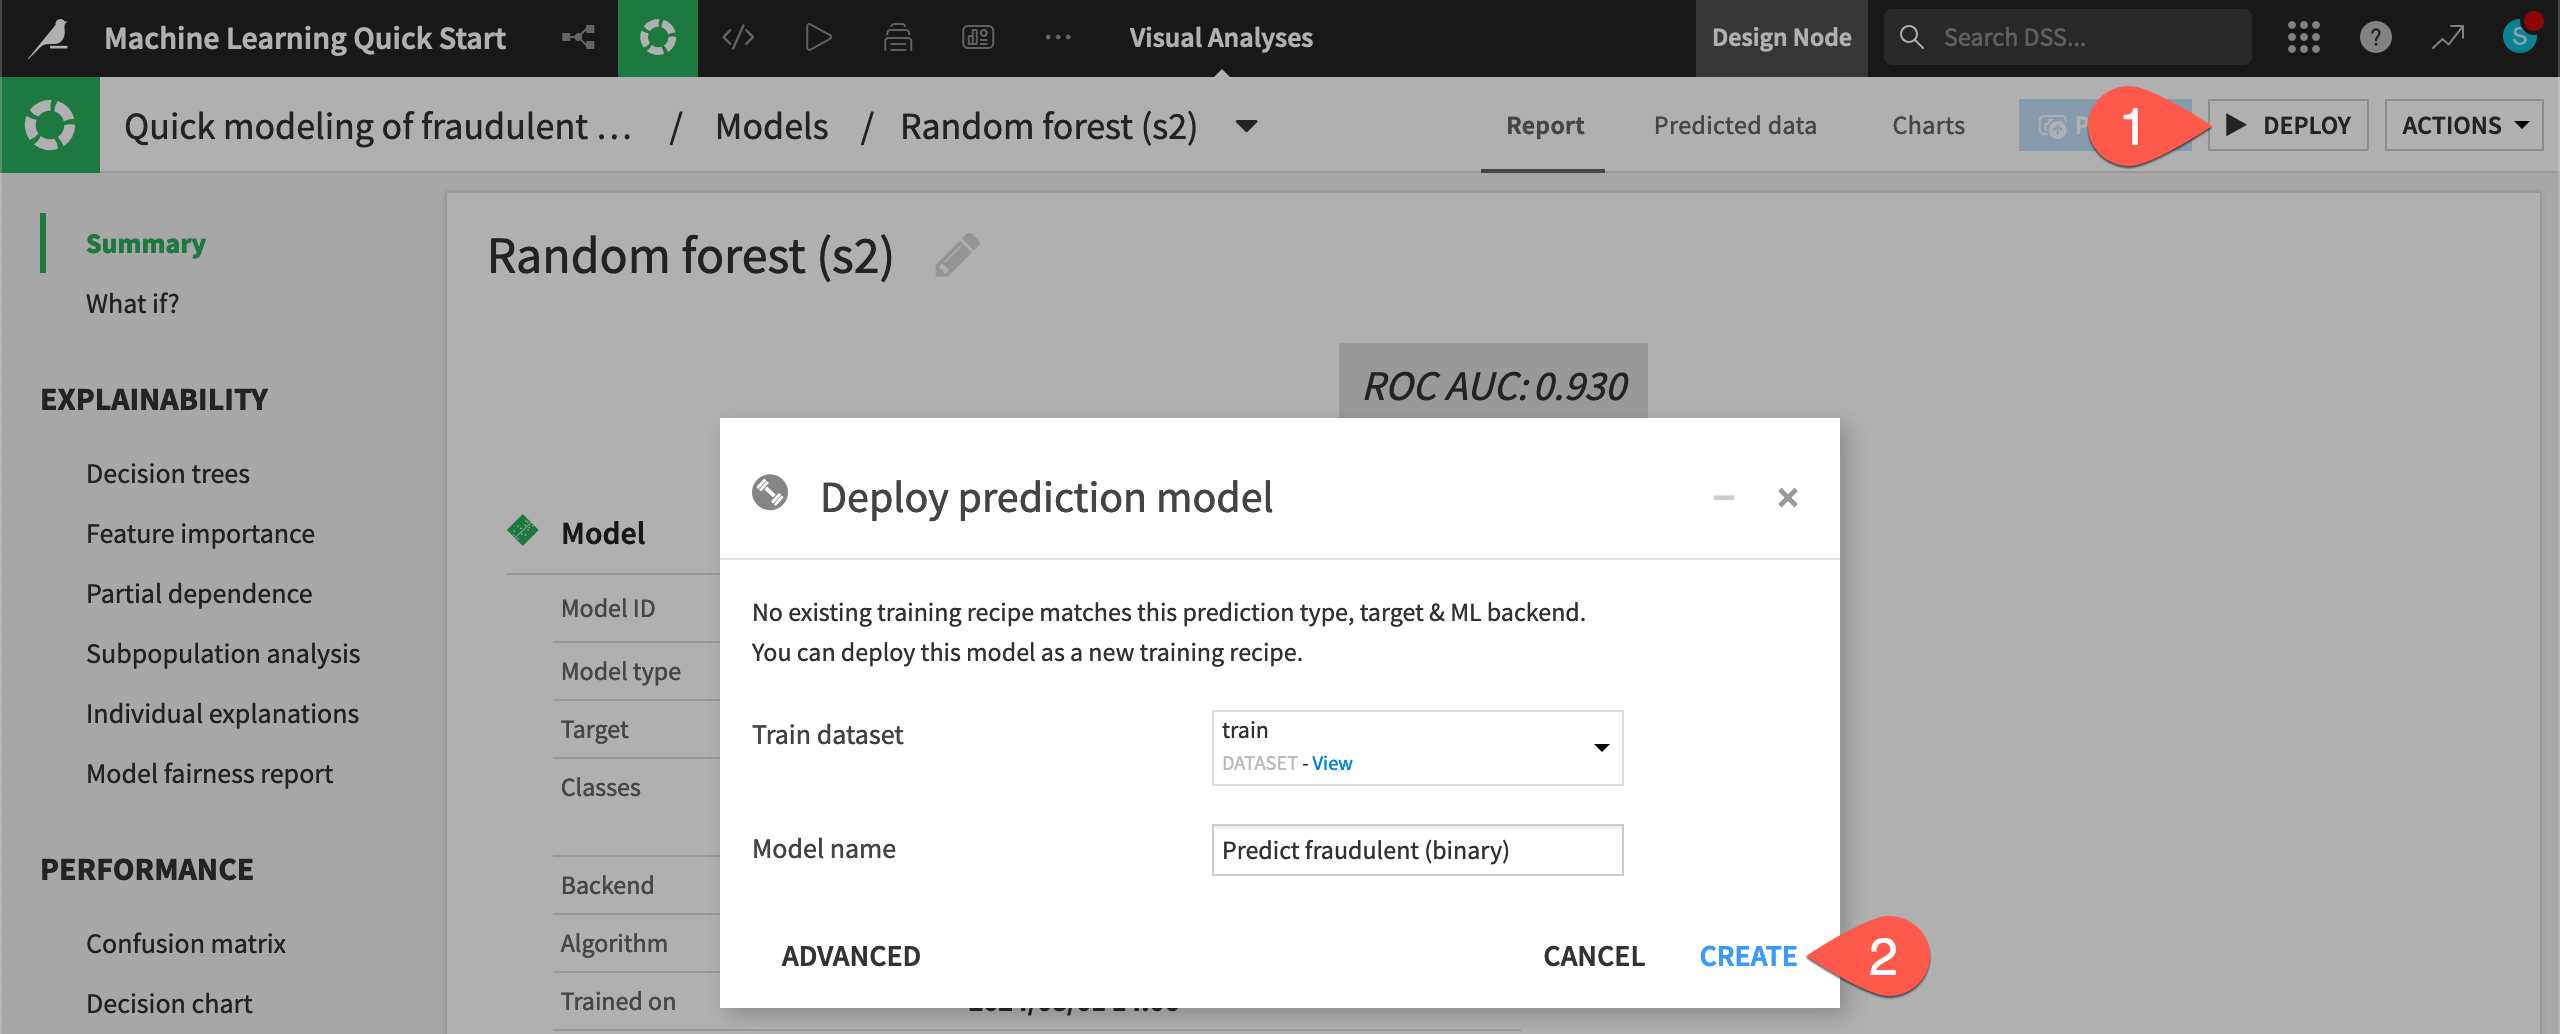
Now you need to deploy this model from the Lab to the Flow.
Click Deploy.
Click Create to confirm.
Explore a saved model object#
You now have two green objects in the Flow that you can use to generate predictions on new data: a training recipe and a saved model object.
In the Machine Learning Flow zone, double click on the saved model (
) to open it.
Note the Active version label on the tile for the only version of this saved model.

Note
As you retrain the model, perhaps due to new data or additional feature engineering, you’ll deploy new active versions of the model to the Flow. However, you’ll still have the ability to revert to previous model versions at any time.
Score data#
Now use the model in the Flow to generate predictions on a new dataset of job postings that the model hasn’t seen before.
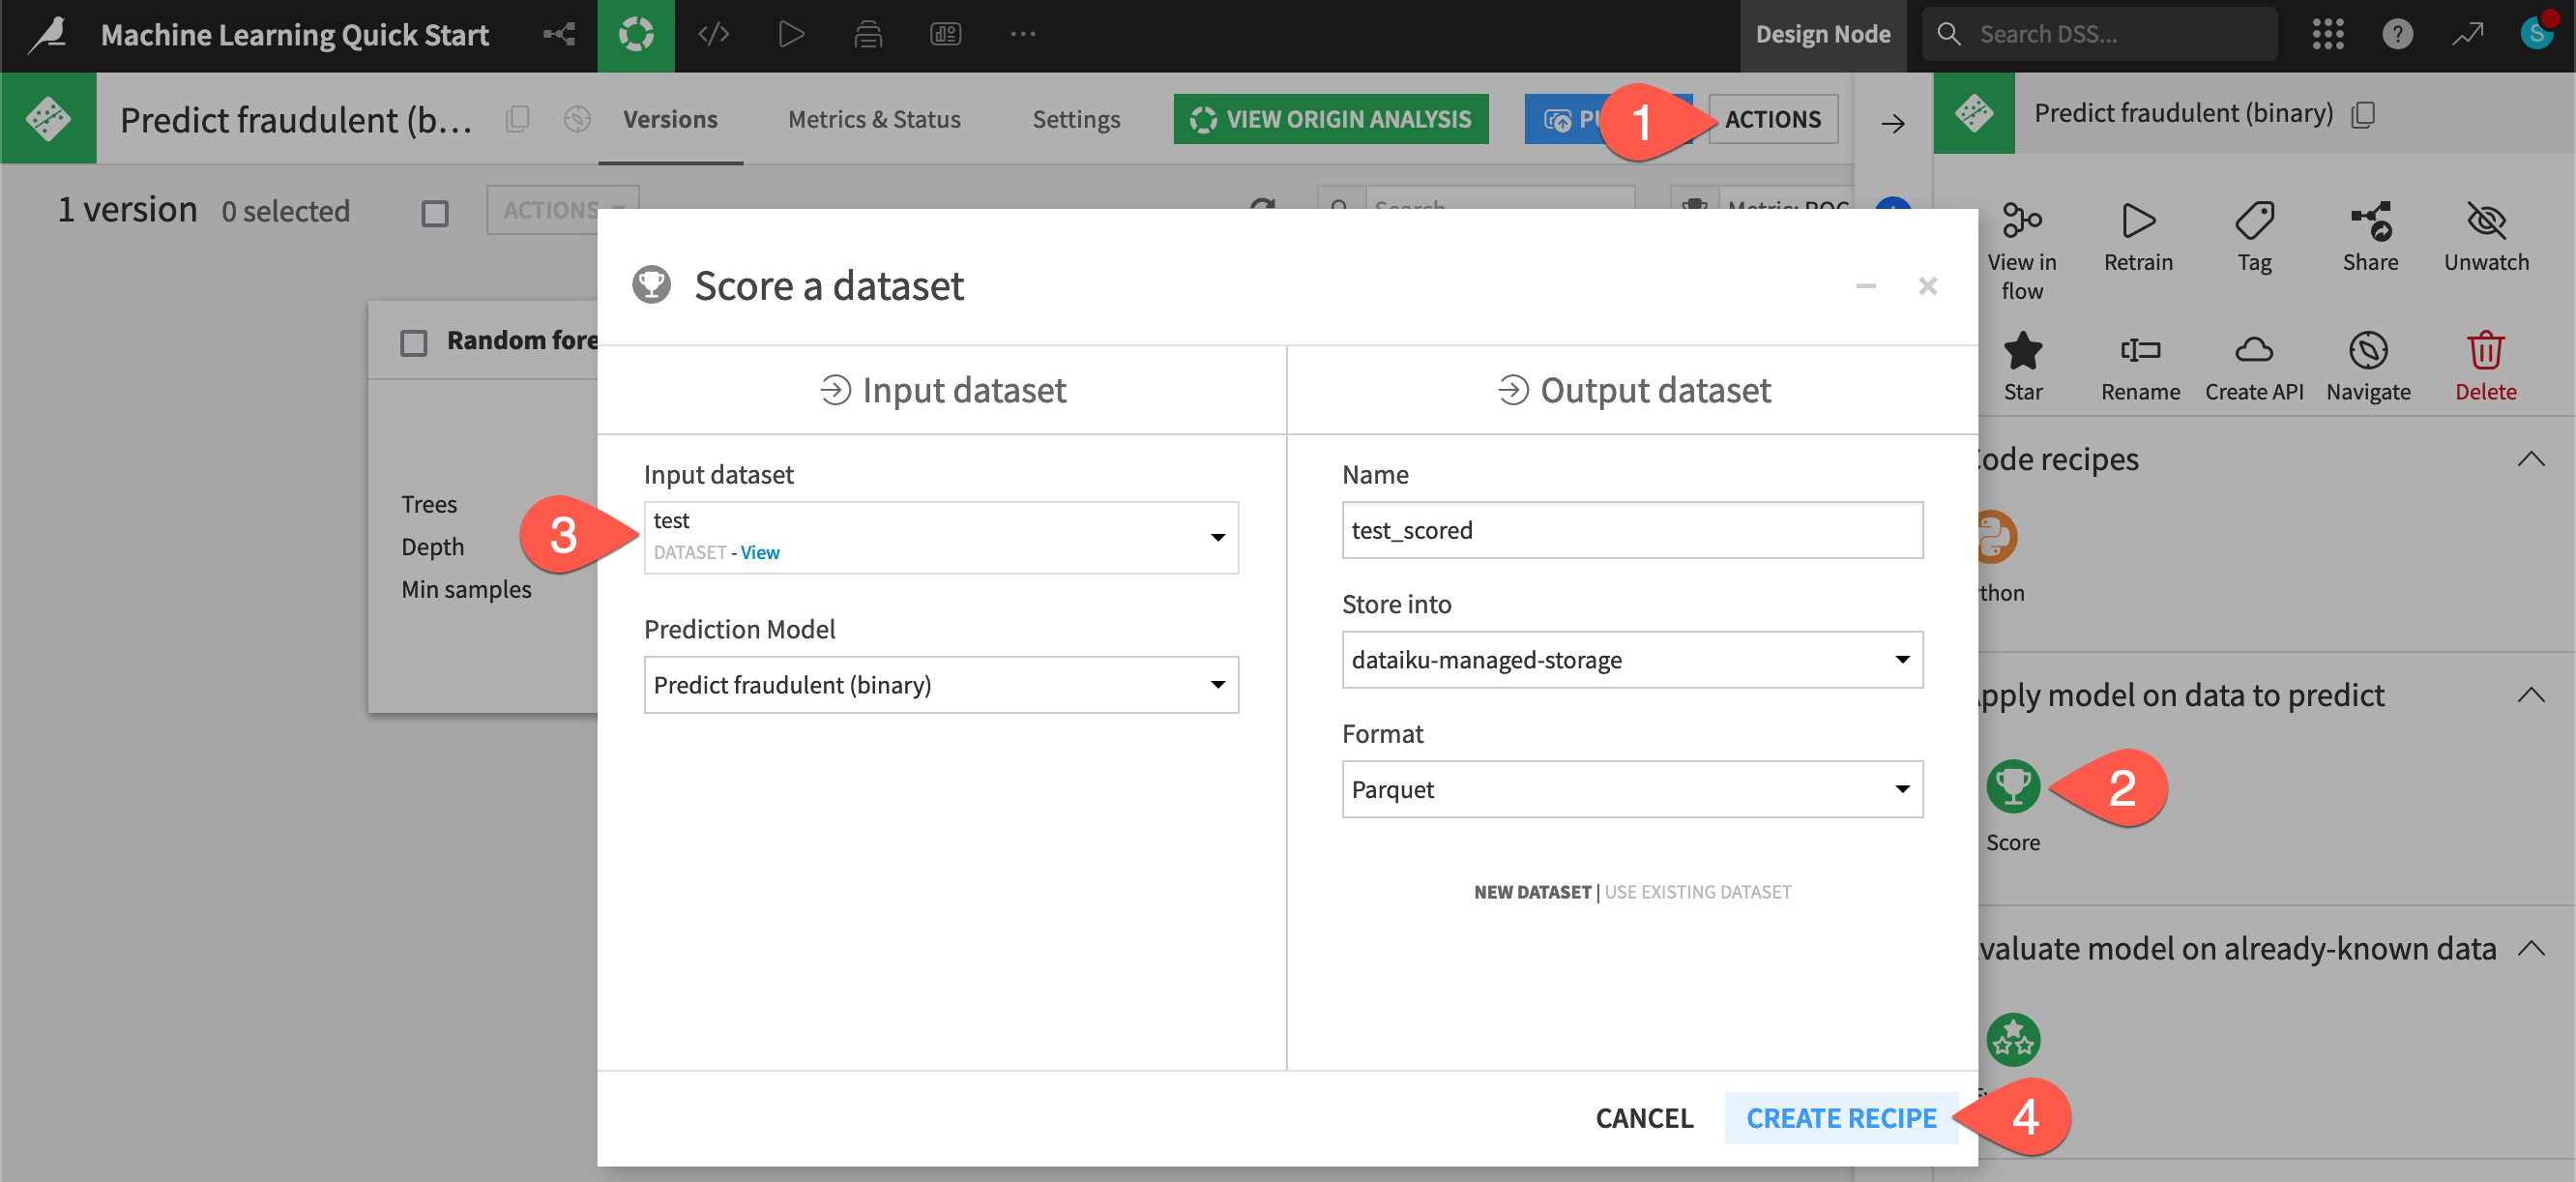
From the saved model screen, click to open the Actions (
) tab.
Select the Score recipe.
For the Input dataset, select test.
Click Create Recipe, accepting the default output name.
Once on the Settings tab of the Score recipe, click Run (or type
@+r+u+n) to execute the recipe with the default settings.
Tip
Here you applied the Score recipe to a model trained with Dataiku’s visual AutoML. However, you also have the option to surface models deployed on external cloud ML platforms within Dataiku. Once surfaced, you can use them for scoring, monitoring, and more.
Inspect the scored data#
Compare the schemas of the test and test_scored datasets.
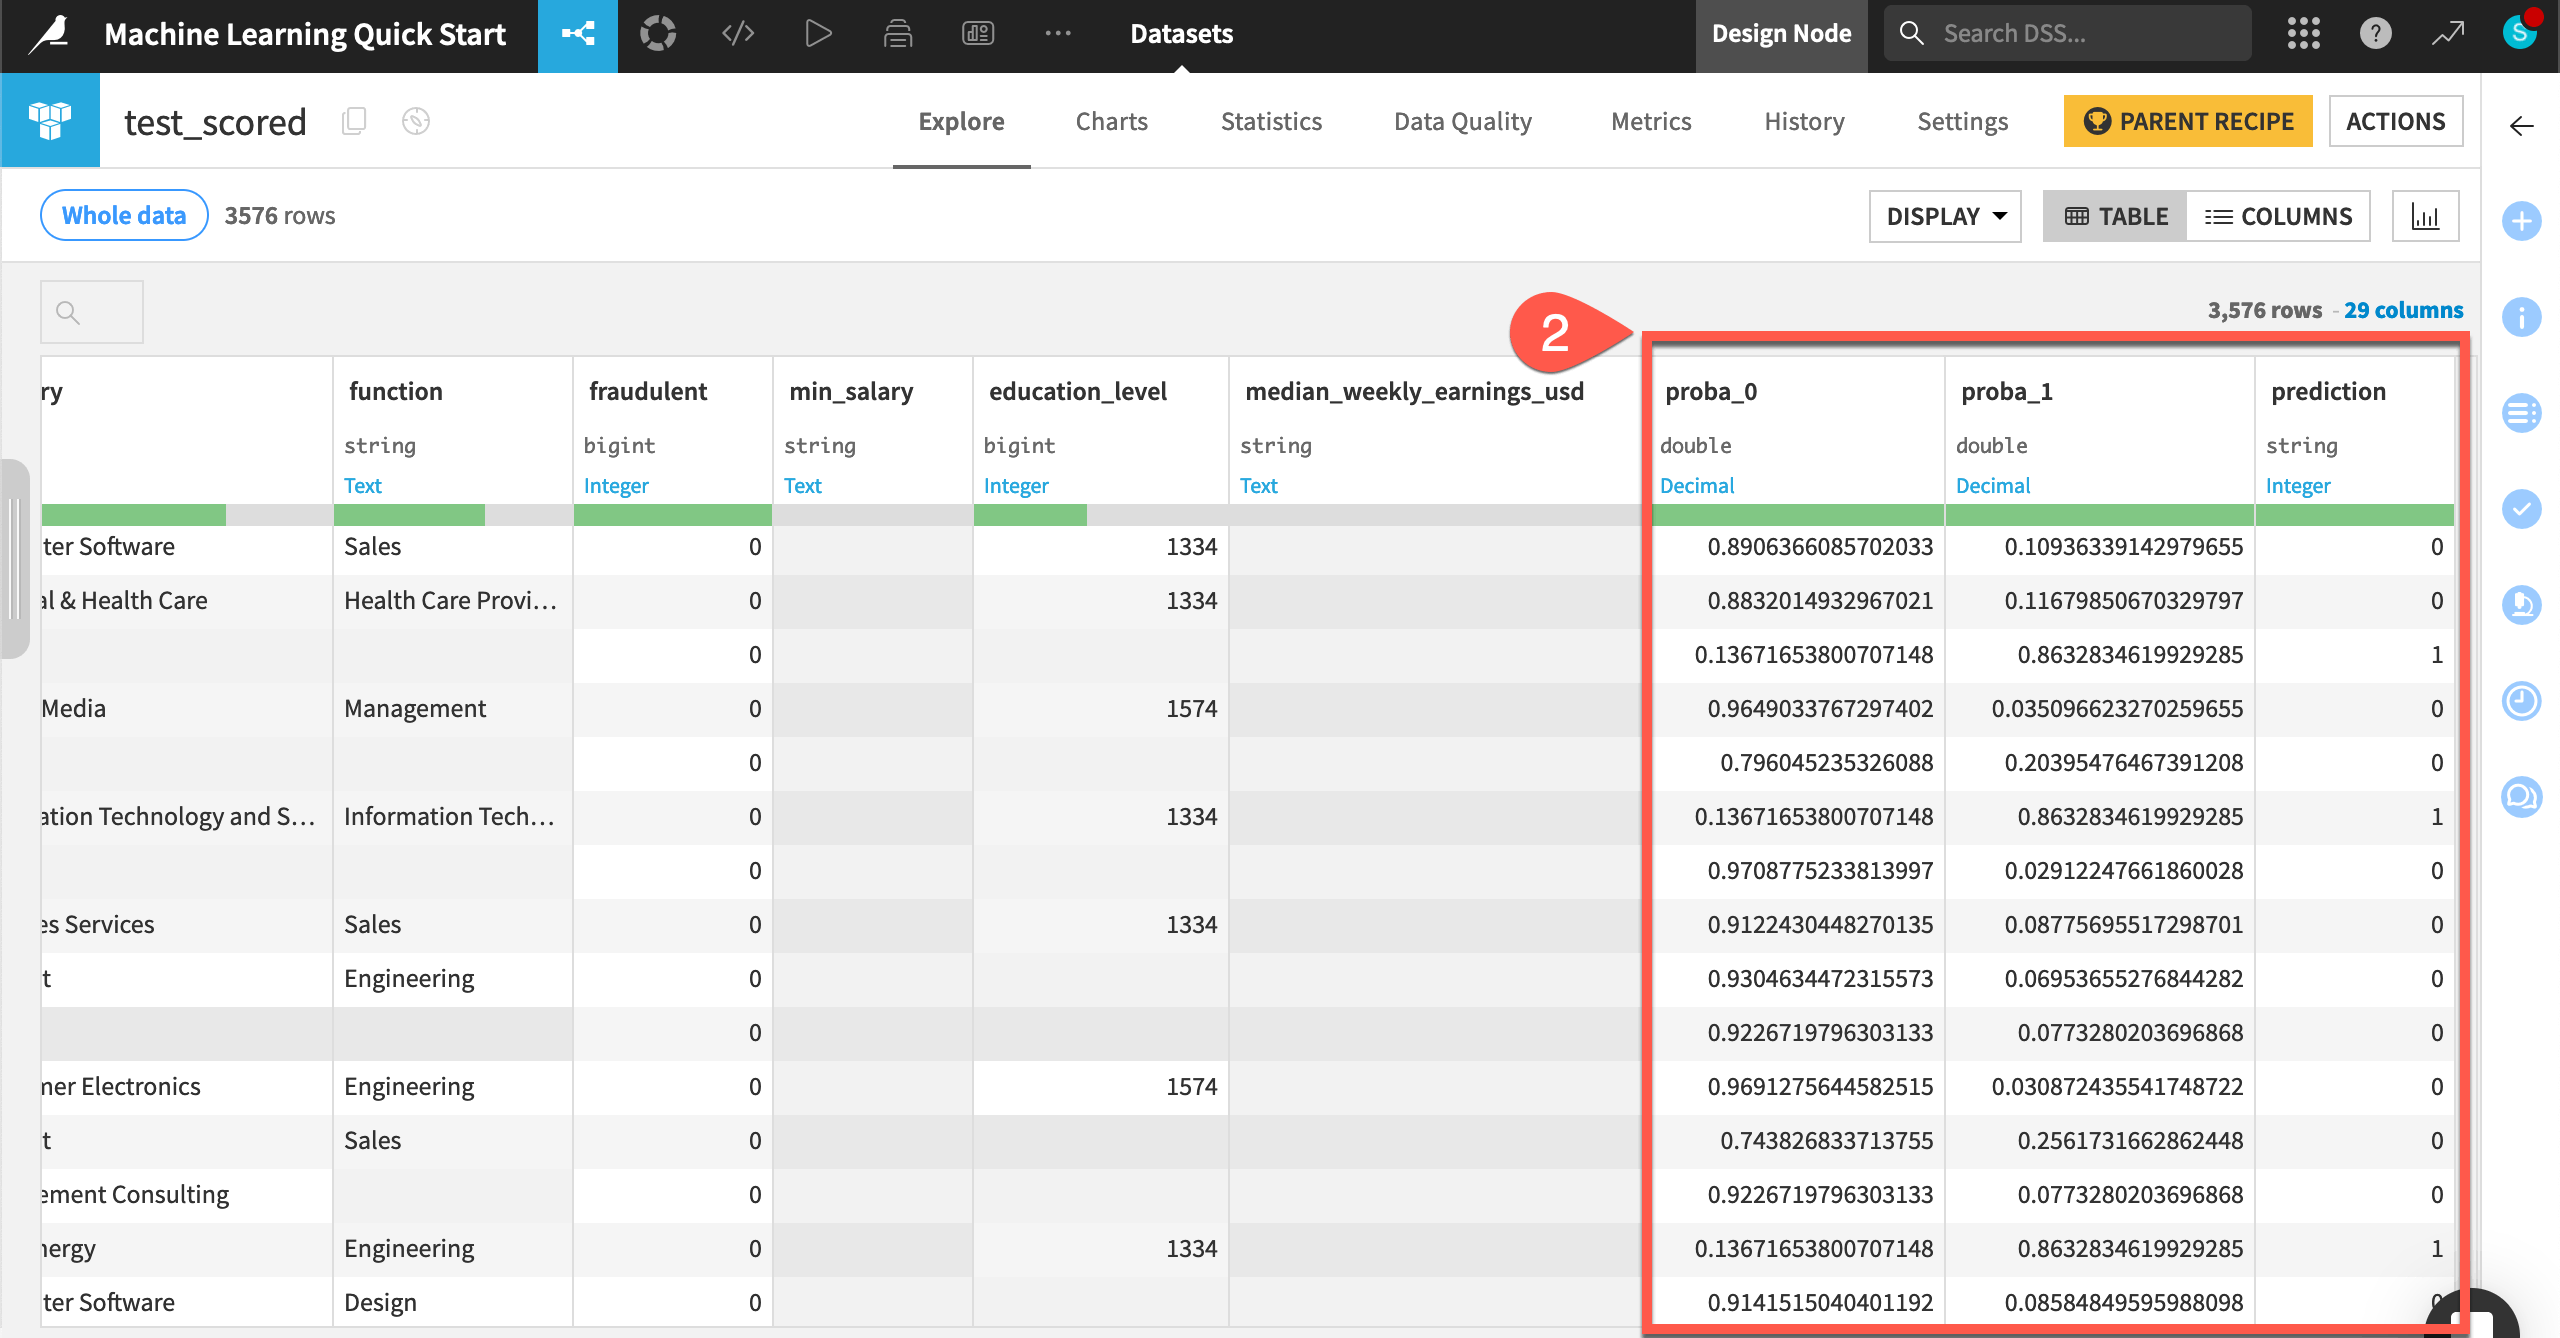
When the job finishes, click Explore dataset test_scored.
Note the addition of three new columns: proba_0, proba_1, and prediction.
Navigate back to the Flow (
g+f) to see the scored dataset in the pipeline.
Tip
How well was the model able to identify the fake job postings in the test dataset? That’s a task for the Evaluate recipe, which you will encounter in other learning resources, such as the MLOps Practitioner learning path.

